Understanding Global Settings
(In Depth Overview)
How to Configure Global Organization Settings for Optimized Security and User Experience
Configuring global settings ensures your organization's security, data integrity, and resident experience are built on a solid, customizable foundation. This guide walks you through every major control in the Global Settings panel, highlighting where to act and what each action accomplishes.
Module 1: Navigating to Global Settings
Click Organization in the left sidebar to open organization-specific controls.
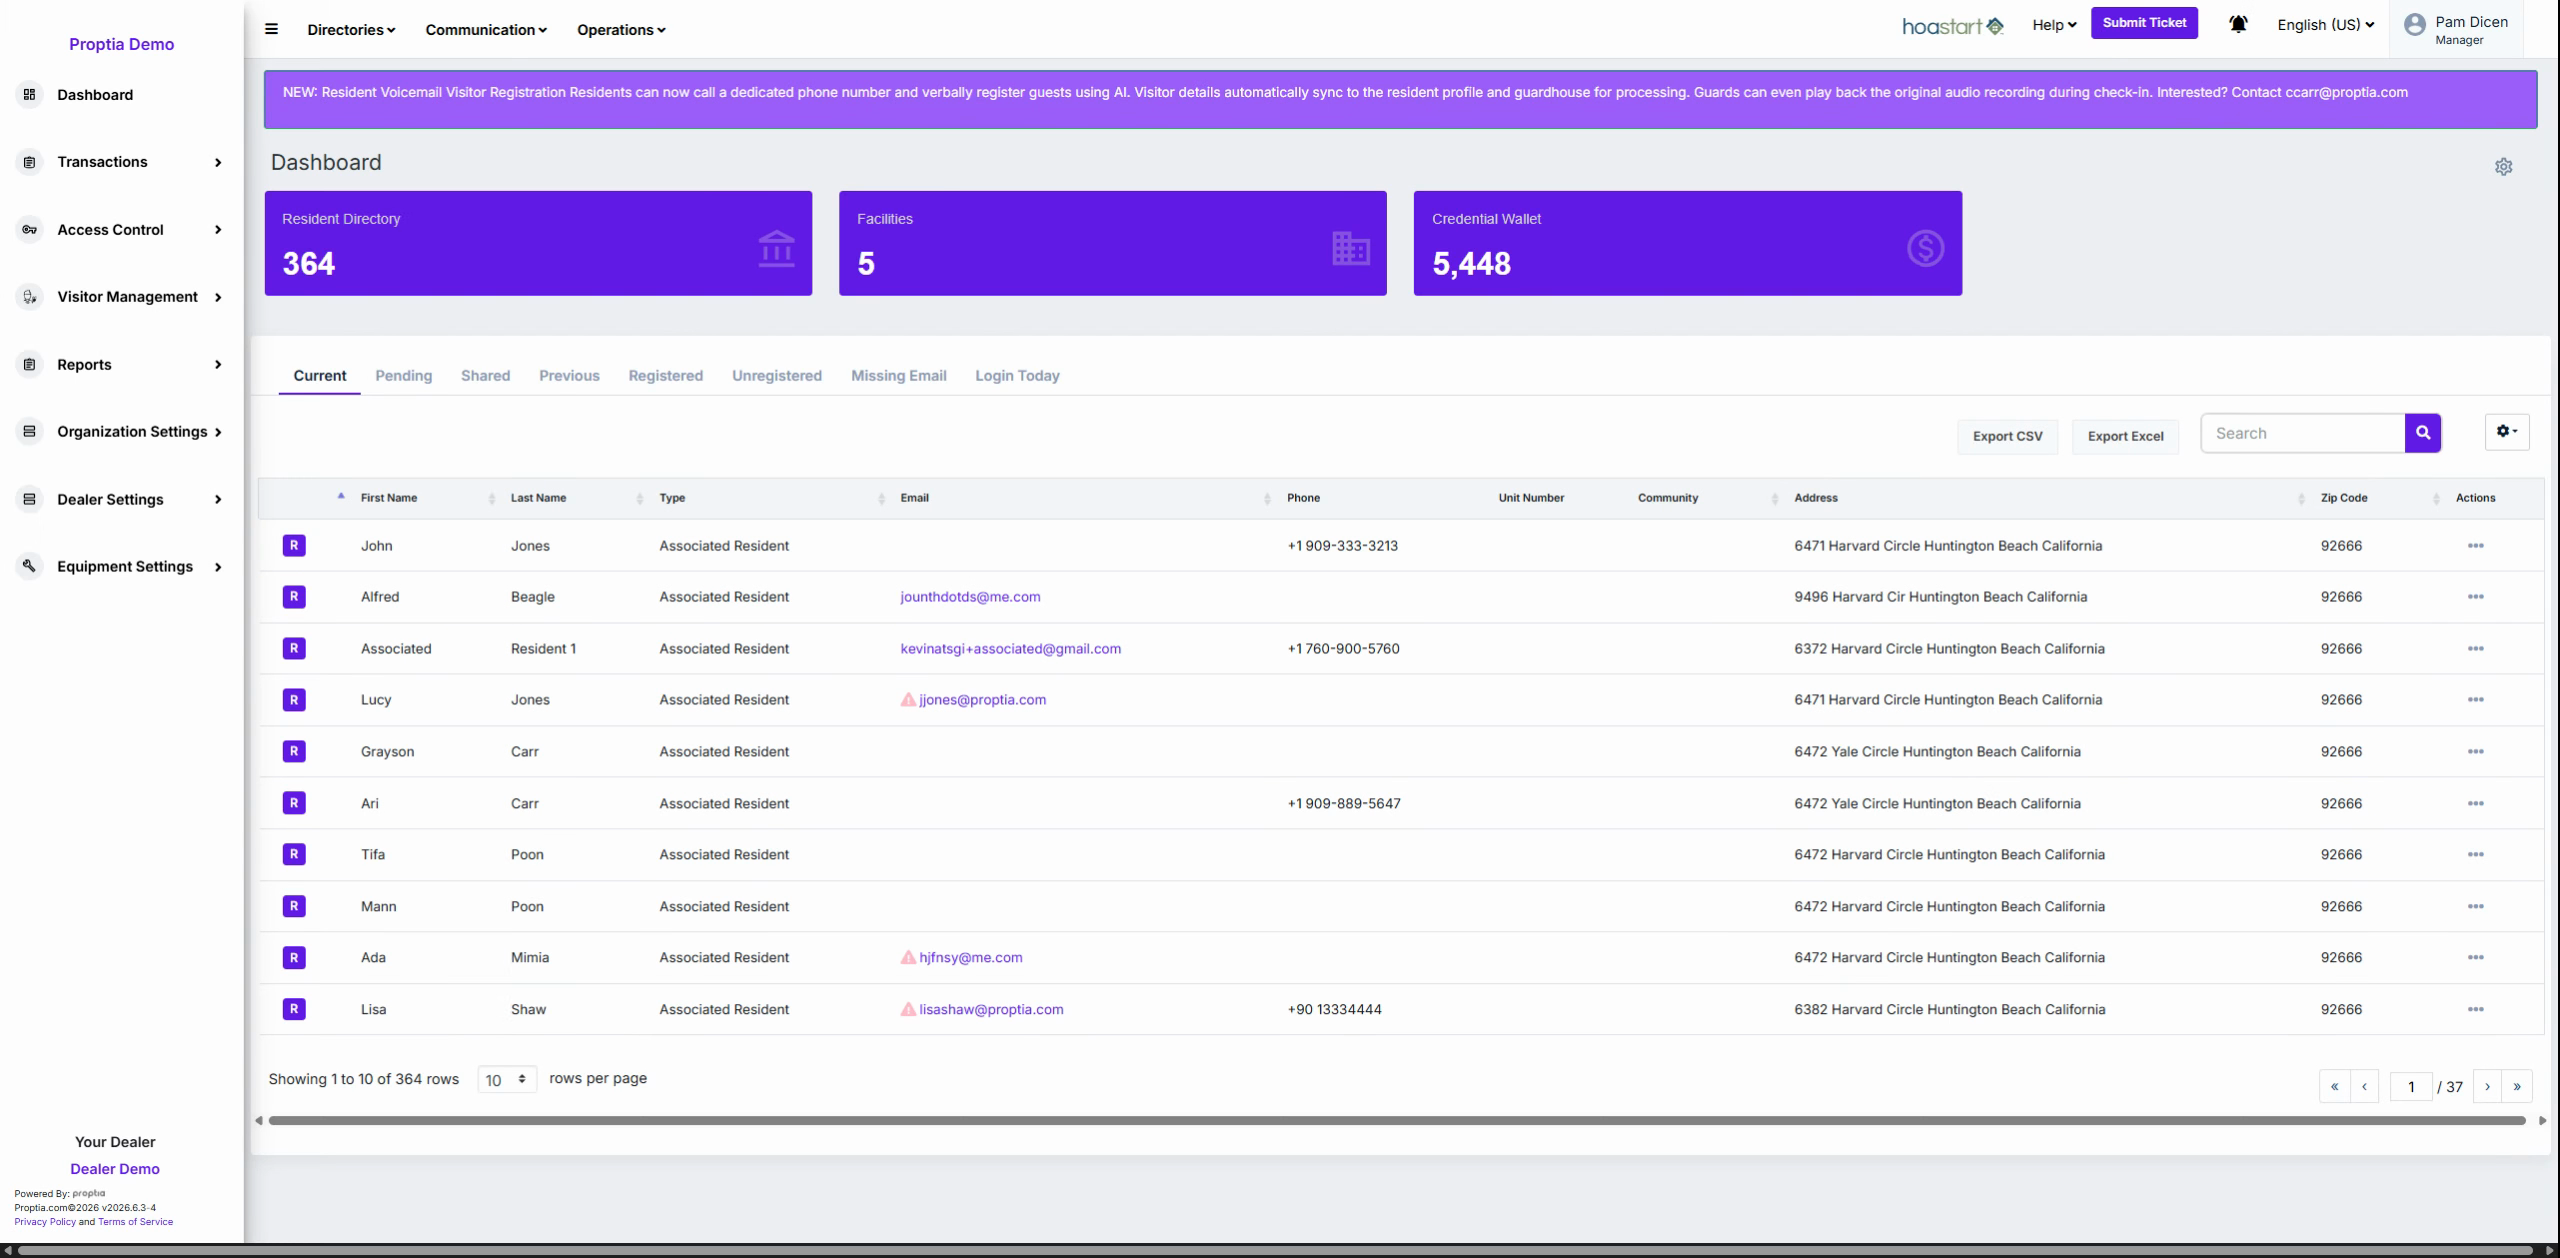
Click Settings within the organization menu to reveal configuration options.
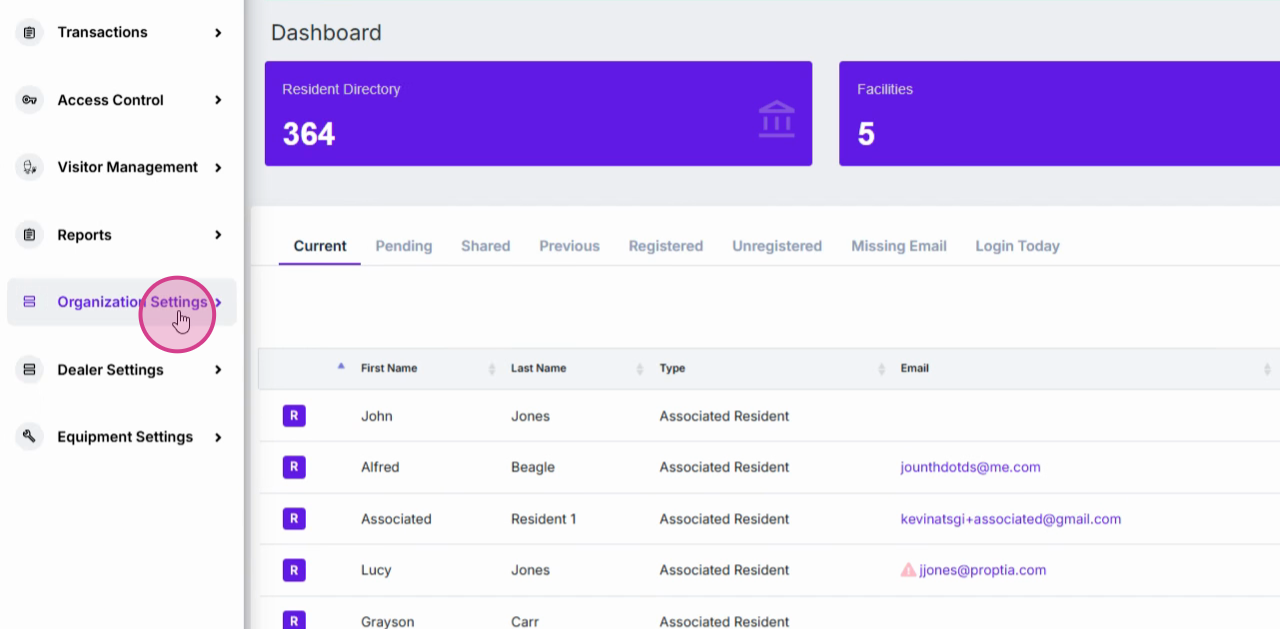
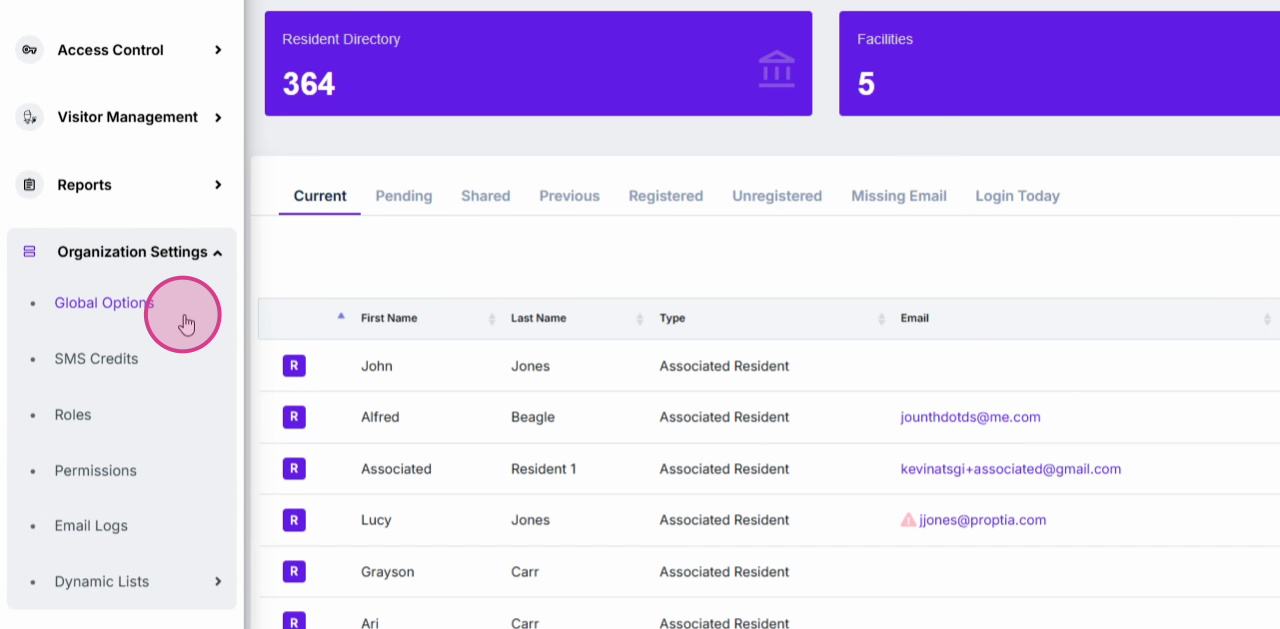
Select Global Options to open the comprehensive settings dashboard.
Module 2: Using the Search for Settings Bar
Locate the Search for settings bar at the top of the settings interface to quickly filter settings by keyword.
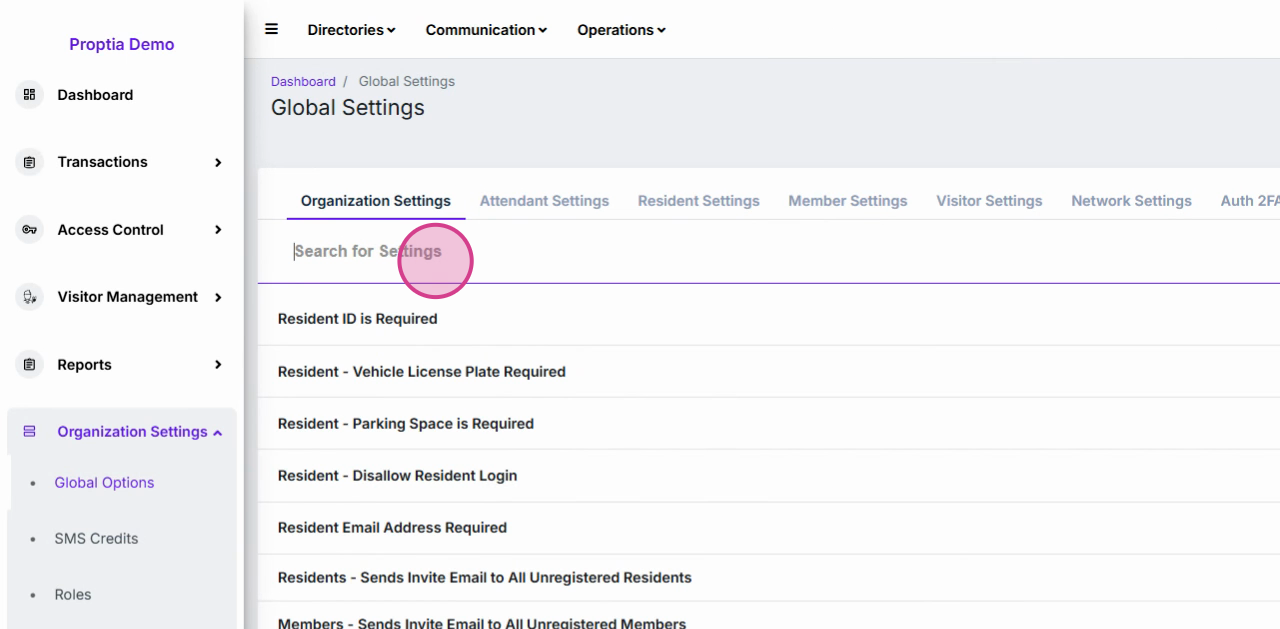
Why: Instantly narrow down the available options, making it much easier to find the control you need without scrolling.
Type a keyword (e.g., "resident") into the search bar to filter the list of settings as you type.
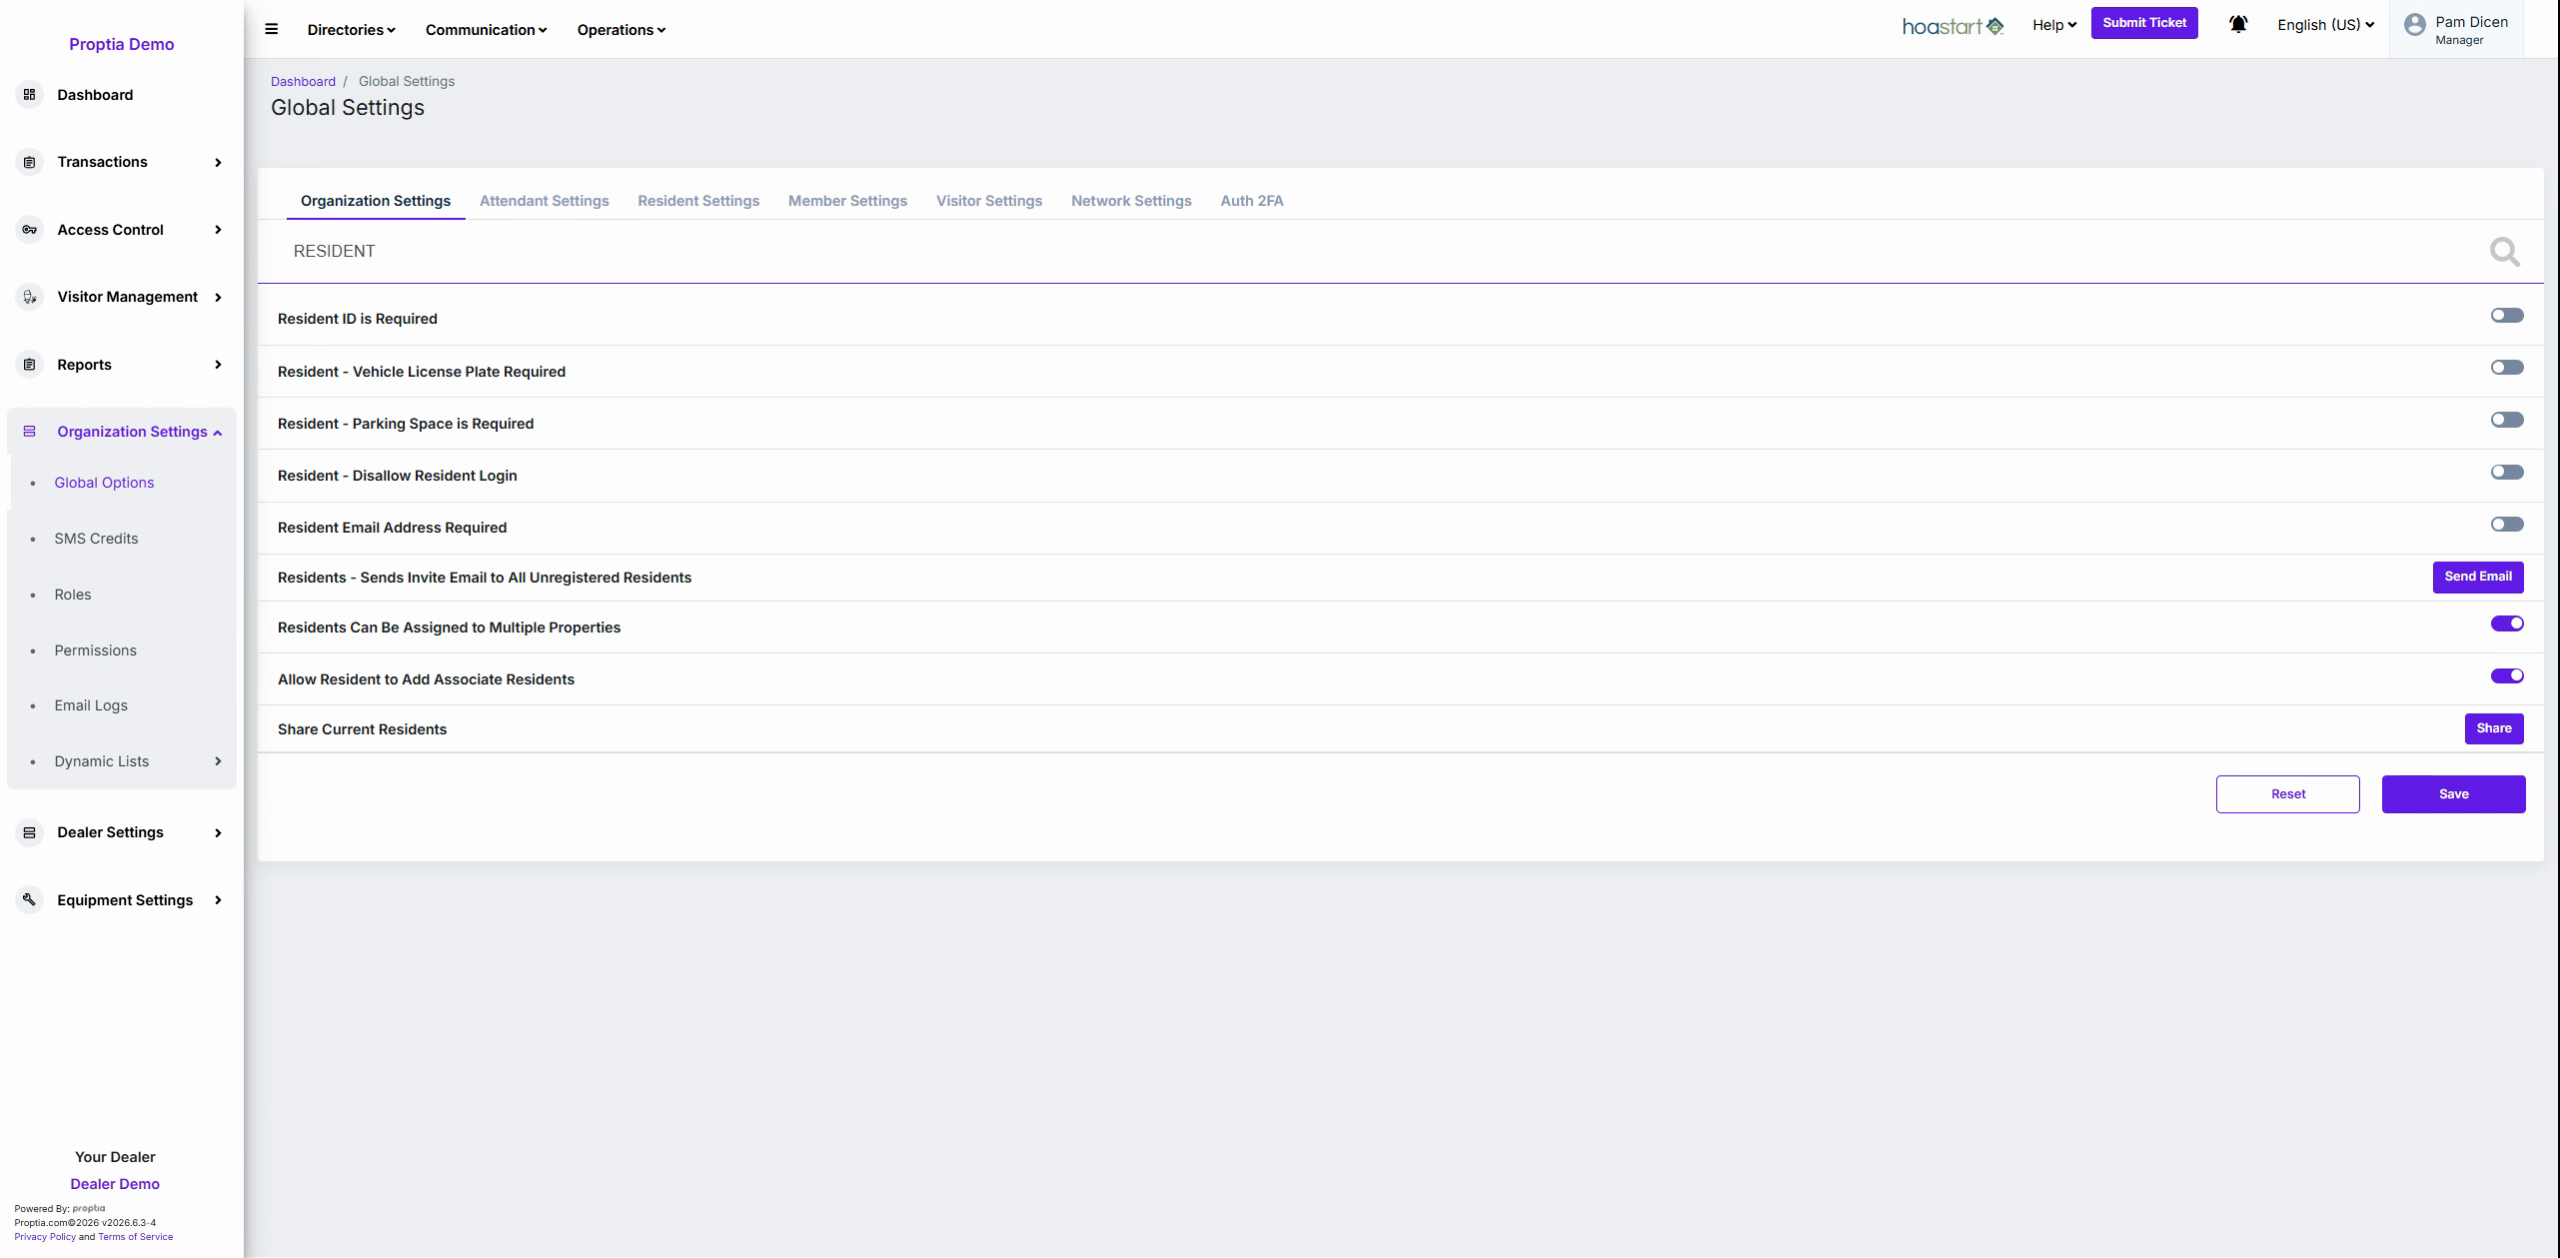
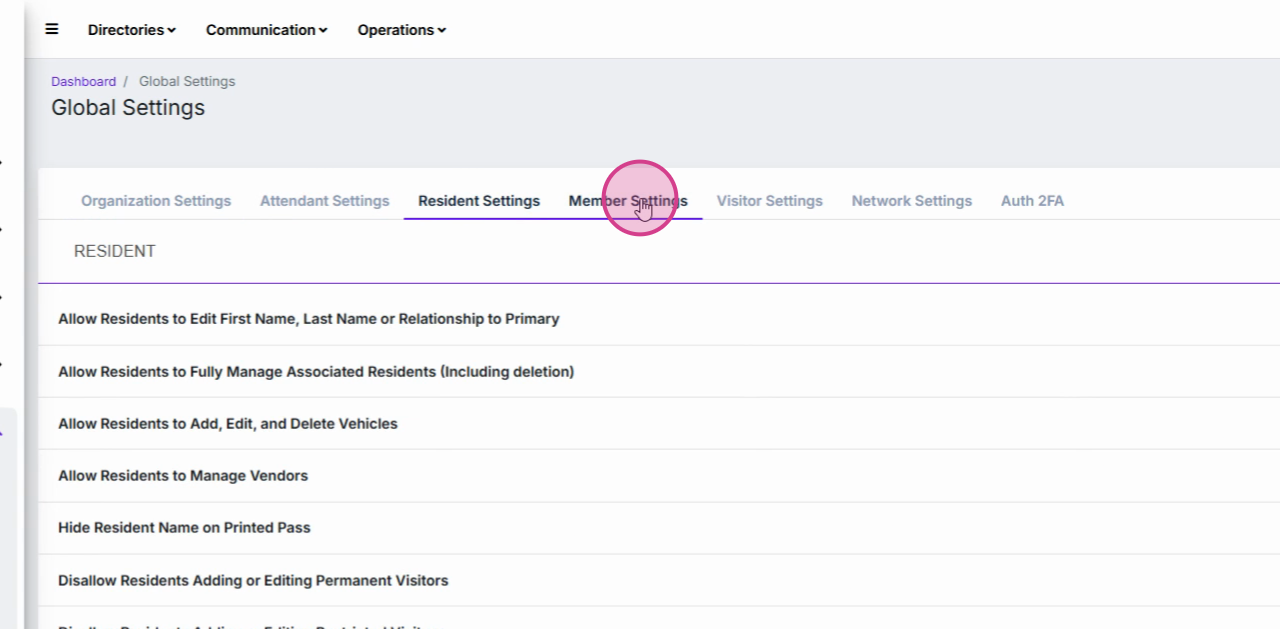
Switch between tabs—observe that your search term persists, filtering each new tab accordingly.
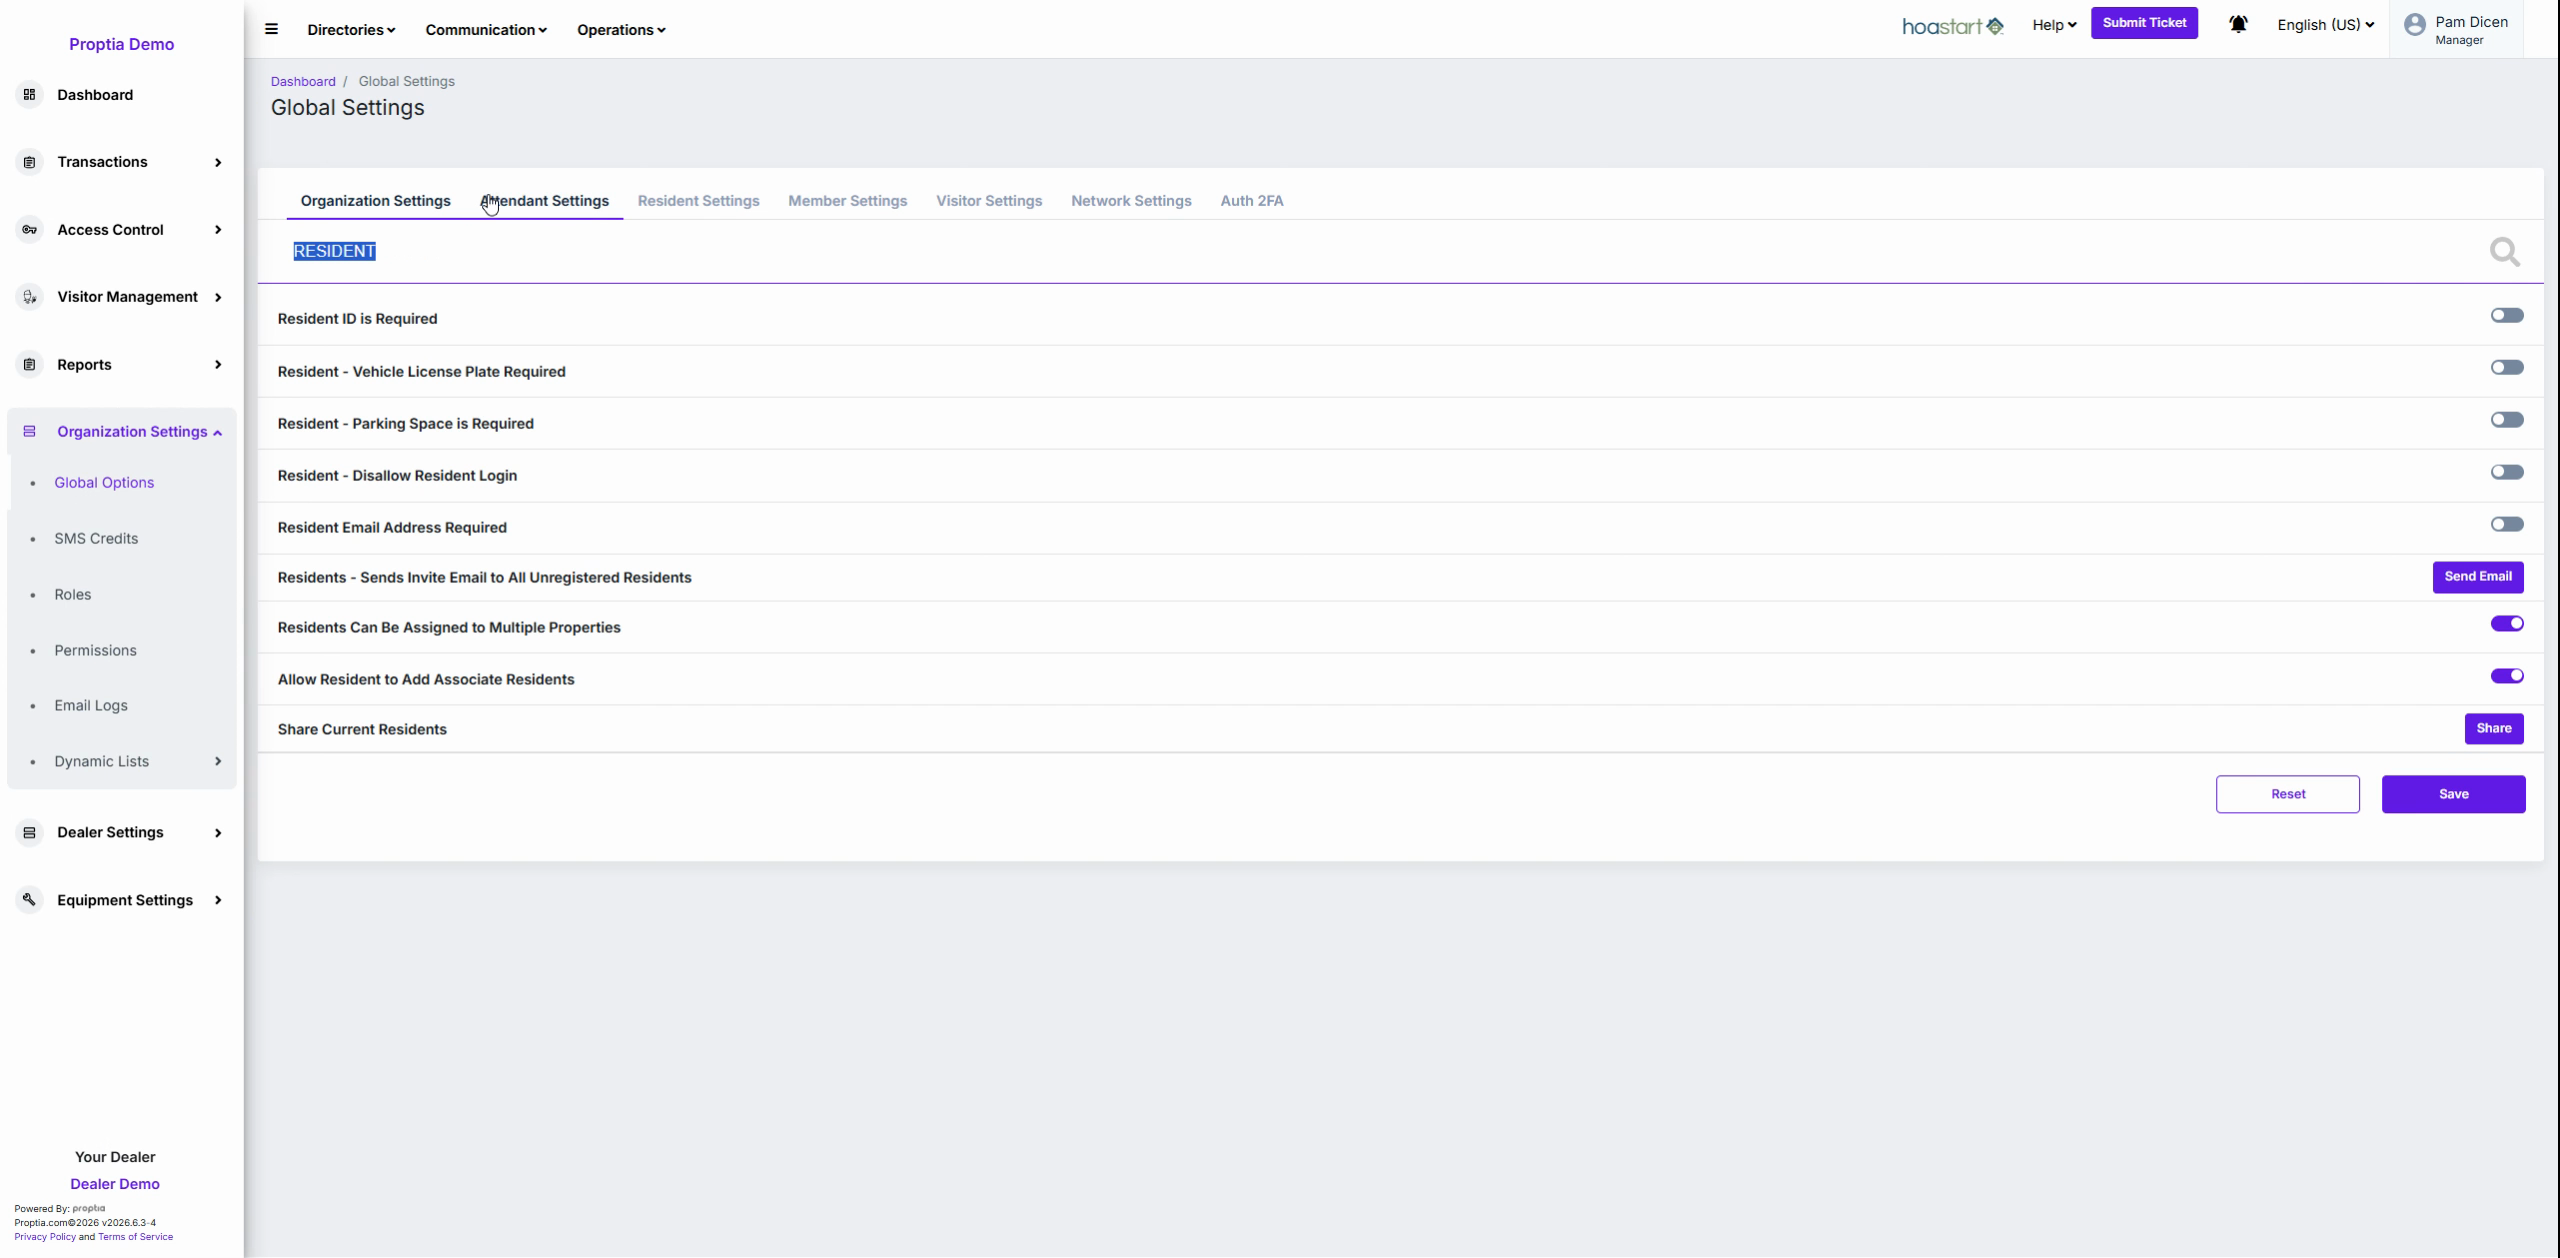
Clear the search bar if a tab appears empty to view all available settings again.
Module 3: Enforcing Data Requirements
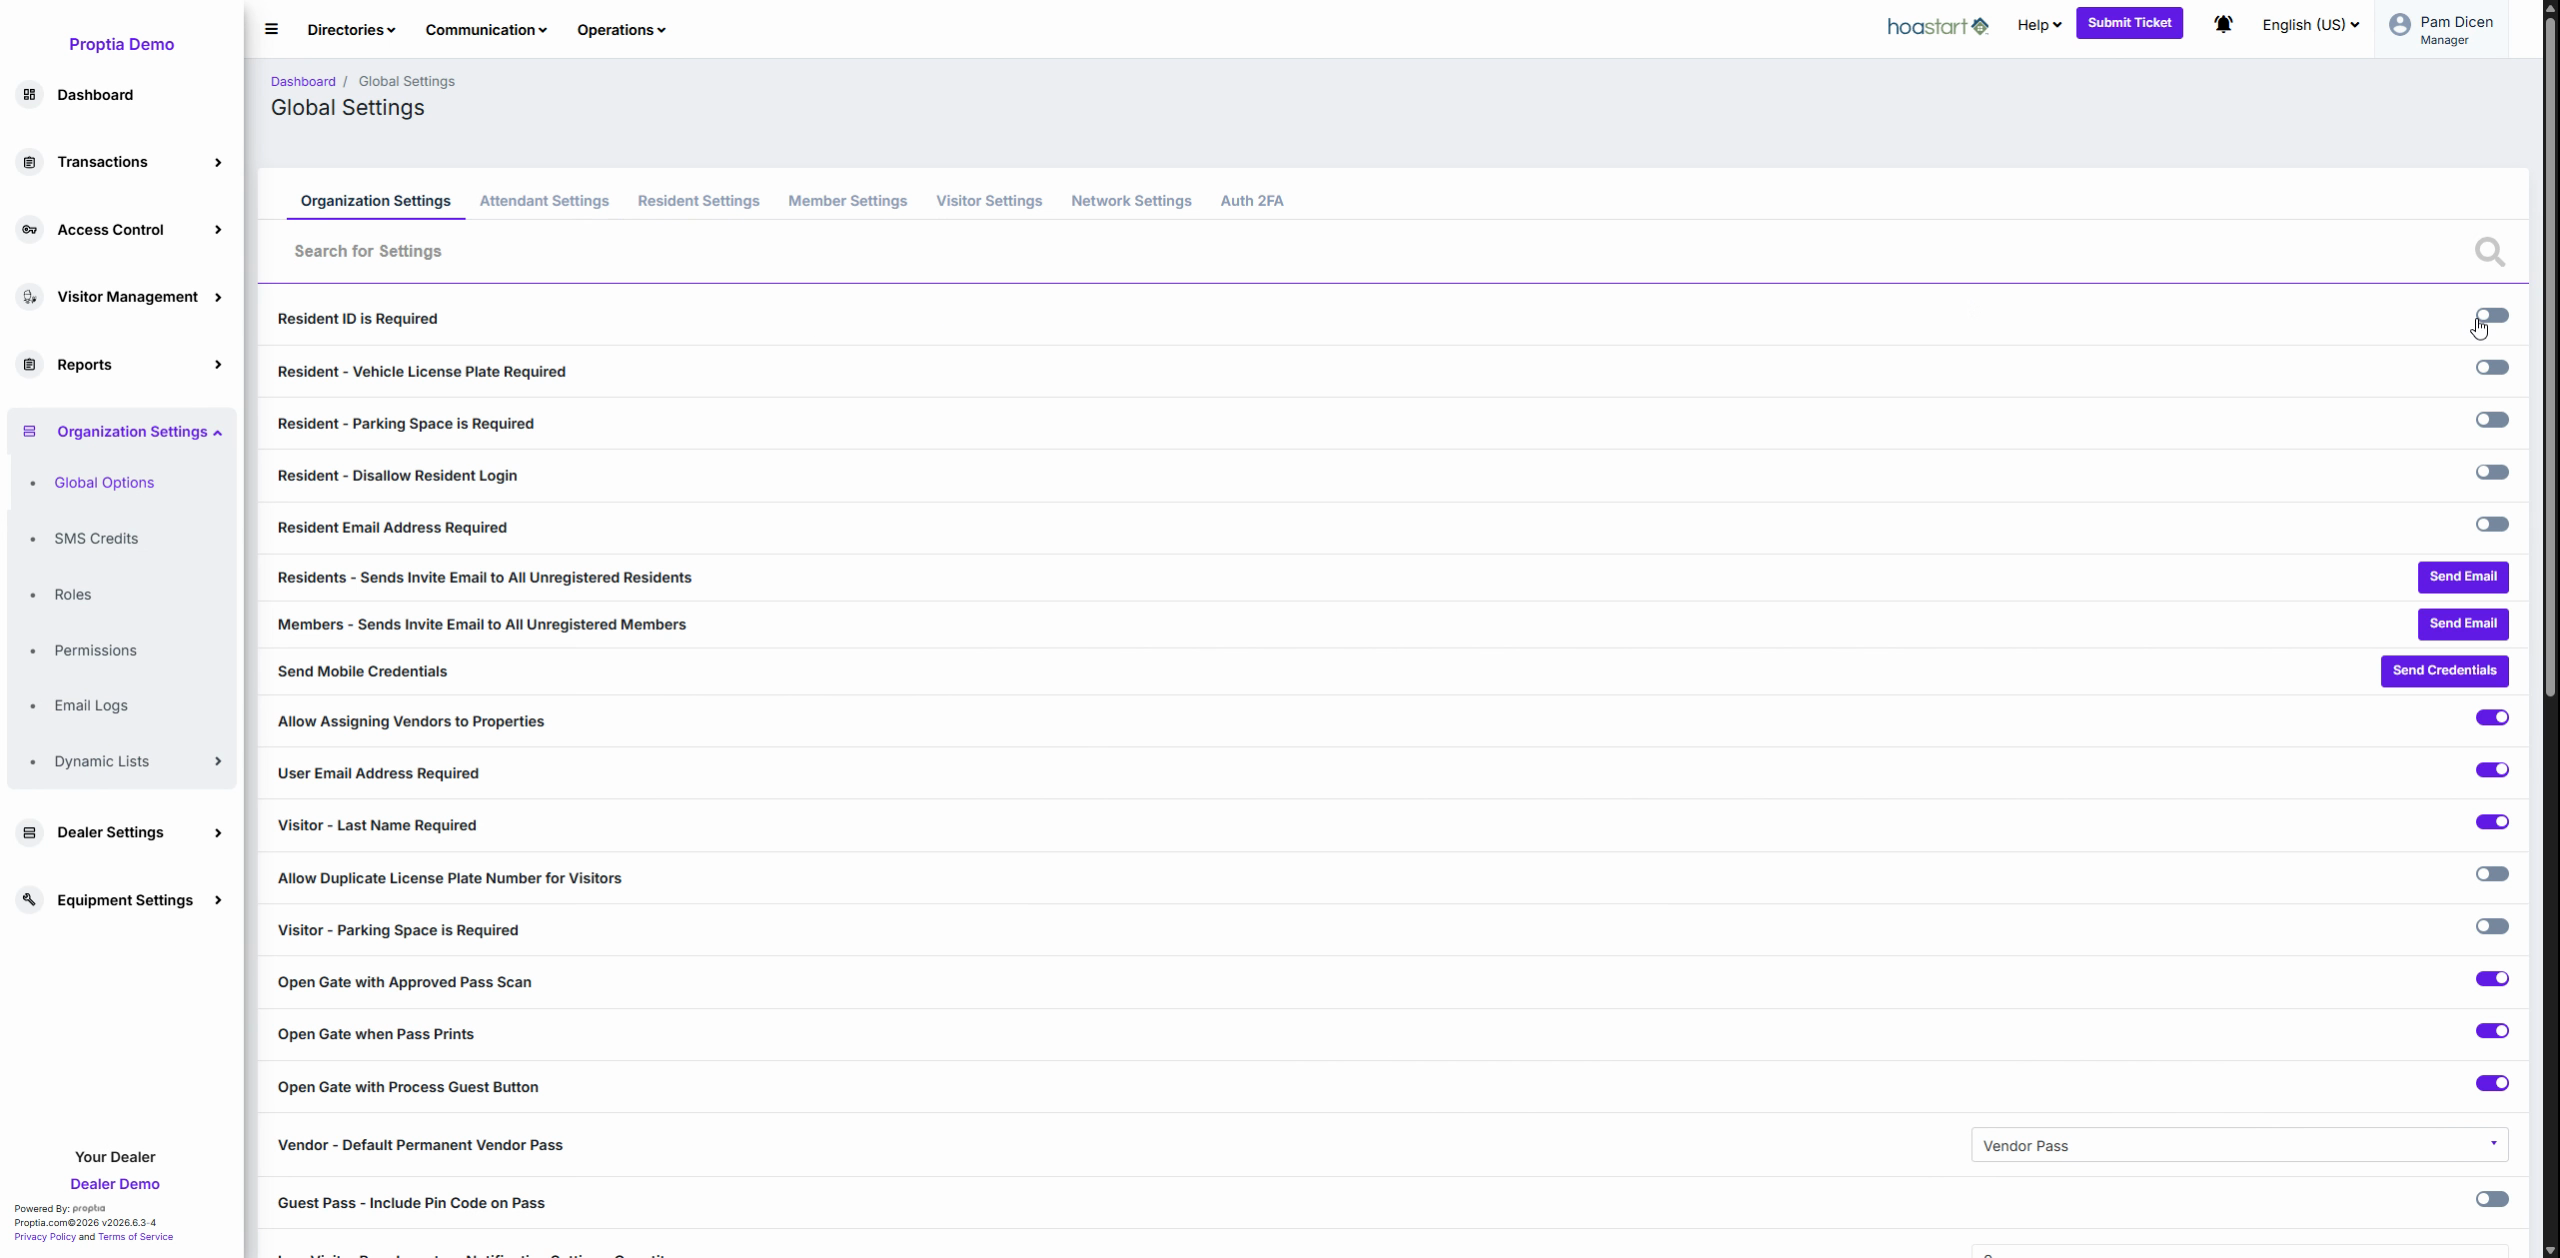
Toggle Resident ID is required to make resident ID mandatory for all resident profile actions.
Why: Ensures consistent resident identification throughout the platform.
Enable additional data requirements as needed: - Vehicle license plate required - Resident email address required - User email address required - Visitor last name required - Visitor parking space required
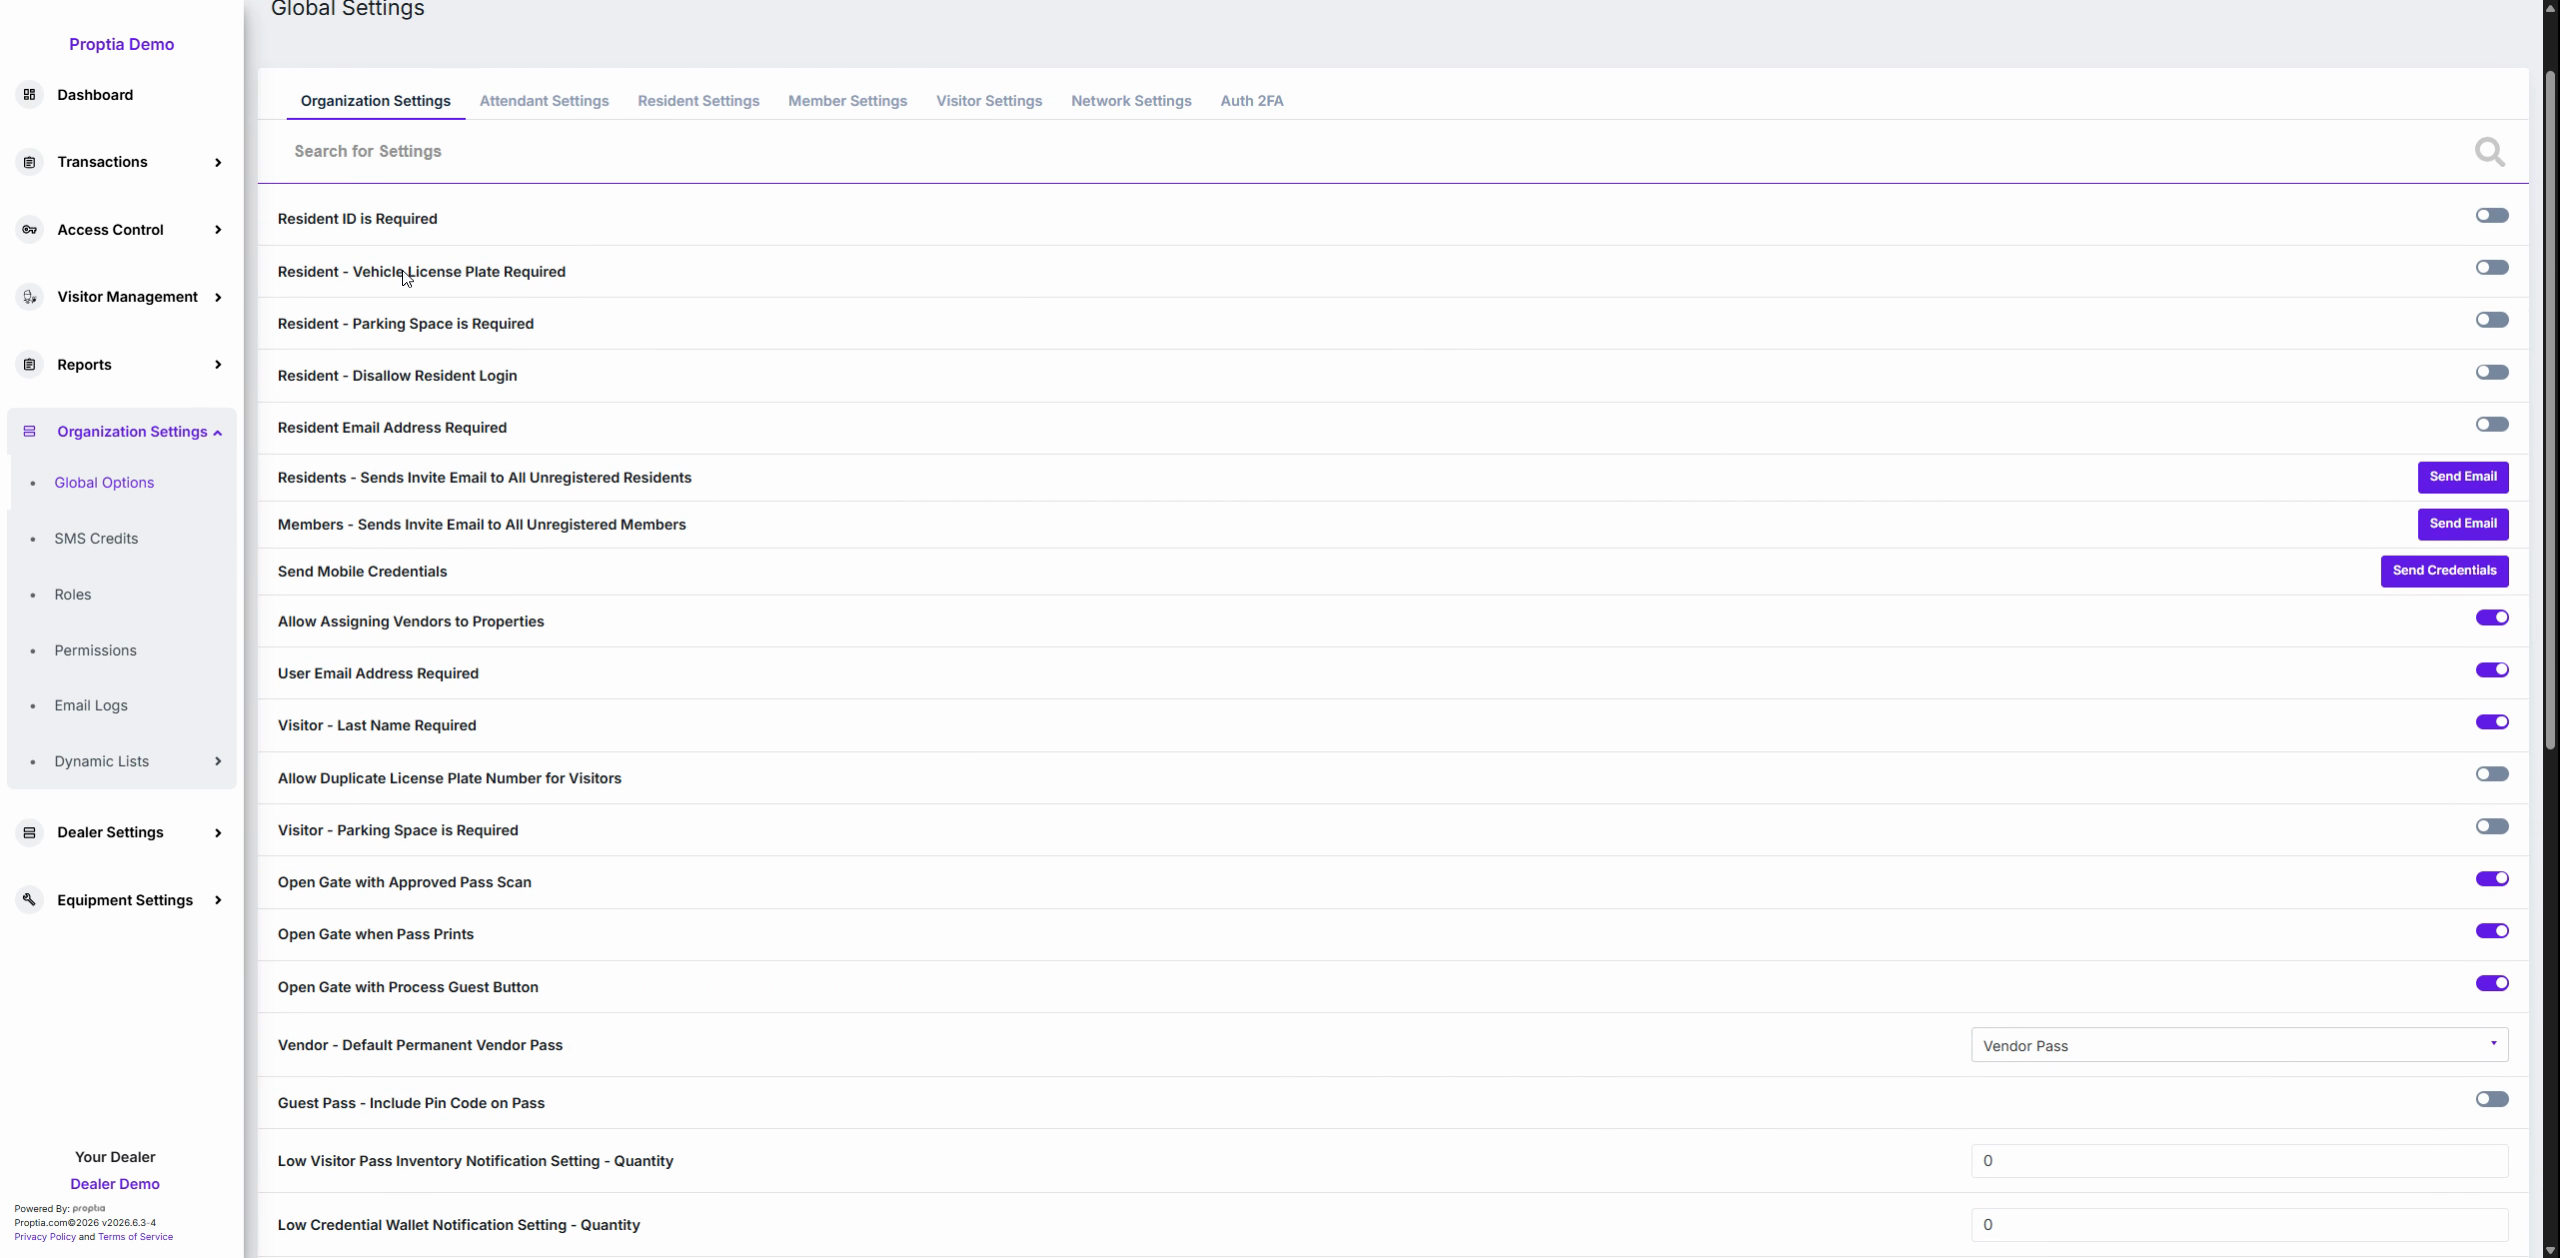
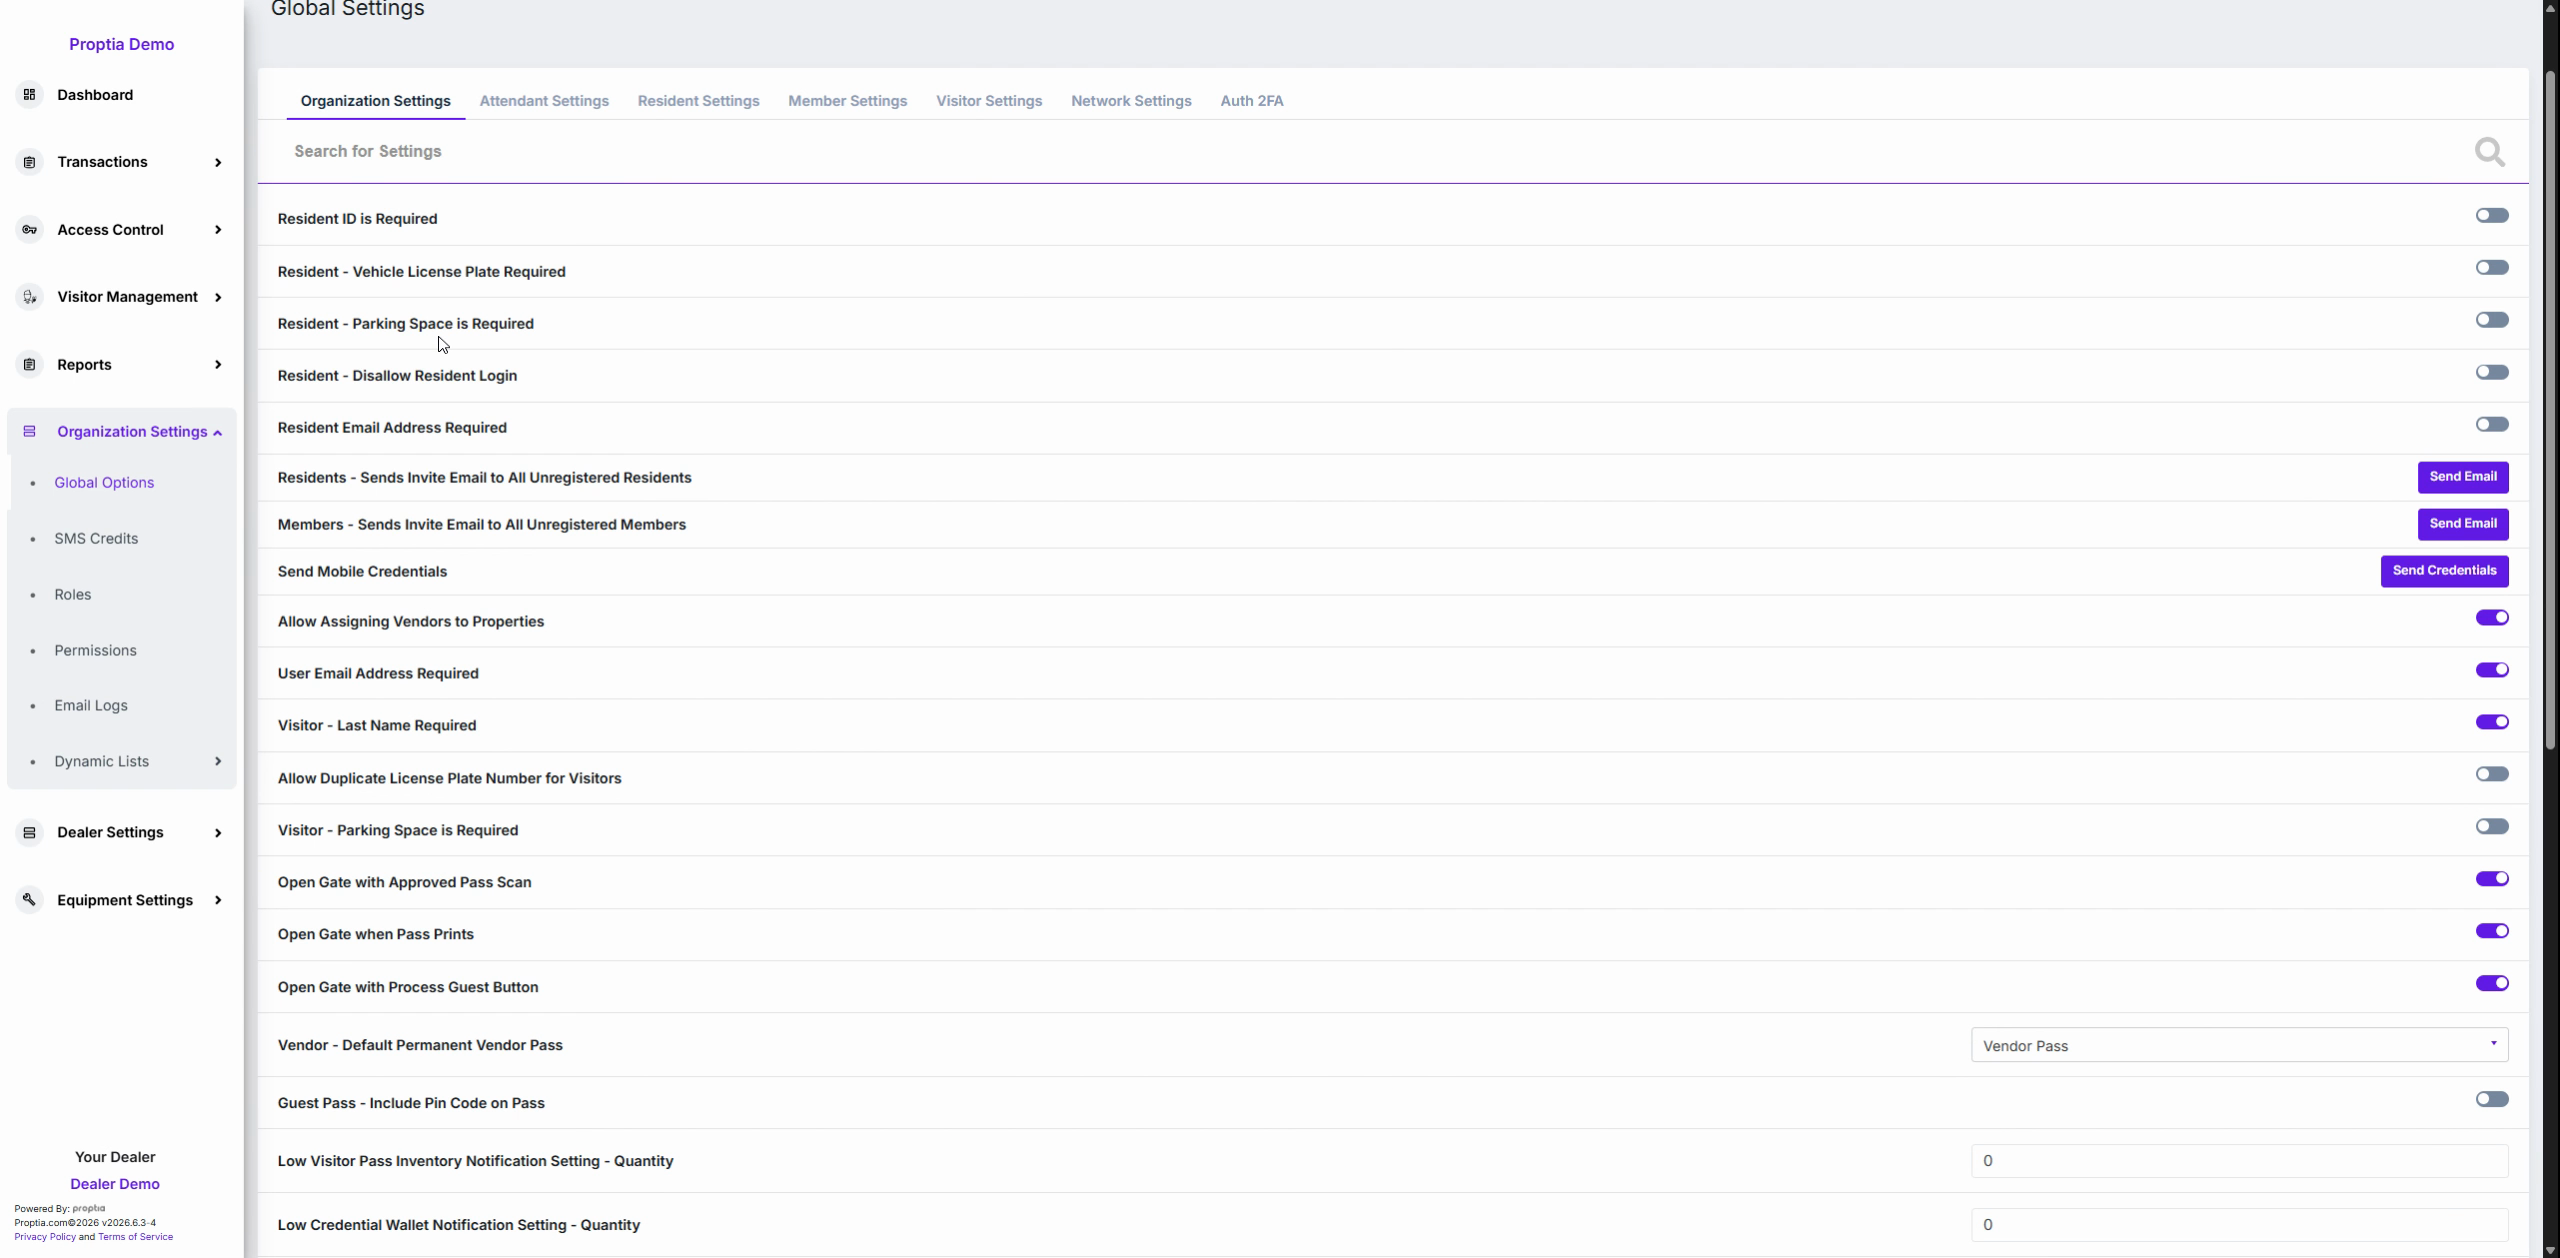
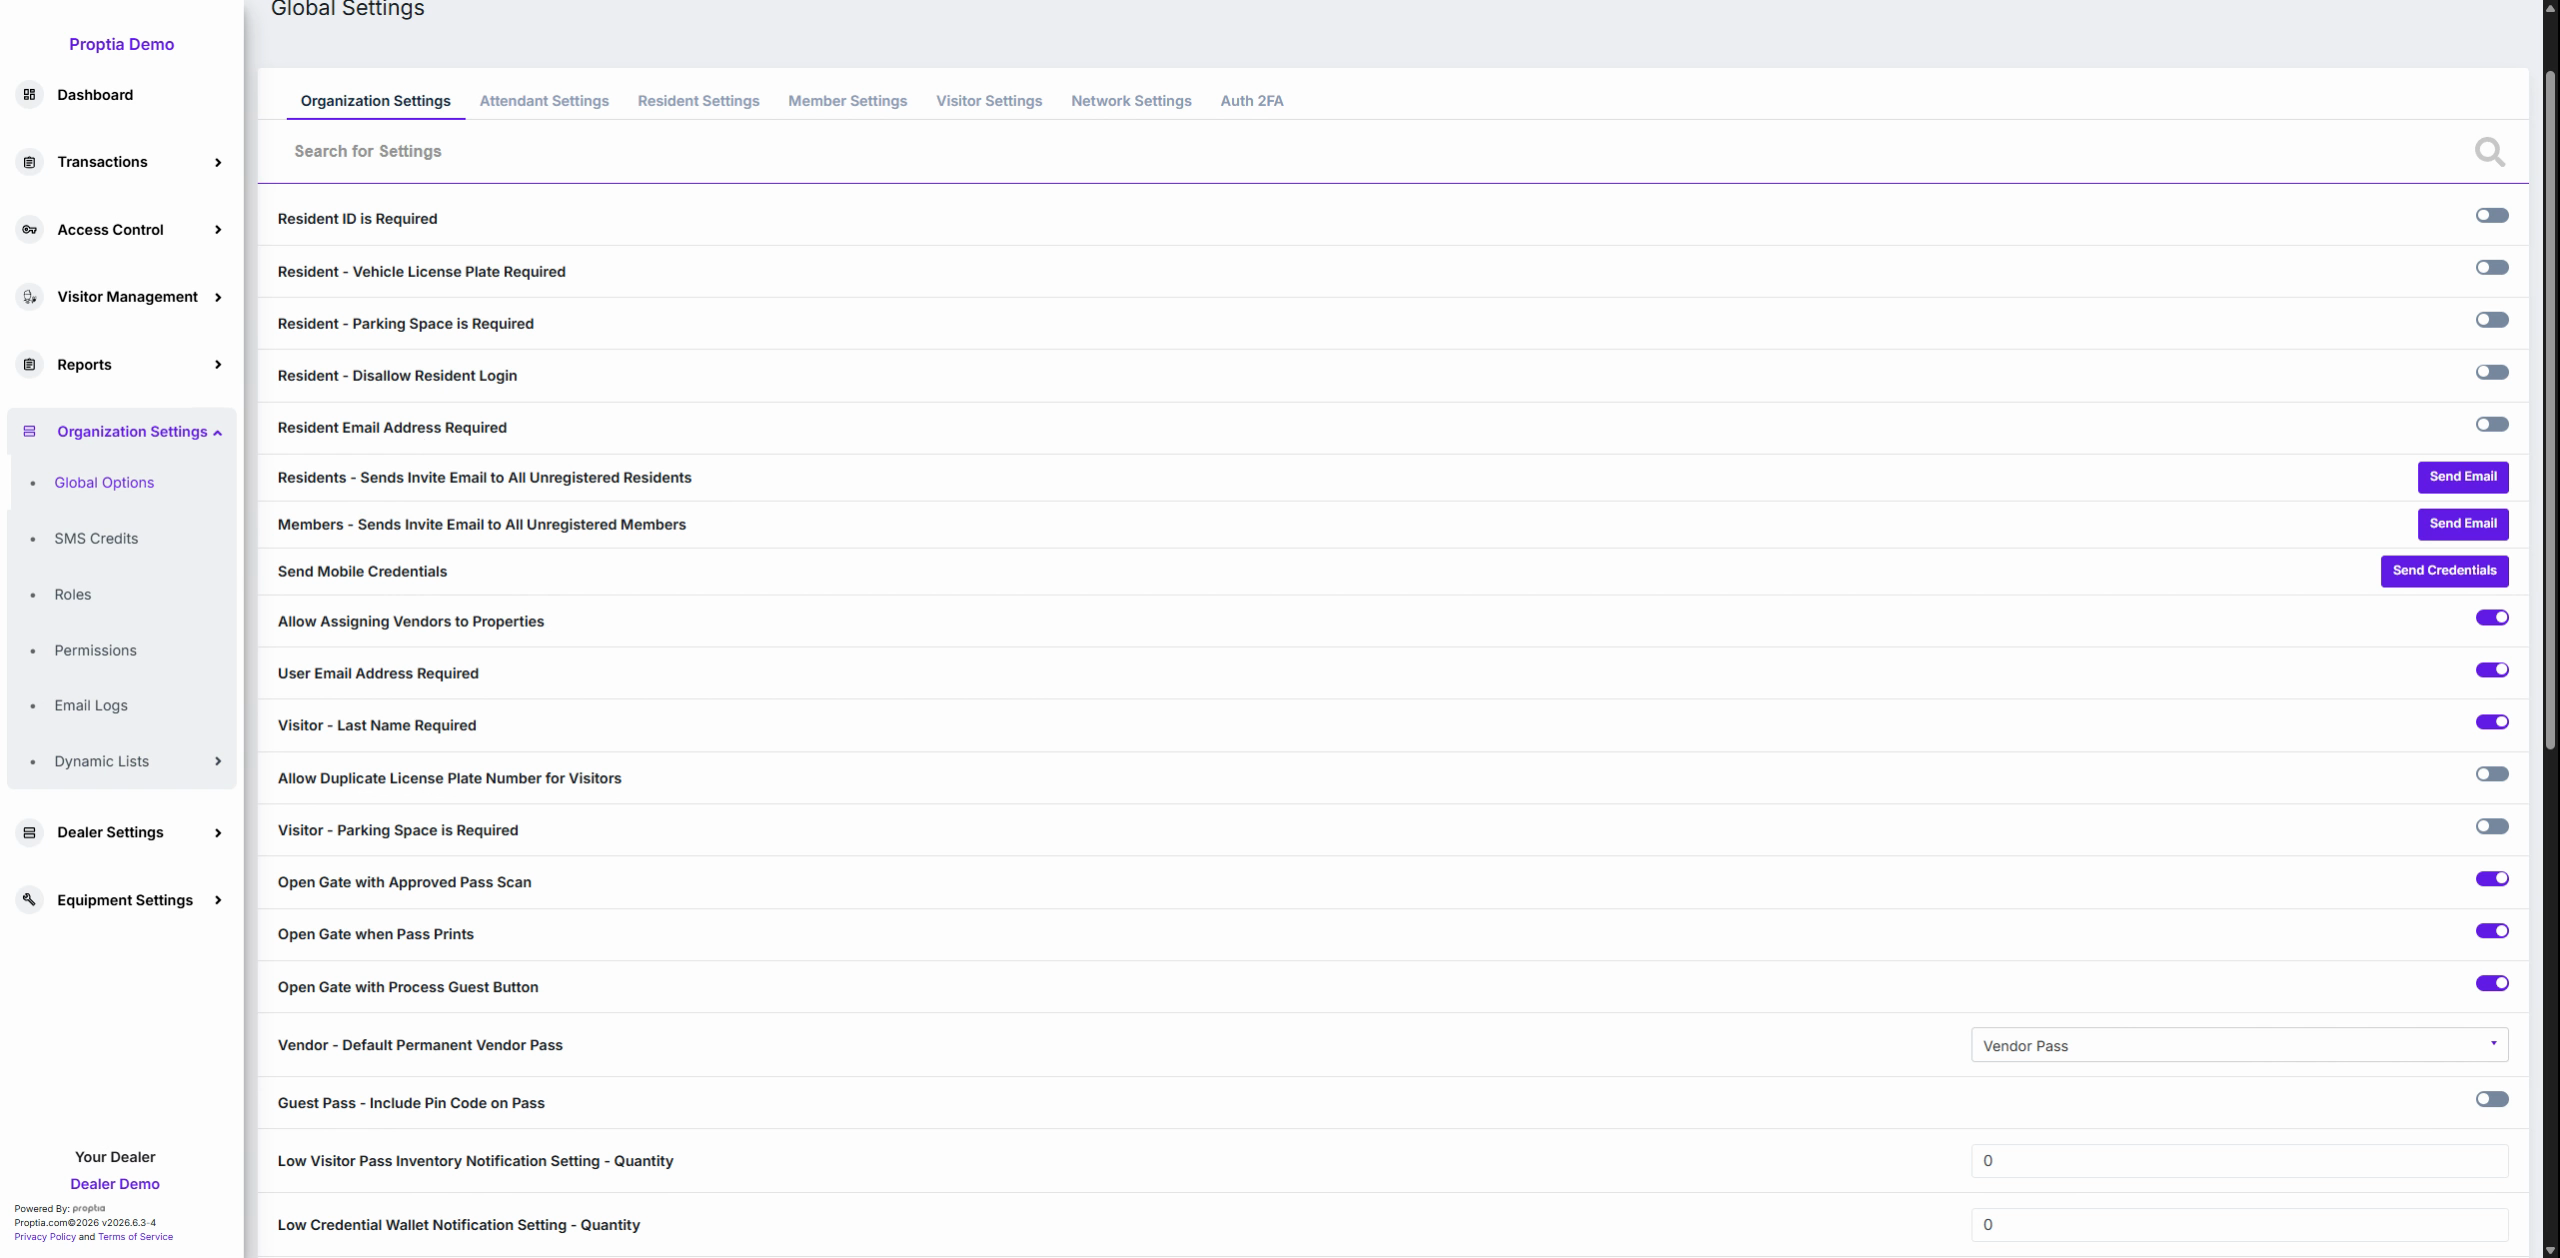
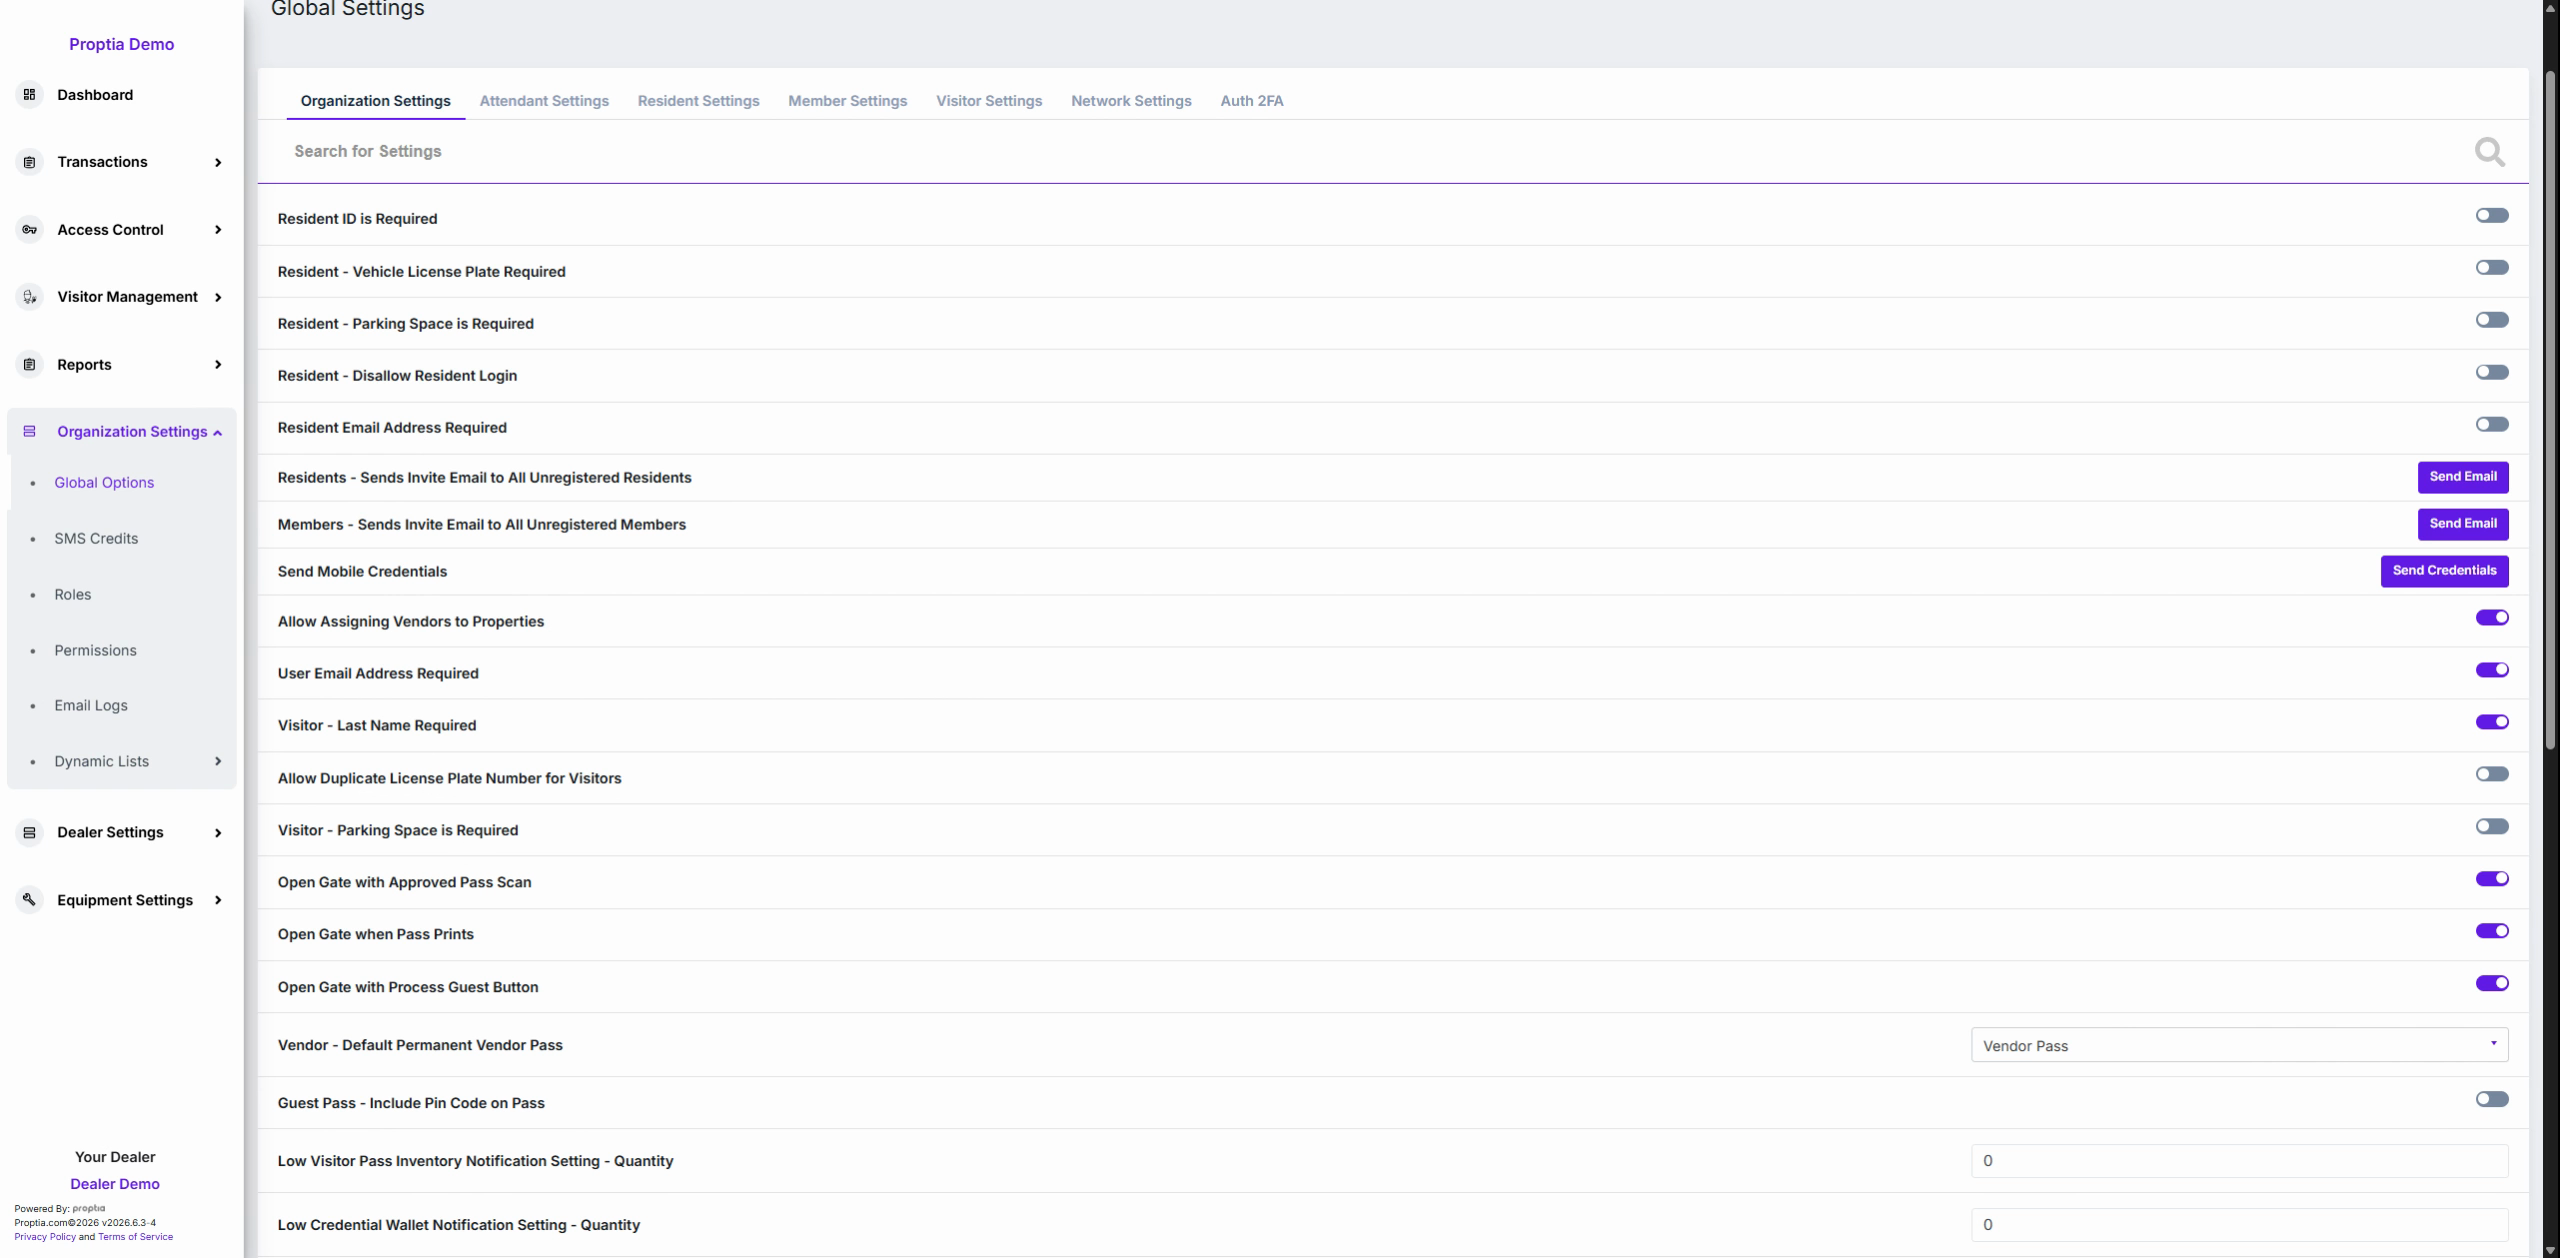
Why: These toggles prevent your team from omitting critical information during resident and visitor records management.
Module 4: Managing Portal Access and Communication
Toggle Disallow resident login to freeze portal access for all residents if needed.
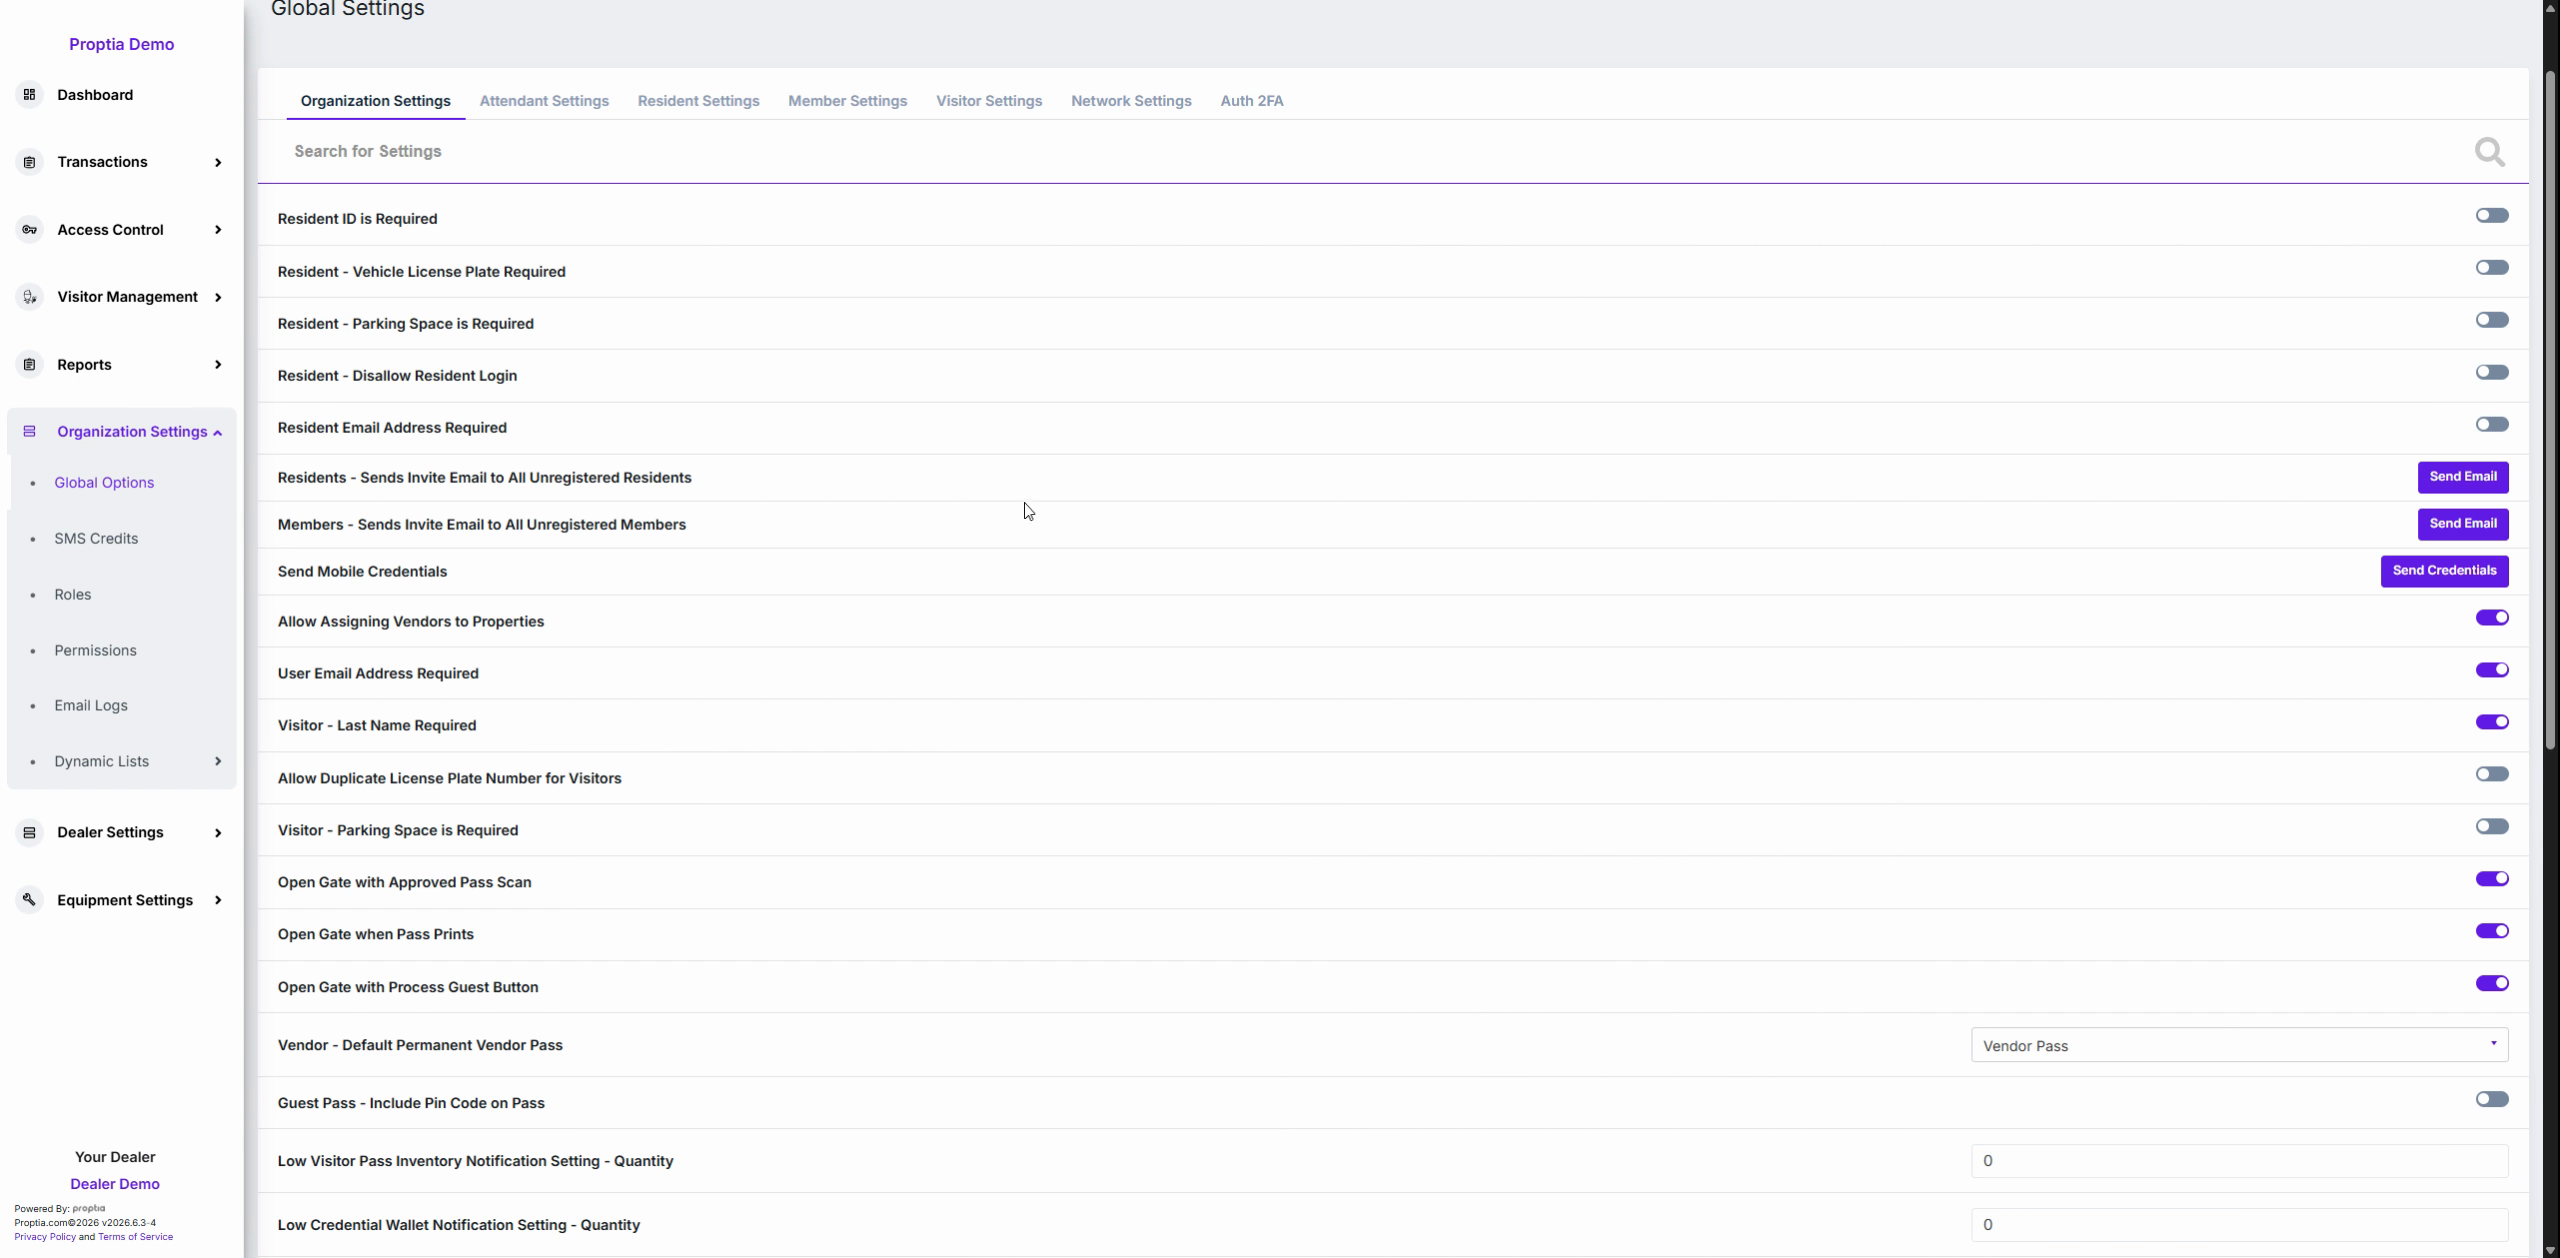
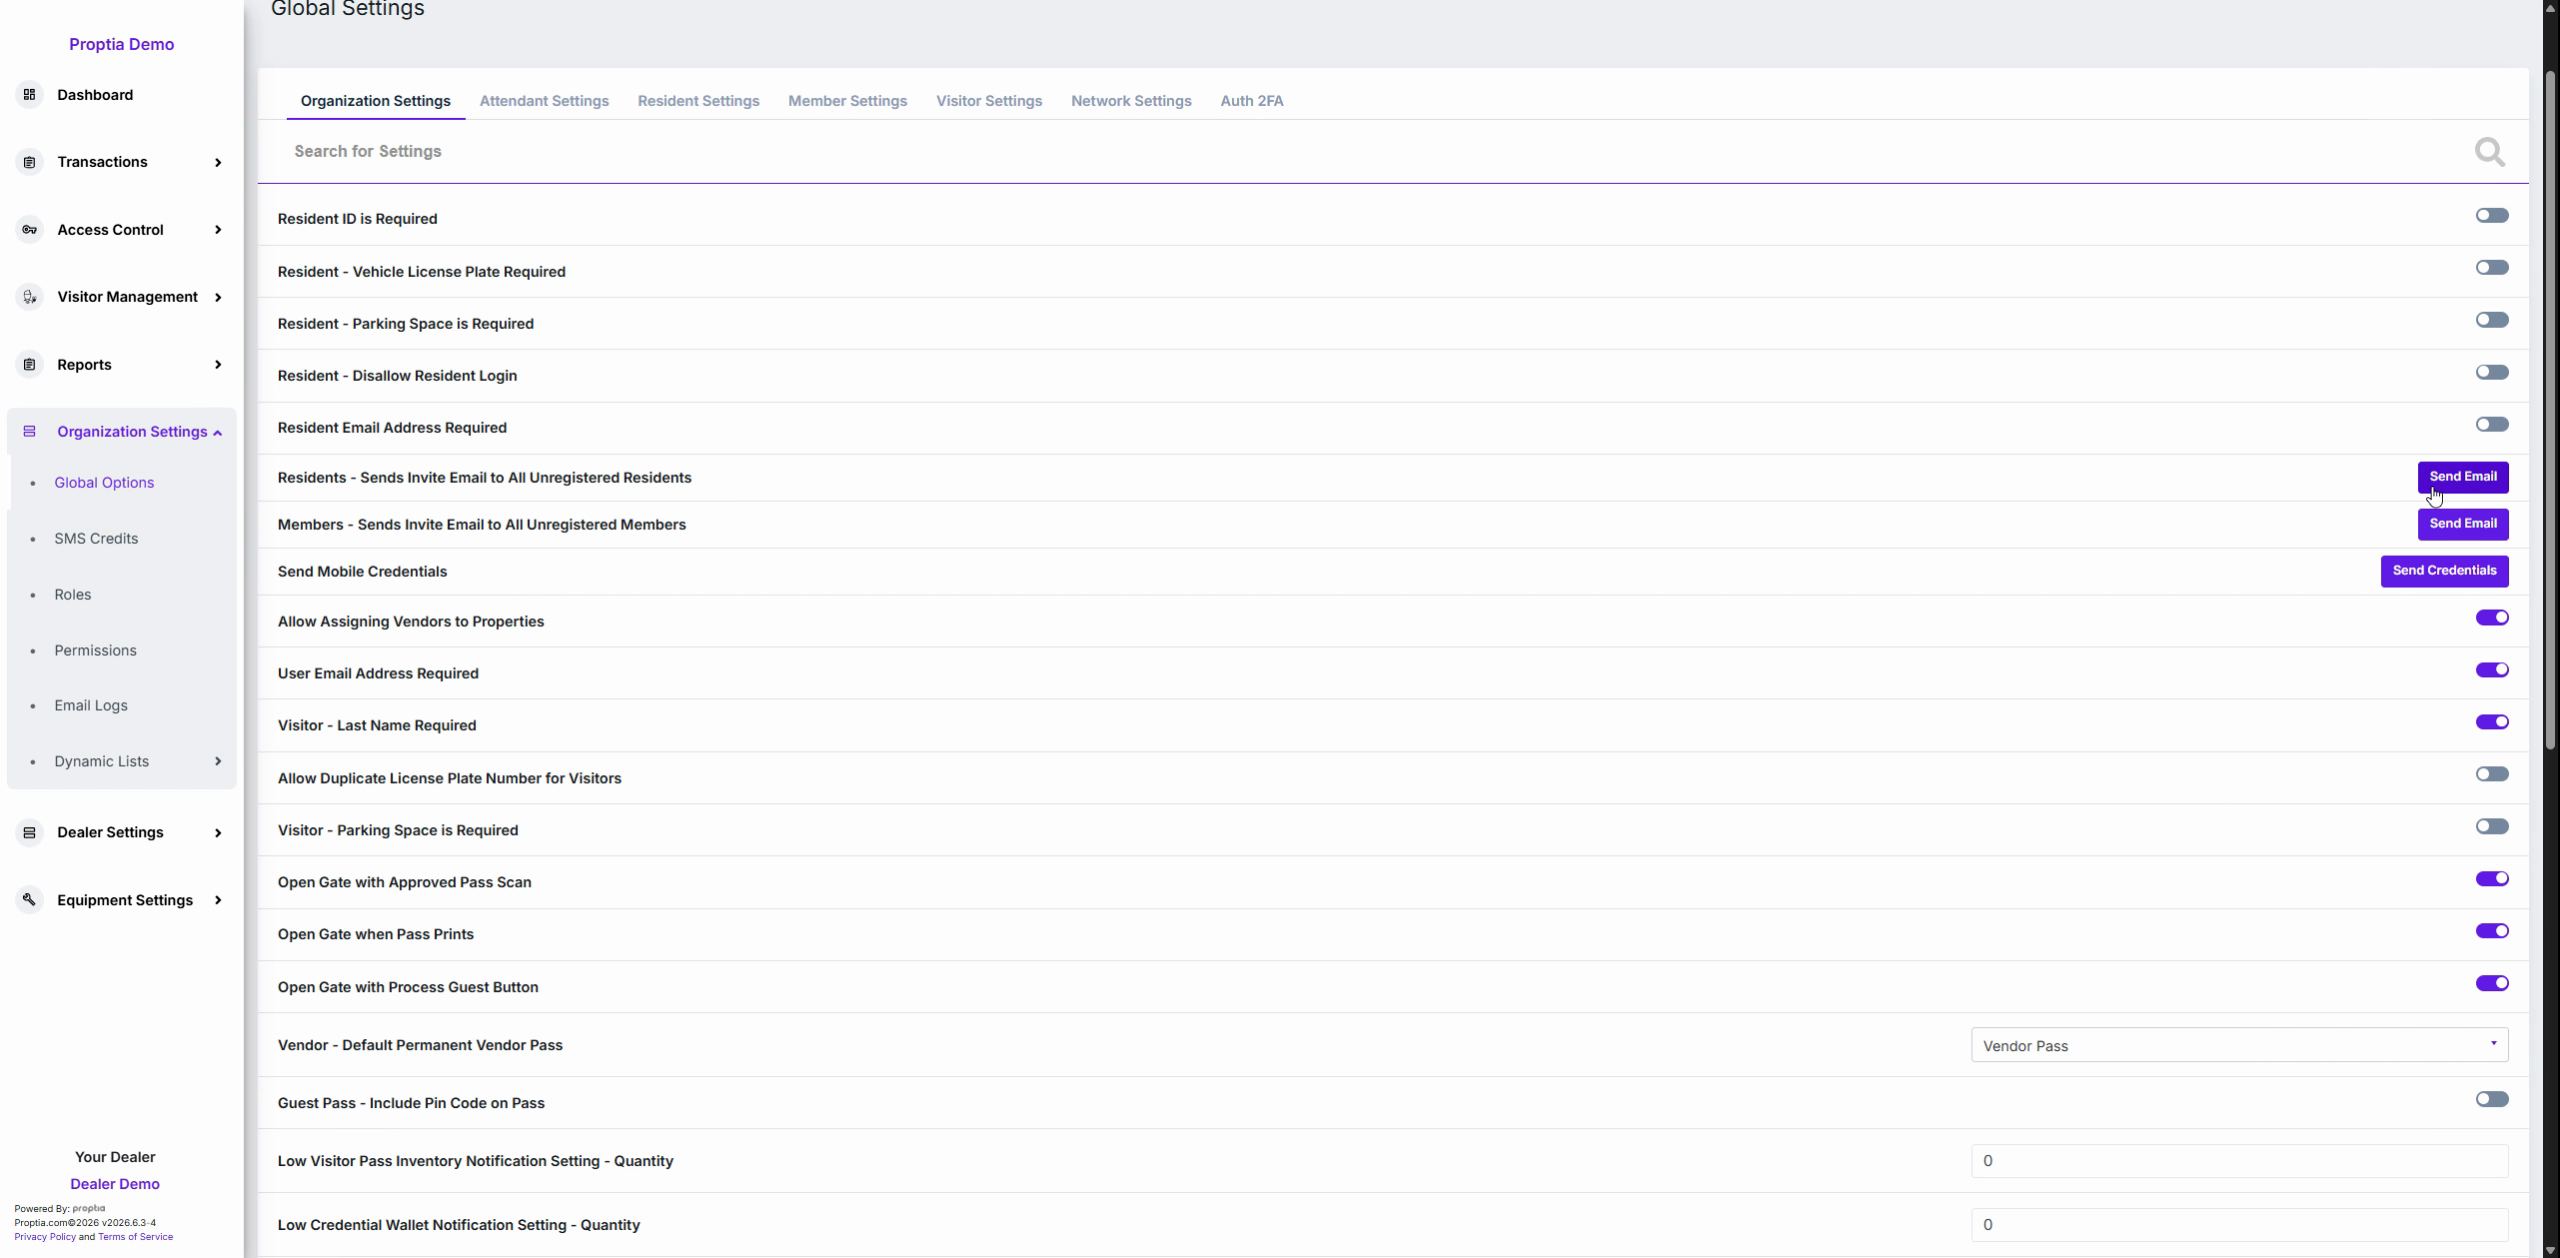
Click Send invite email to all unregistered residents to mass-invite anyone not yet registered.
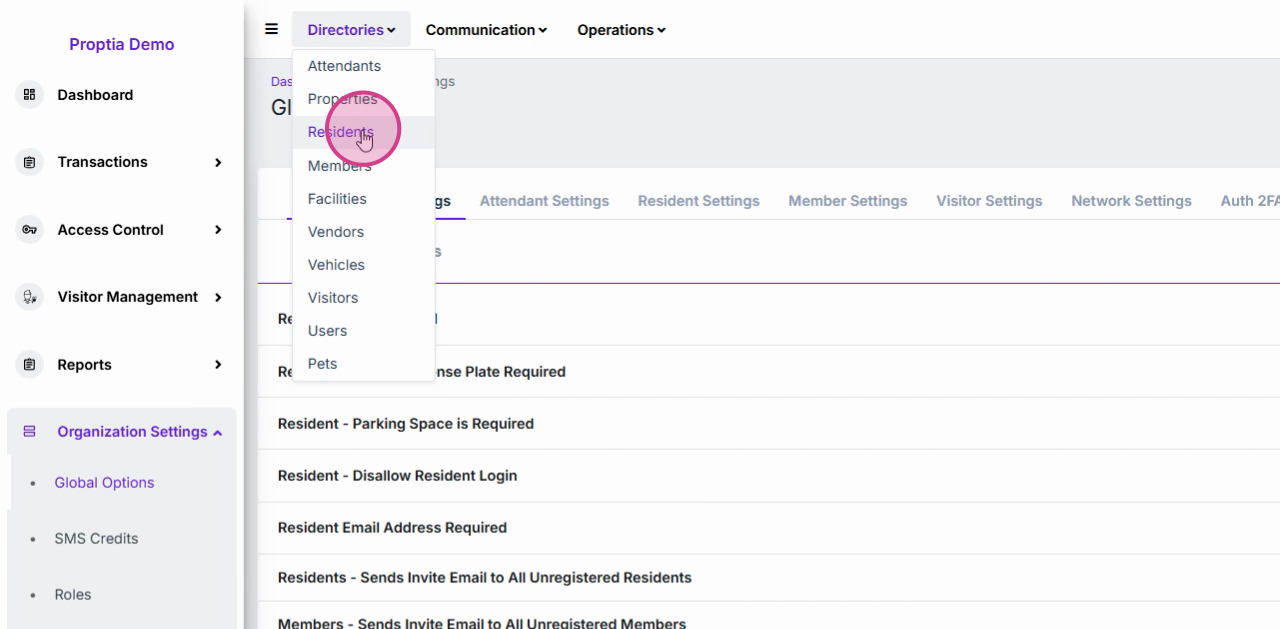
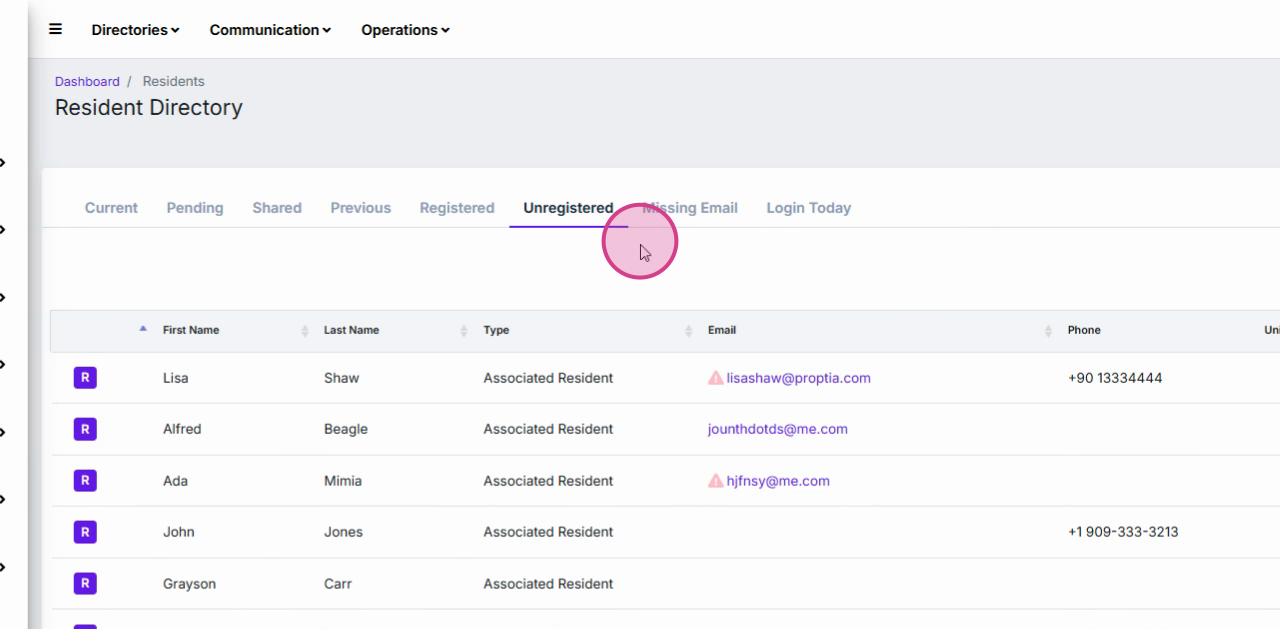
Review those who haven't registered by navigating to Directories, then clicking Residents and checking the Unregistered tab.
Click Send mobile credentials to activate mobile access for residents with assigned credentials.
Module 5: Configuring Advanced Controls
Toggle Allow assigning vendors to properties to link vendor profiles to units or lock this feature down.
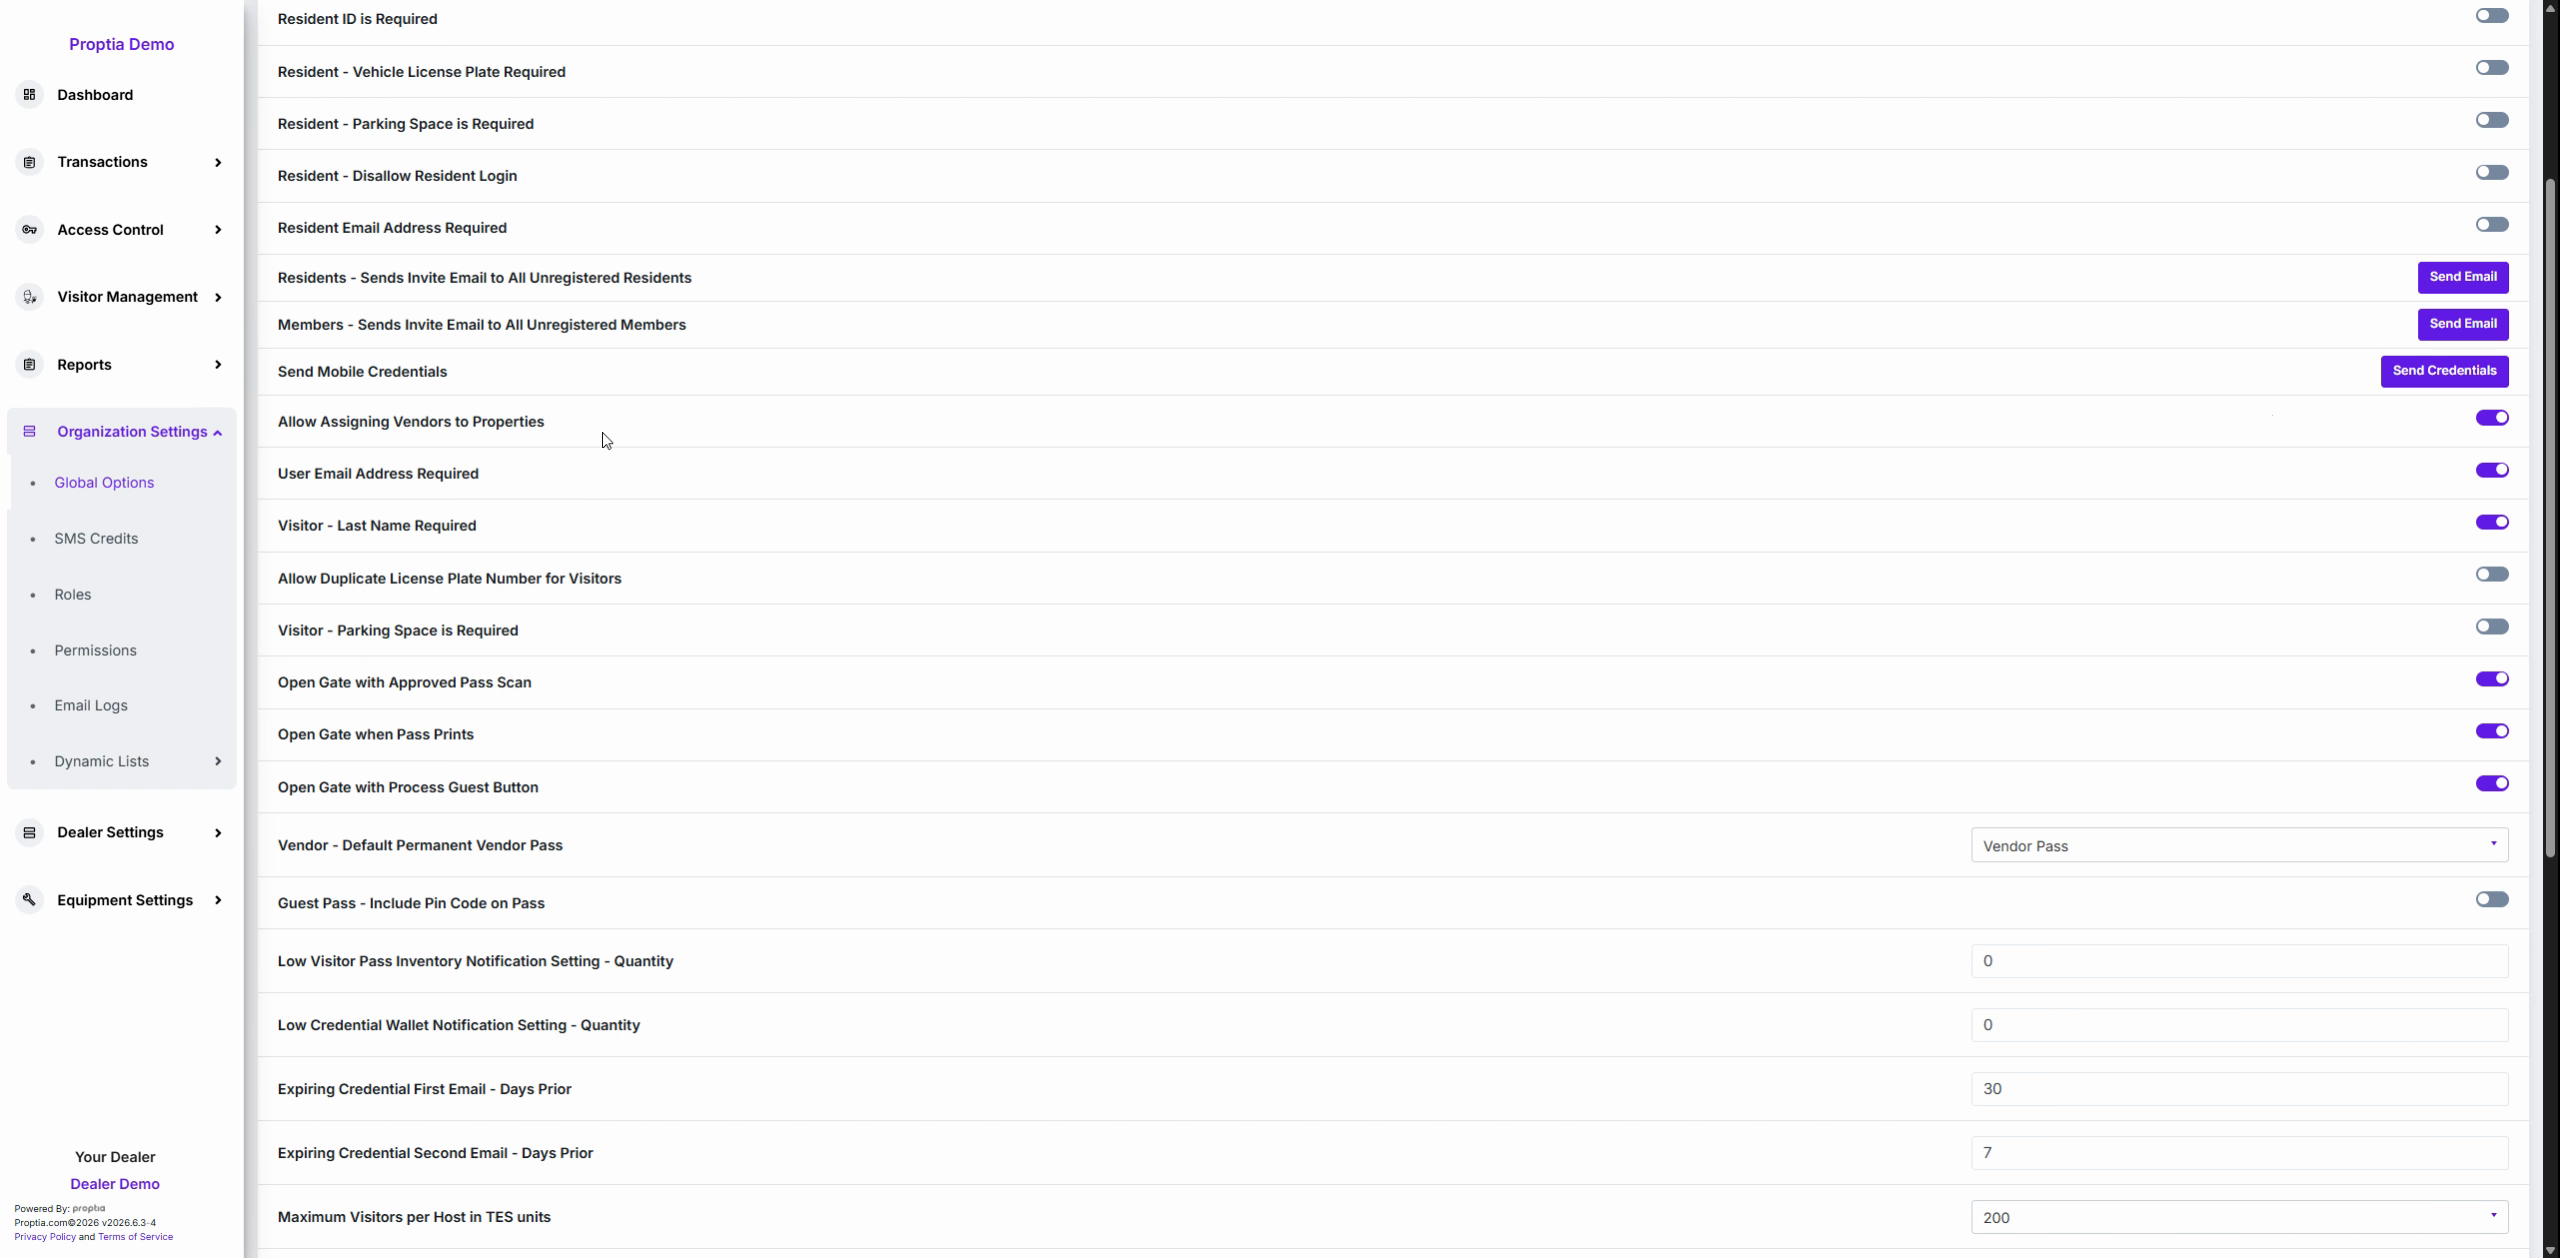
Toggle Allow duplicate license plate number for visitors if your property supports shared vehicles among guests.
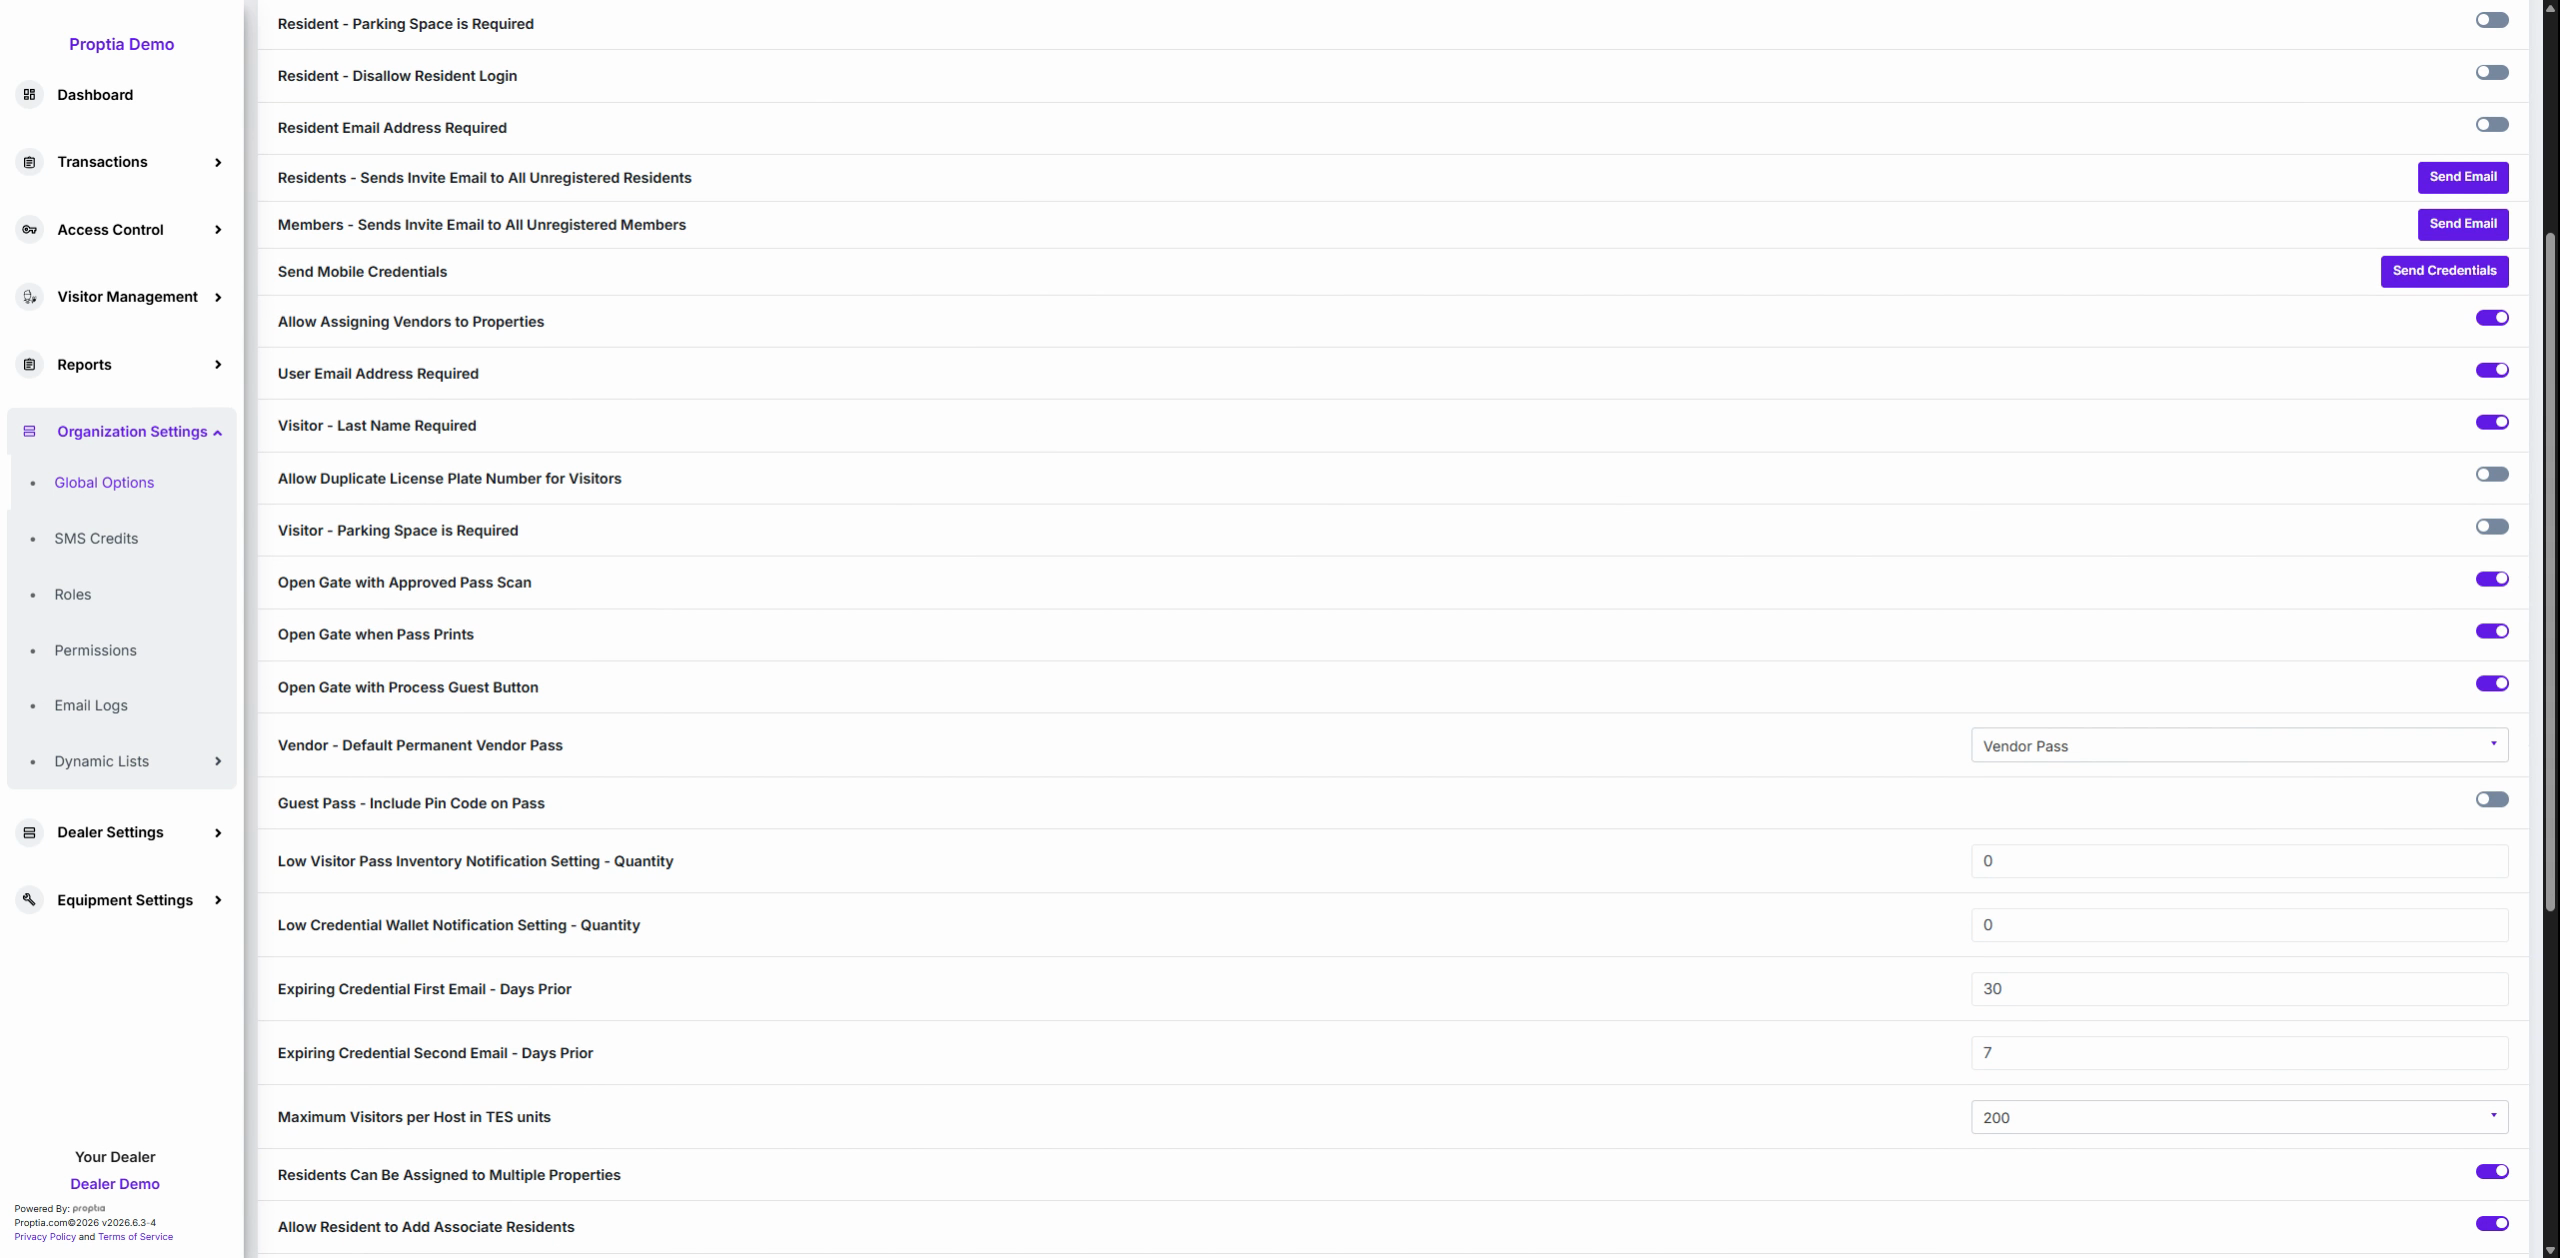
Configure gate trigger hardware settings as required: - OpenGate with approved pass scan - OpenGate when pass prints - OpenGate with process guest button
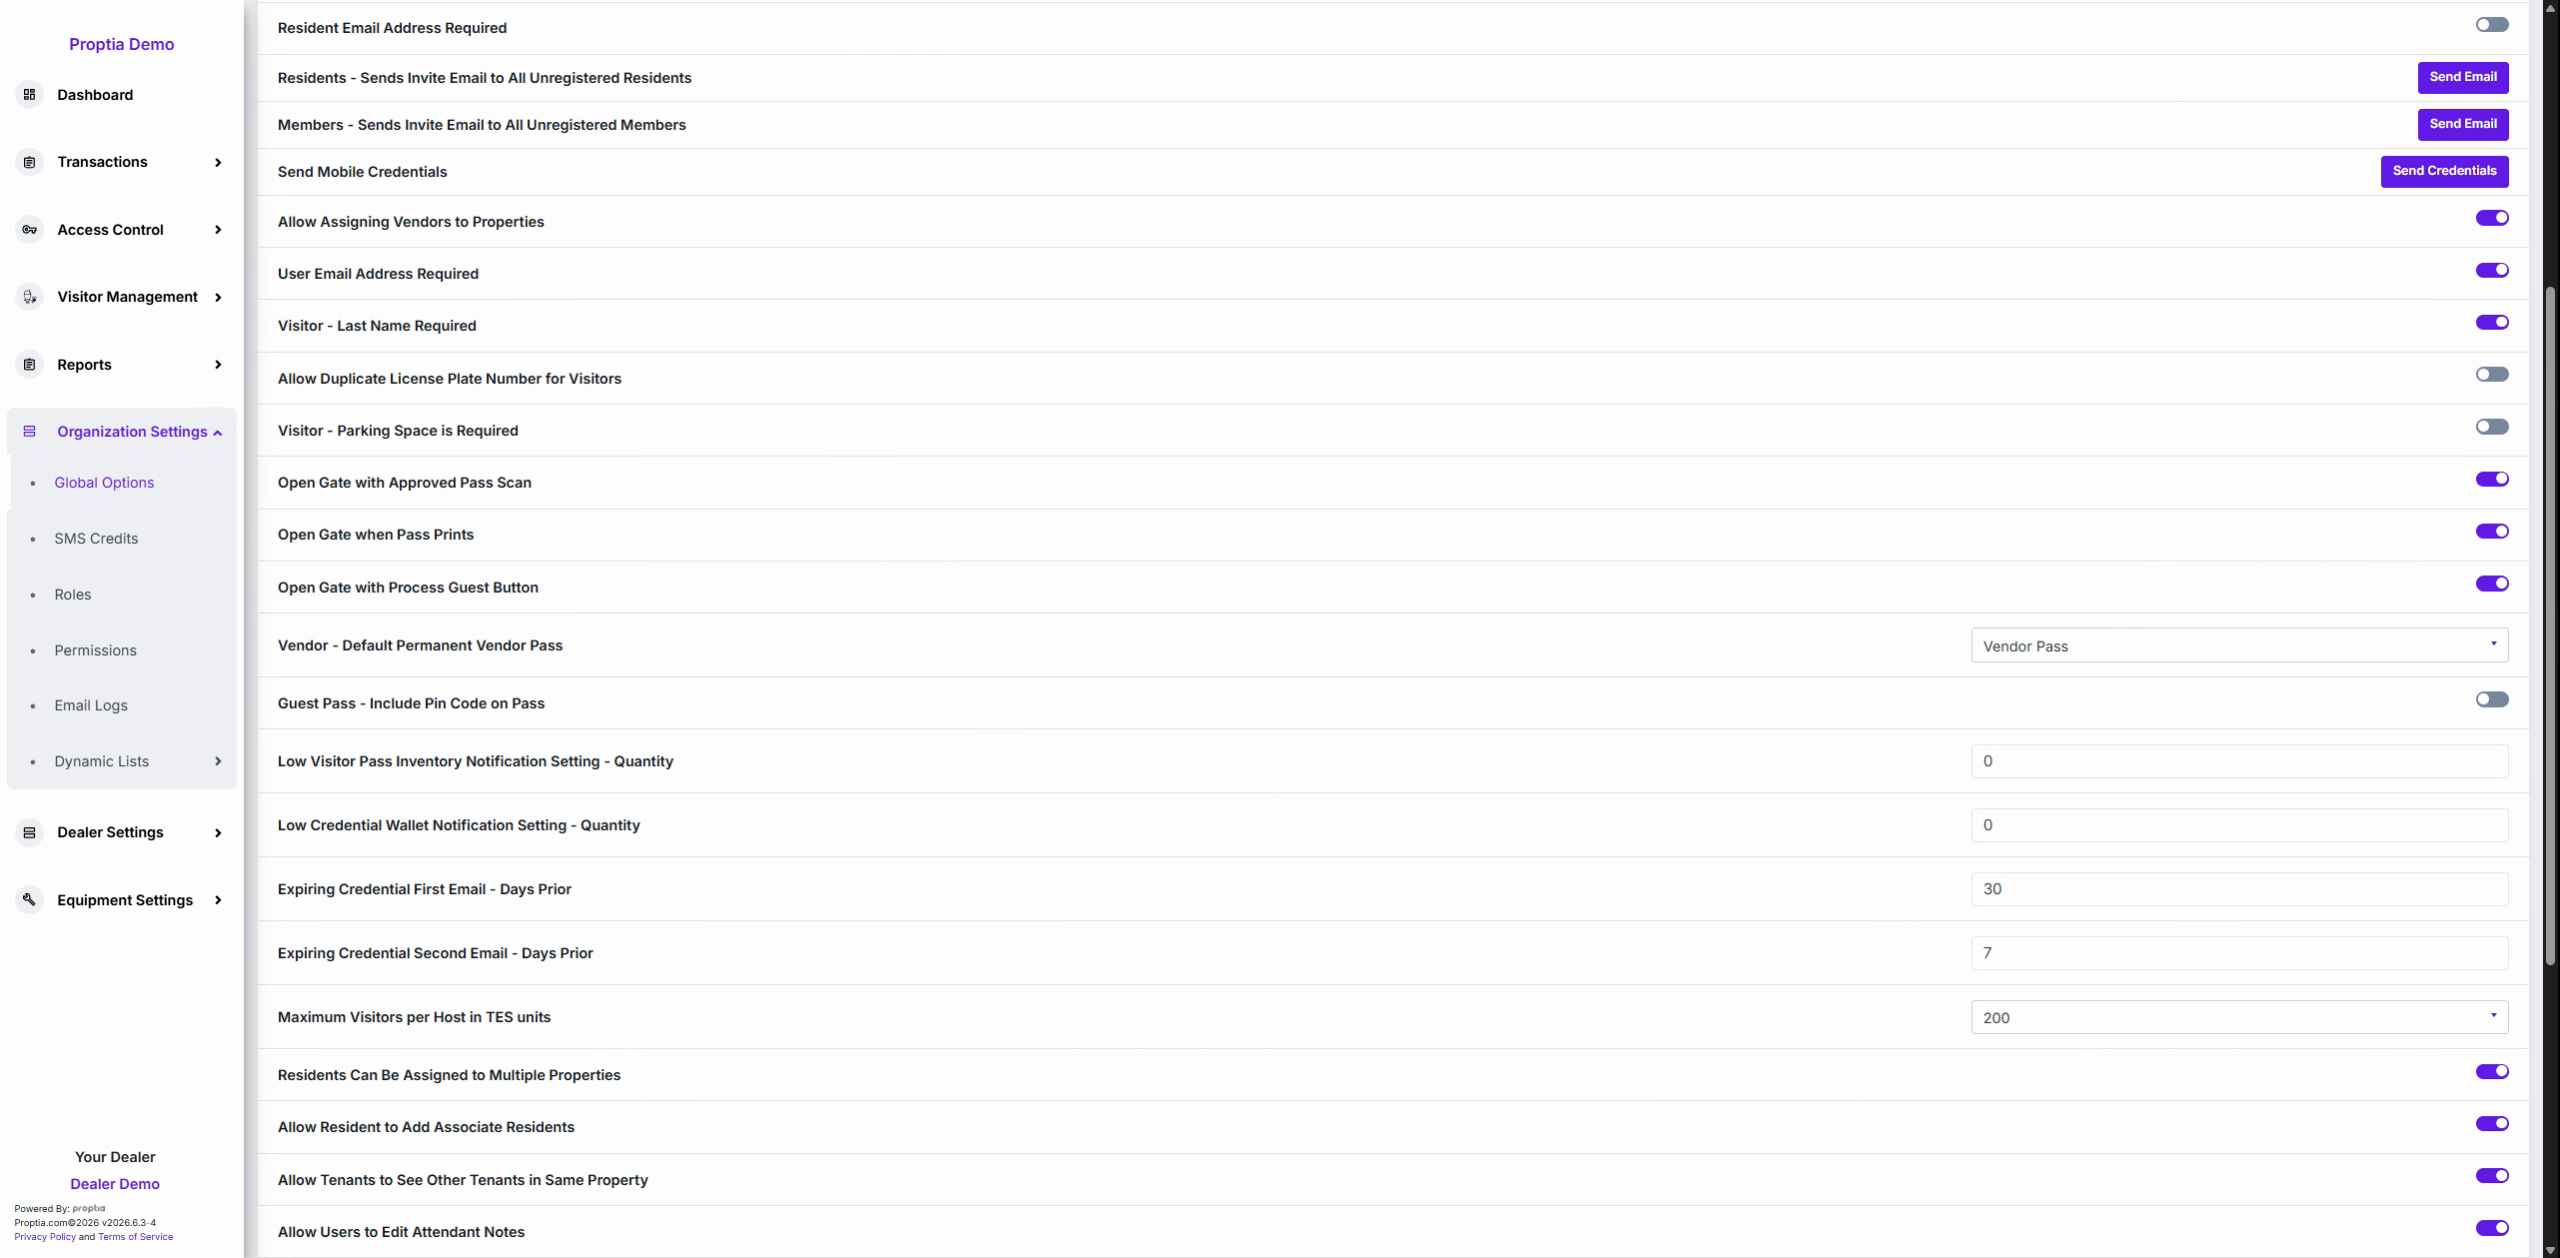
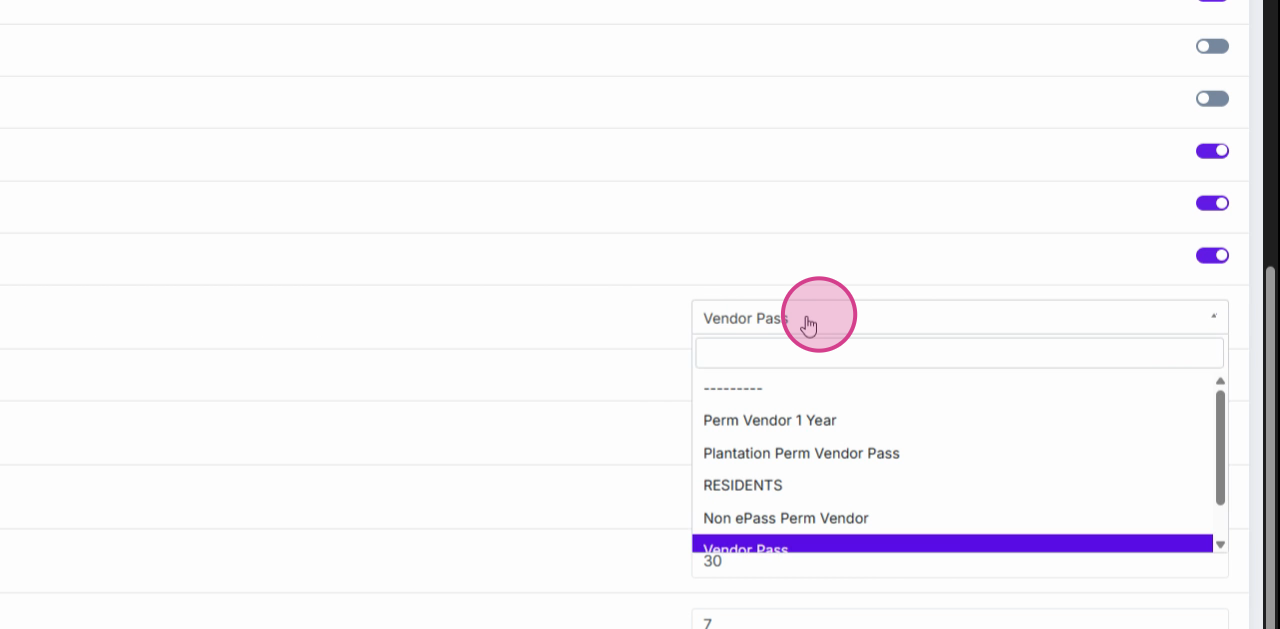
Use the Vendor default permanent vendor pass drop-down to select a default pass type for vendors.
Toggle Guest pass include PIN code on pass to print secure entry PINs directly on invitations.
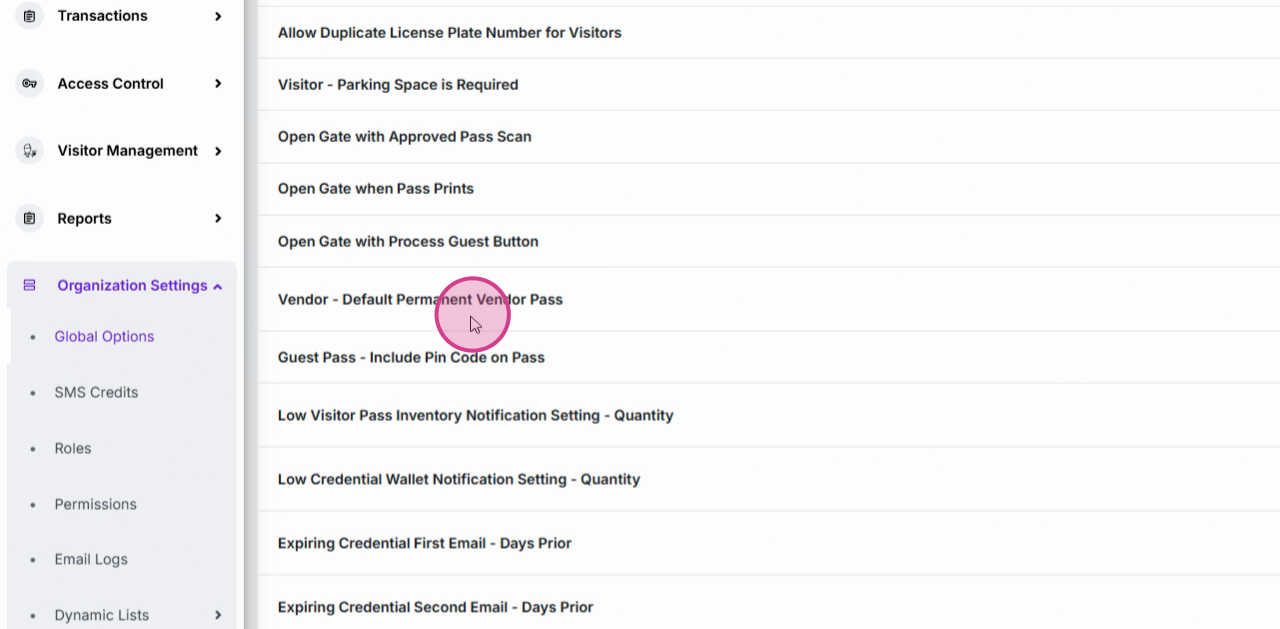
Module 6: Setting Up Notifications and Data Thresholds
Enter the desired threshold in Low visitor pass inventory notification setting quantity to get inventory alerts.
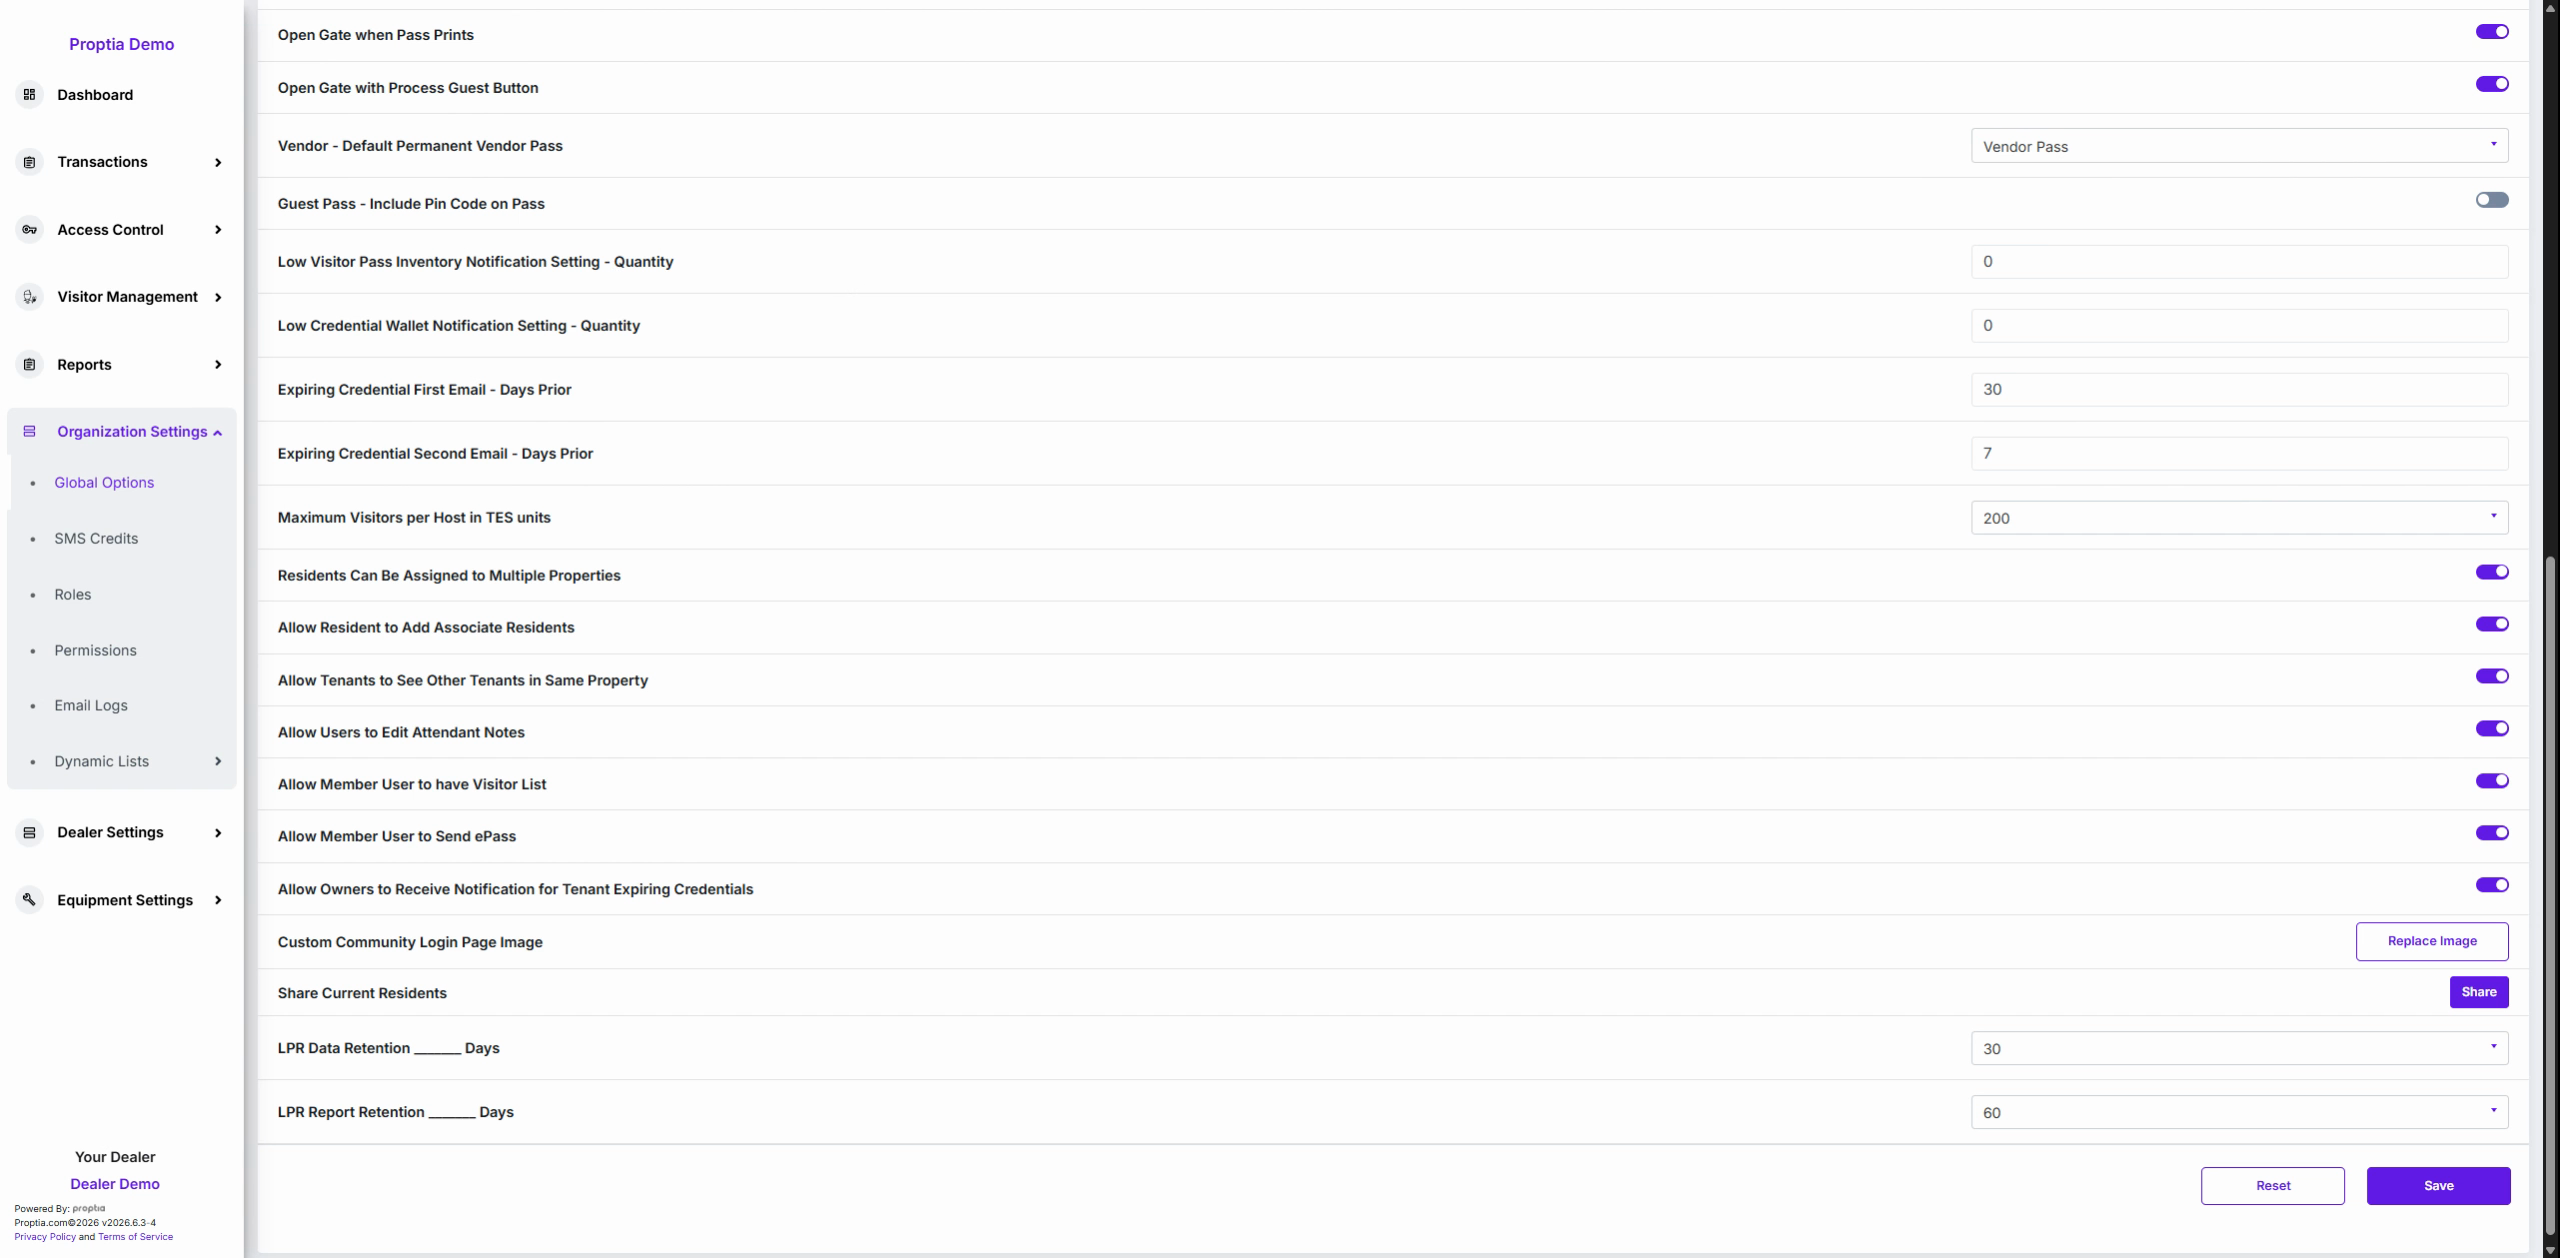
Set your target in Low credential wallet notification setting to receive timely notifications before credits run out.
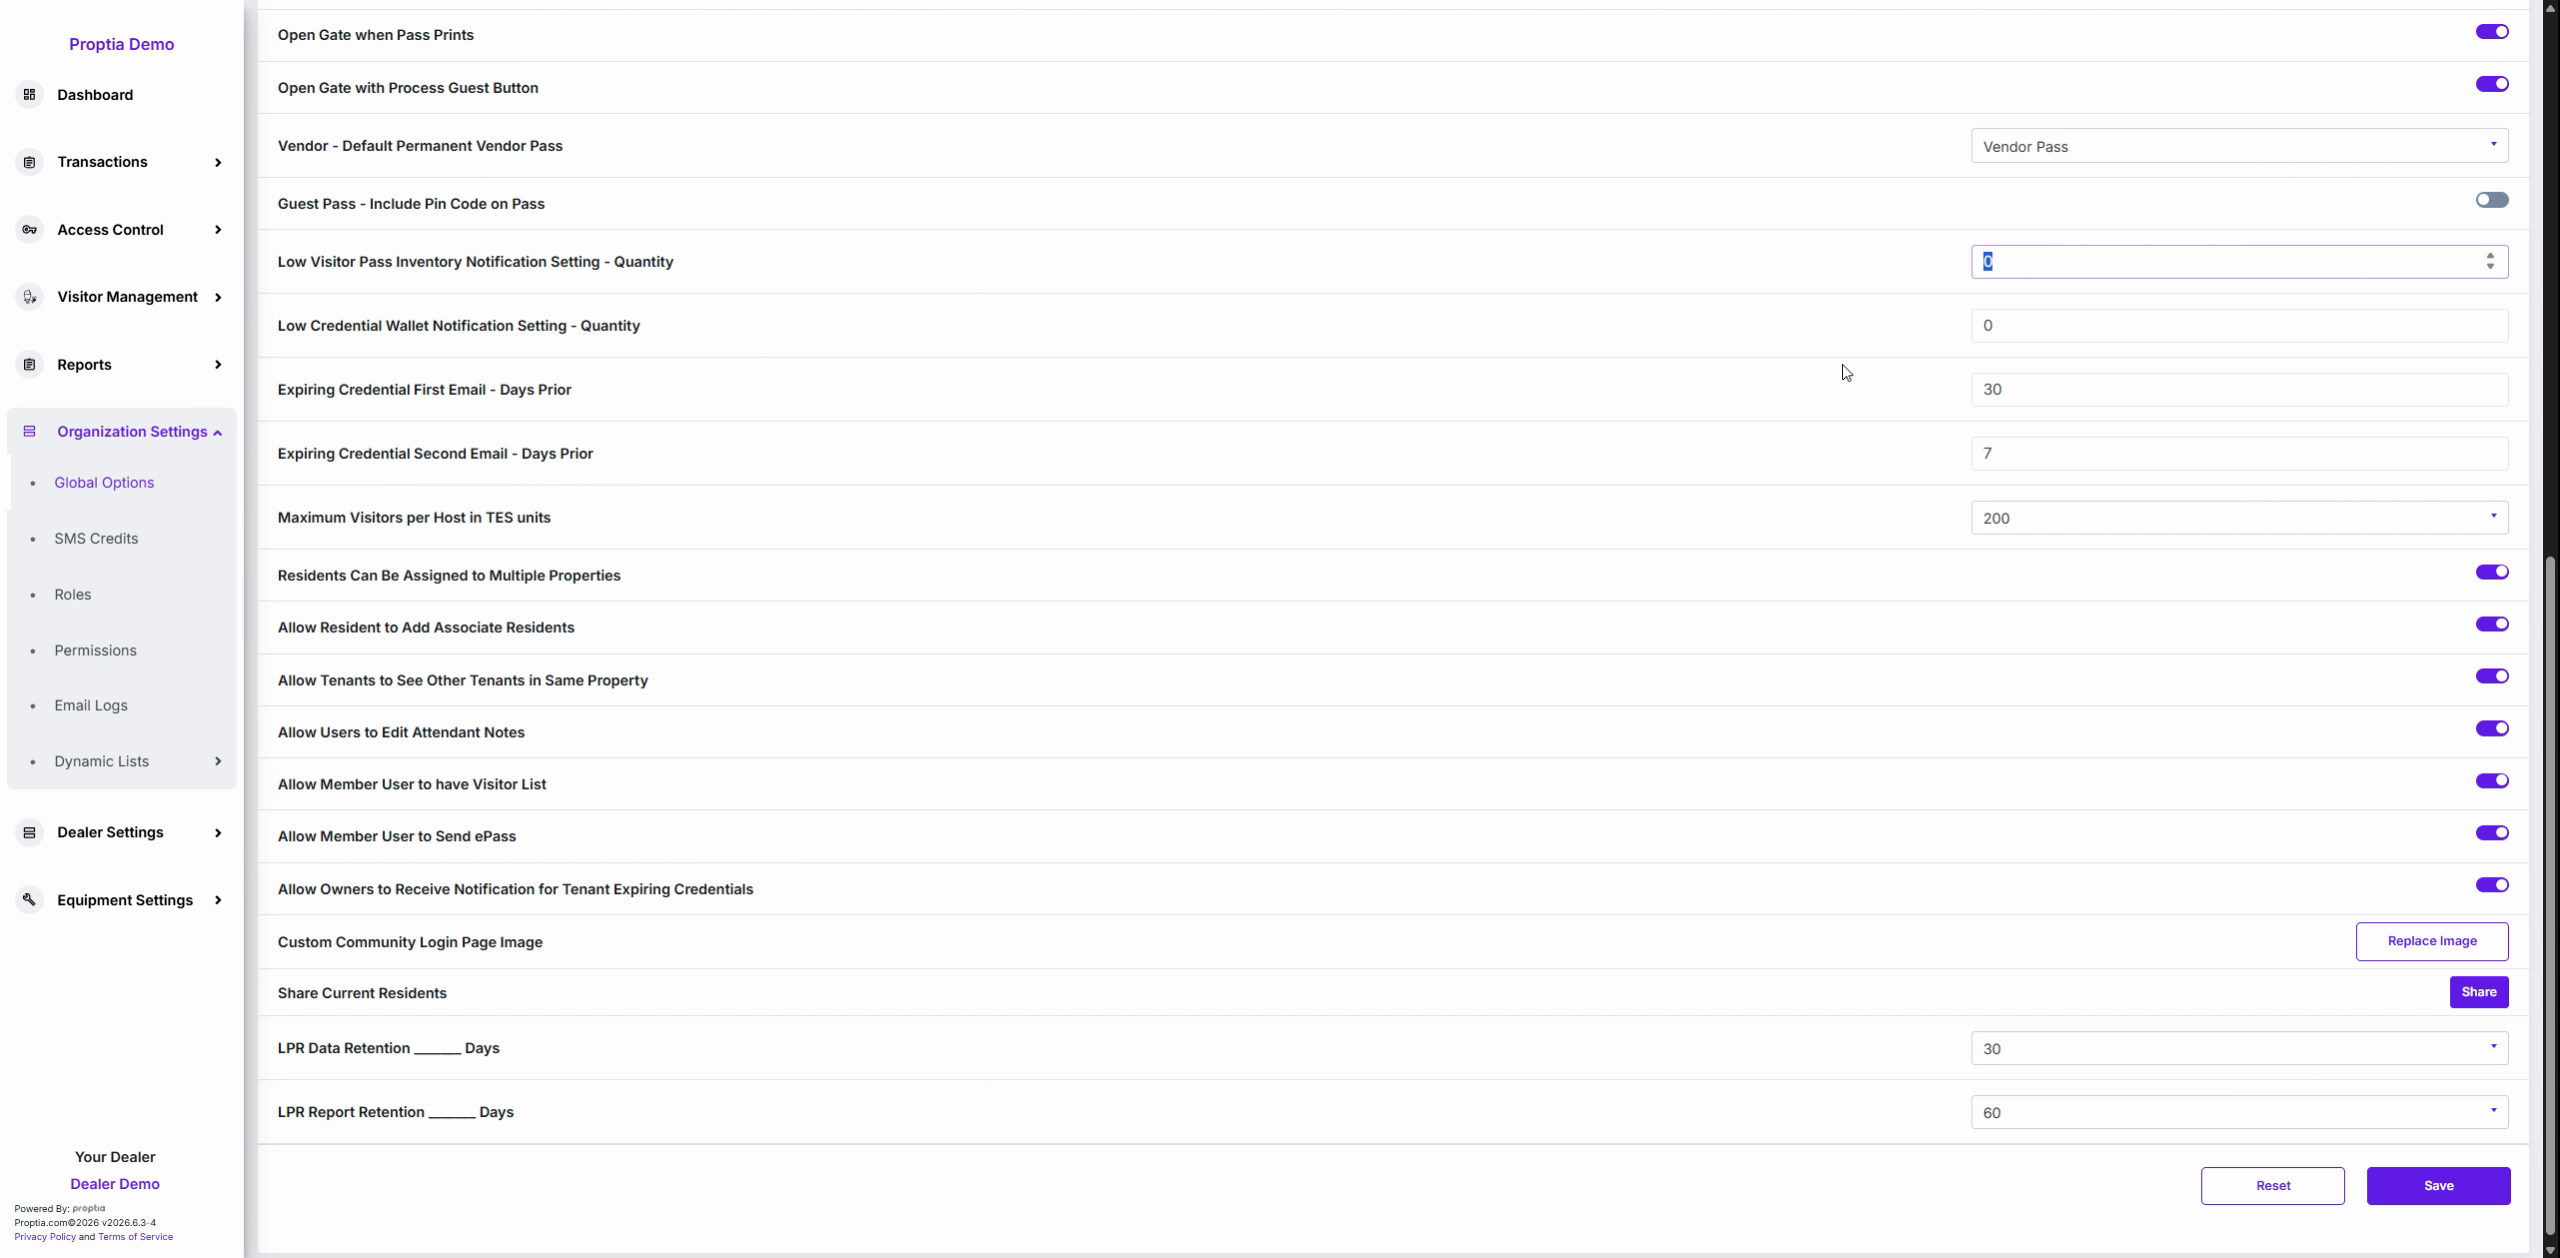
Define notification timing in Expiring First email days prior and Second email days prior to control advance expiry alerts for residents.
Module 7: Customizing Residency and Permissions
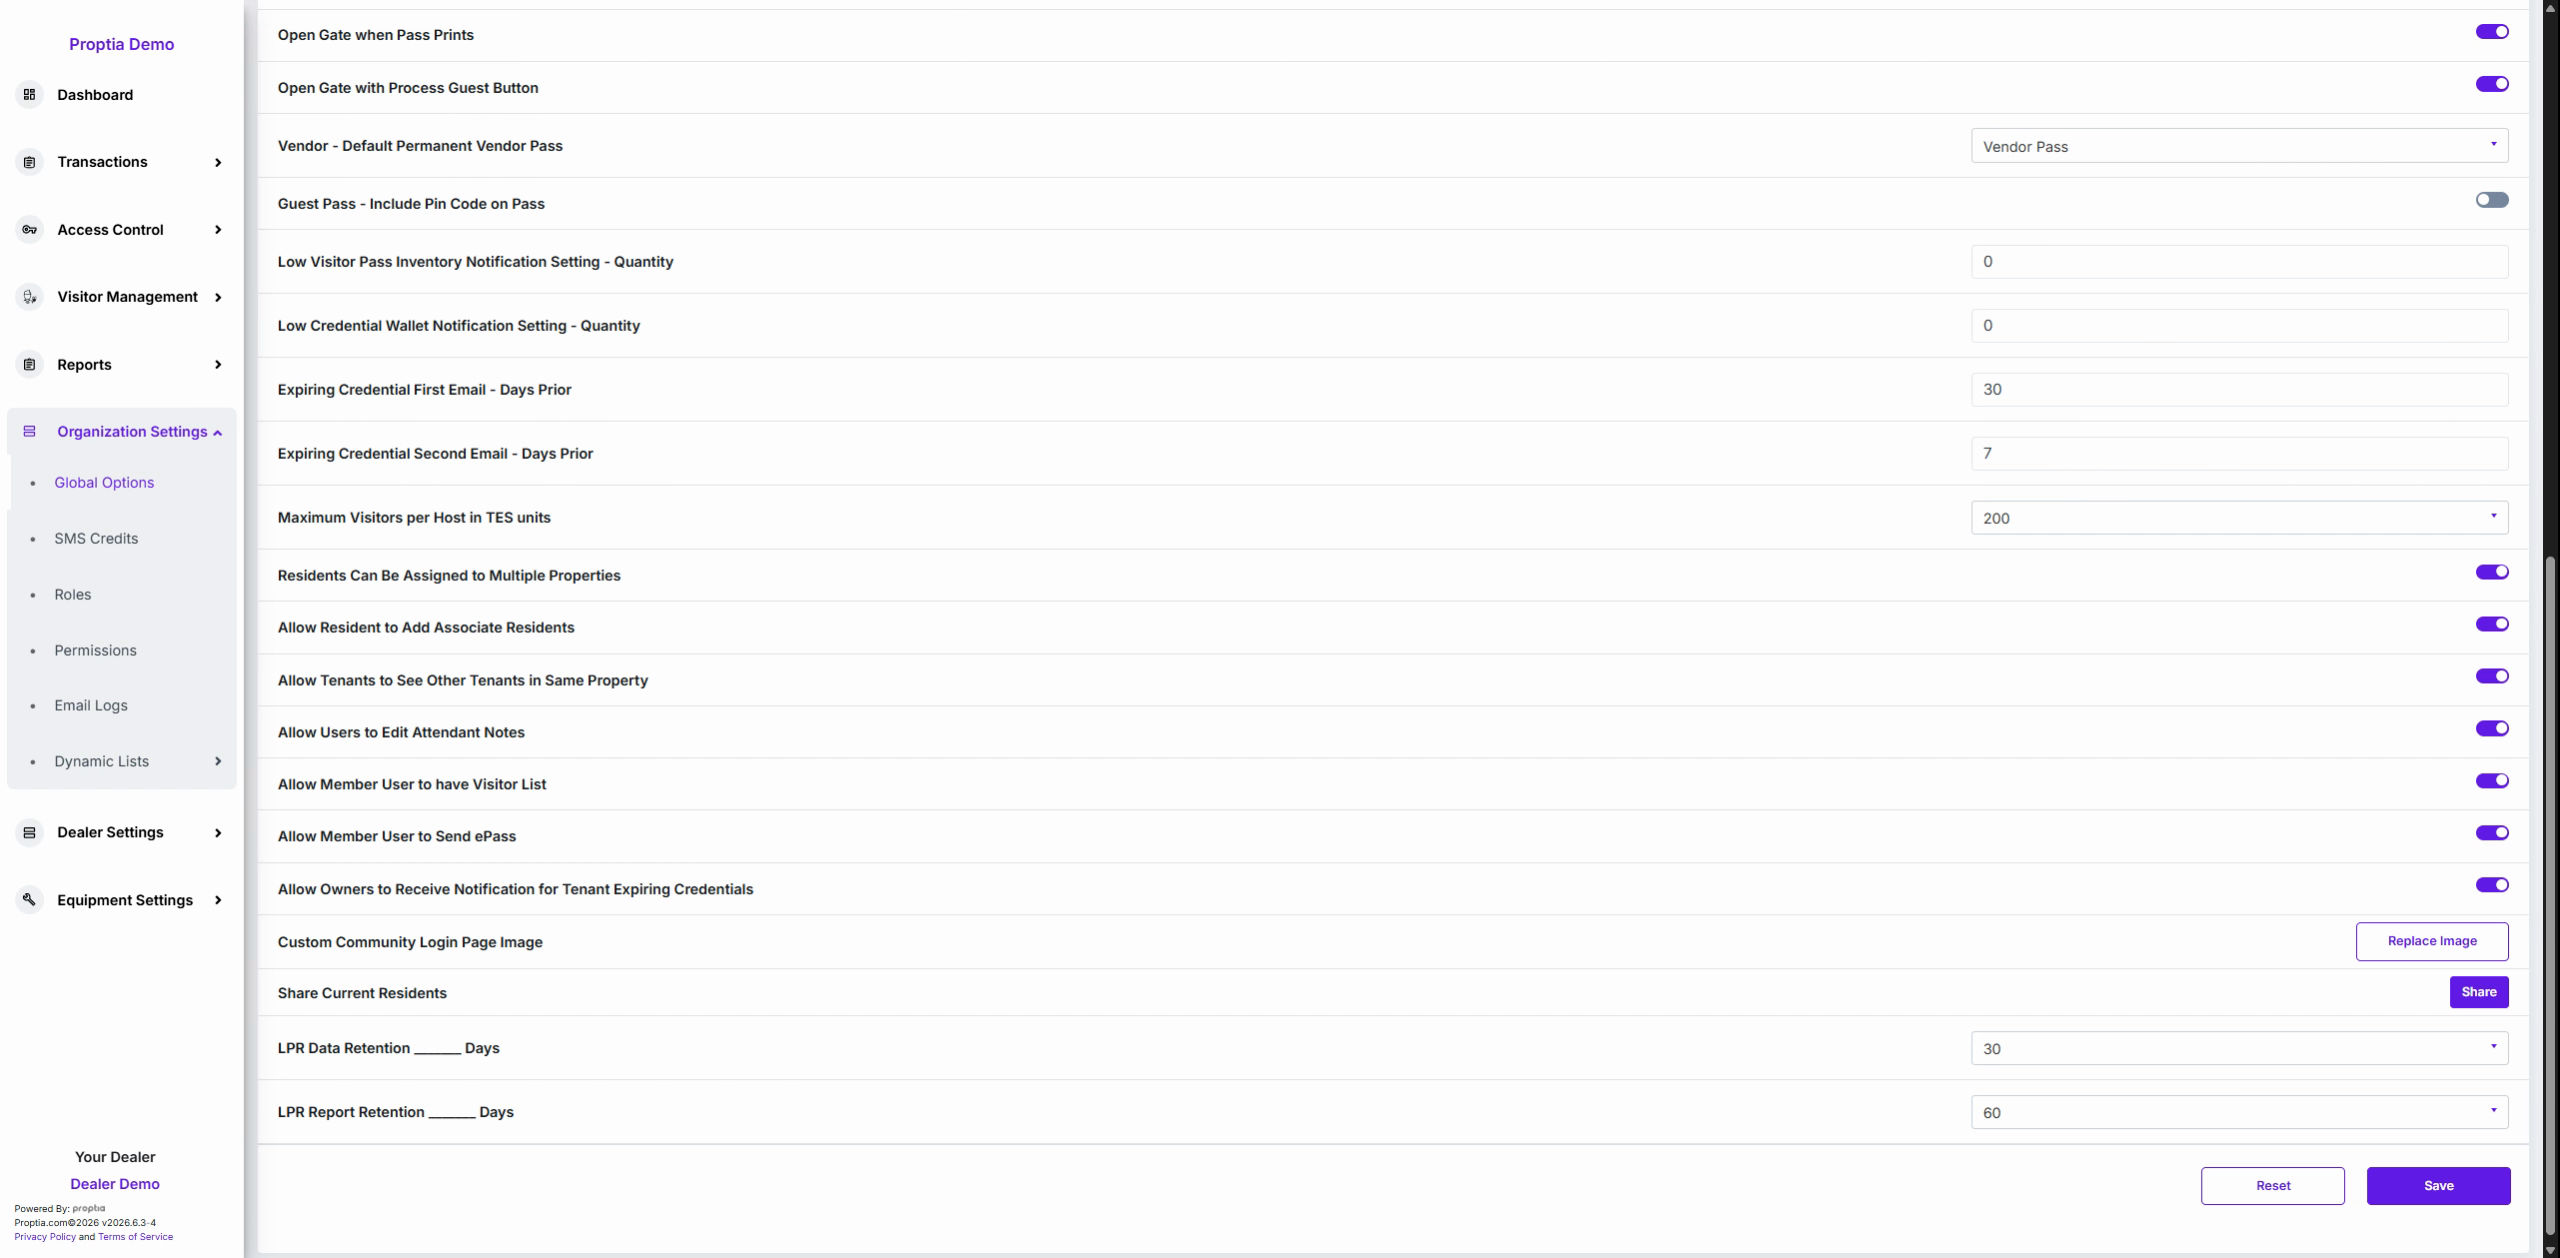
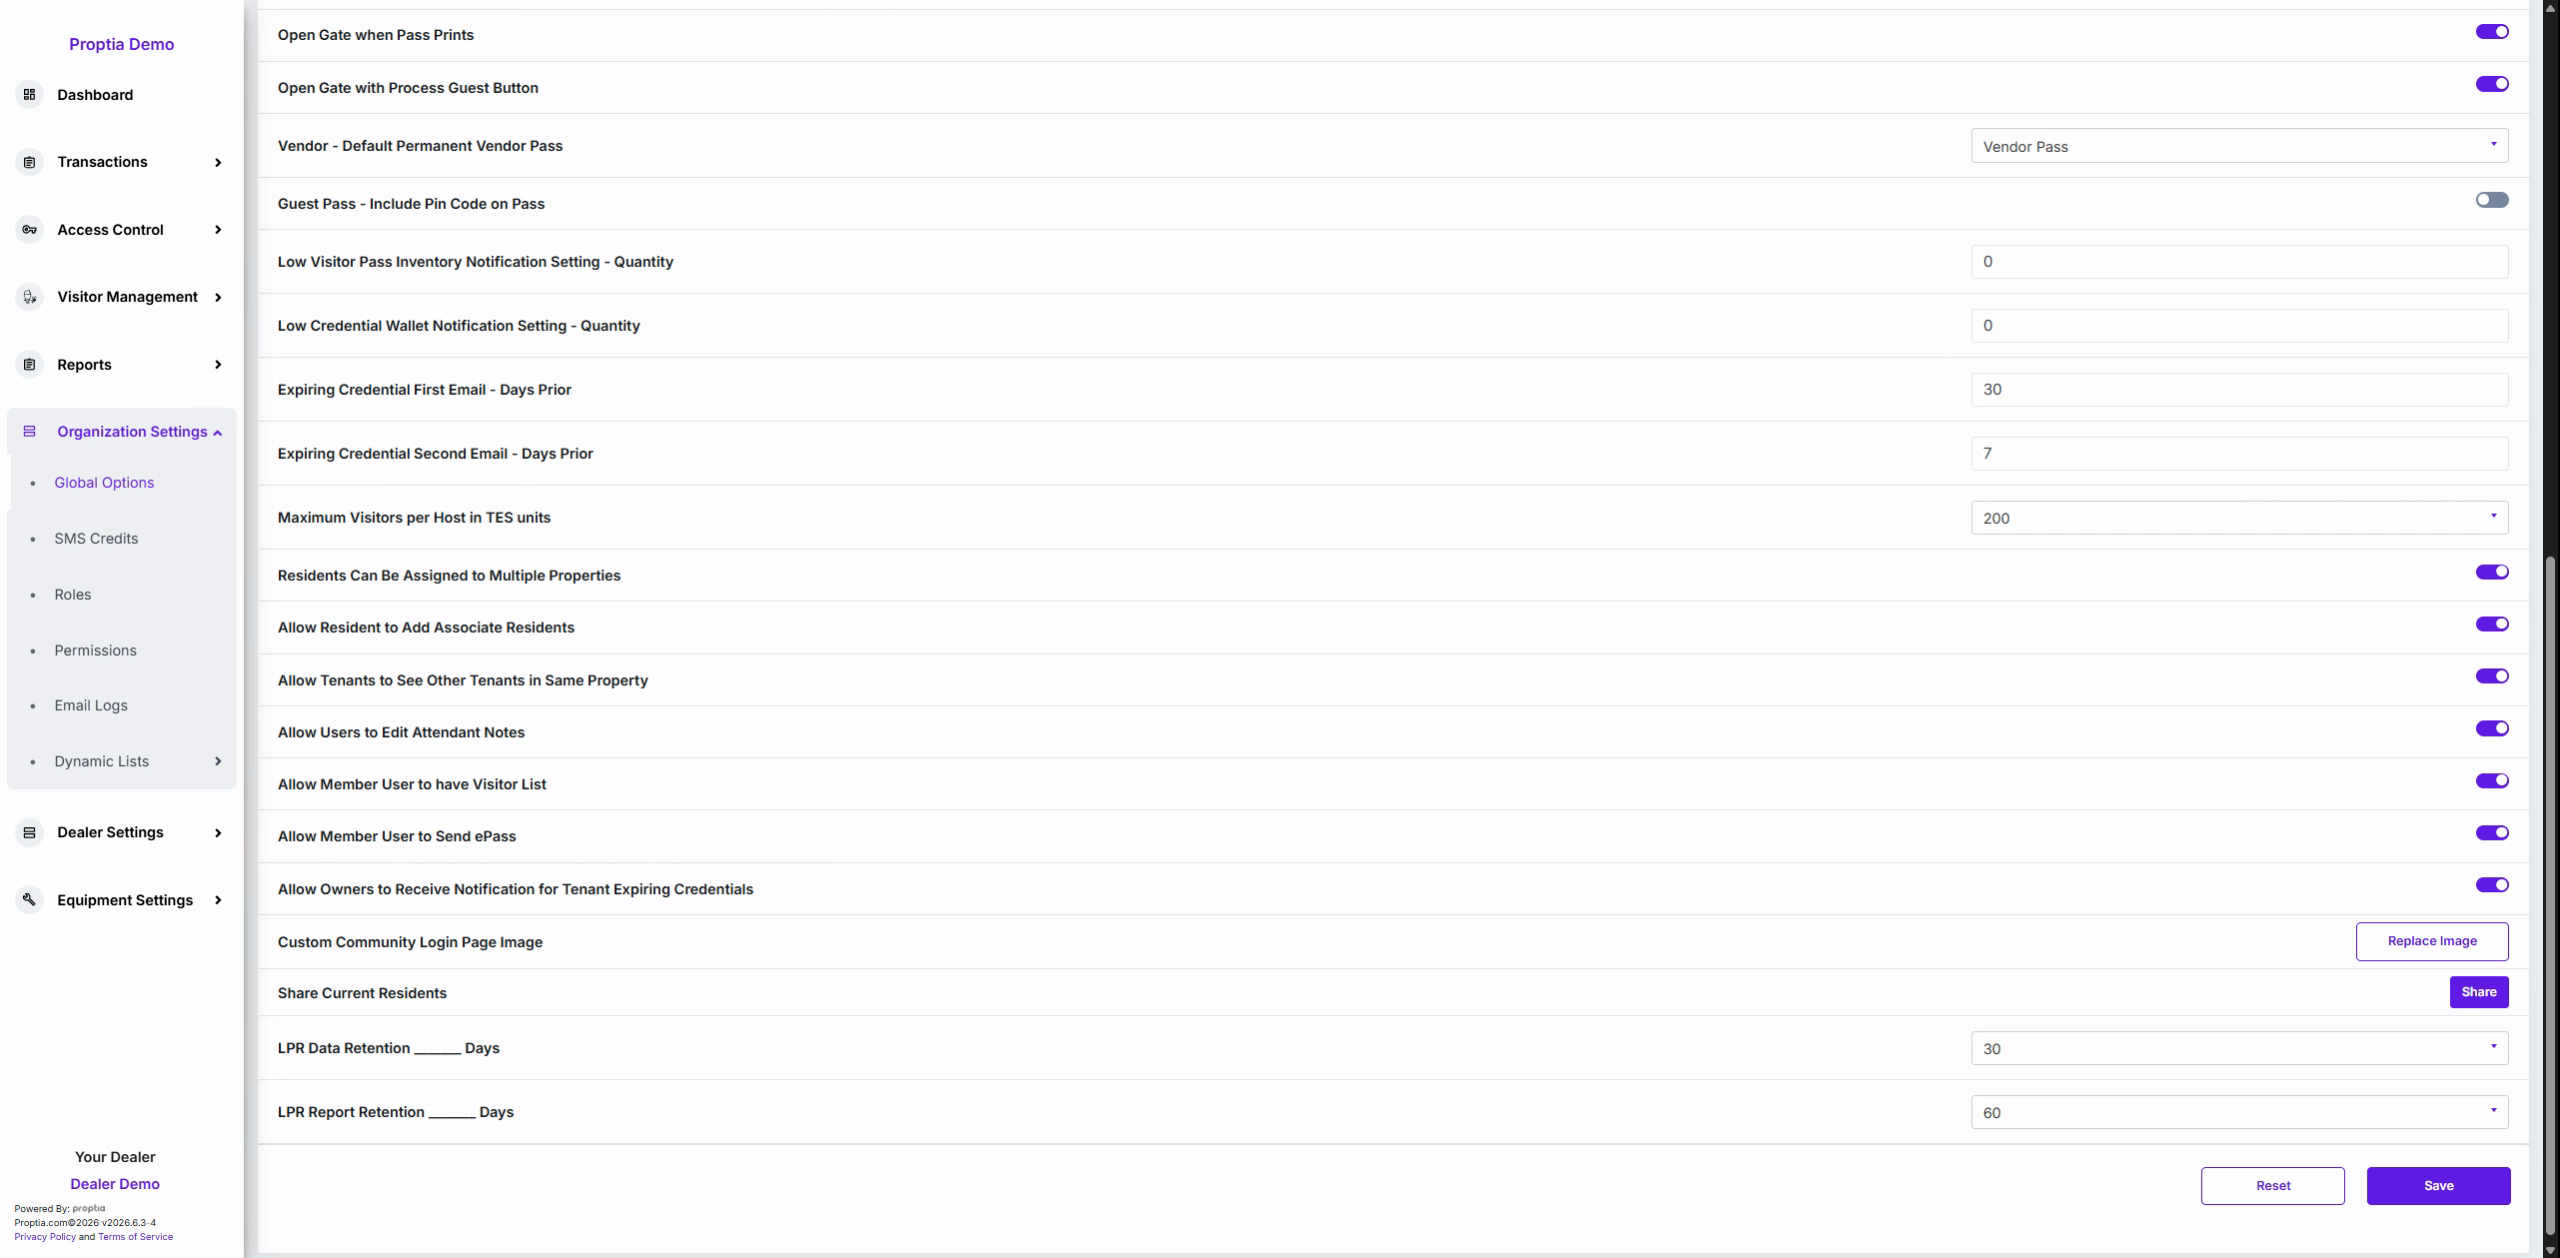
Adjust Maximum visitors per host in T S units to set the upper limit for guests per resident in telephone entry systems.
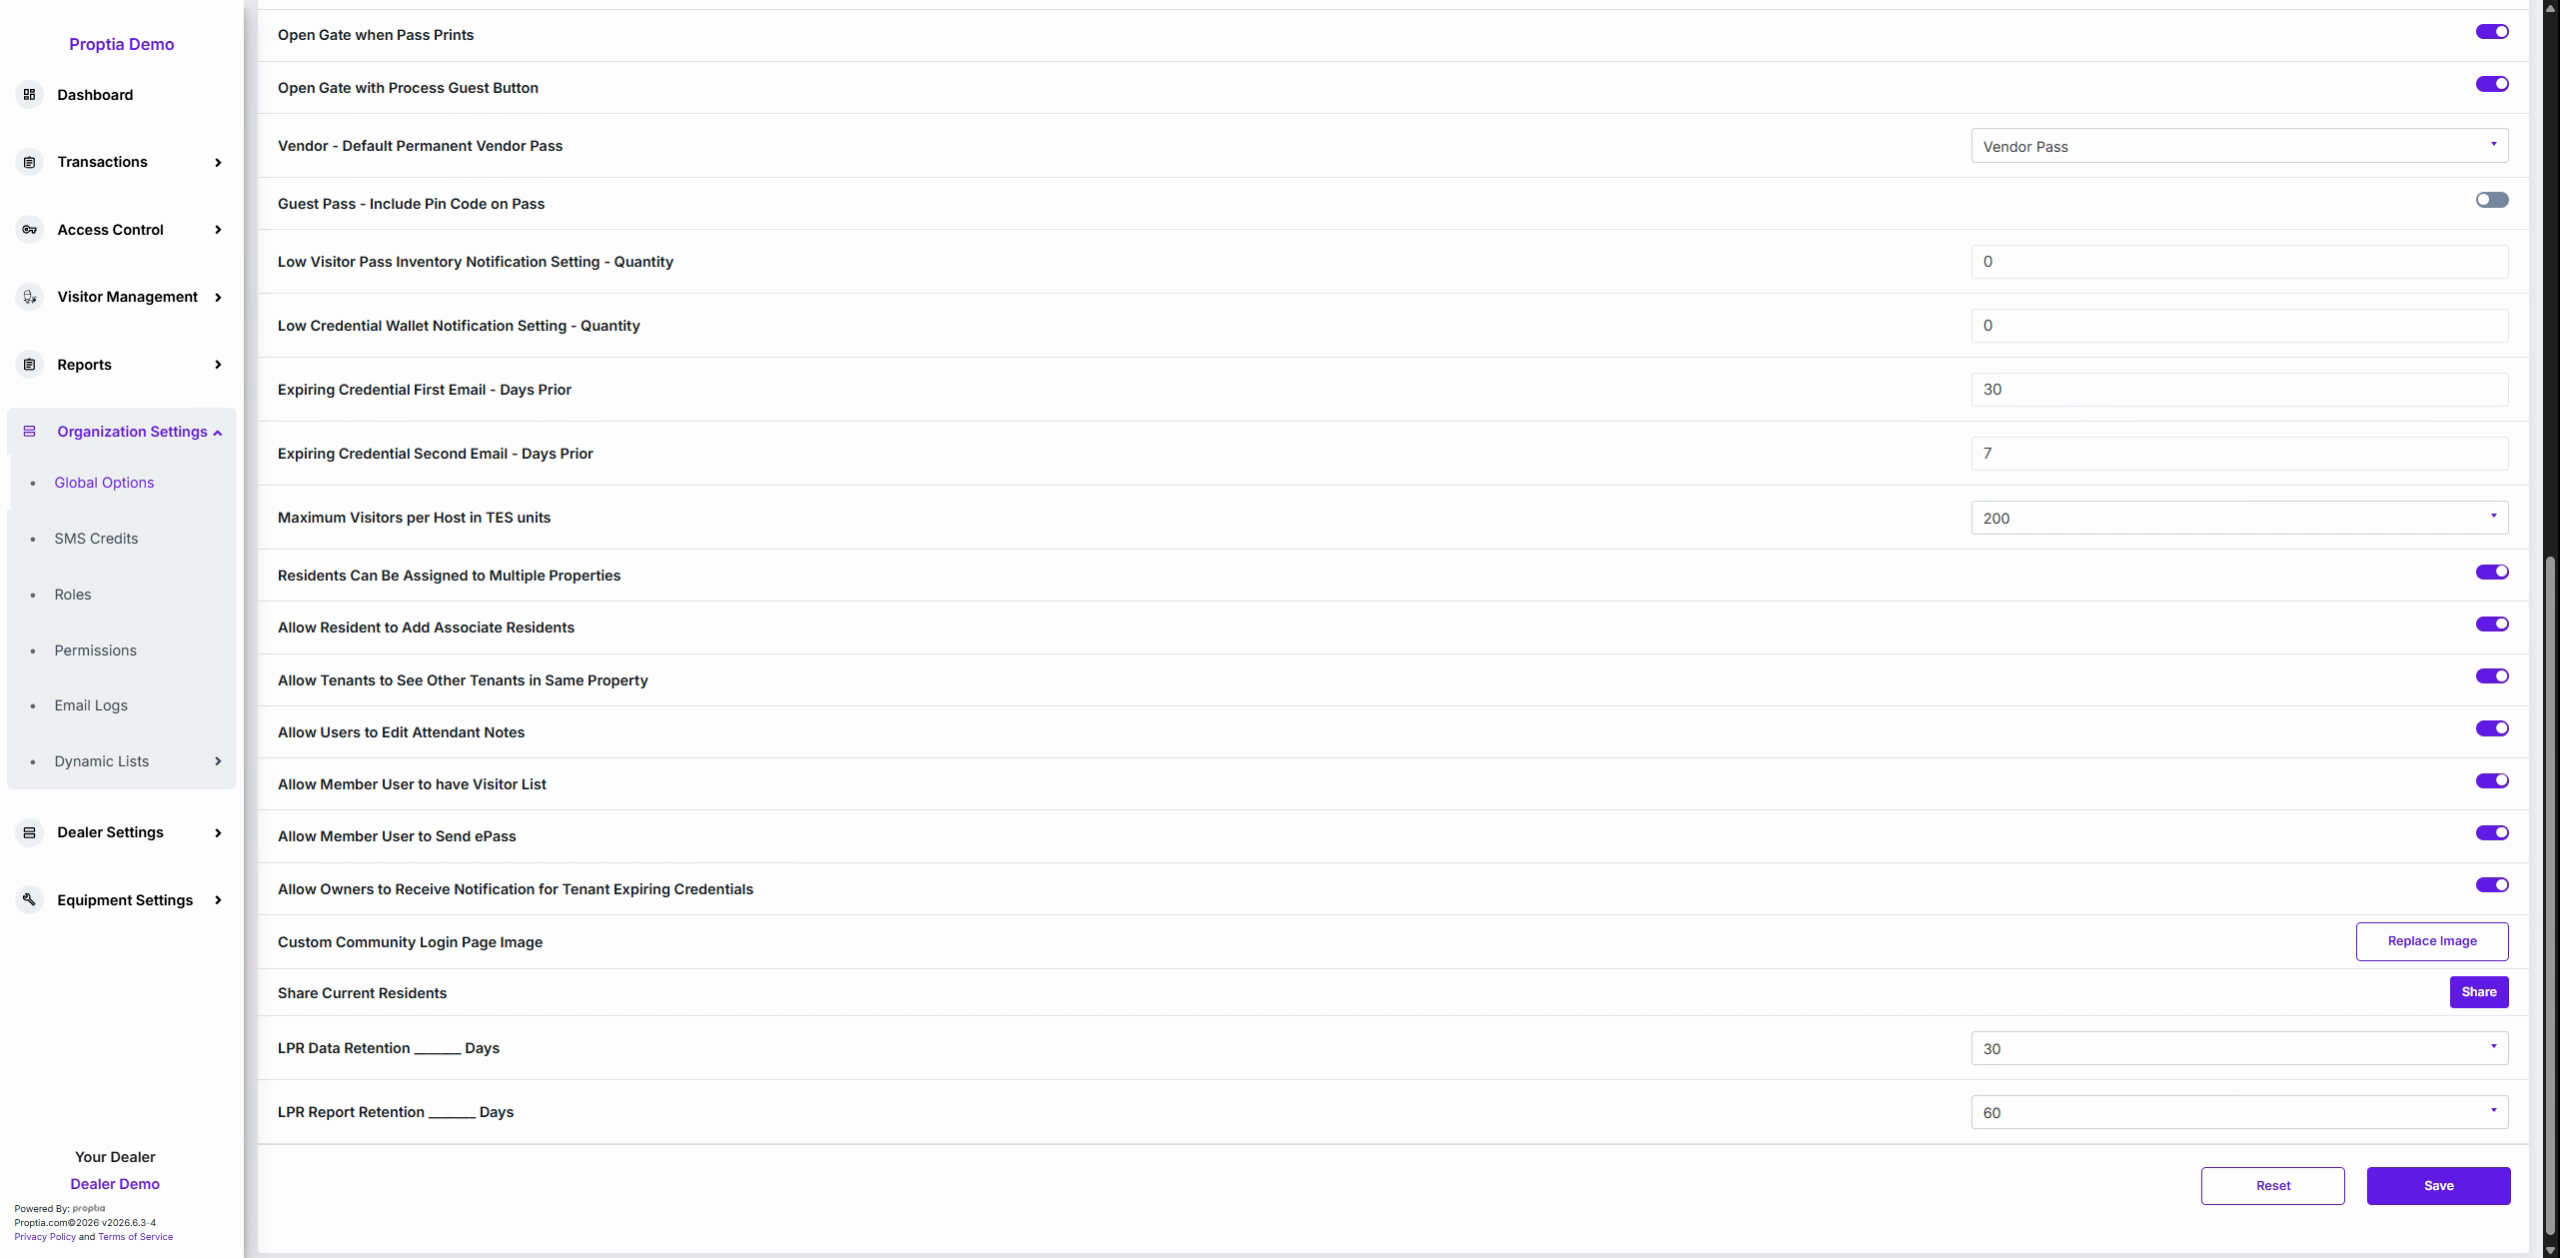
Toggle Residents can be assigned to multiple properties as needed; turn off to enforce one resident per property only.
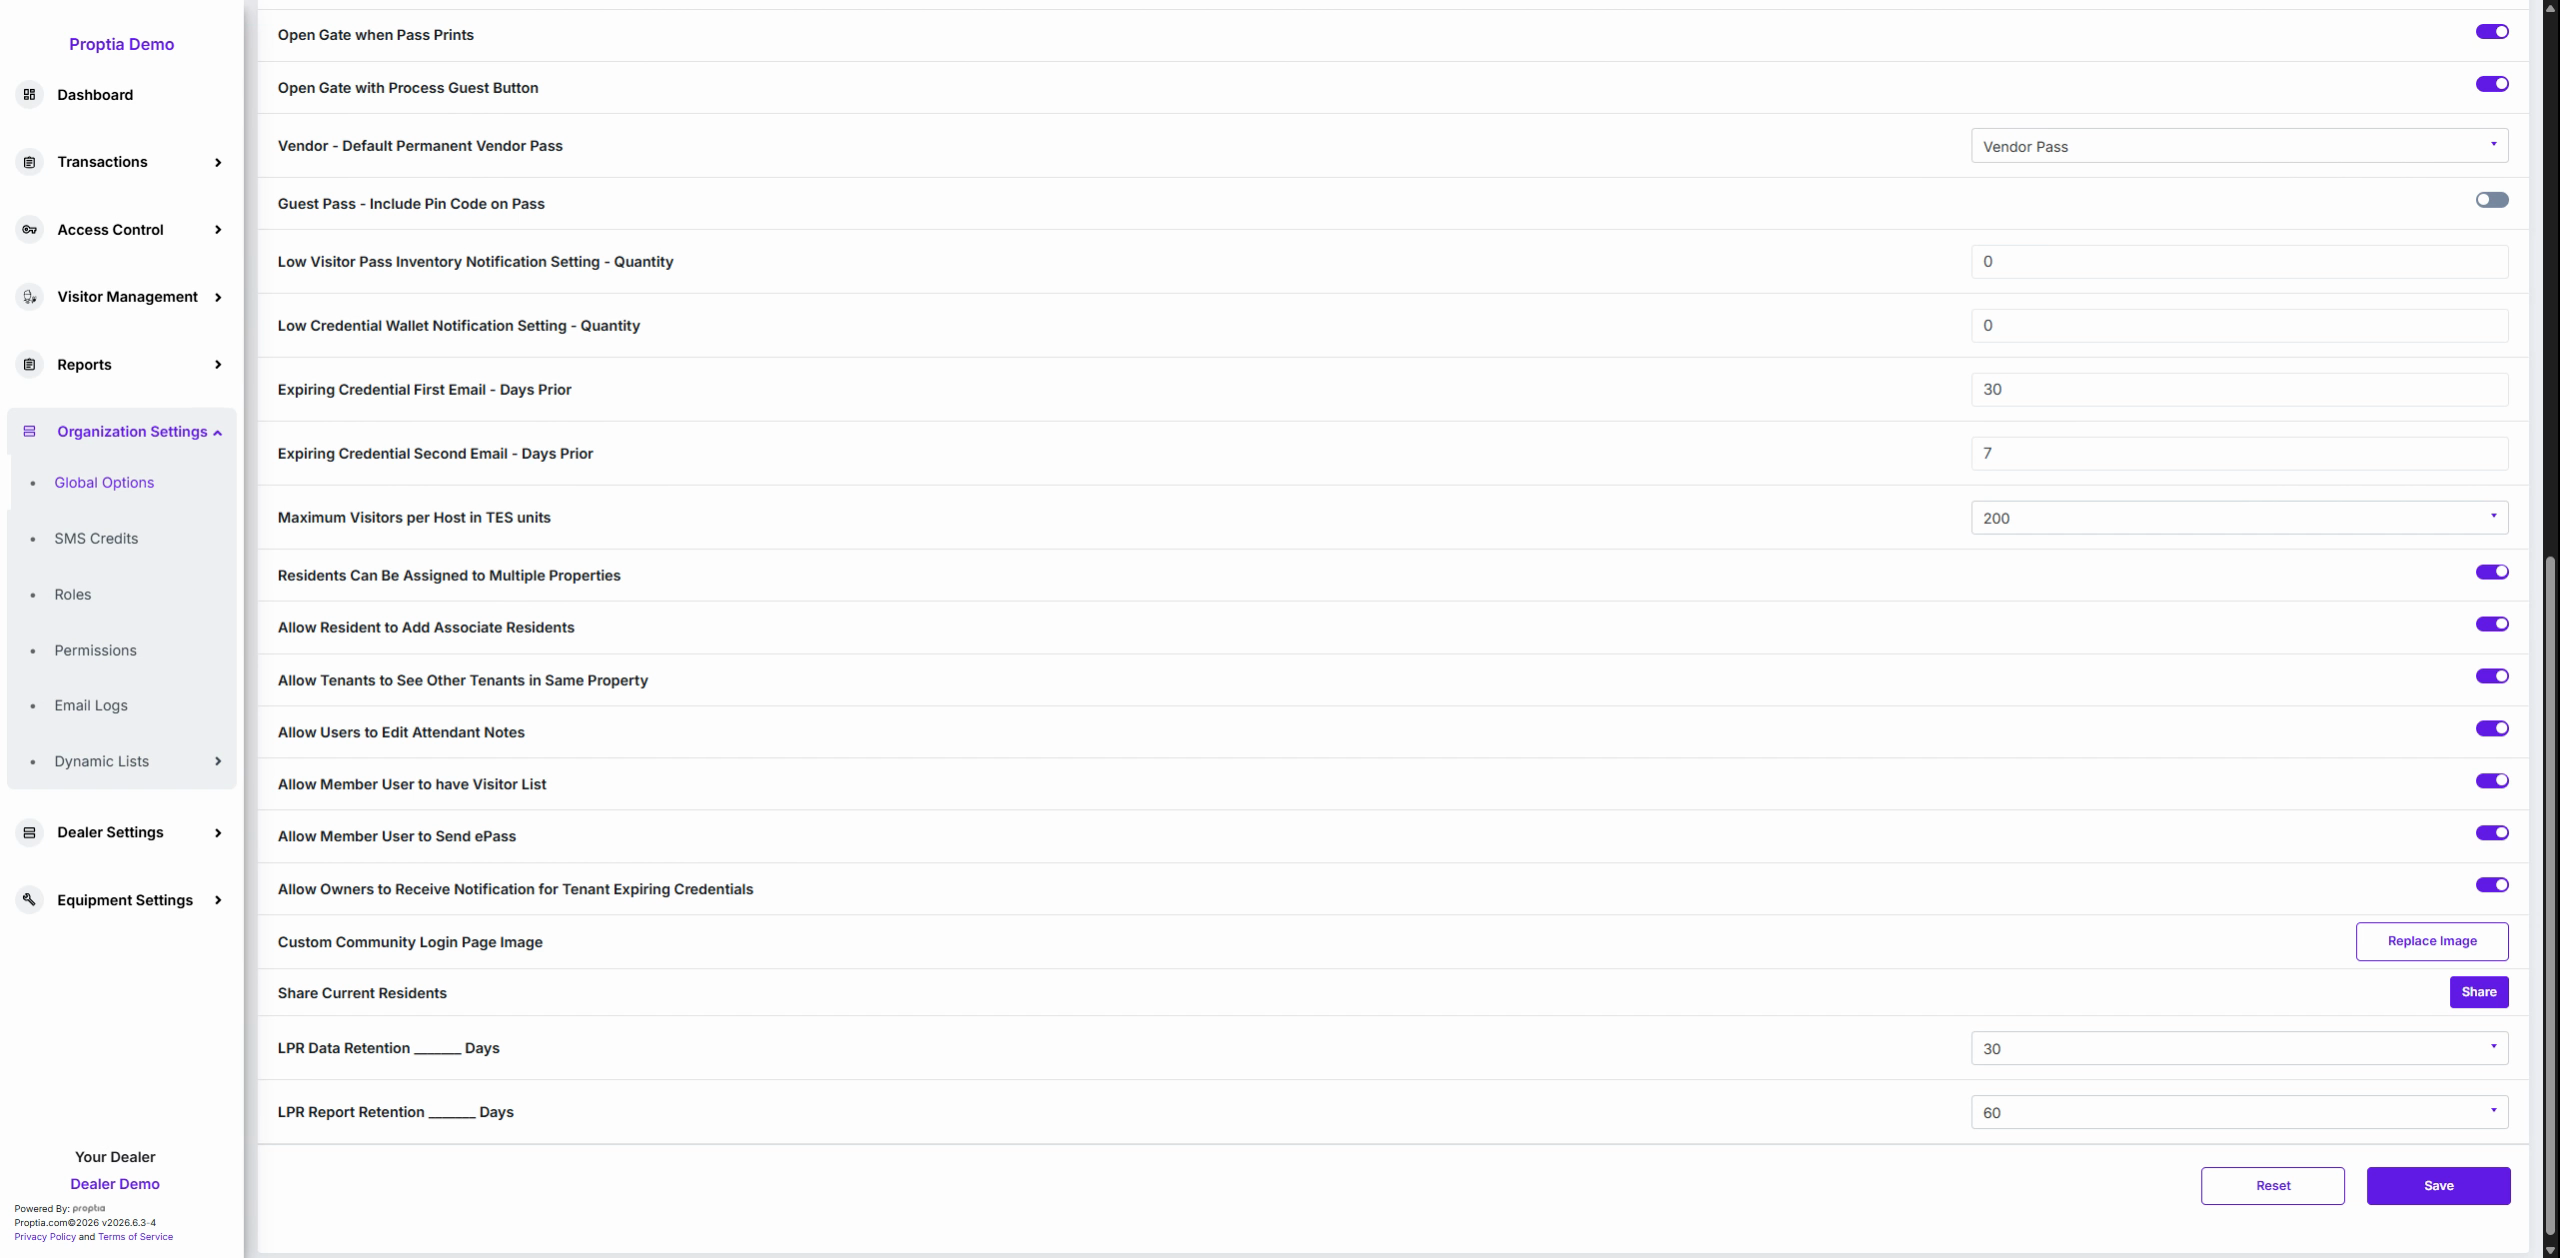
Support self-service and privacy by toggling: - Allowing residents to add associate residents (e.g., family members) - Allowing tenants to see other tenants in the same property
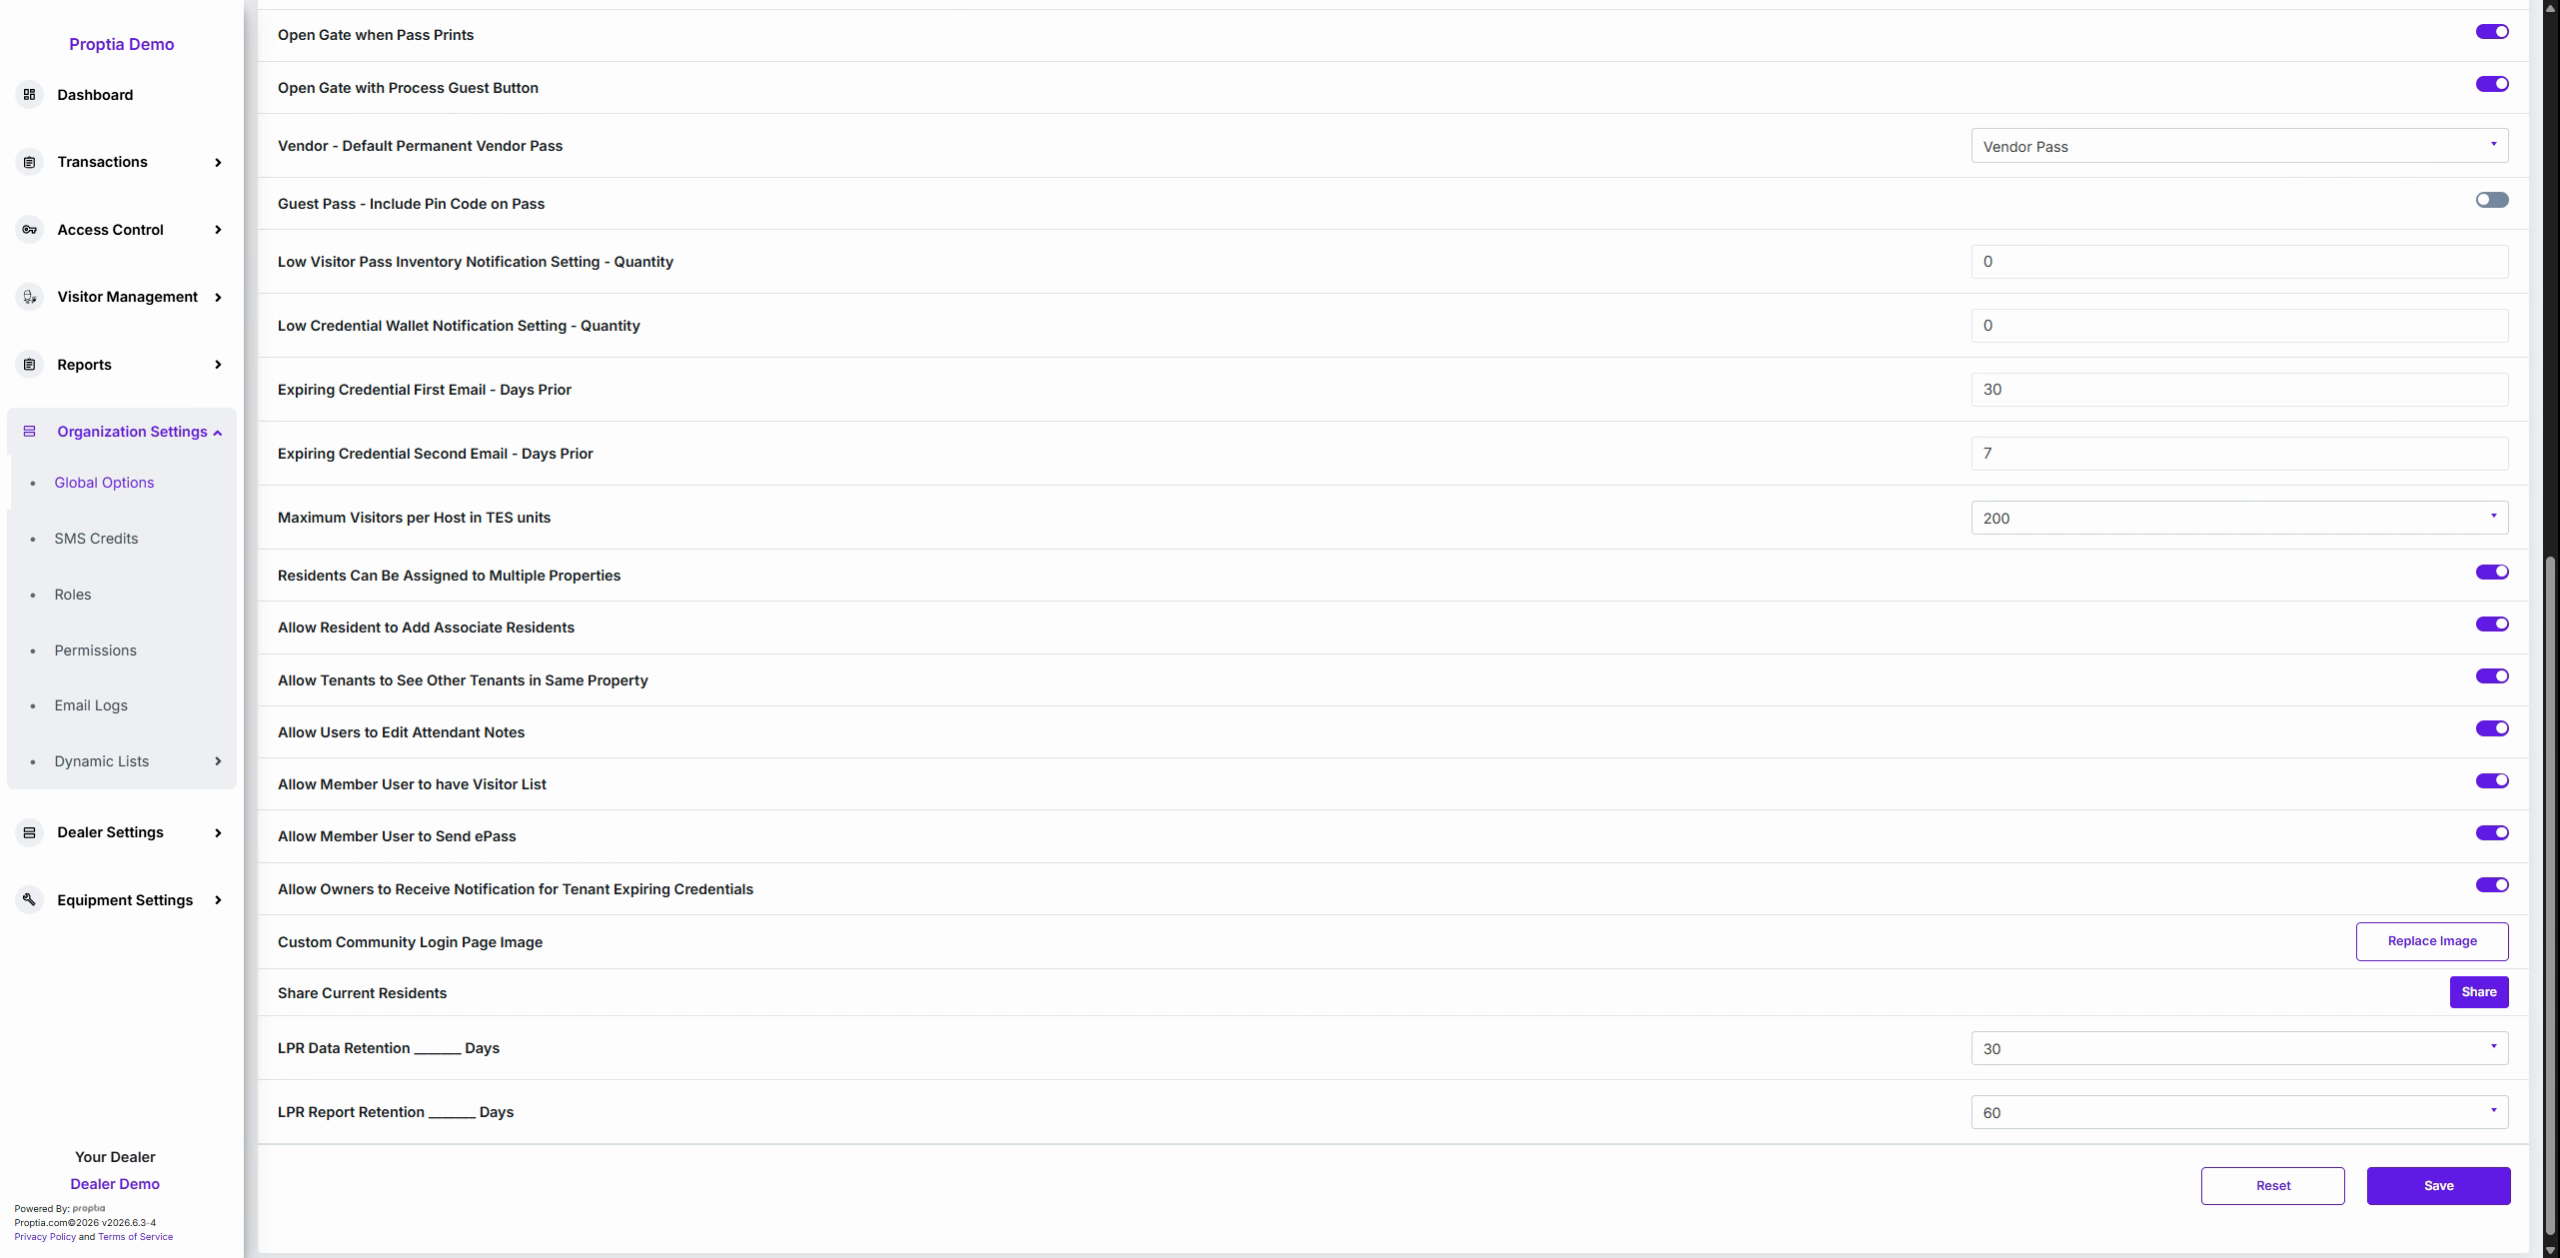
Manage staff permissions, such as allowing users to edit Attendant Notes and allowing members to manage their visitors and ePasses.
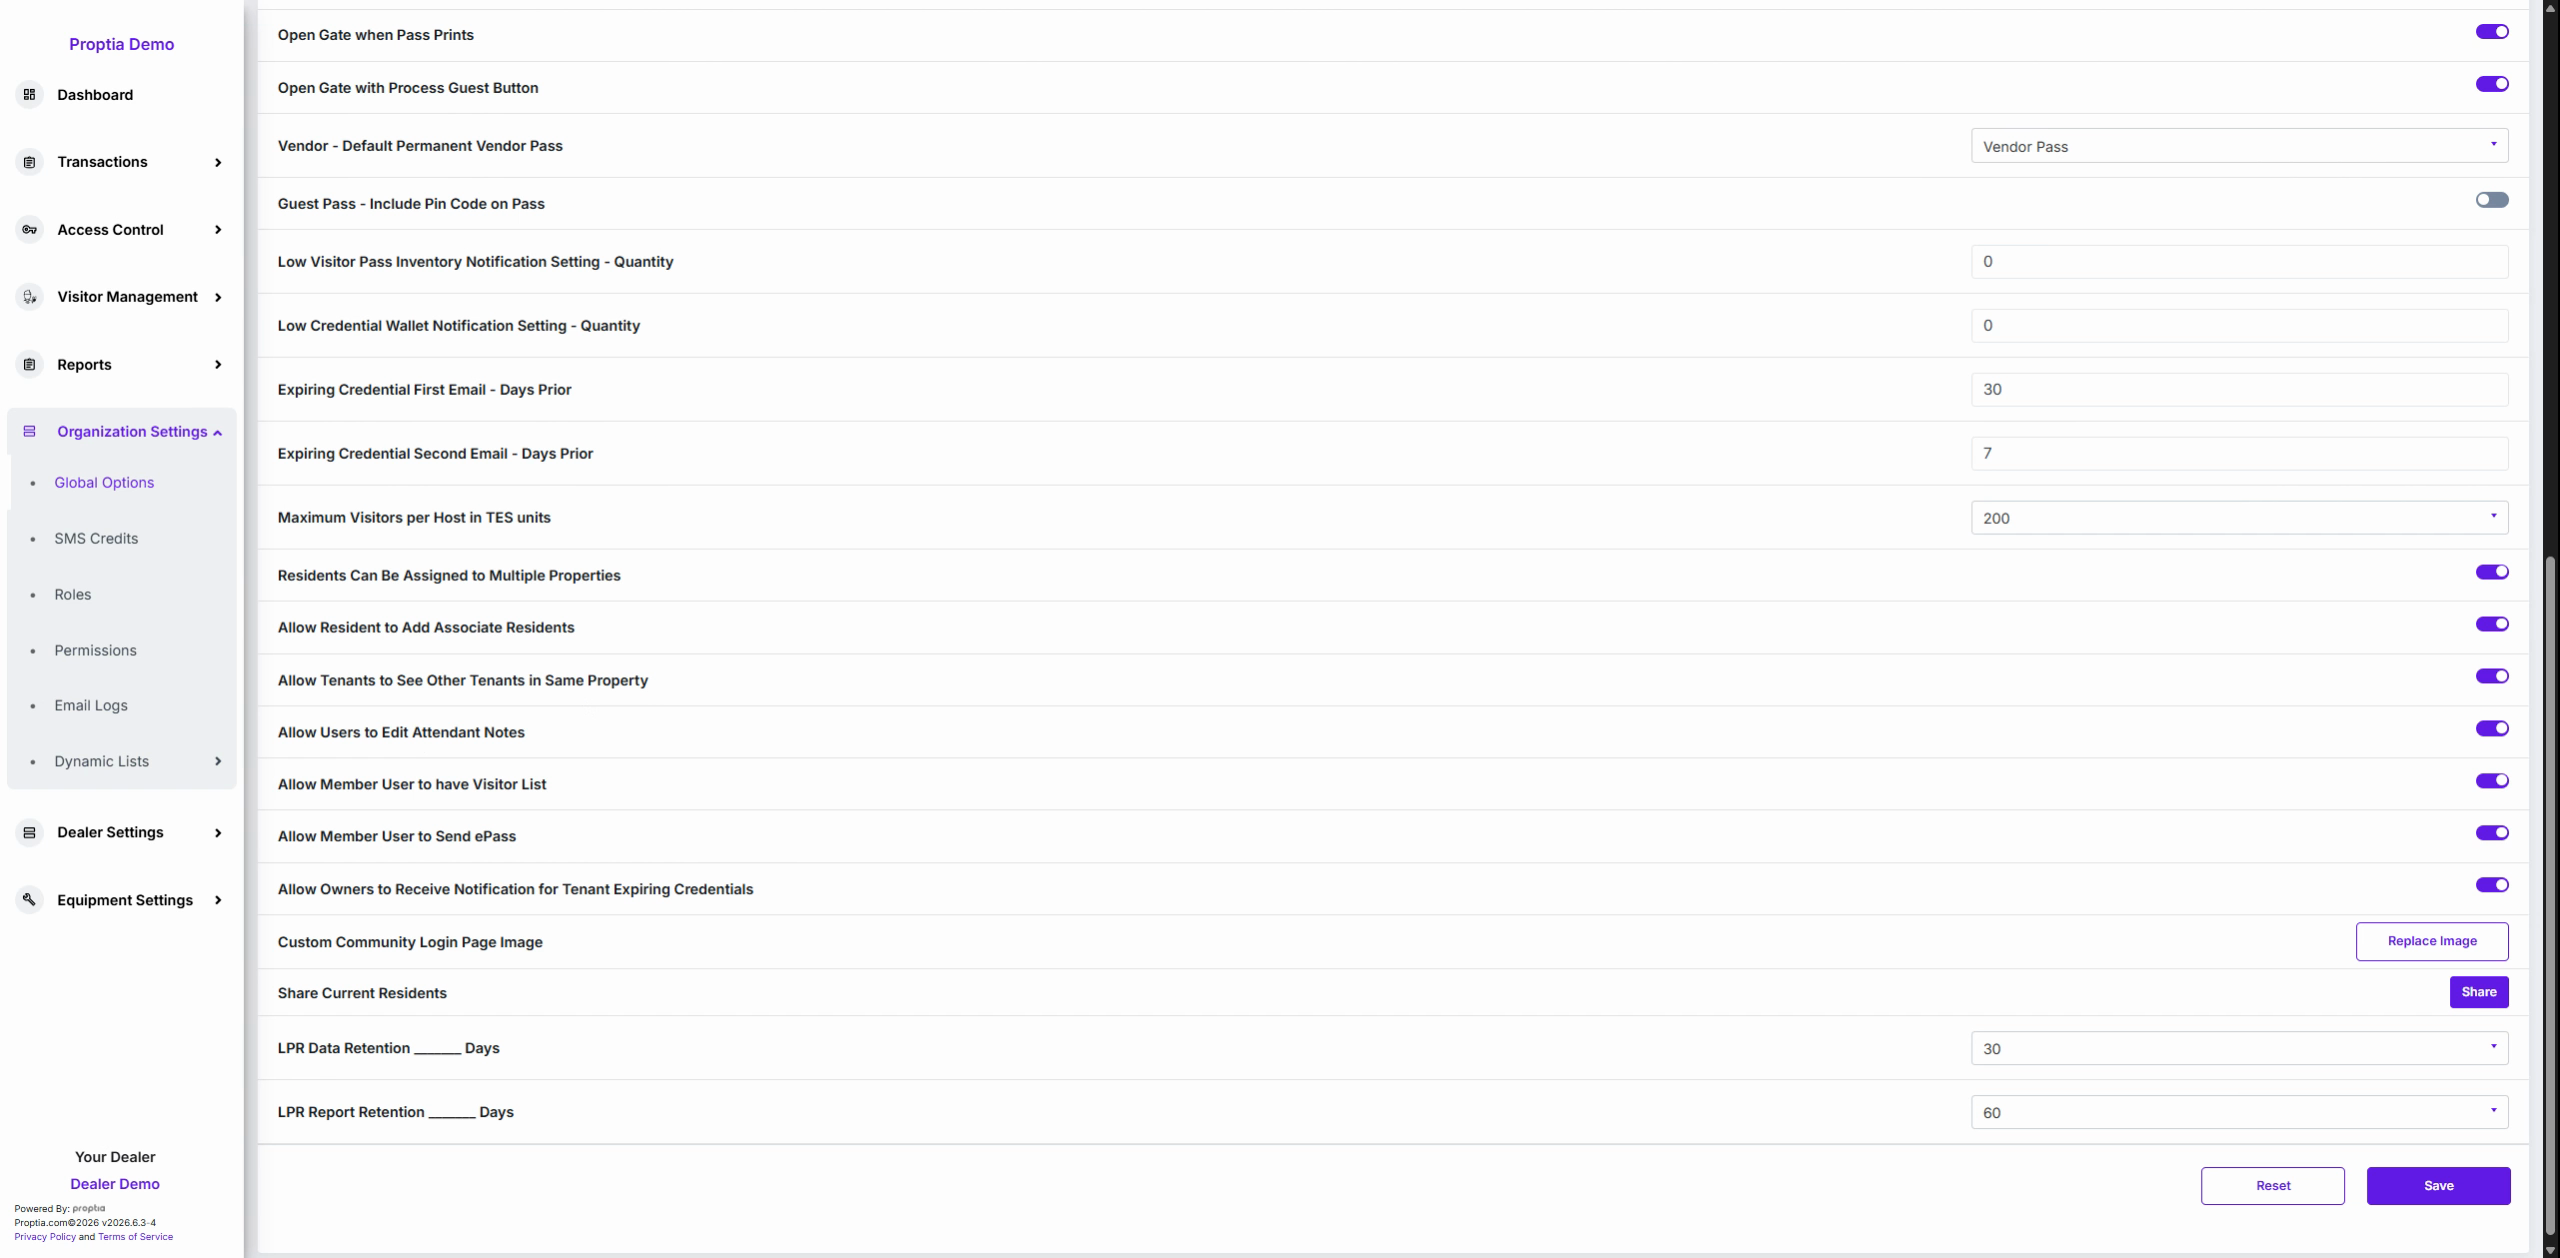
Toggle Allow owners to receive notification for tenant expiring credentials so property owners are alerted about renter credential expiry.
Module 8: Branding, Data Sharing, and Compliance
Click Replace image under Custom login page image to upload your organization's logo.
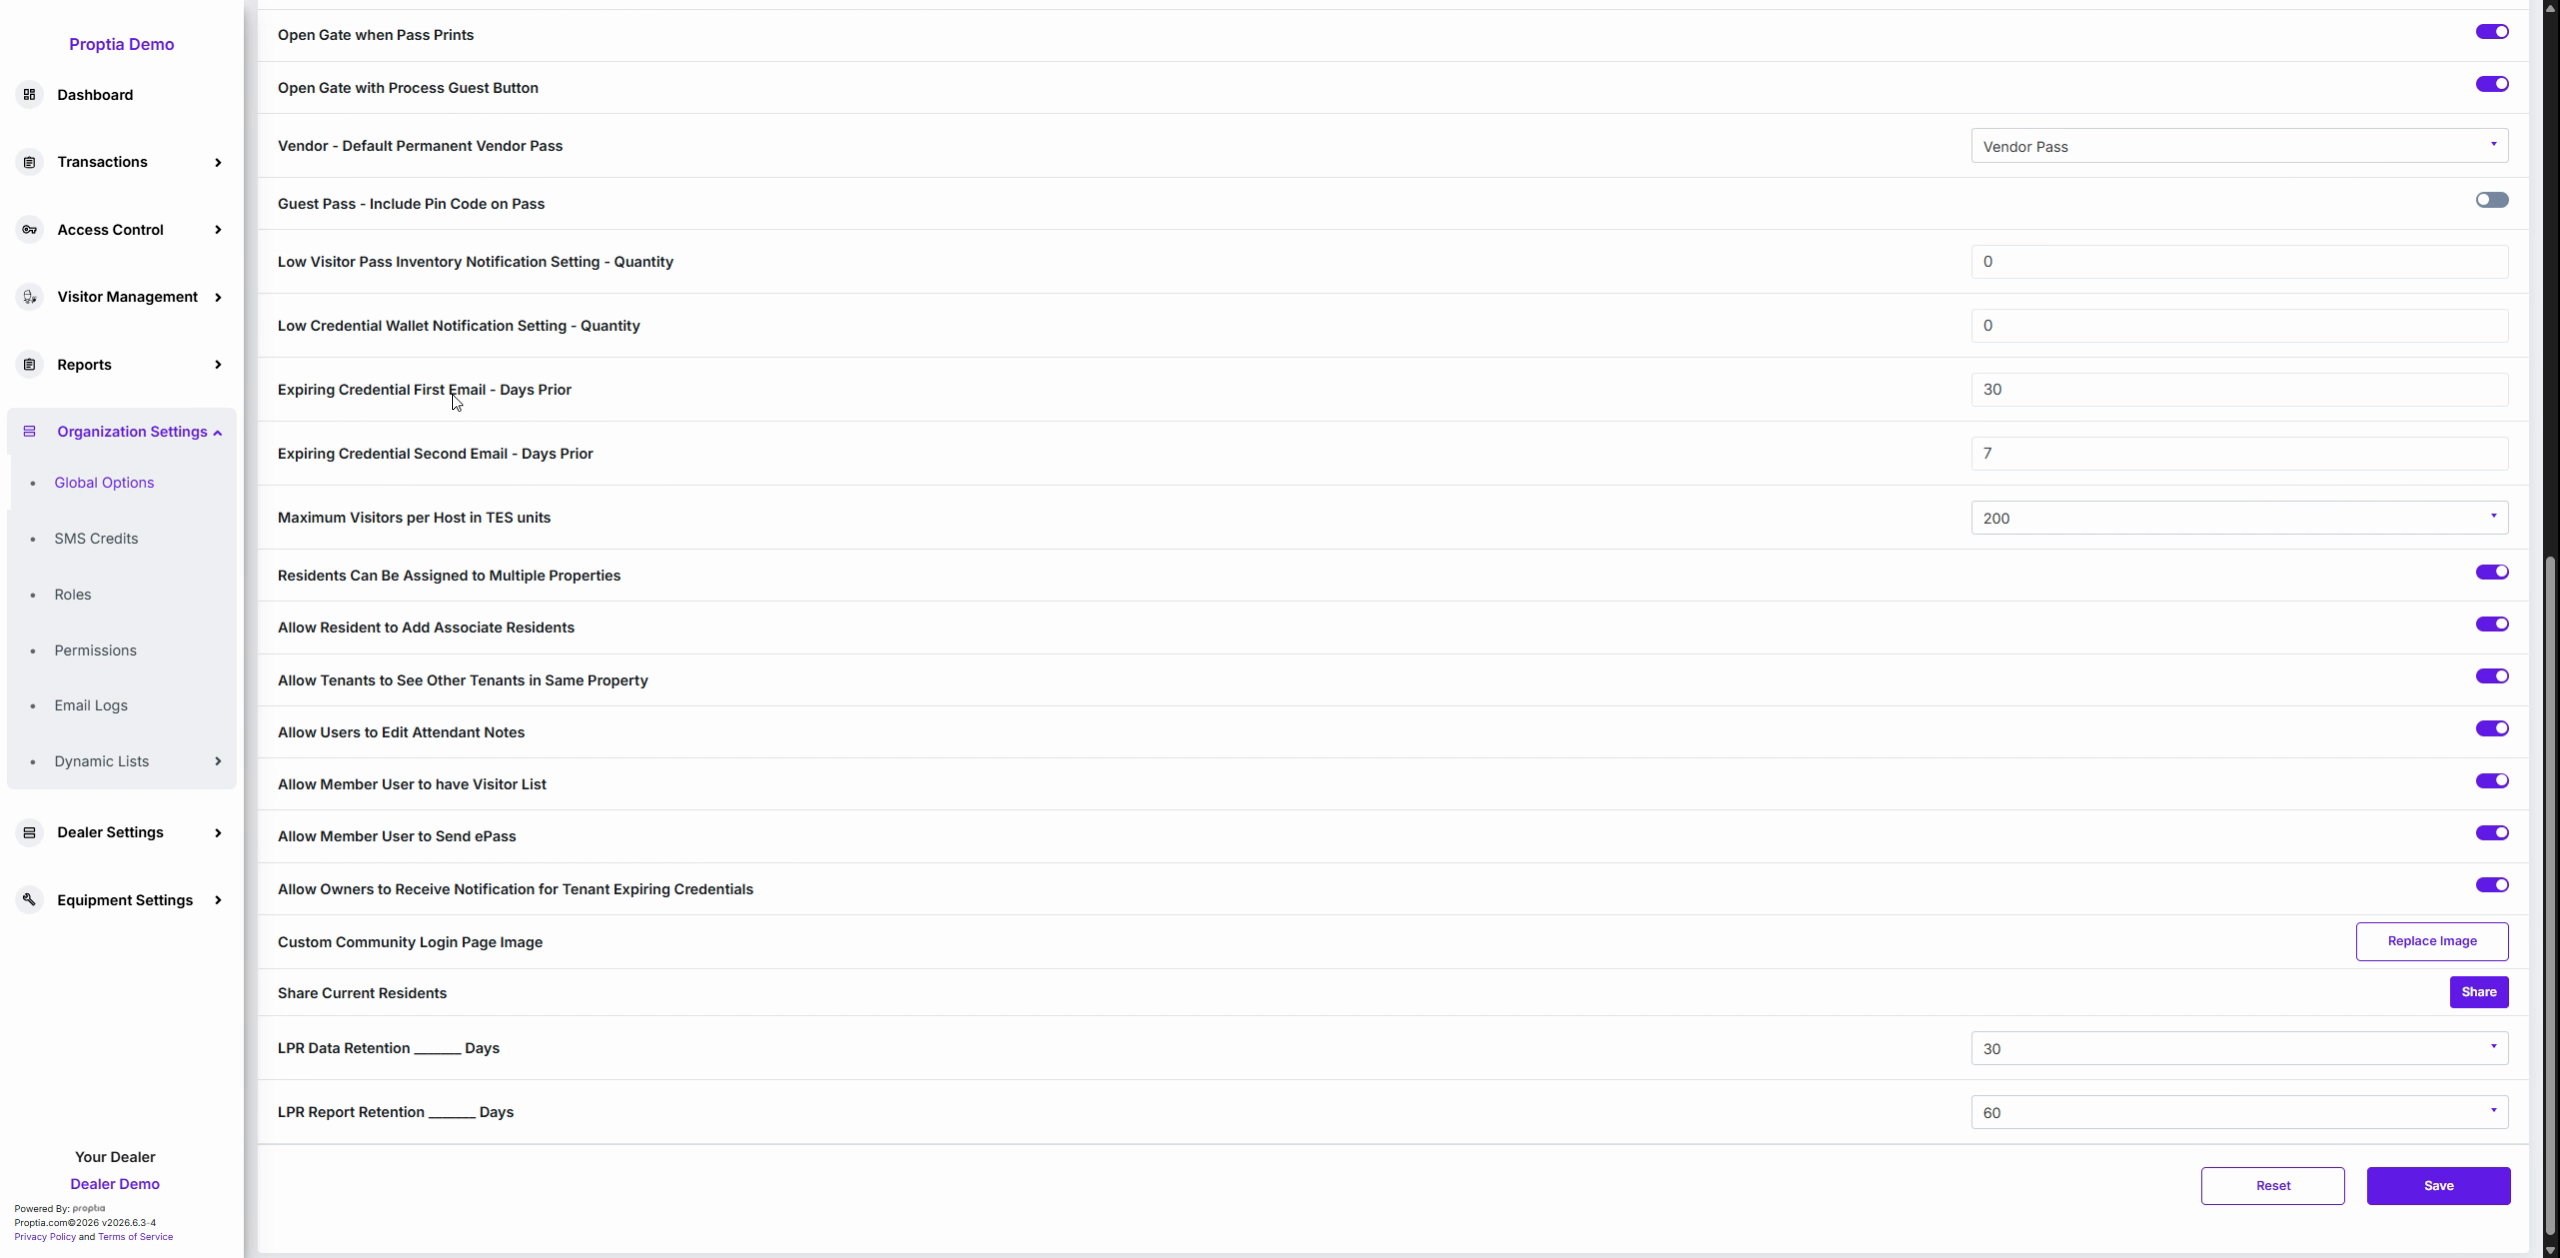
Use Share current residents to port resident lists to sister communities.
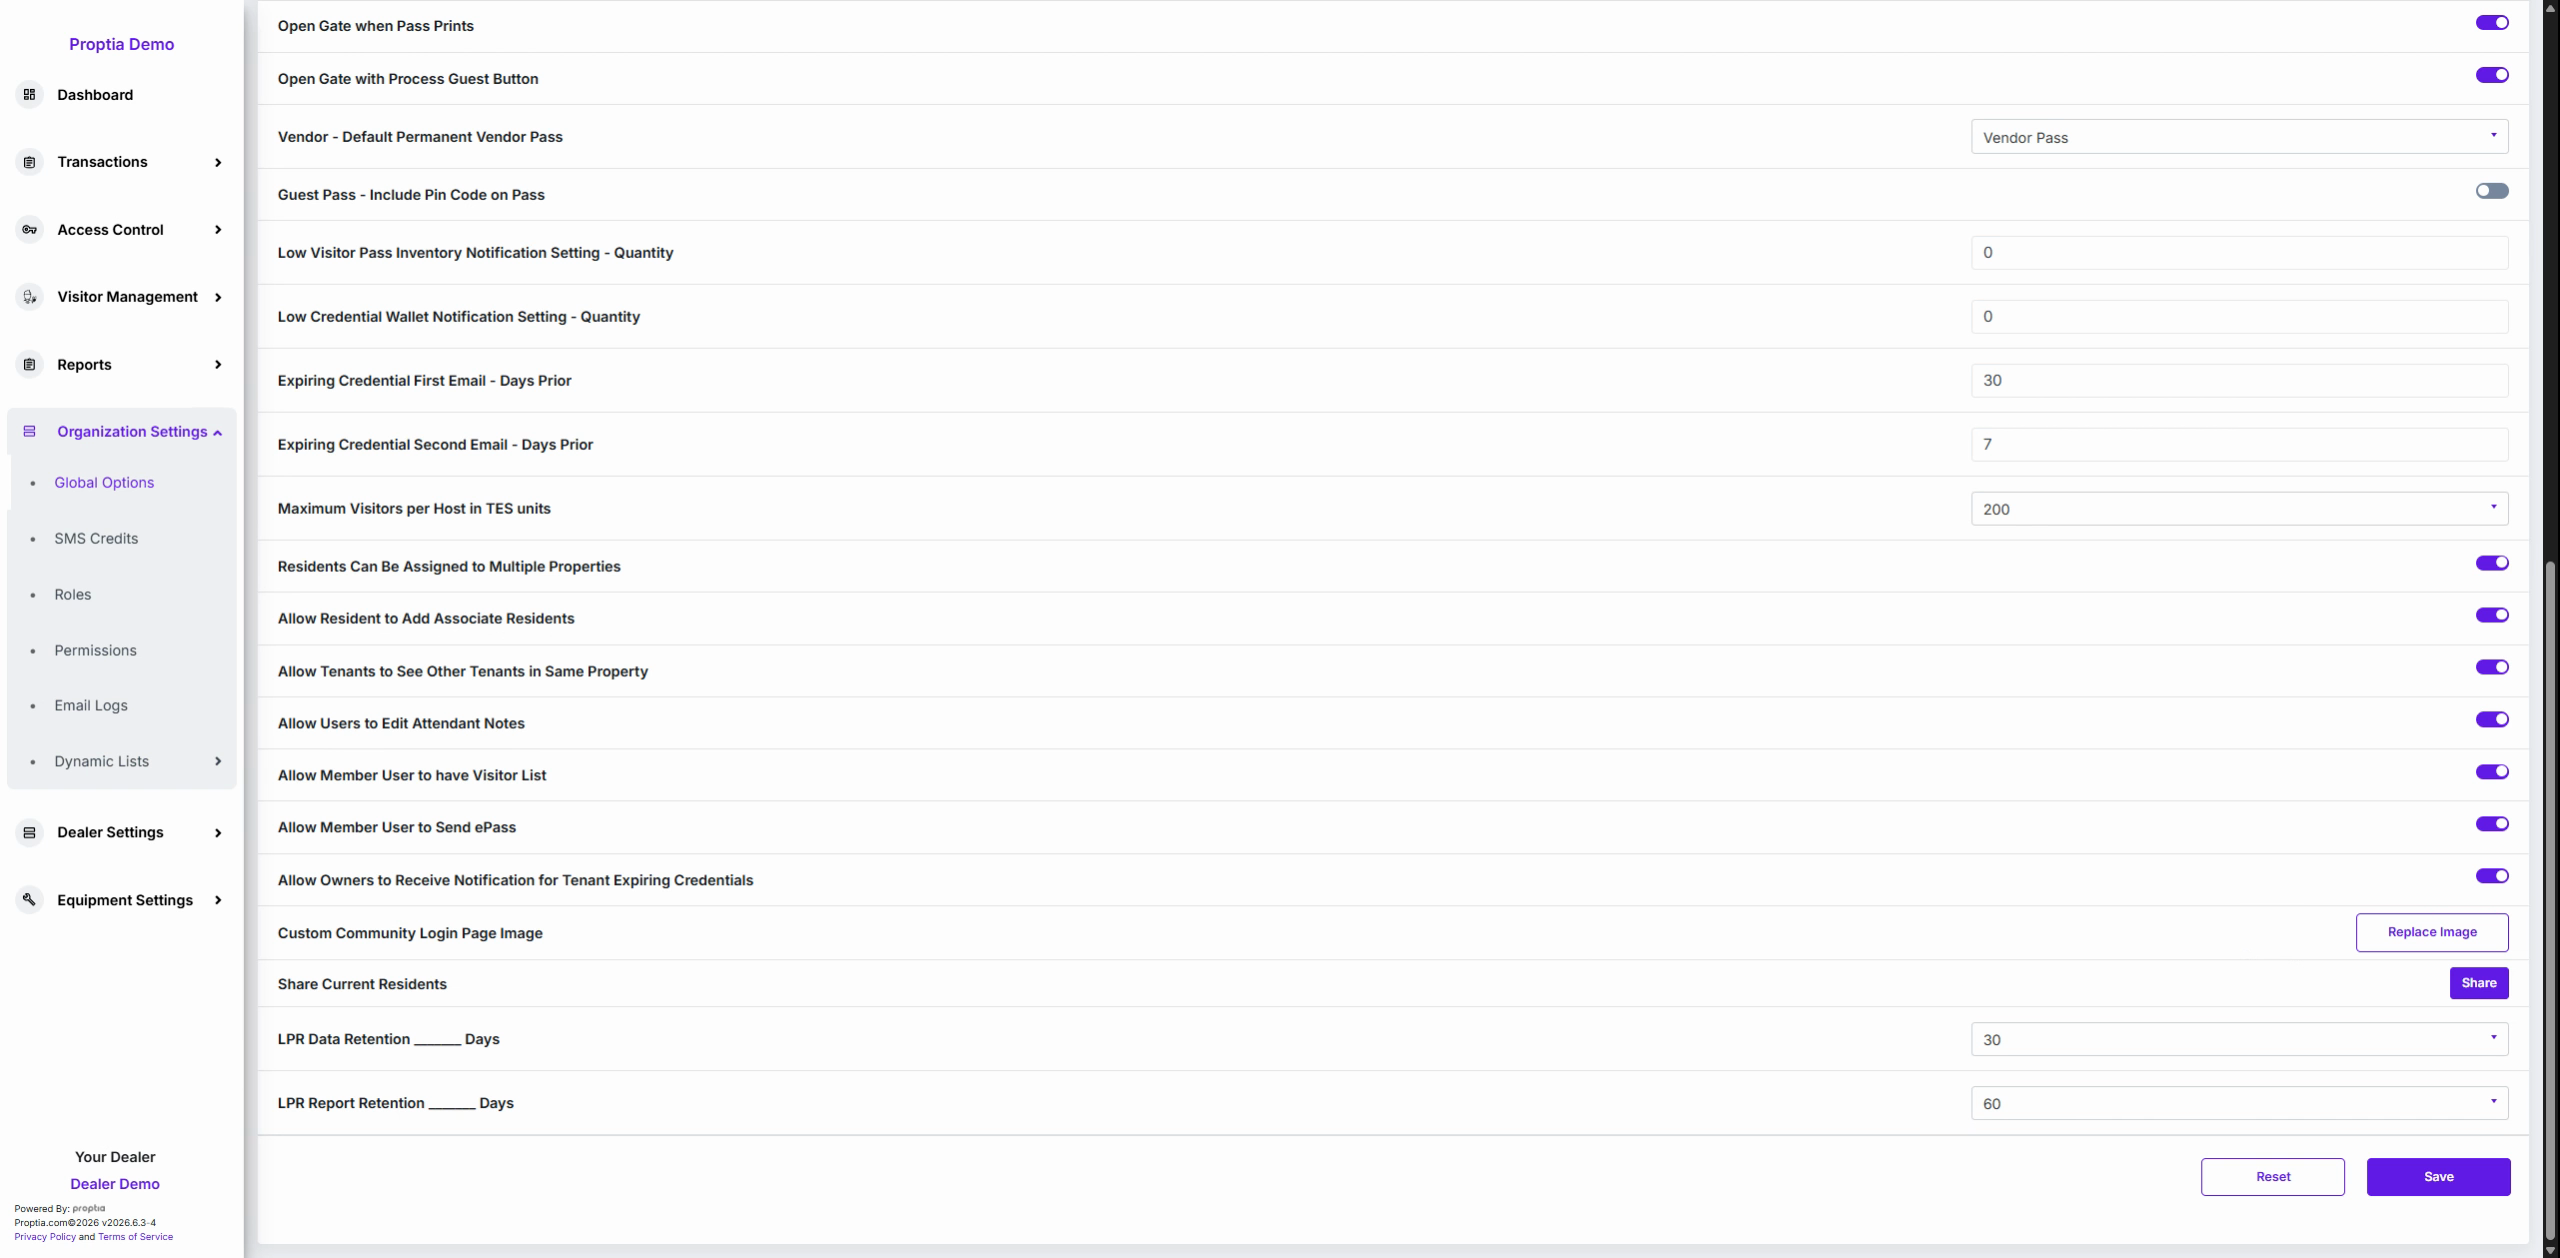
Enter the desired retention period (in days) in LPR data retention and LPR report retention days for compliance with privacy regulations.
Module 9: Saving and Resetting Changes
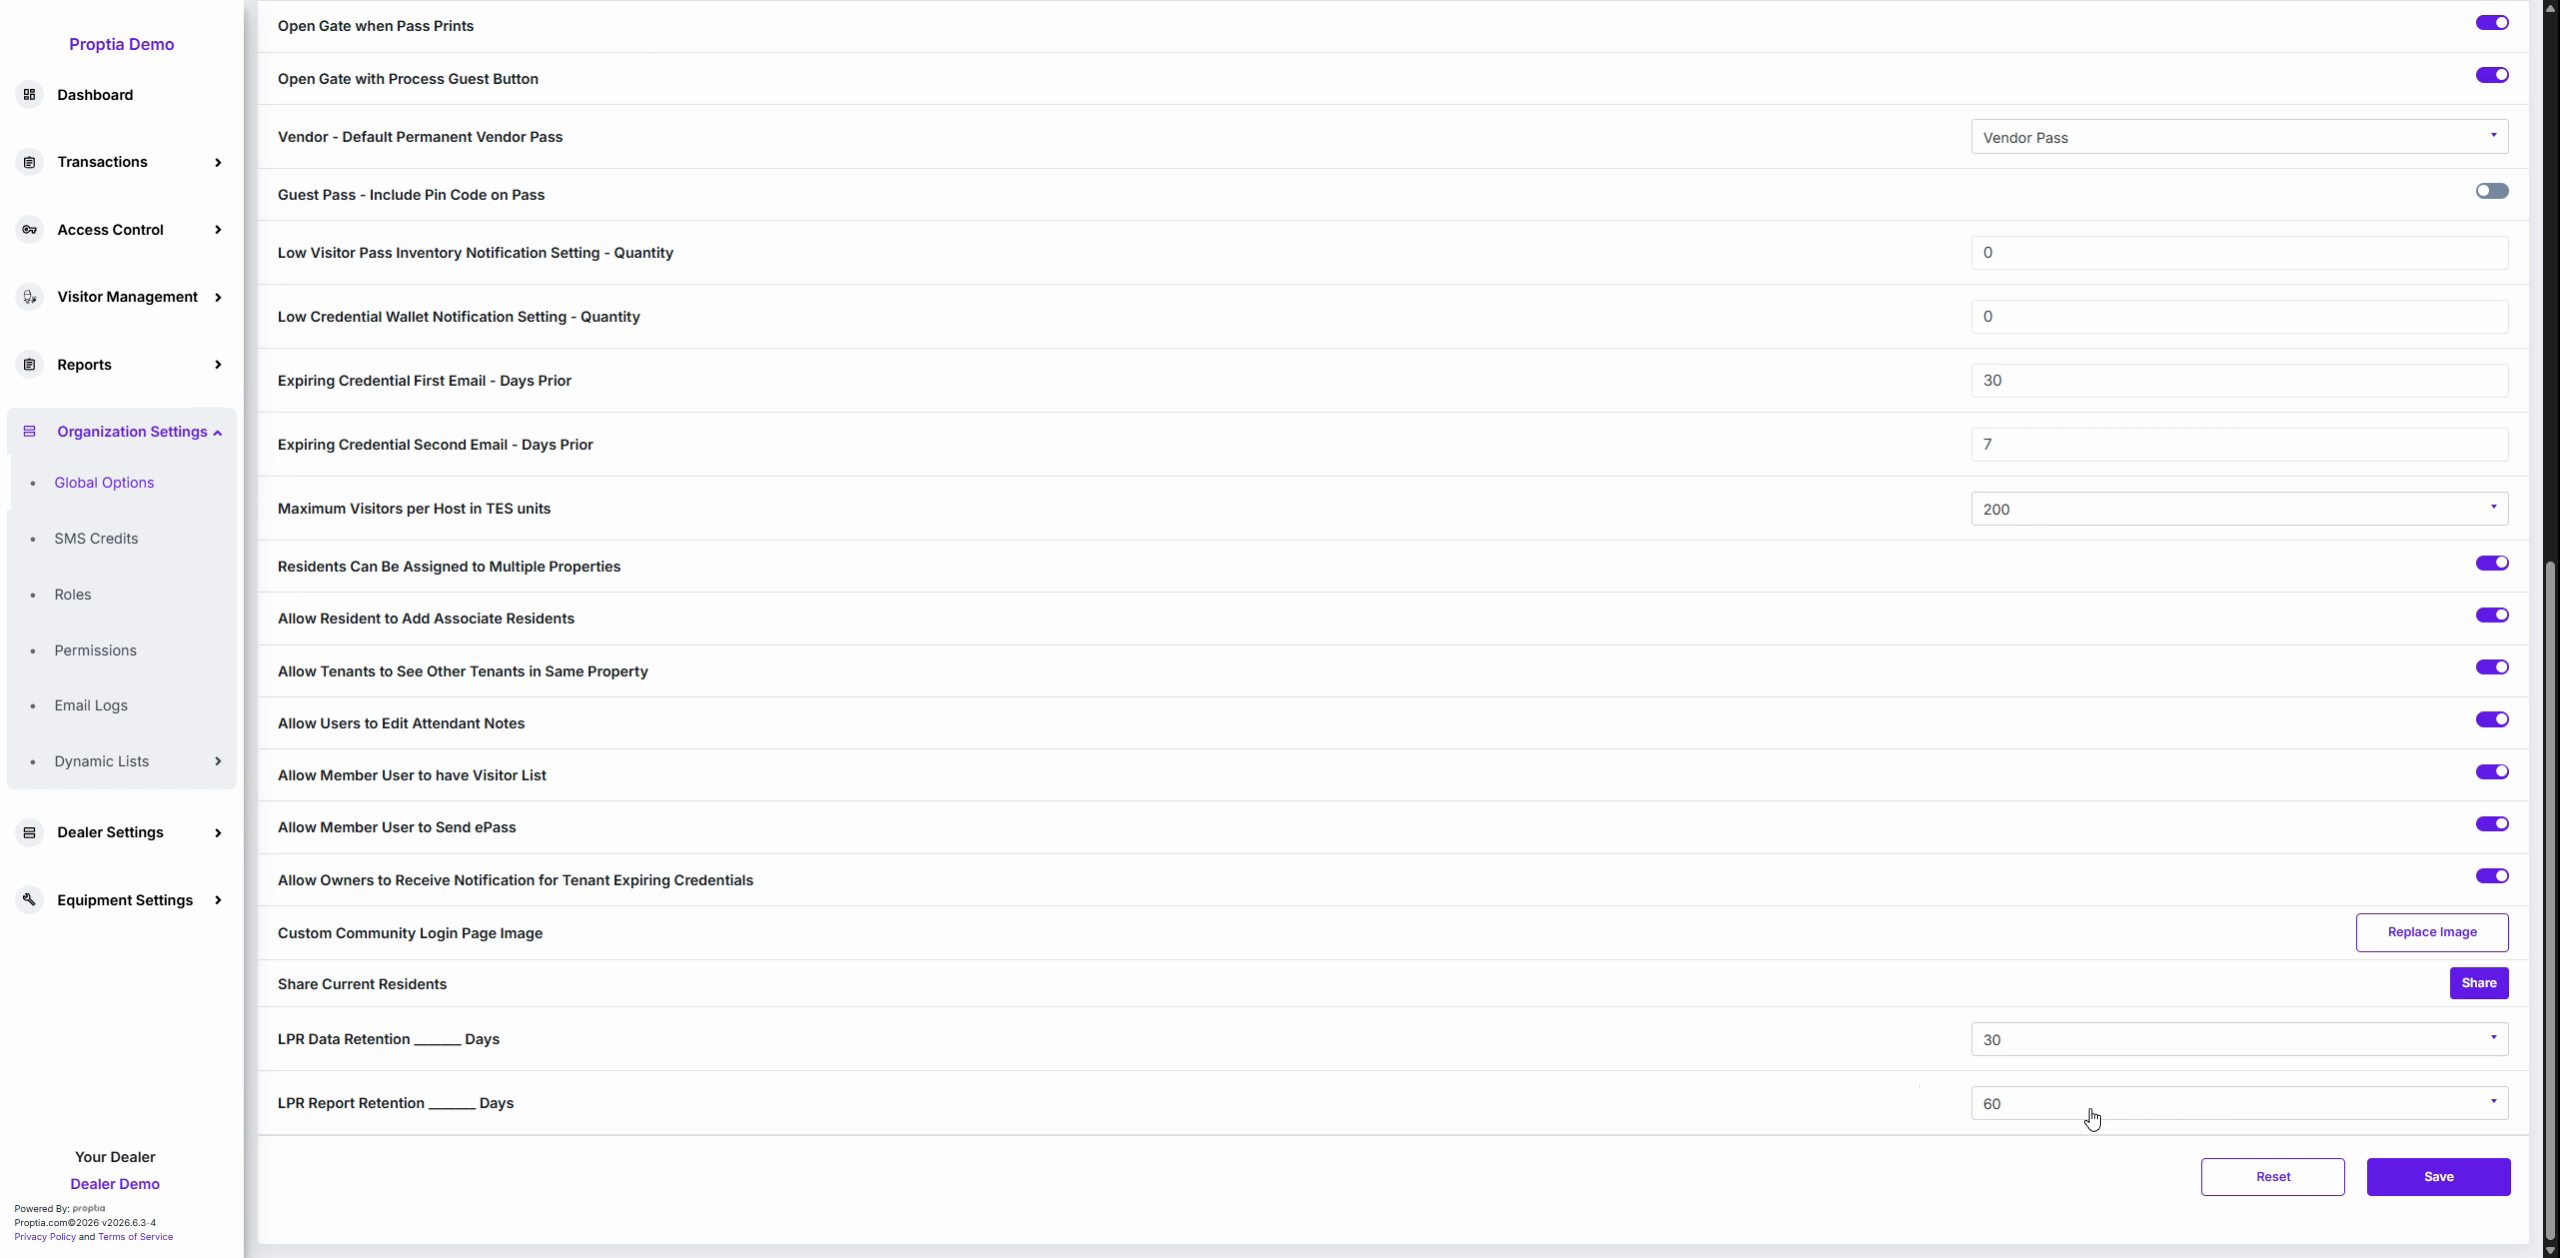
Click the purple Save button in the bottom-right corner to apply and enforce your configuration.
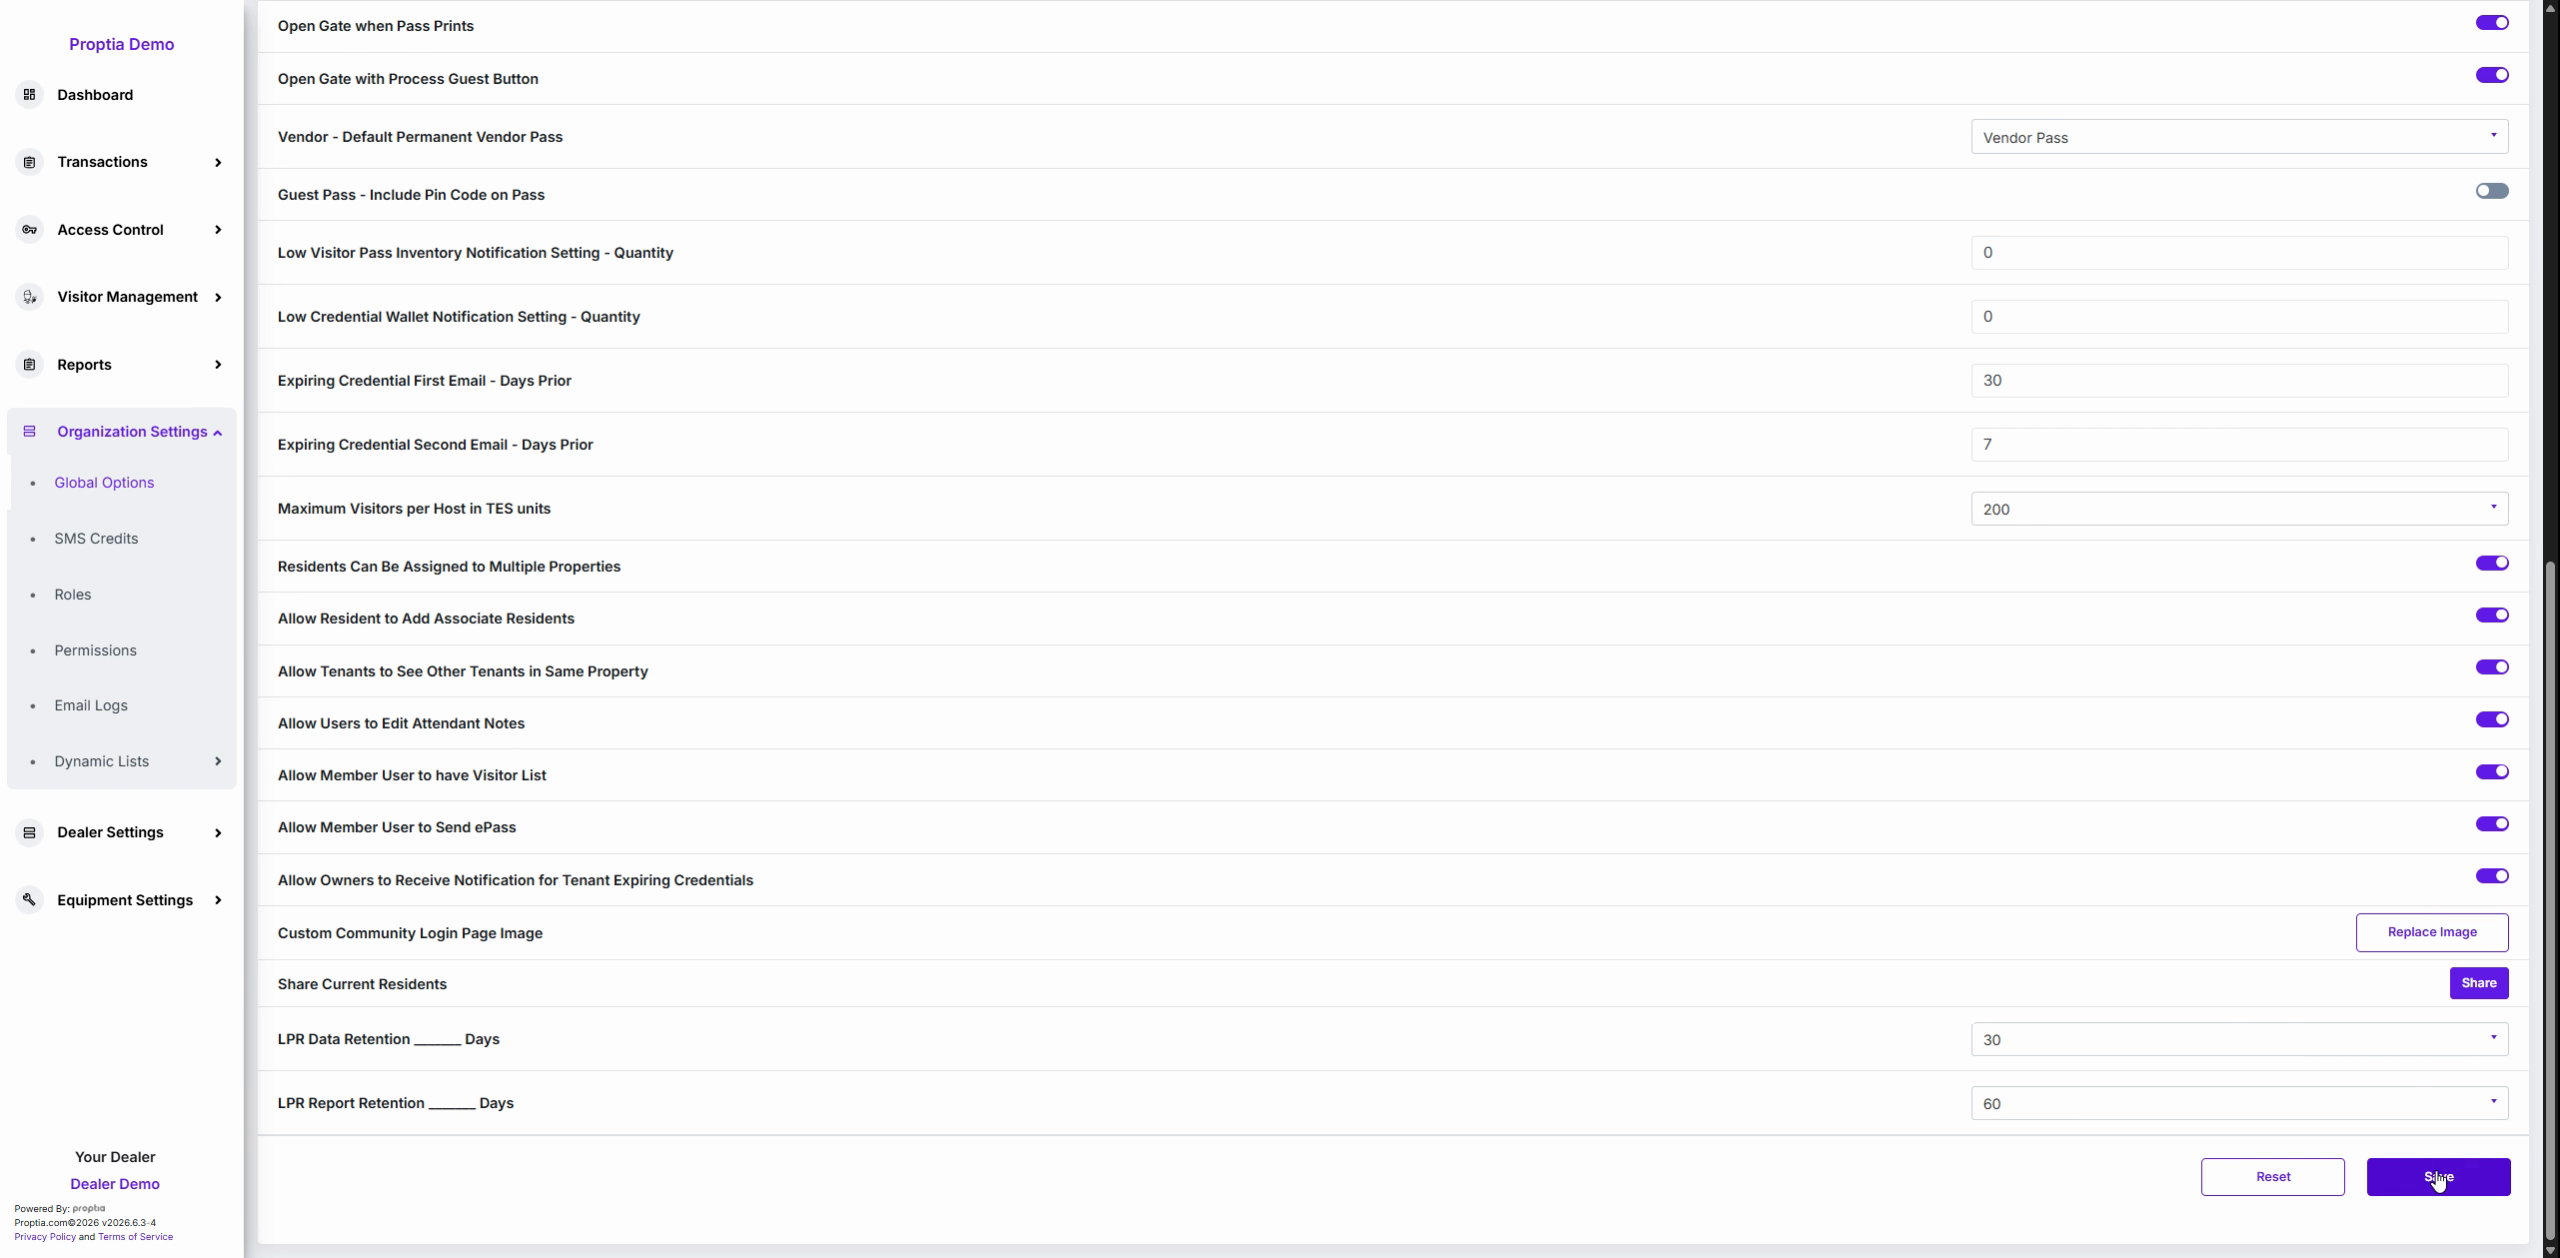
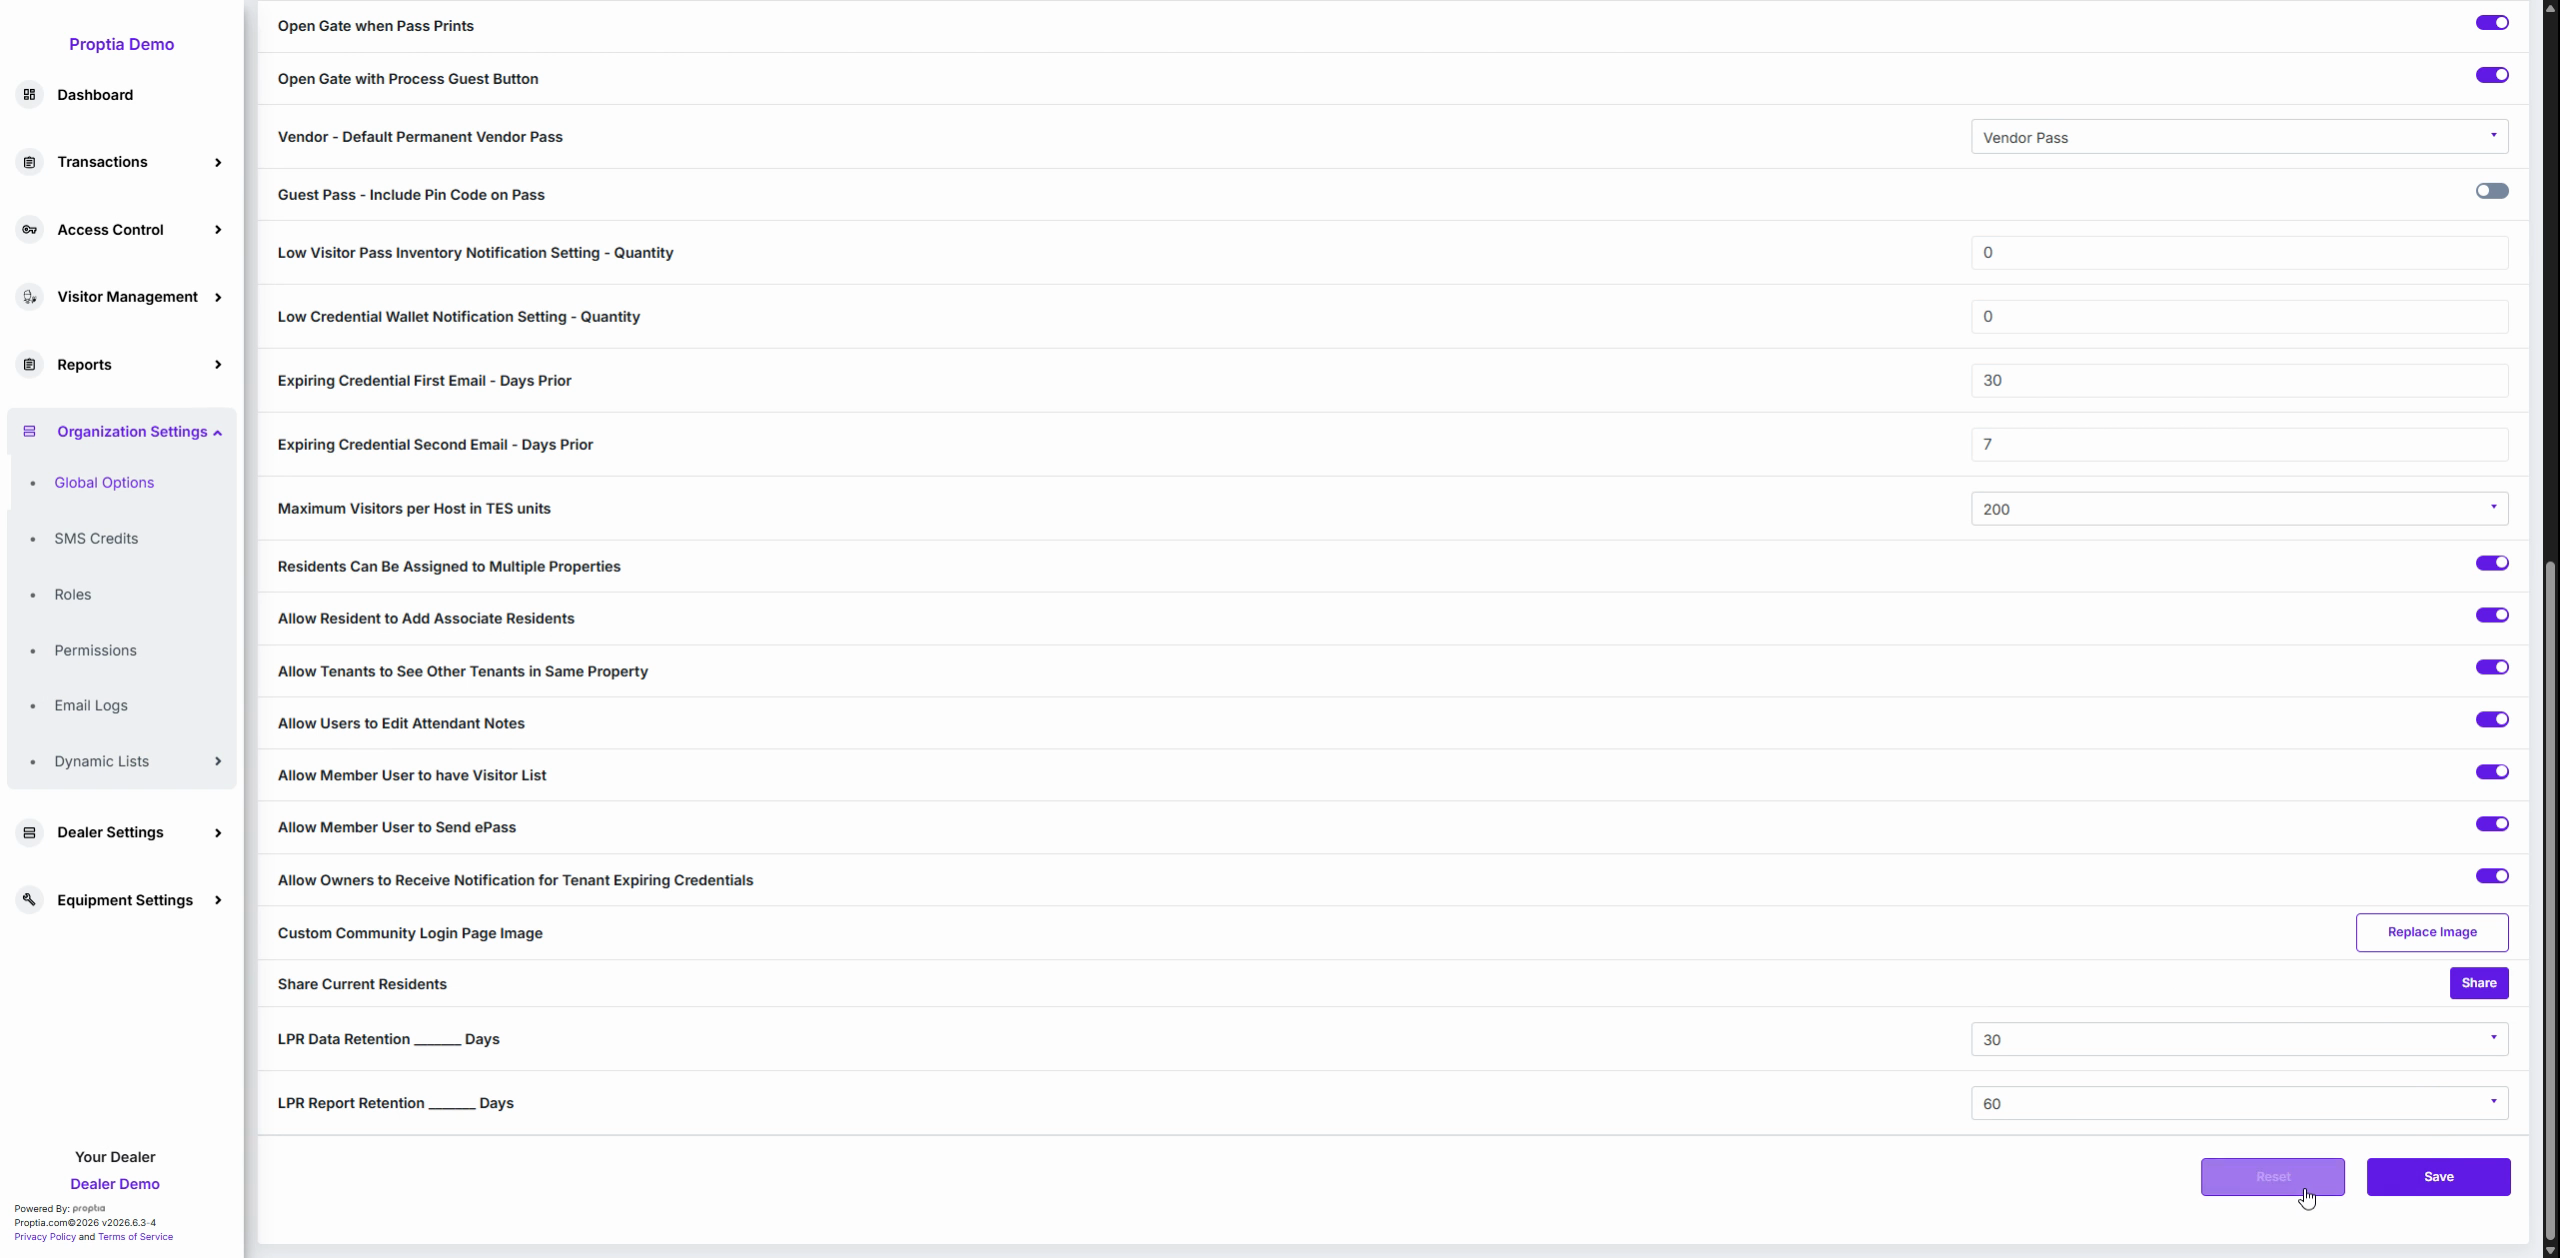
Click Reset if you need to discard unsaved edits and restore previous values instantly.
Pro Tip
Before finalizing your settings, review each tab with the search filter cleared to ensure all necessary controls are addressed. Consistently using the Save button after changes prevents accidental misconfiguration and ensures uninterrupted operation for your team.
How to Configure Attendant Settings for Optimal Gatehouse Security
Configuring the Attendant Settings tab in your global options gives you granular control over what gate attendants can see and do. Optimizing these permissions ensures secure, efficient operations at community gates.
Module 1: Accessing Attendant Settings
Select Global Options from the main navigation.
Click the Attendant Settings tab at the top of the page (the second tab from the left).
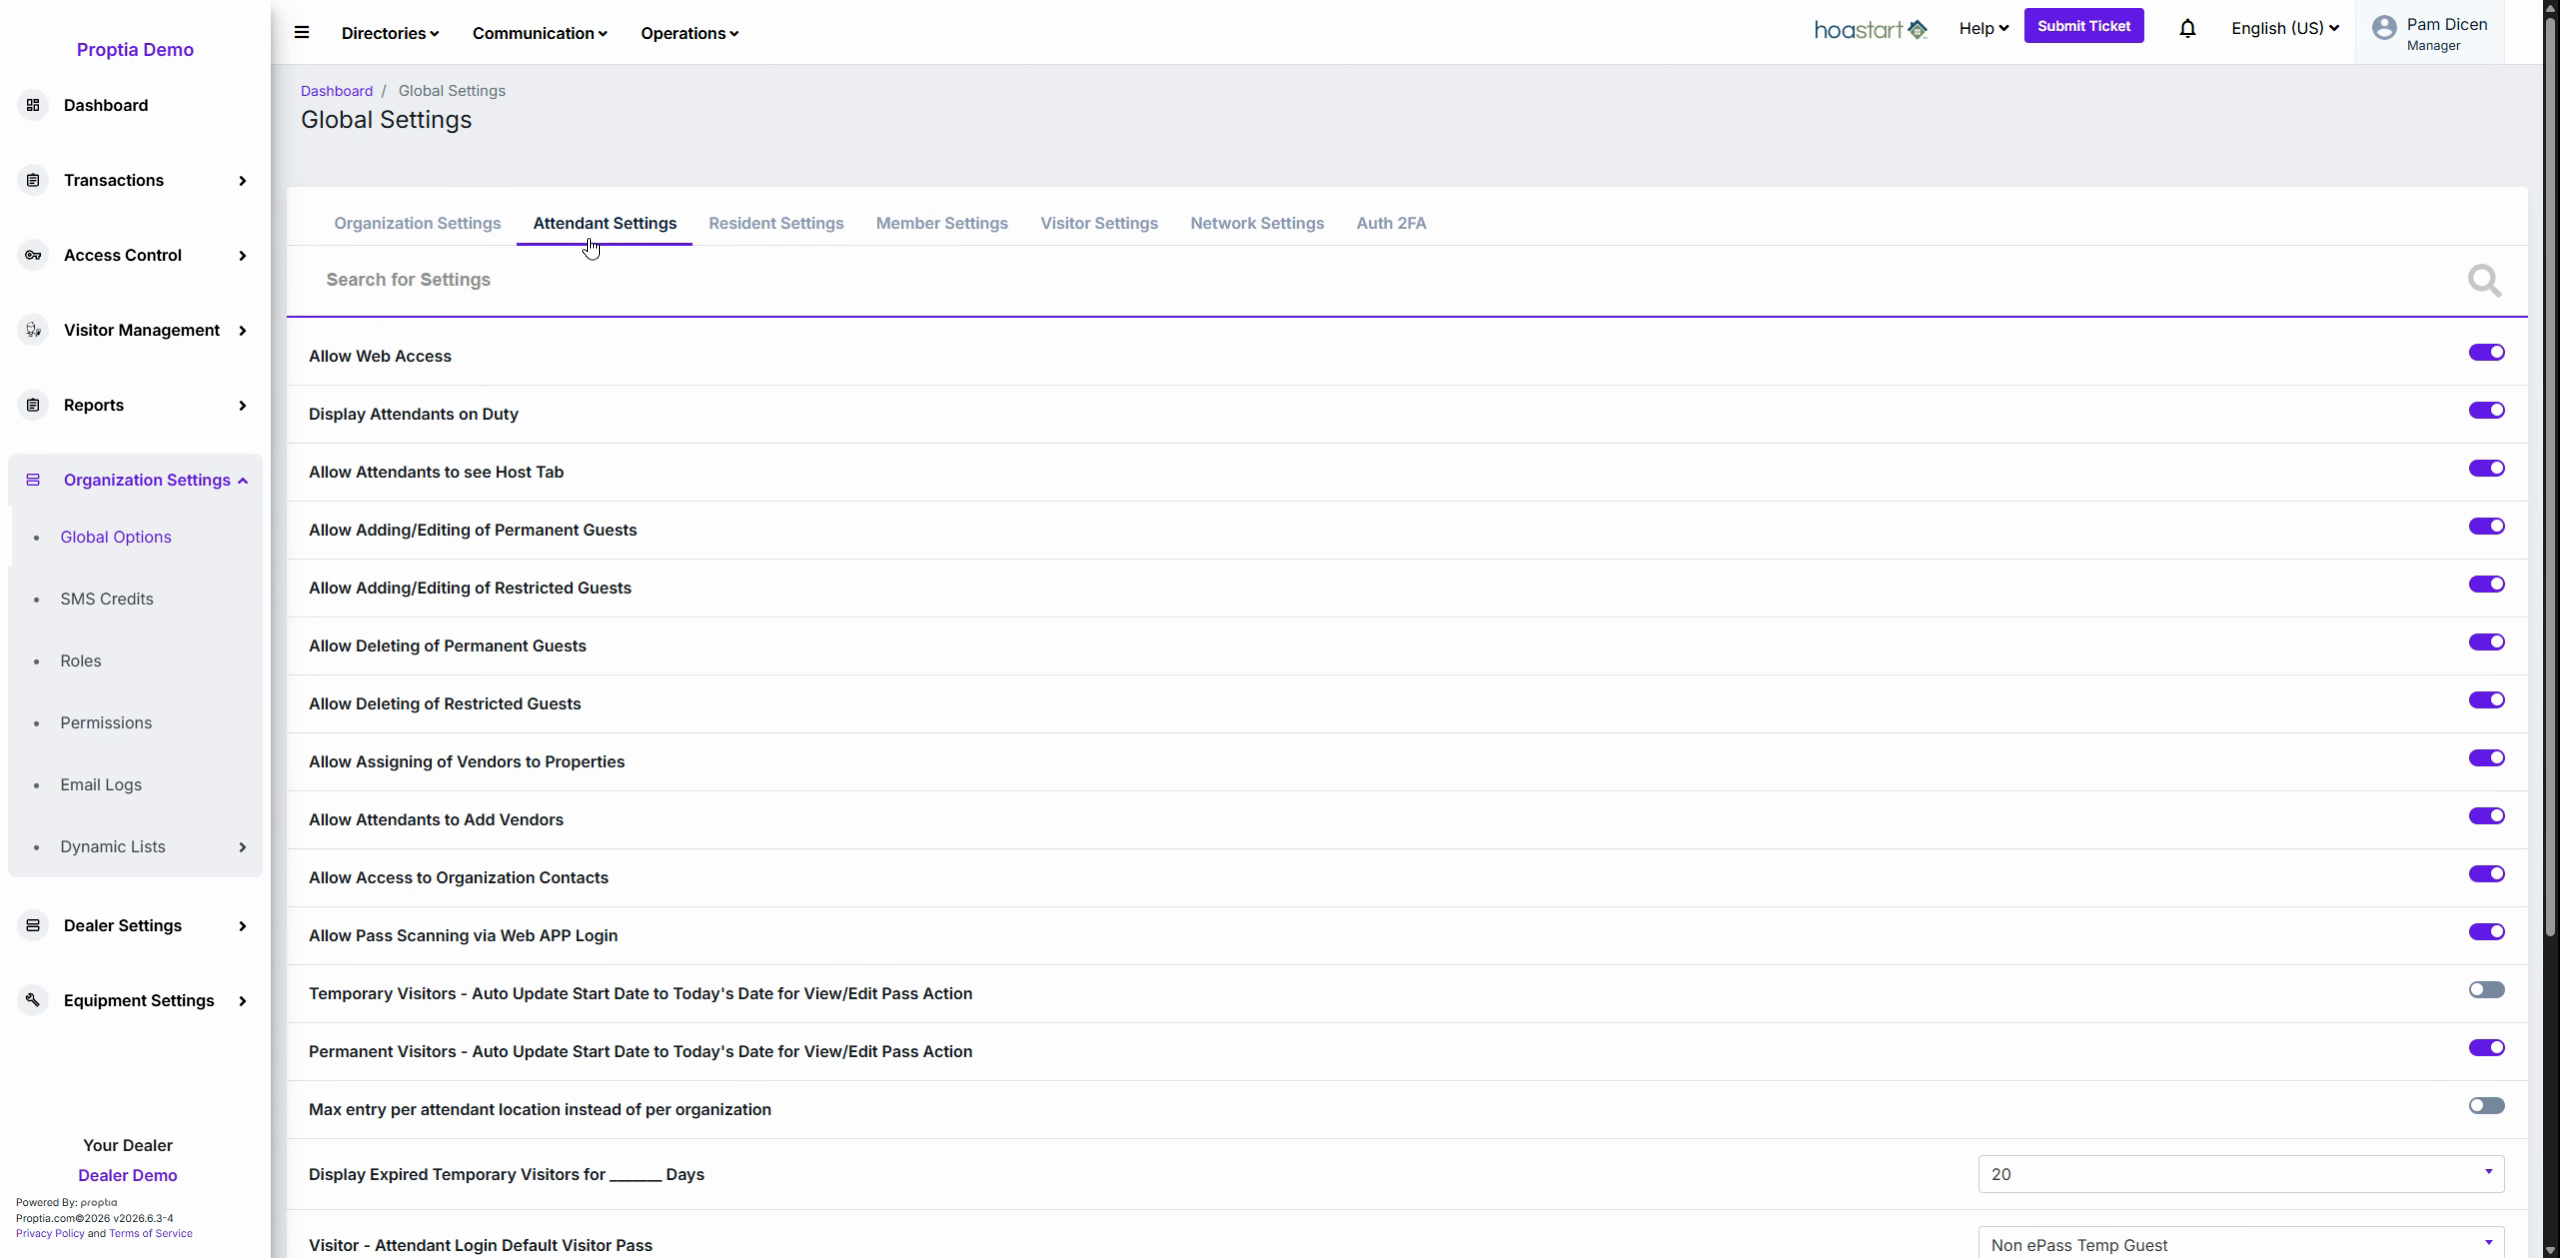
> This brings you to the area where you can fine-tune security, data visibility, and operational controls for your gate staff.
Module 2: Managing Attendant Capabilities
Web and Status Options
Toggle Allow Web Access to define whether attendants may log into the web platform.
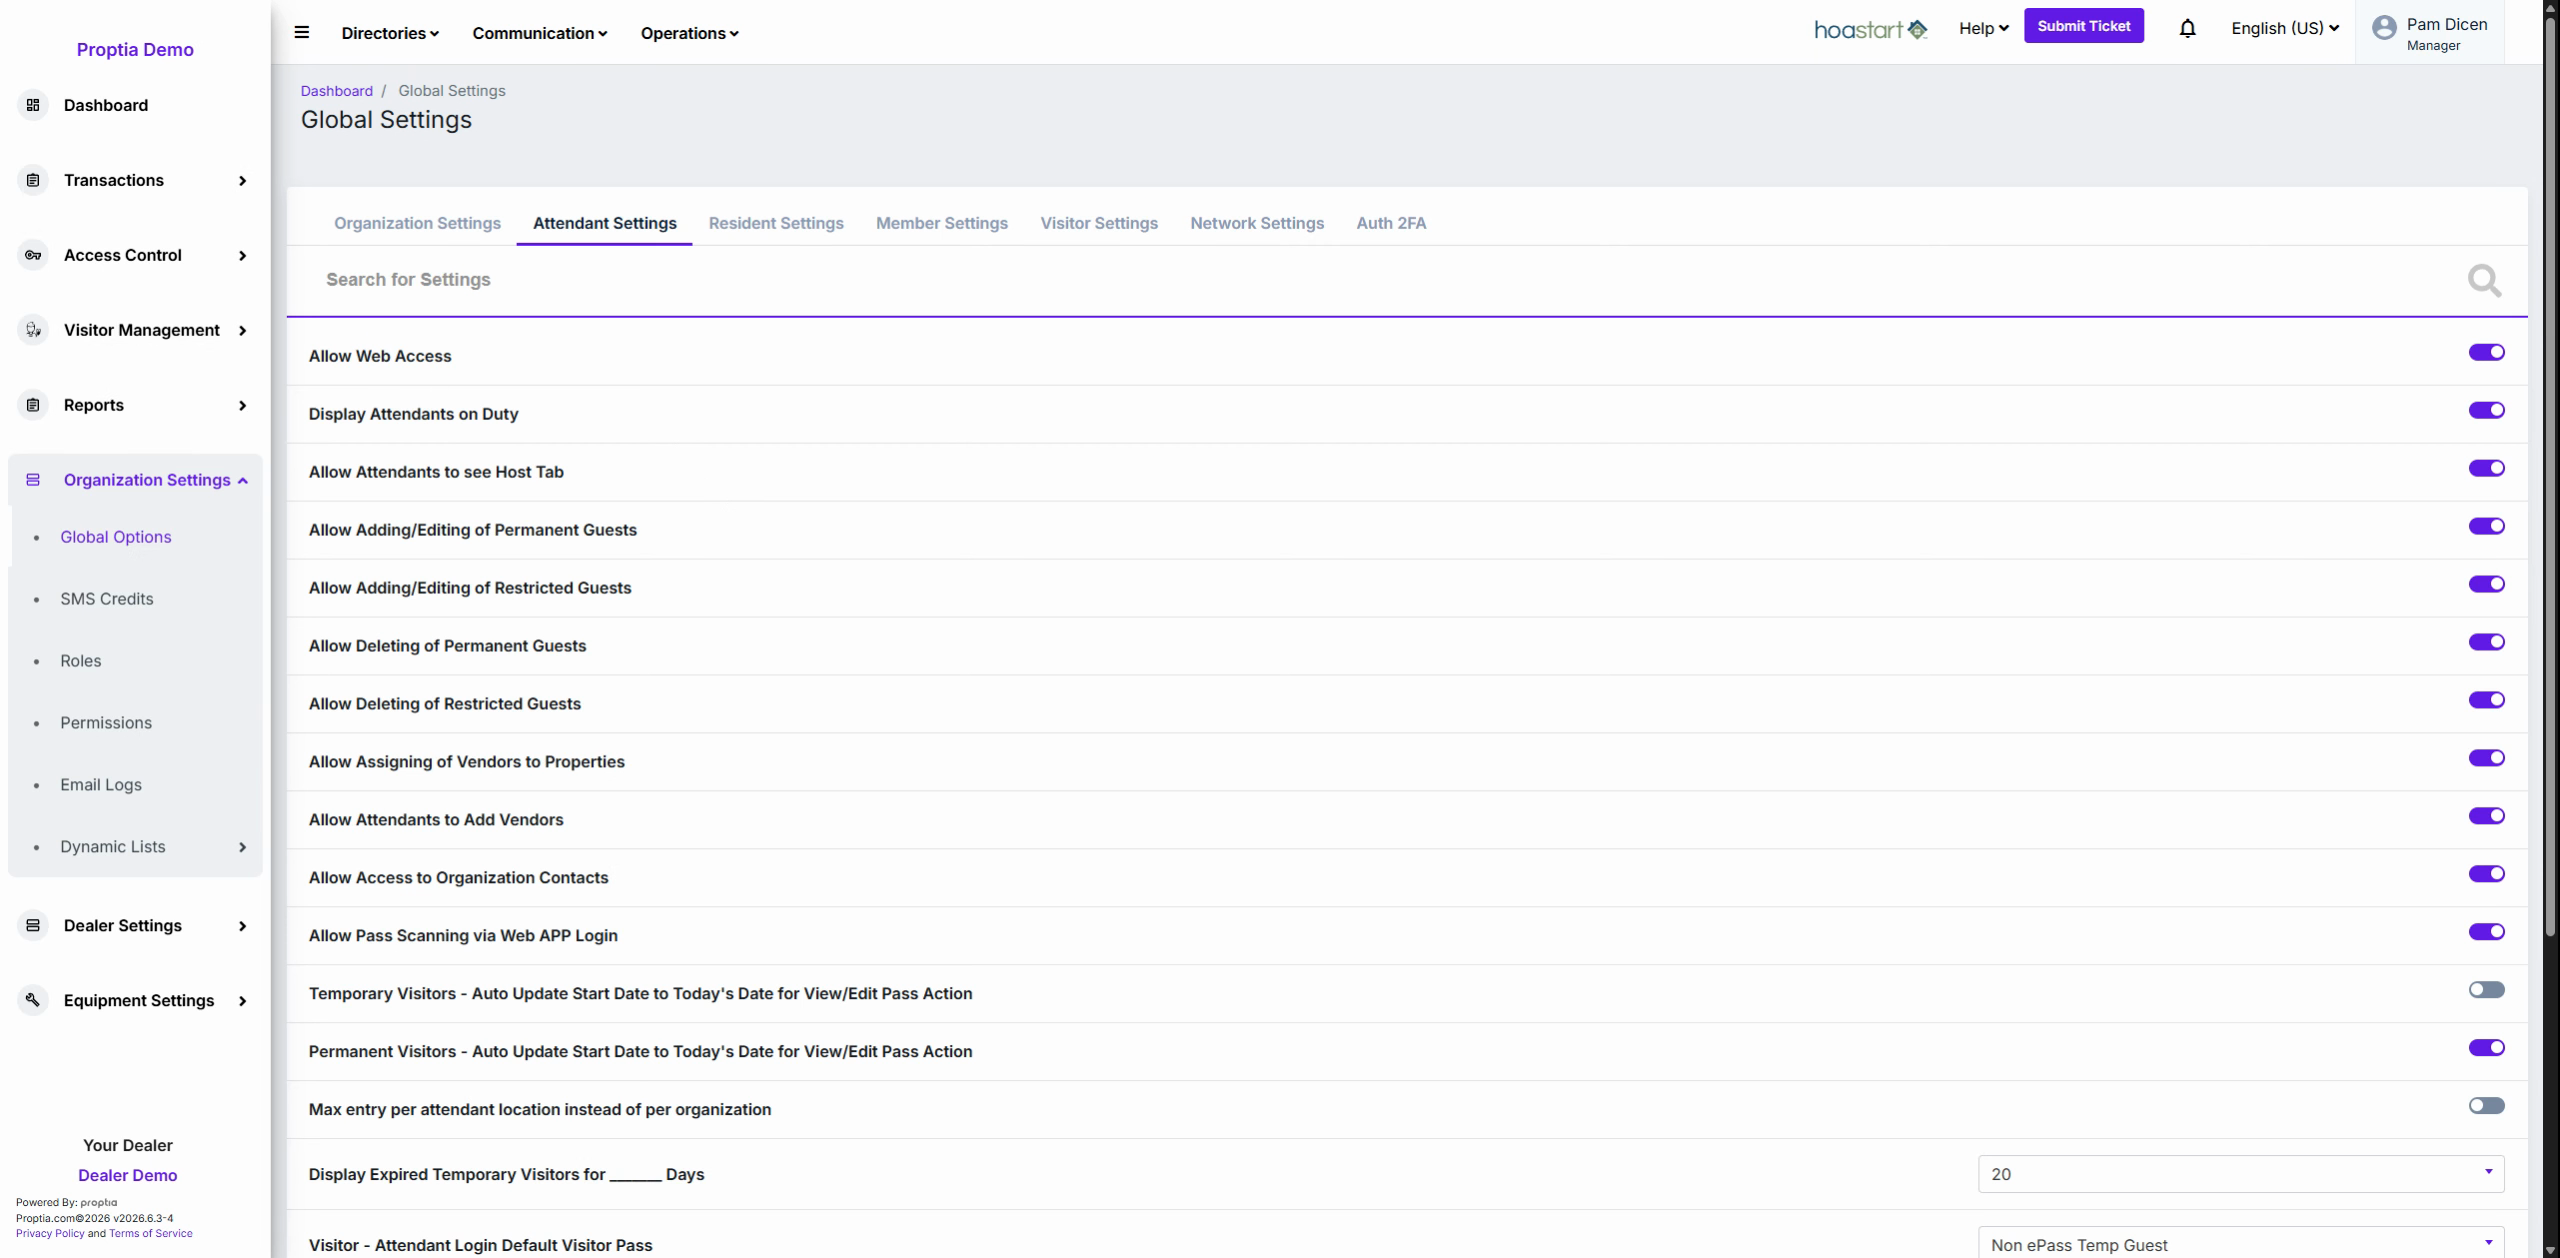
Enable or disable Display Attendance on Duty to show active staff either publicly or internally.
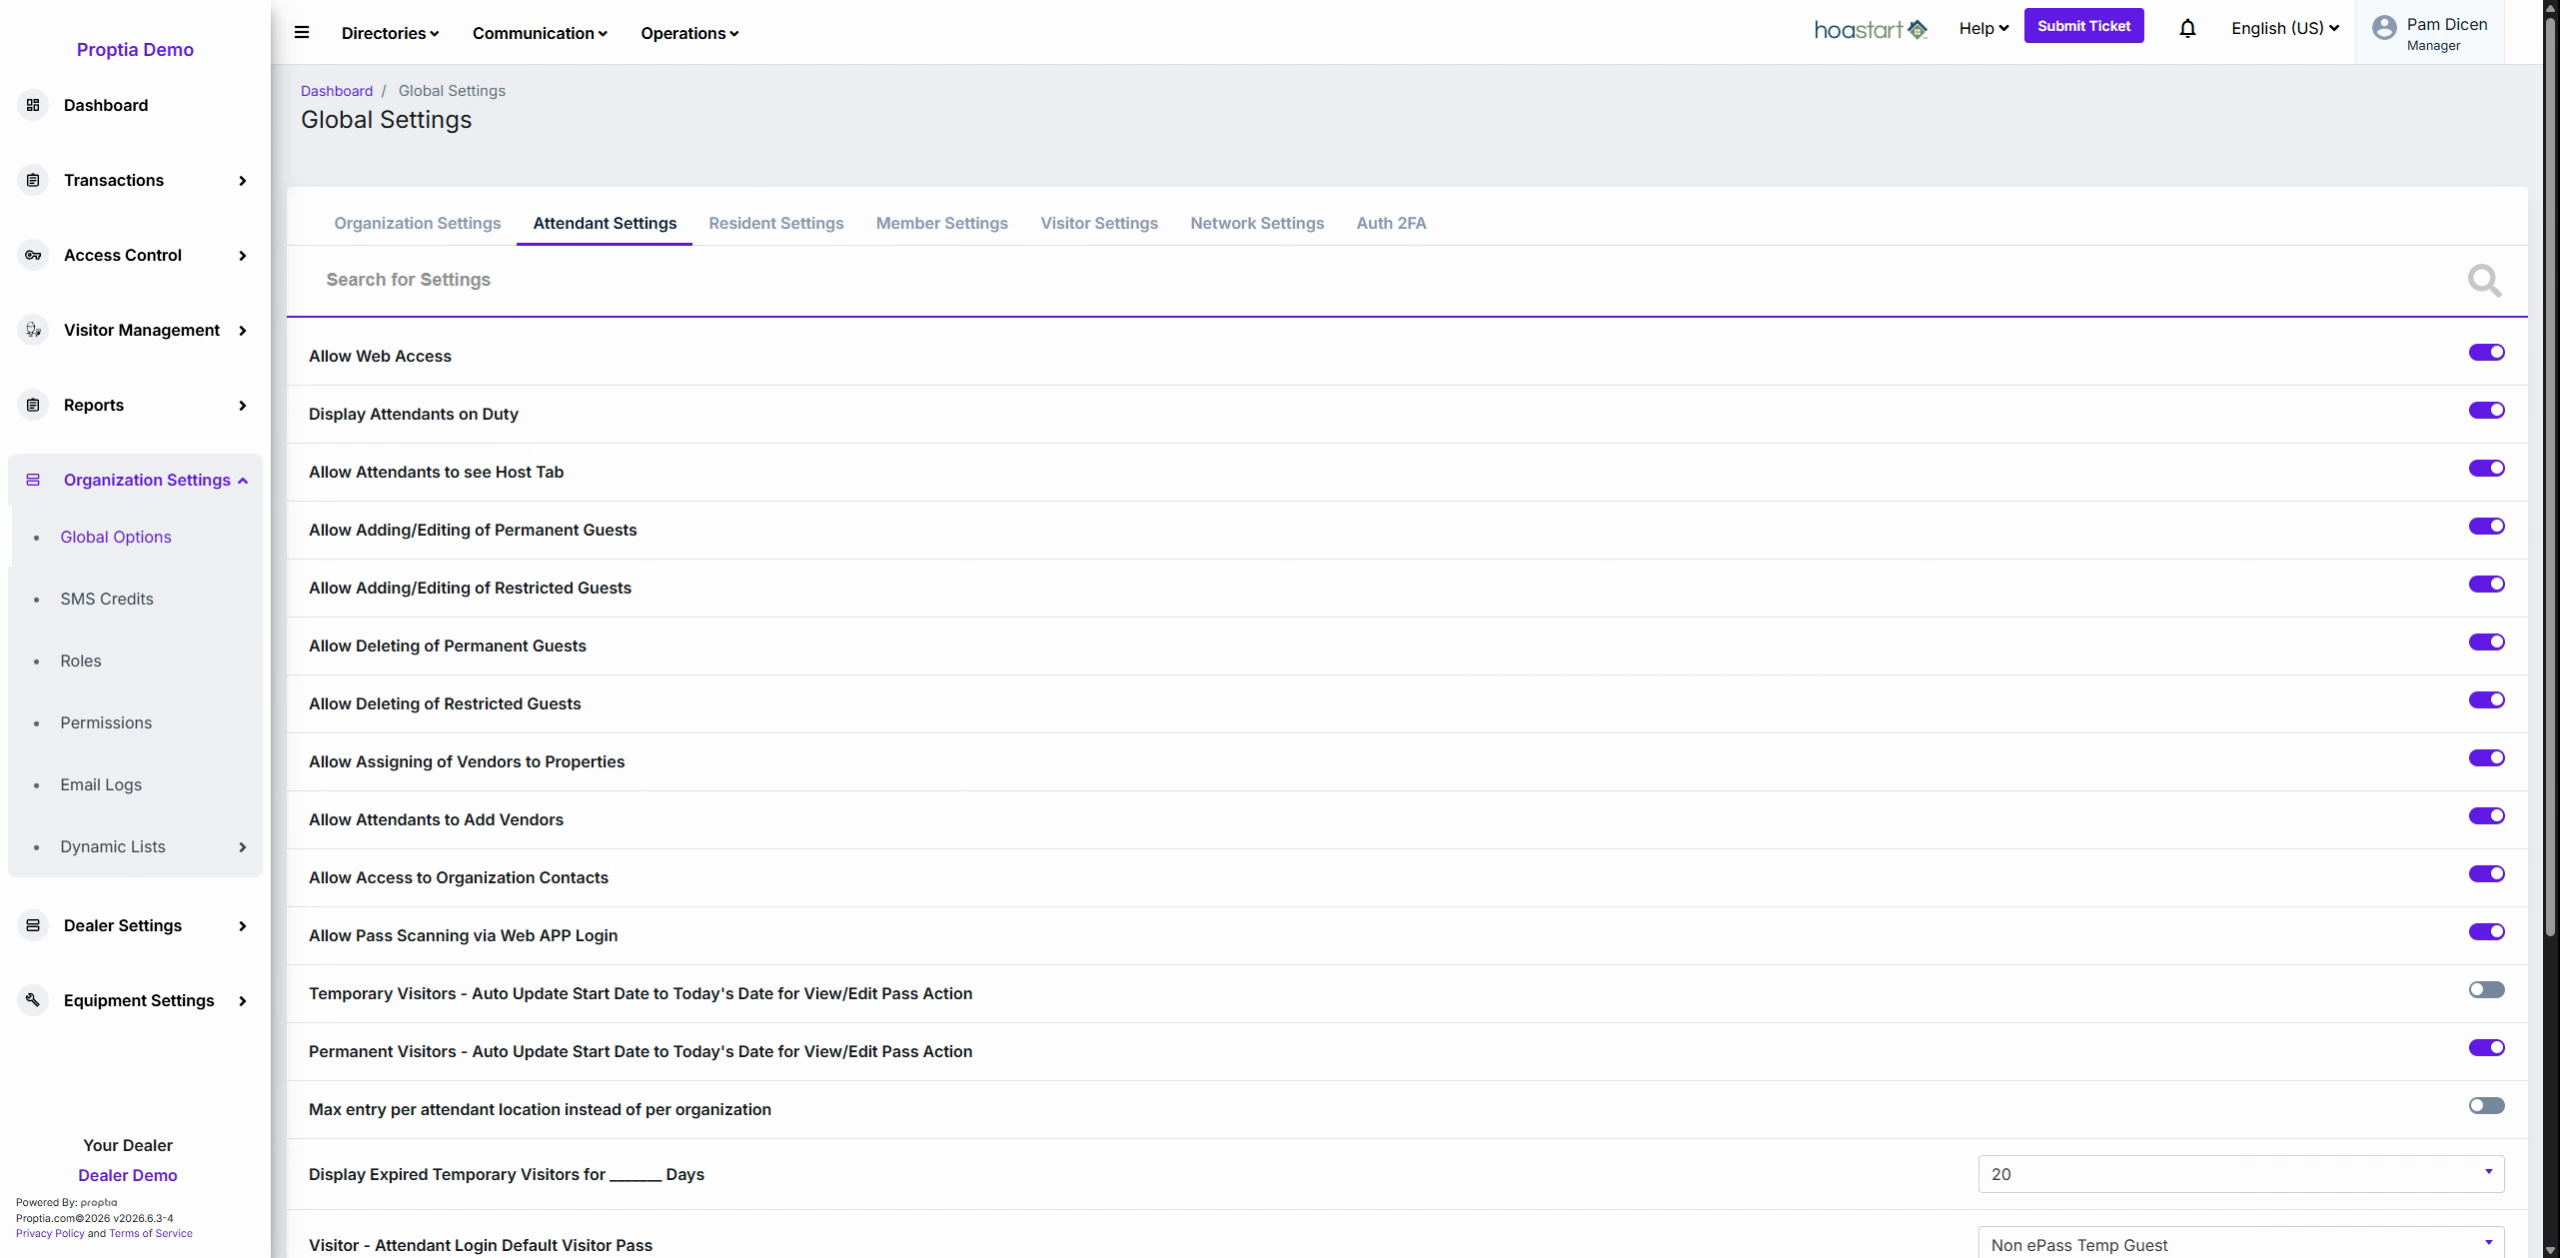
Toggle Allow Attendance to See Host Tab to determine if attendants can view resident or host information.
Guest List Control
Use toggles under the guest section to grant attendants rights to Add, Edit, or Delete both Permanent Guests and Restricted Guests.
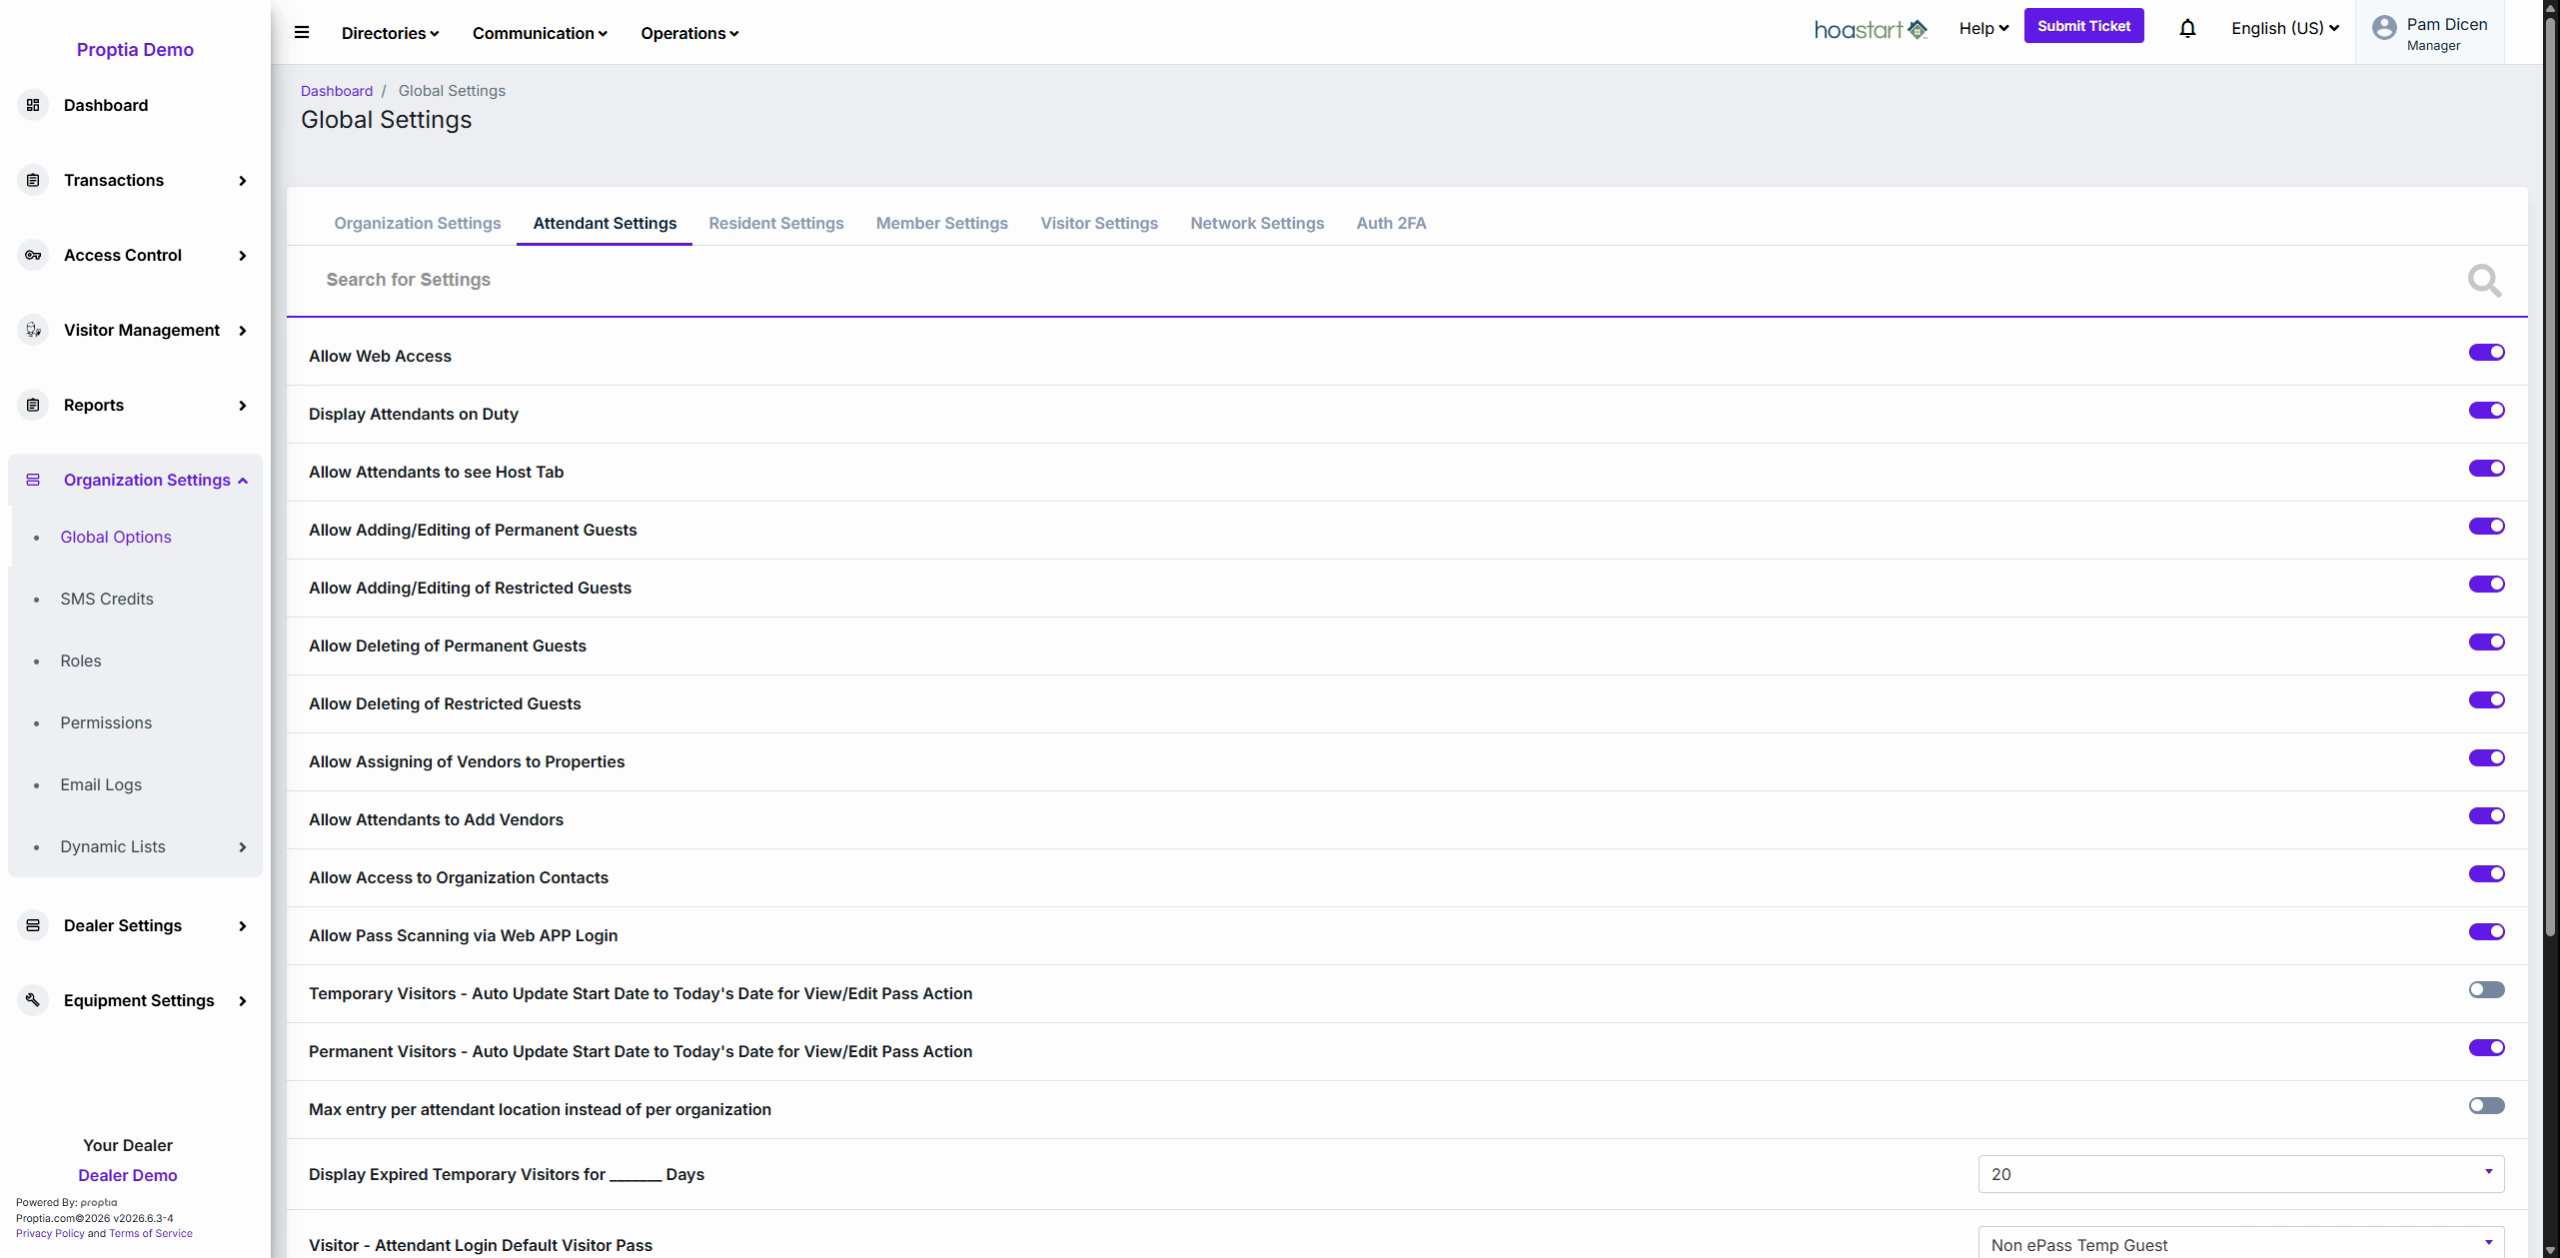
> Granting these controls lets your team manage guest lists flexibly. Disable Delete for higher security—in high-turnover or secure environments, this prevents accidental or unauthorized guest removal.
Module 3: Vendor and Data Permissions
Activate Allow Assign Vendors to Properties and Allow Attendance to Add Vendors to enable onsite registration and assignment of new vendors.
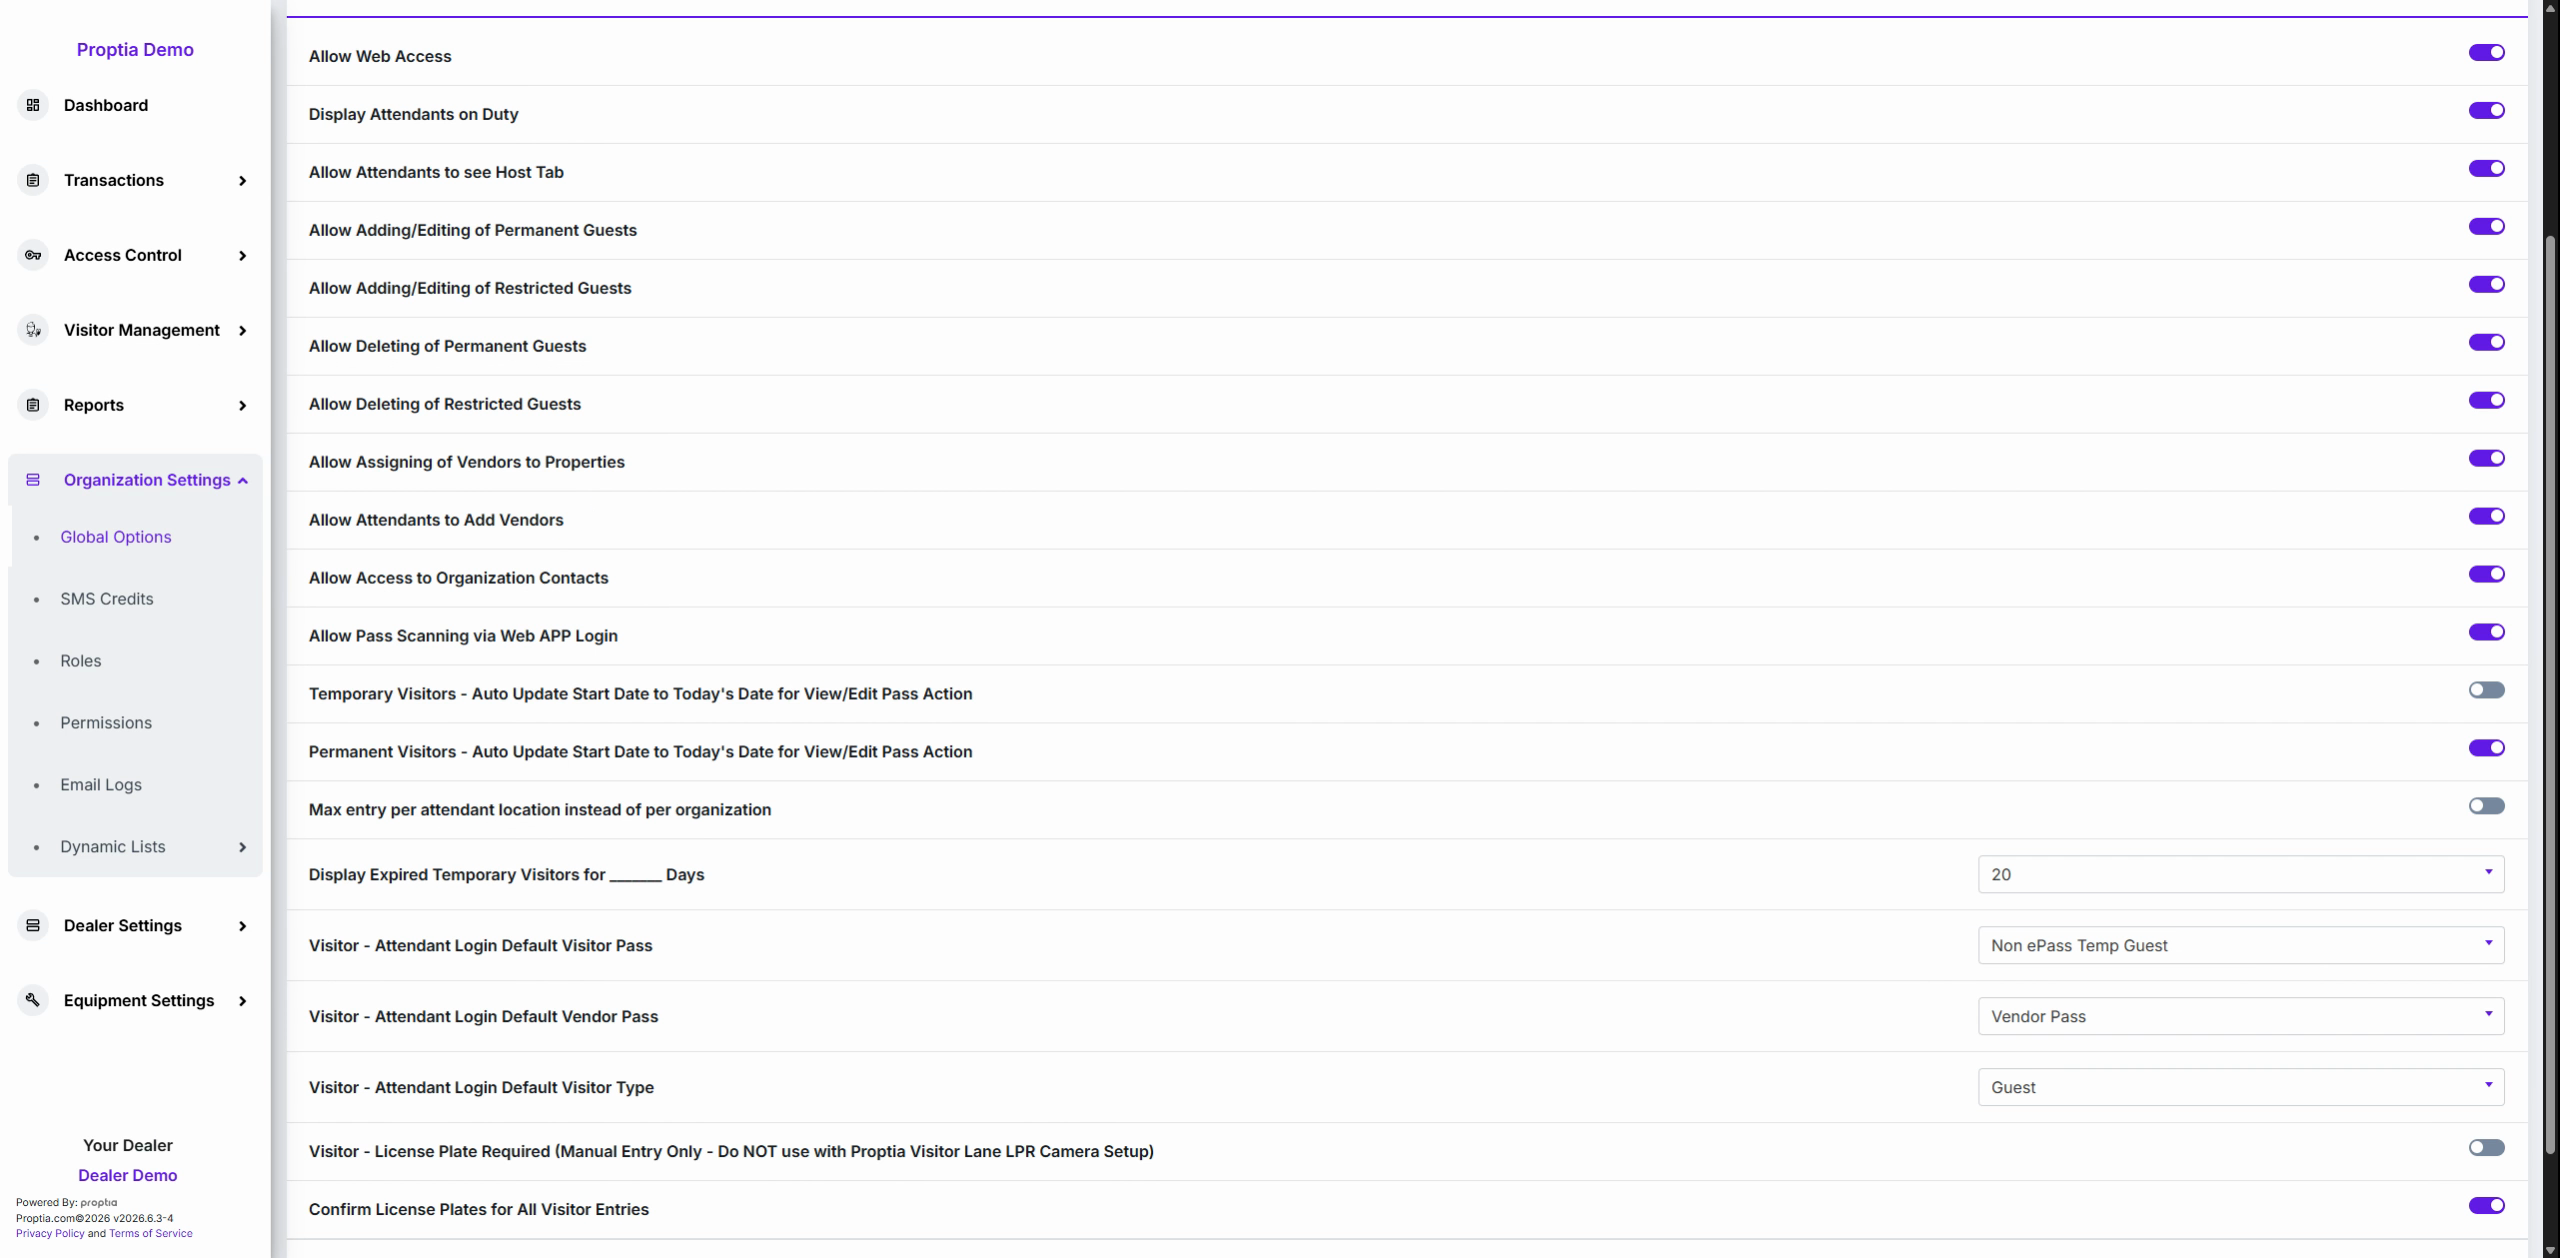
Switch on Allow Access to Organization Contact to provide attendants with access to emergency and admin directories.
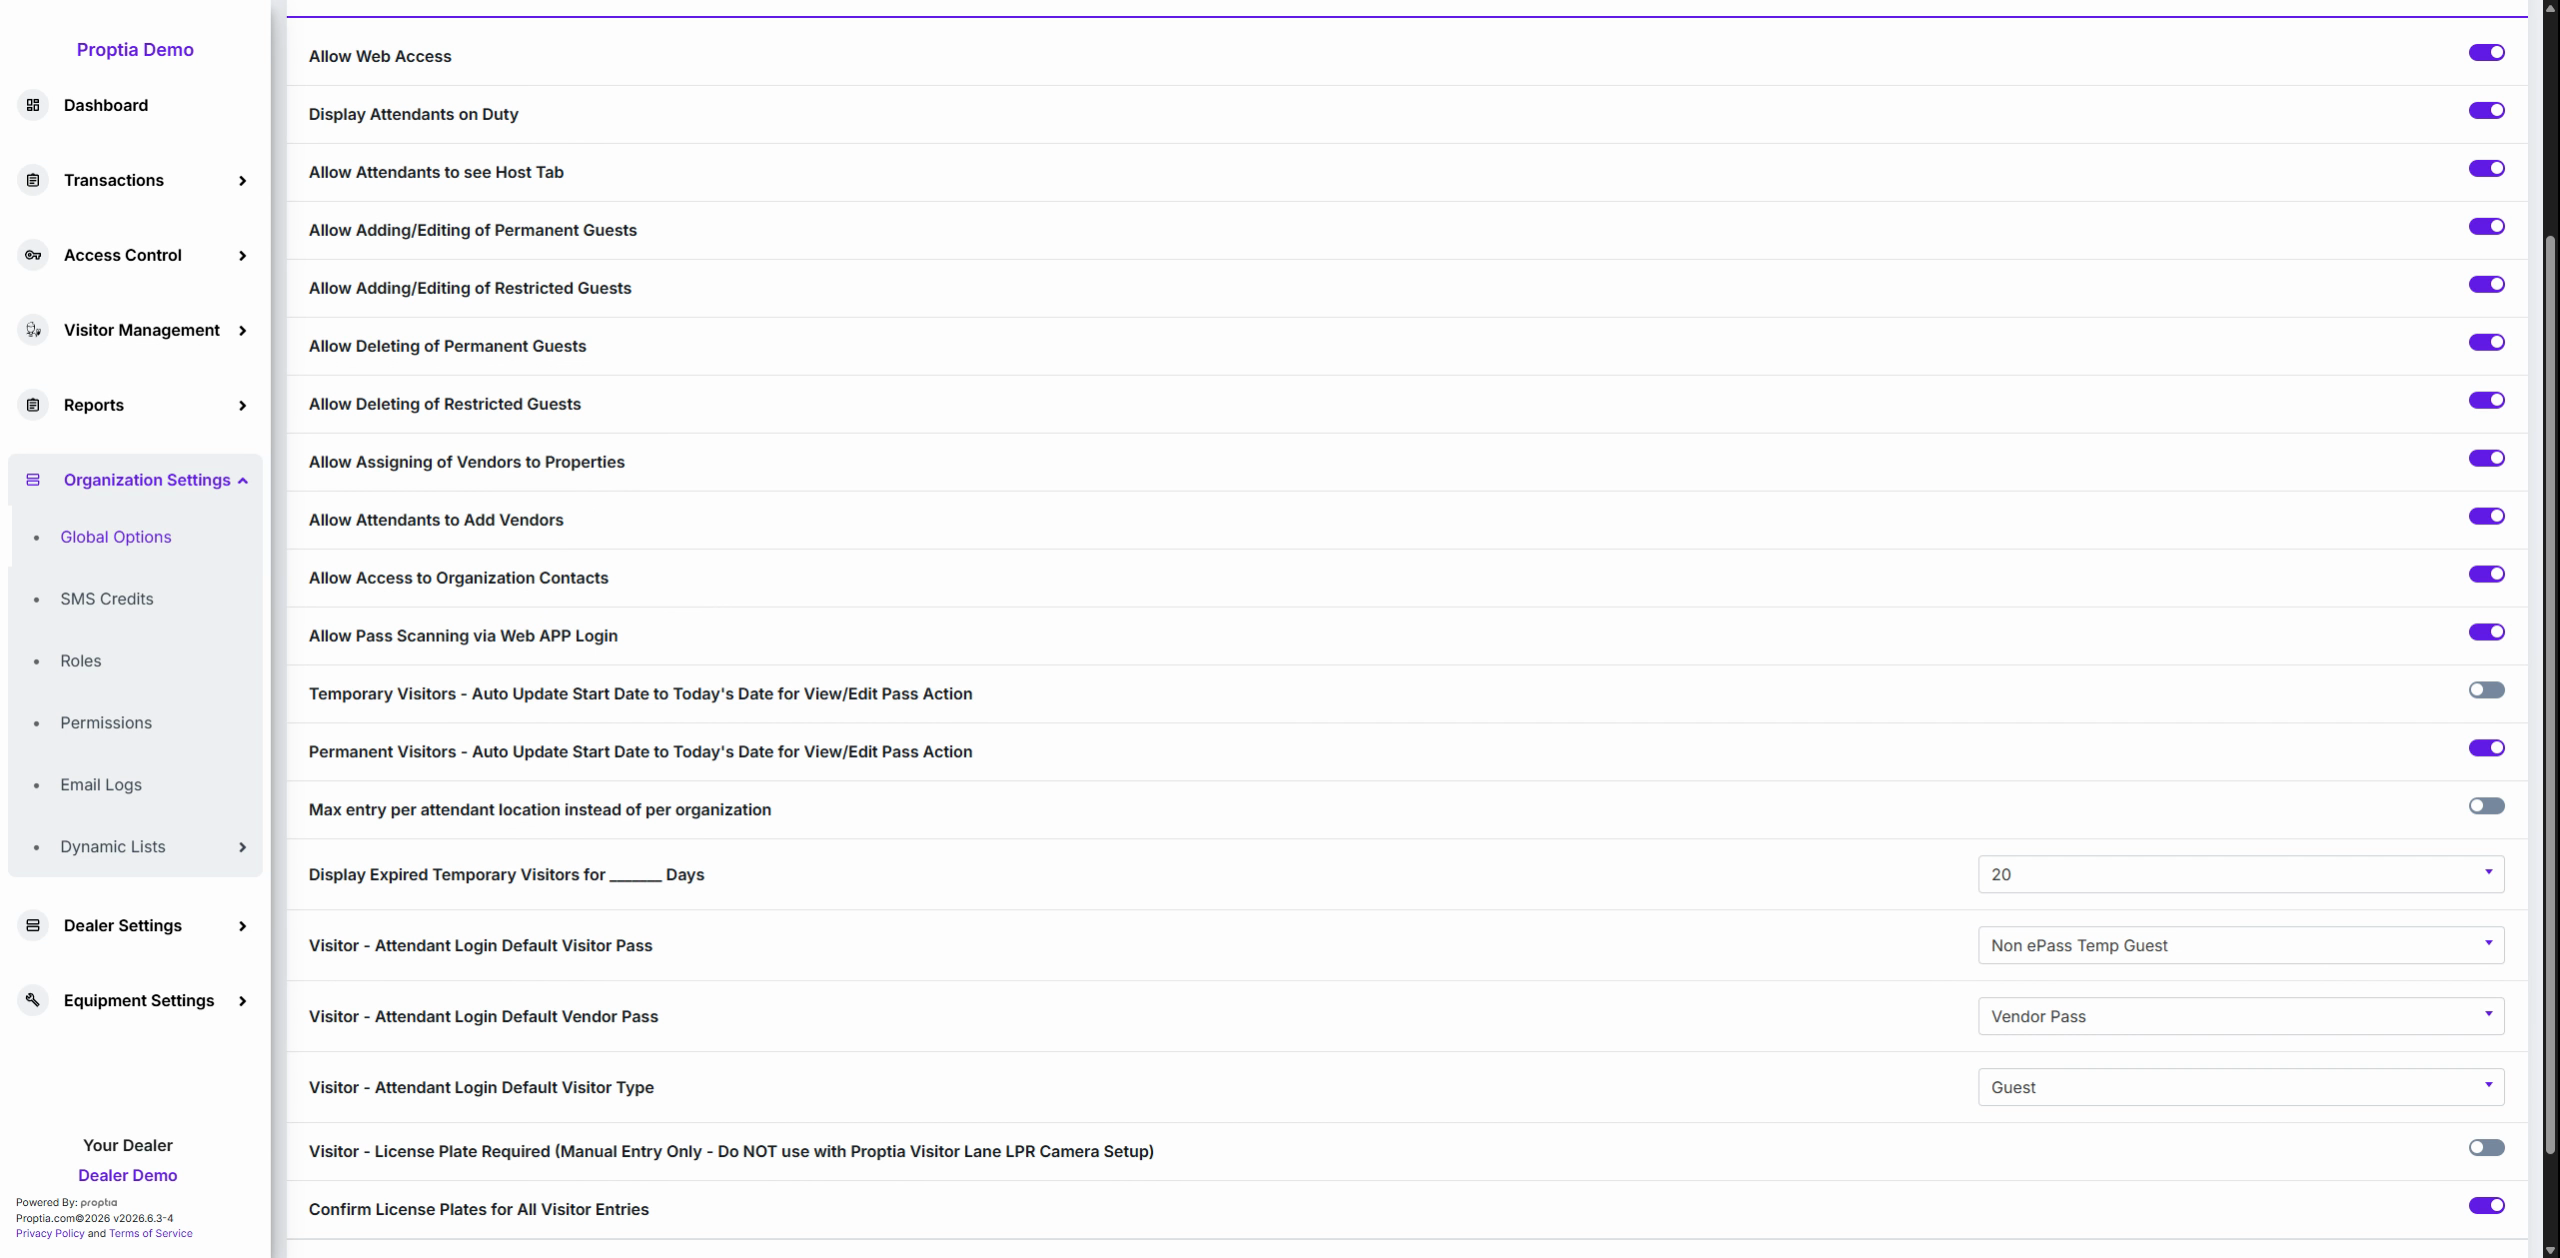
Toggle Allow Pass Scanning via Web App Login to let attendants scan visitor barcodes directly through the browser.
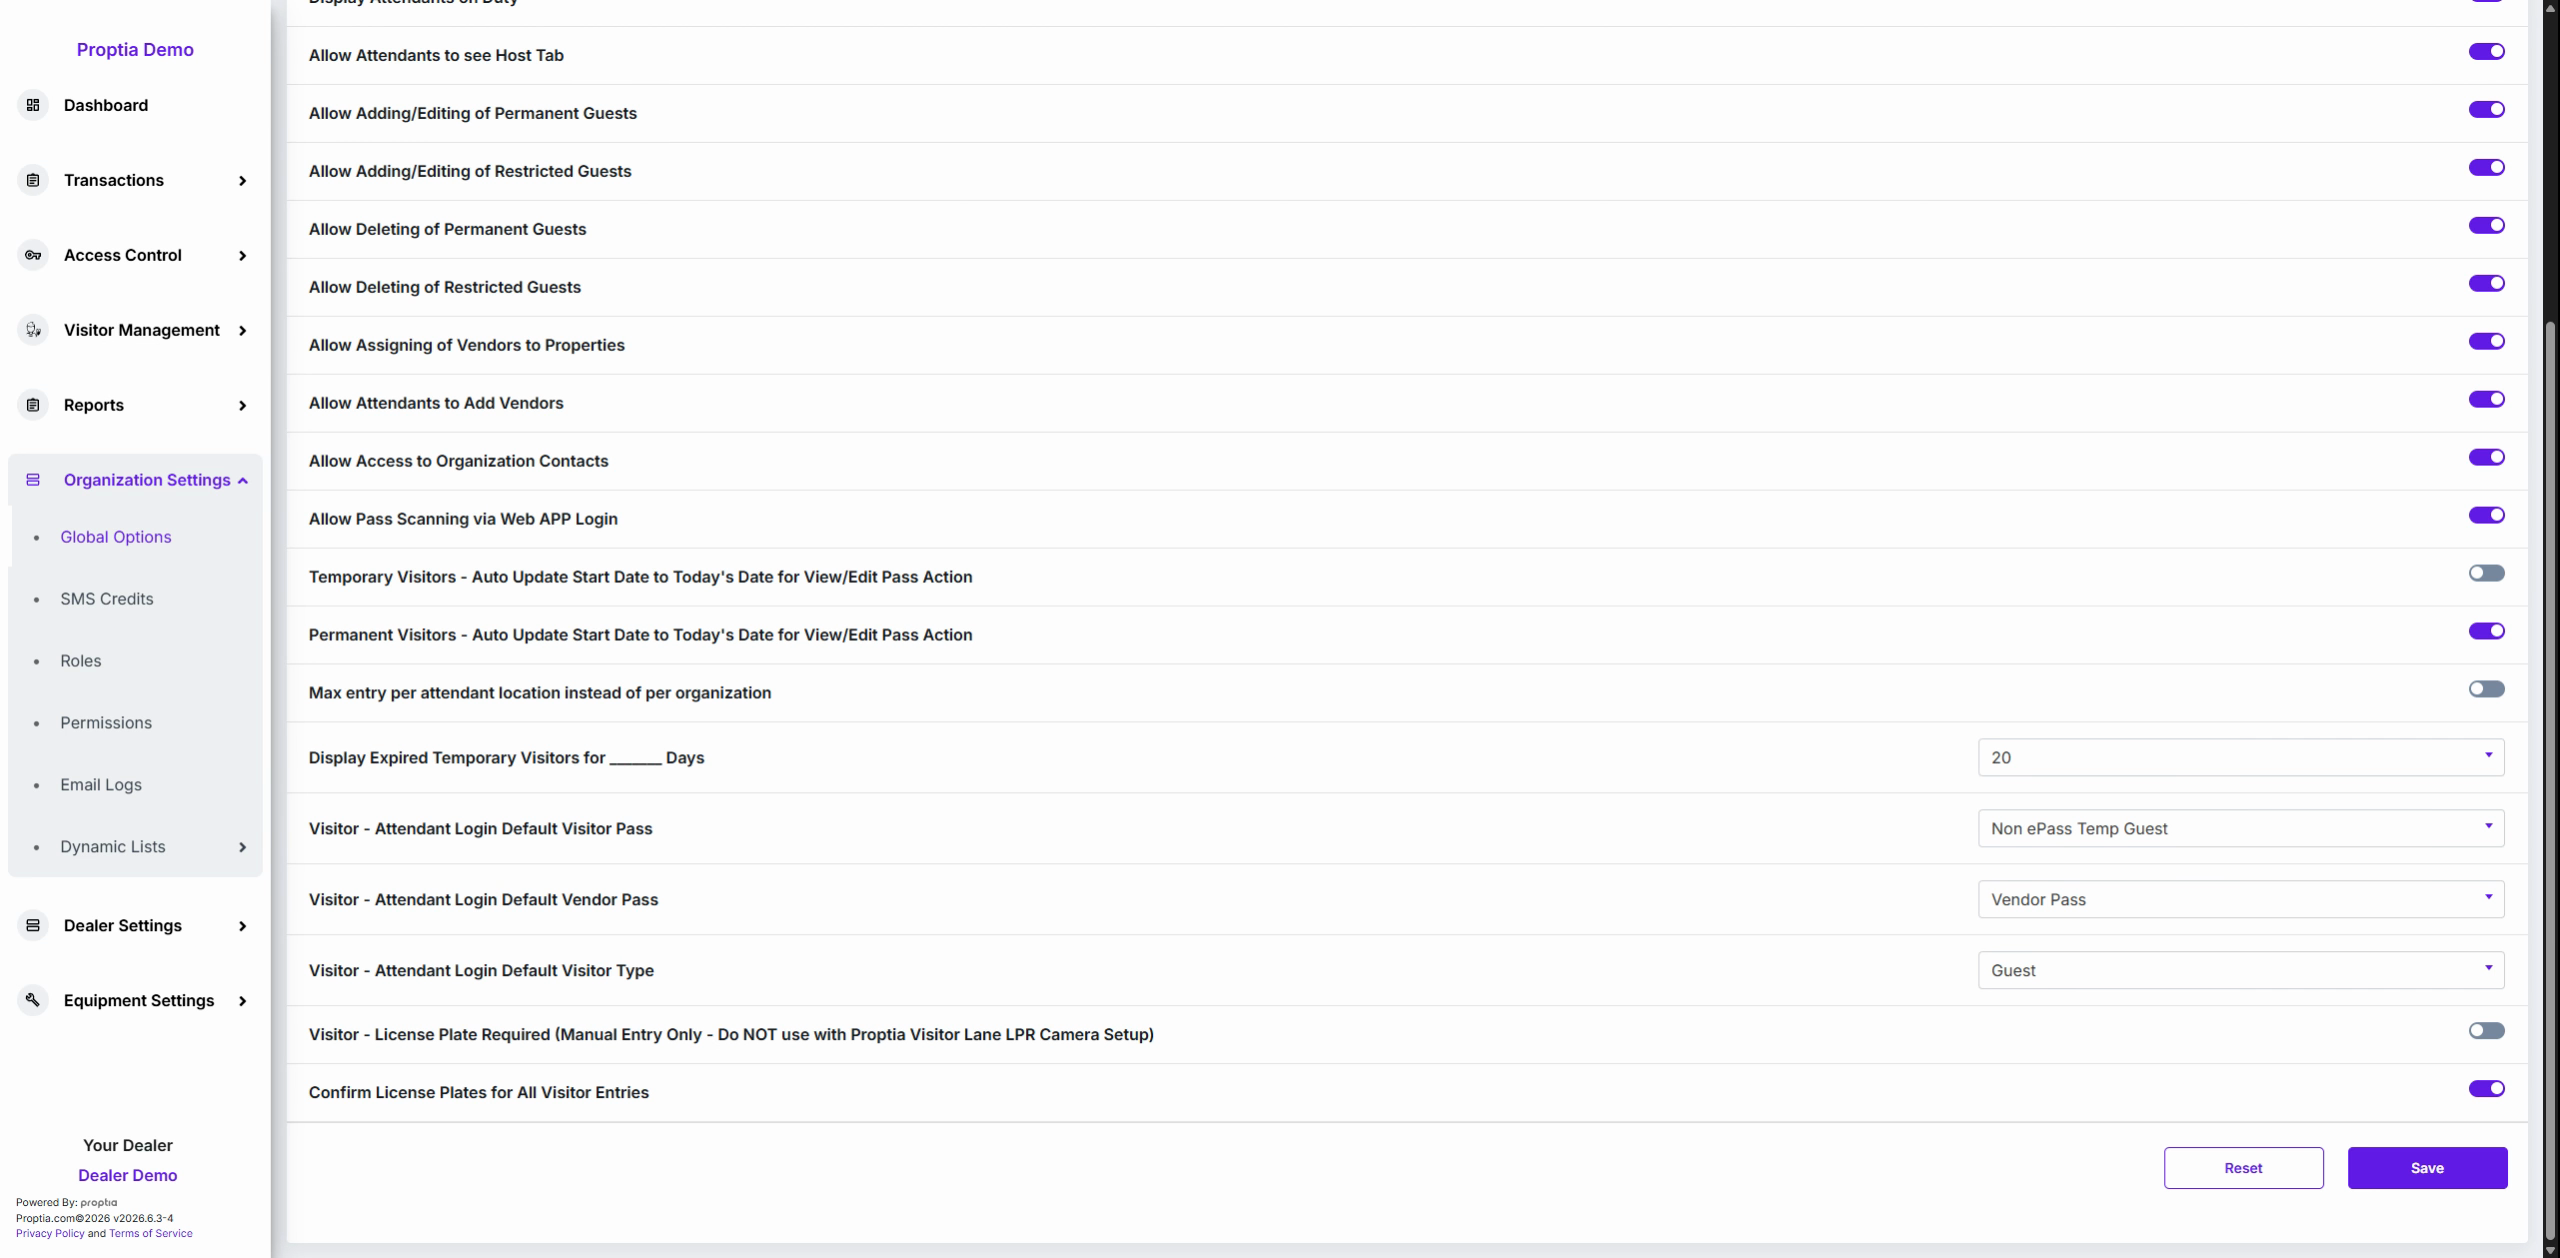
Module 4: Attendant Dashboard Behavior
Set Auto Update Start Date to Today’s Date for View or Edit for both temporary and permanent visitors. When enabled, this refreshes the pass start date upon viewing or editing, reducing manual entry.
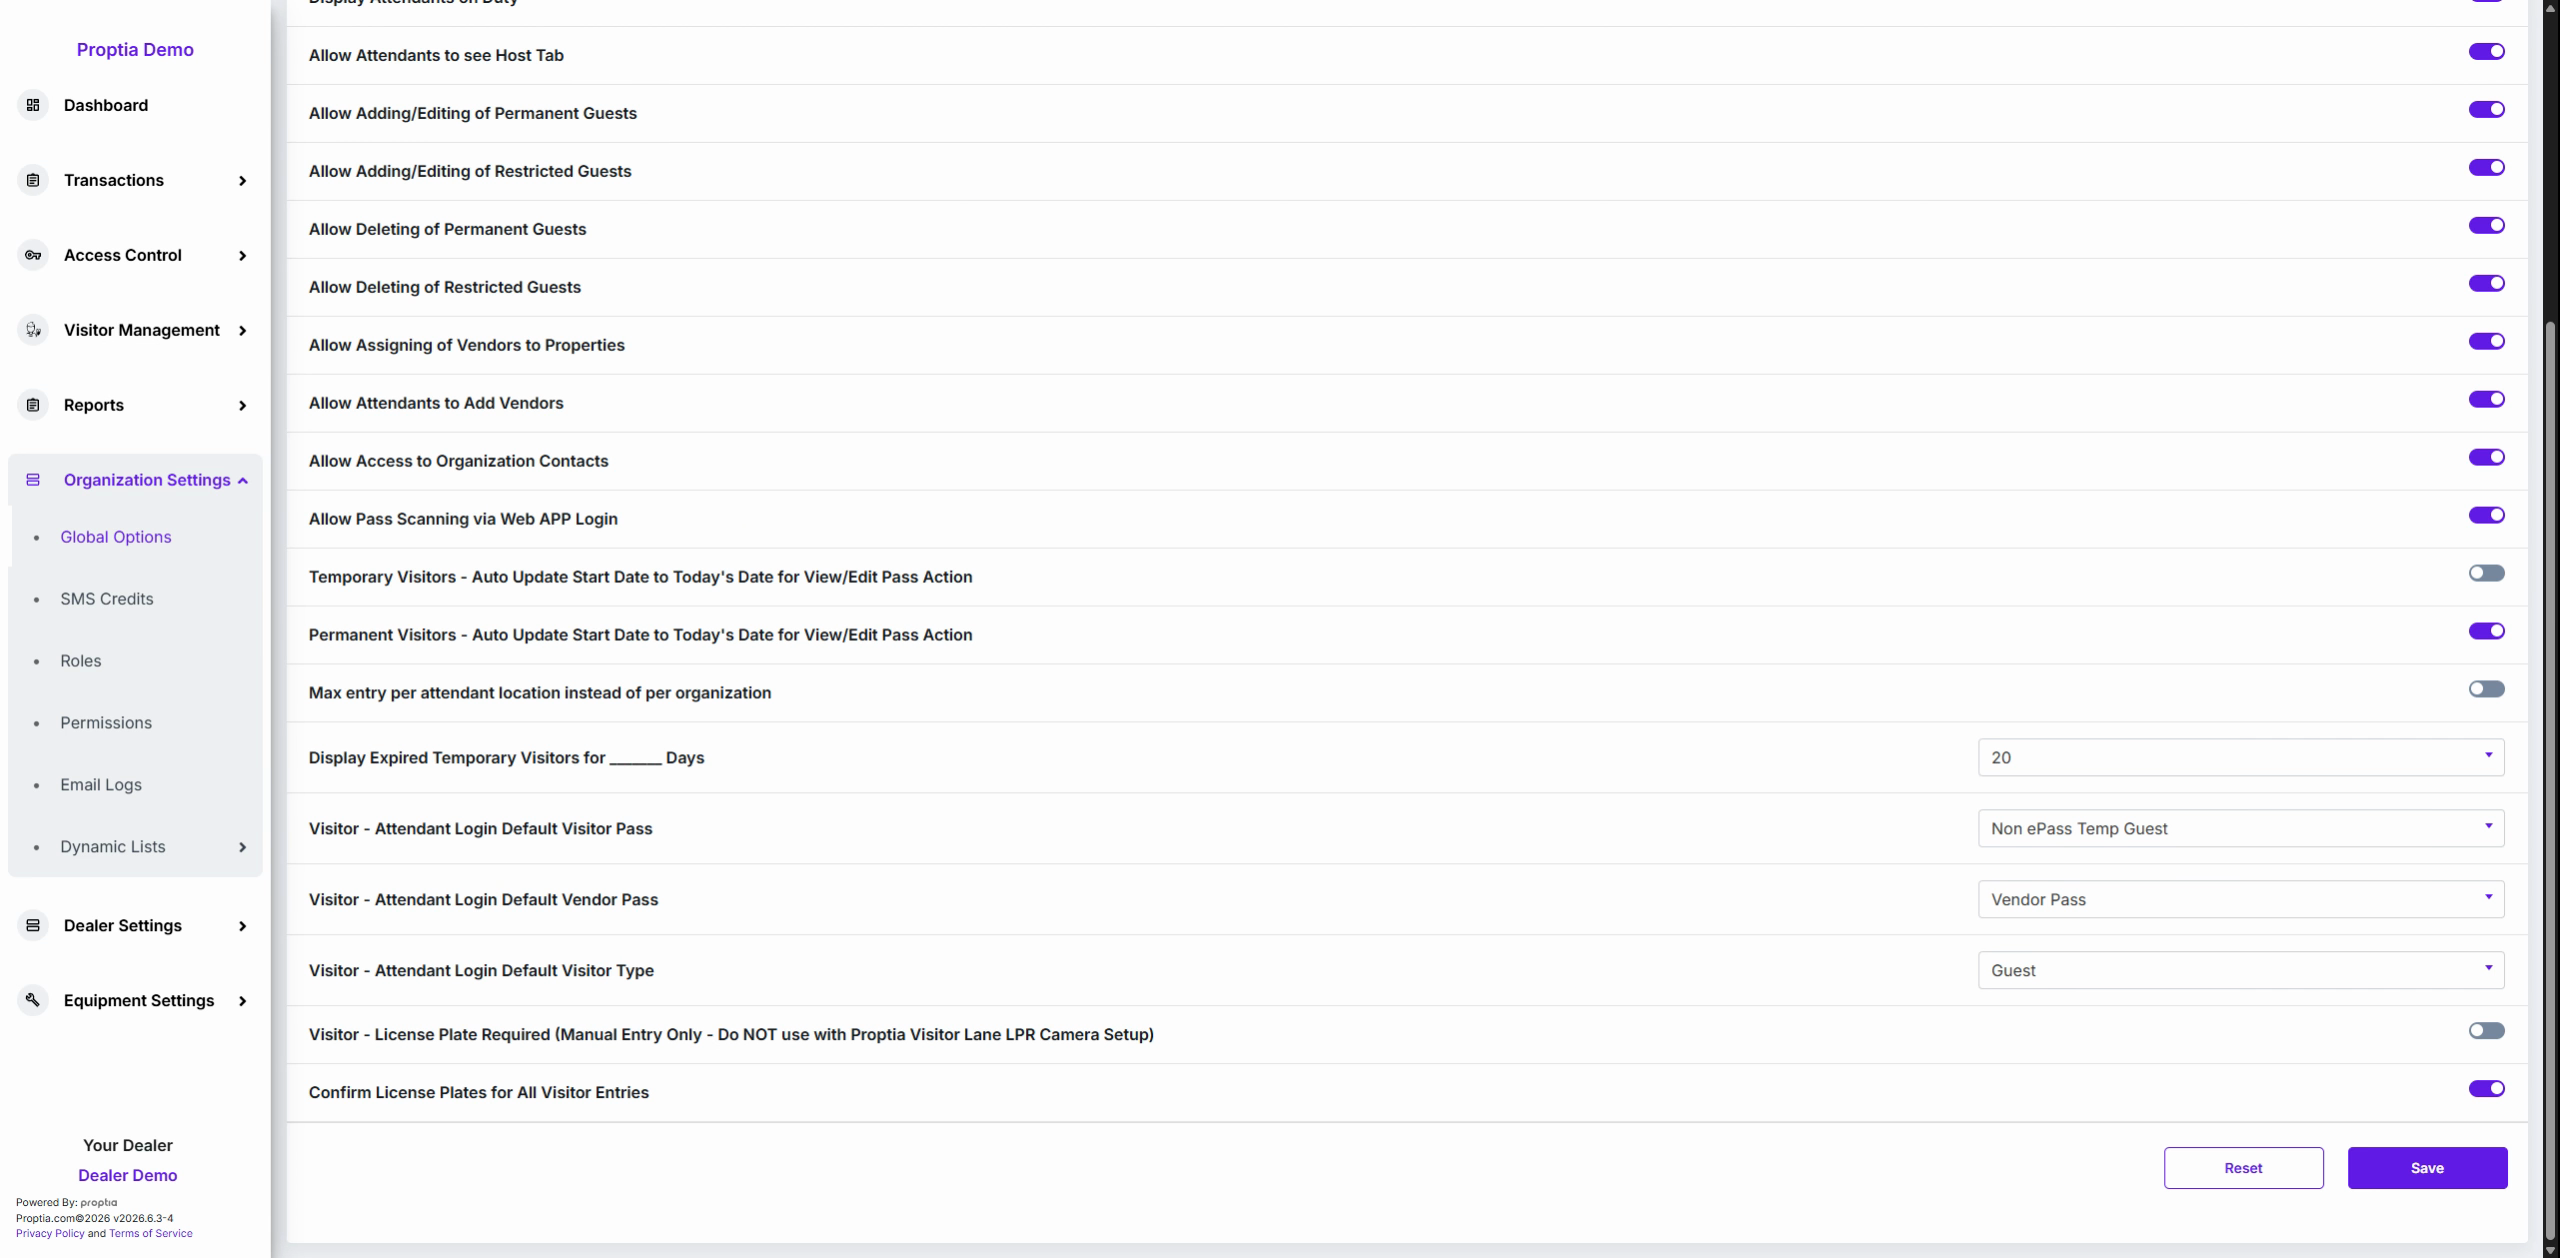
Toggle Max Entry Per Attendant Location Instead of Per Organization to cap visitor entries by individual gatehouse, not property-wide.
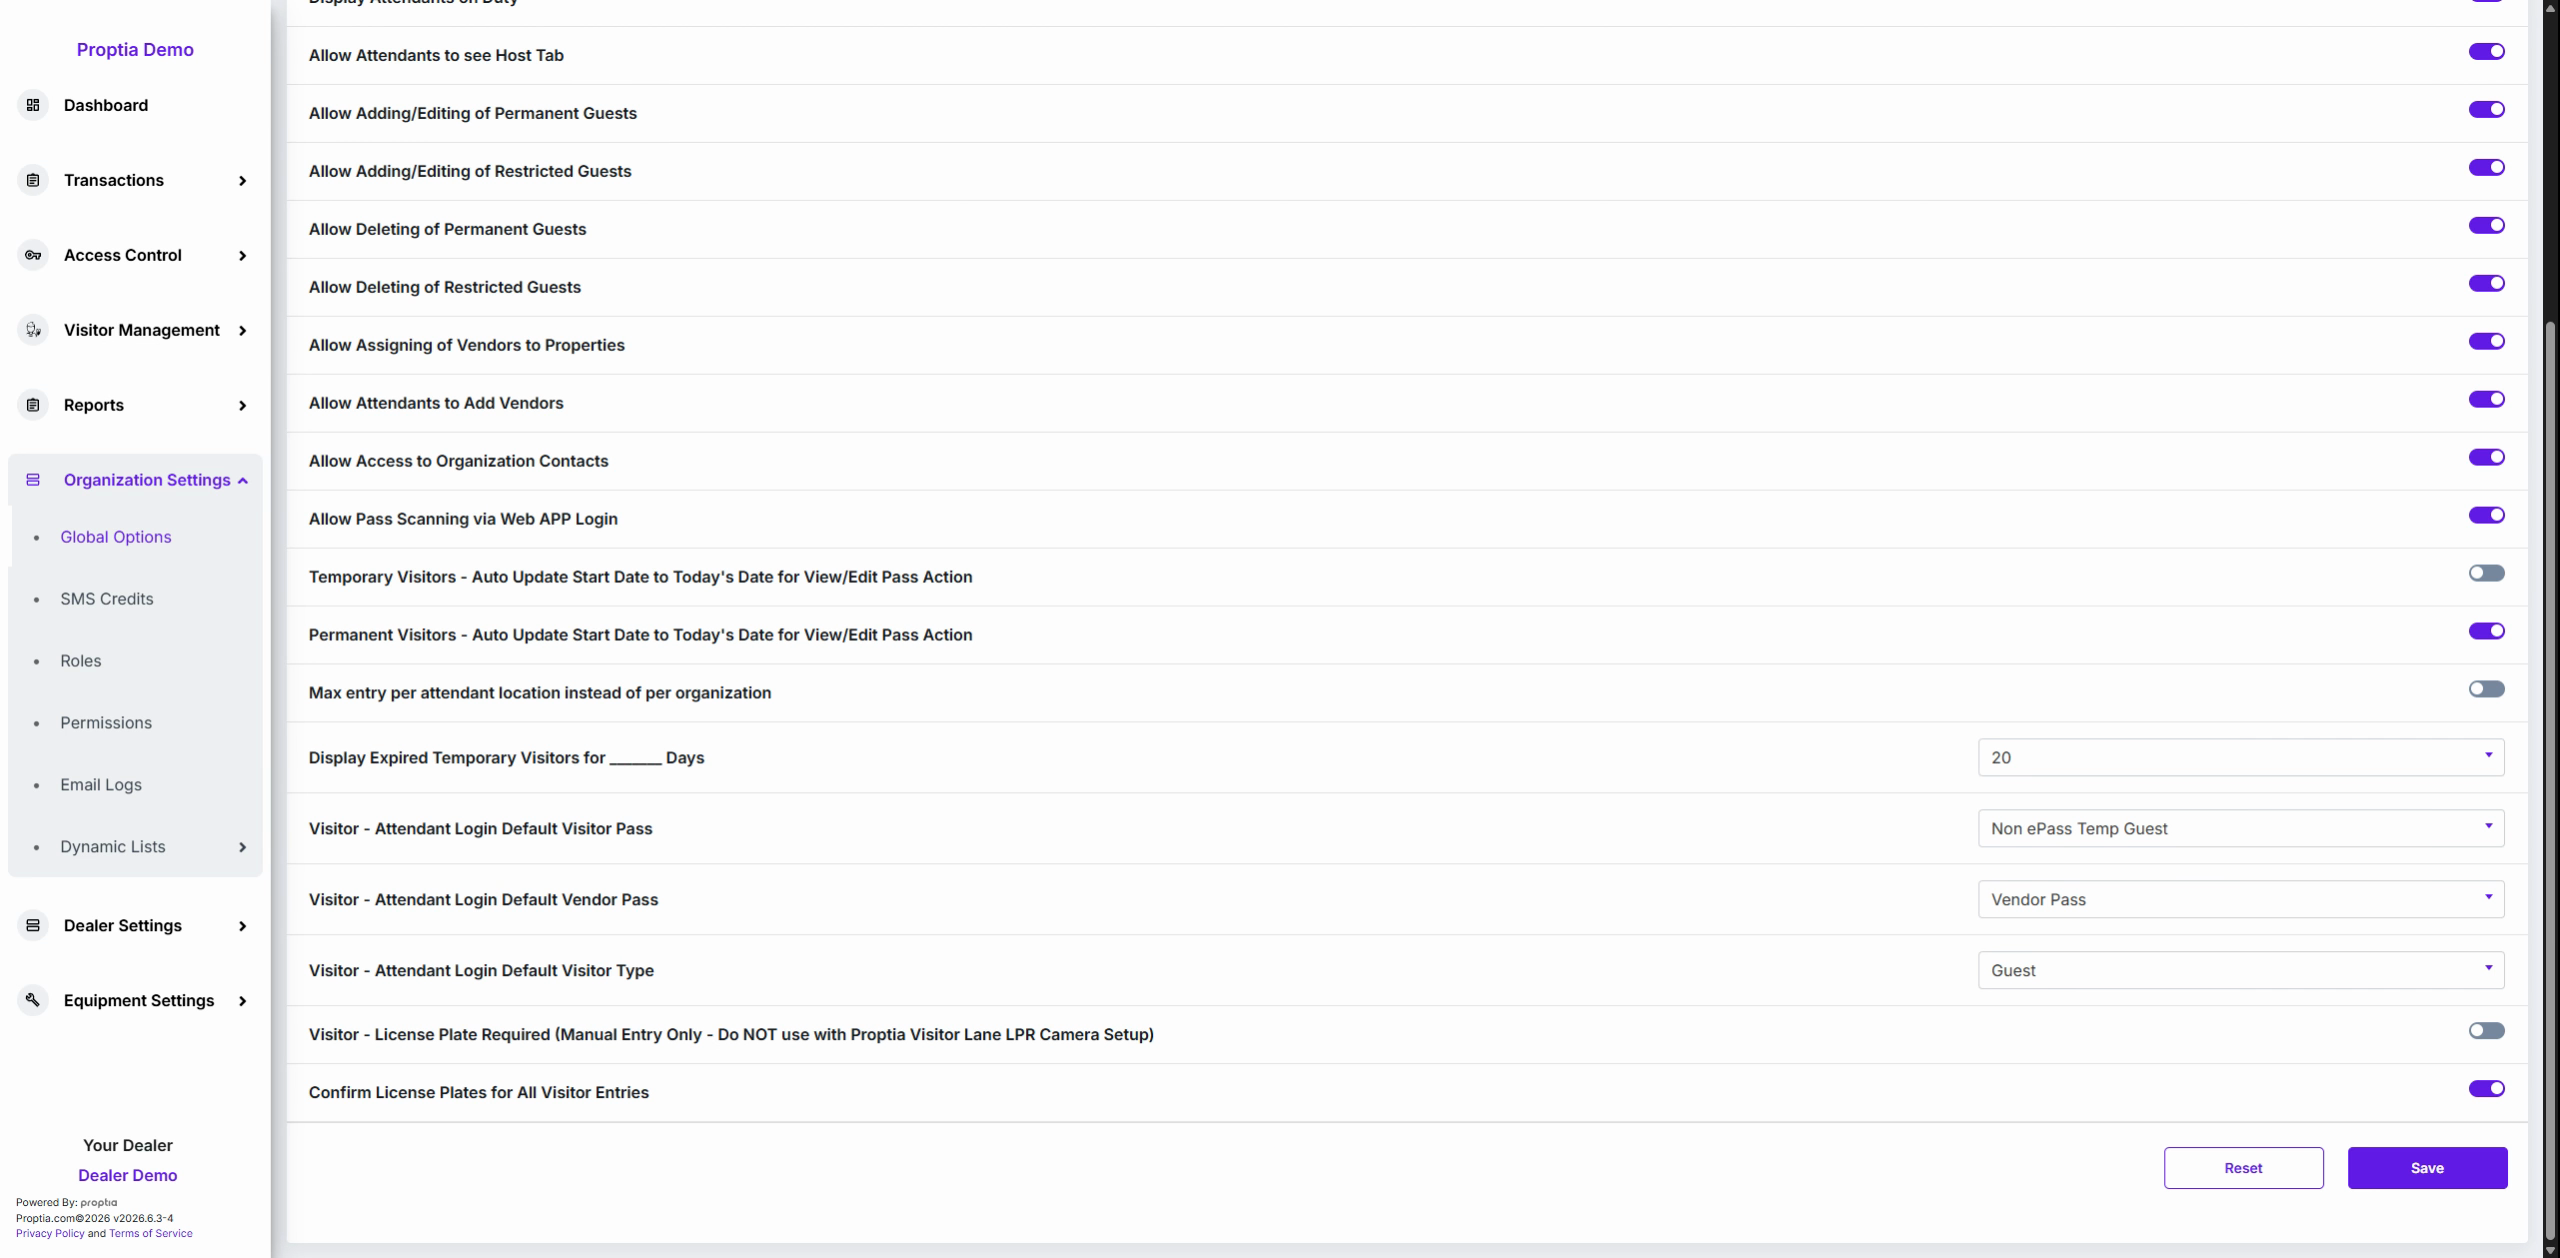
Adjust Display Expired Temporary Visitors to specify how long expired passes remain visible on the dashboard (e.g., 20 days for a clear audit window).
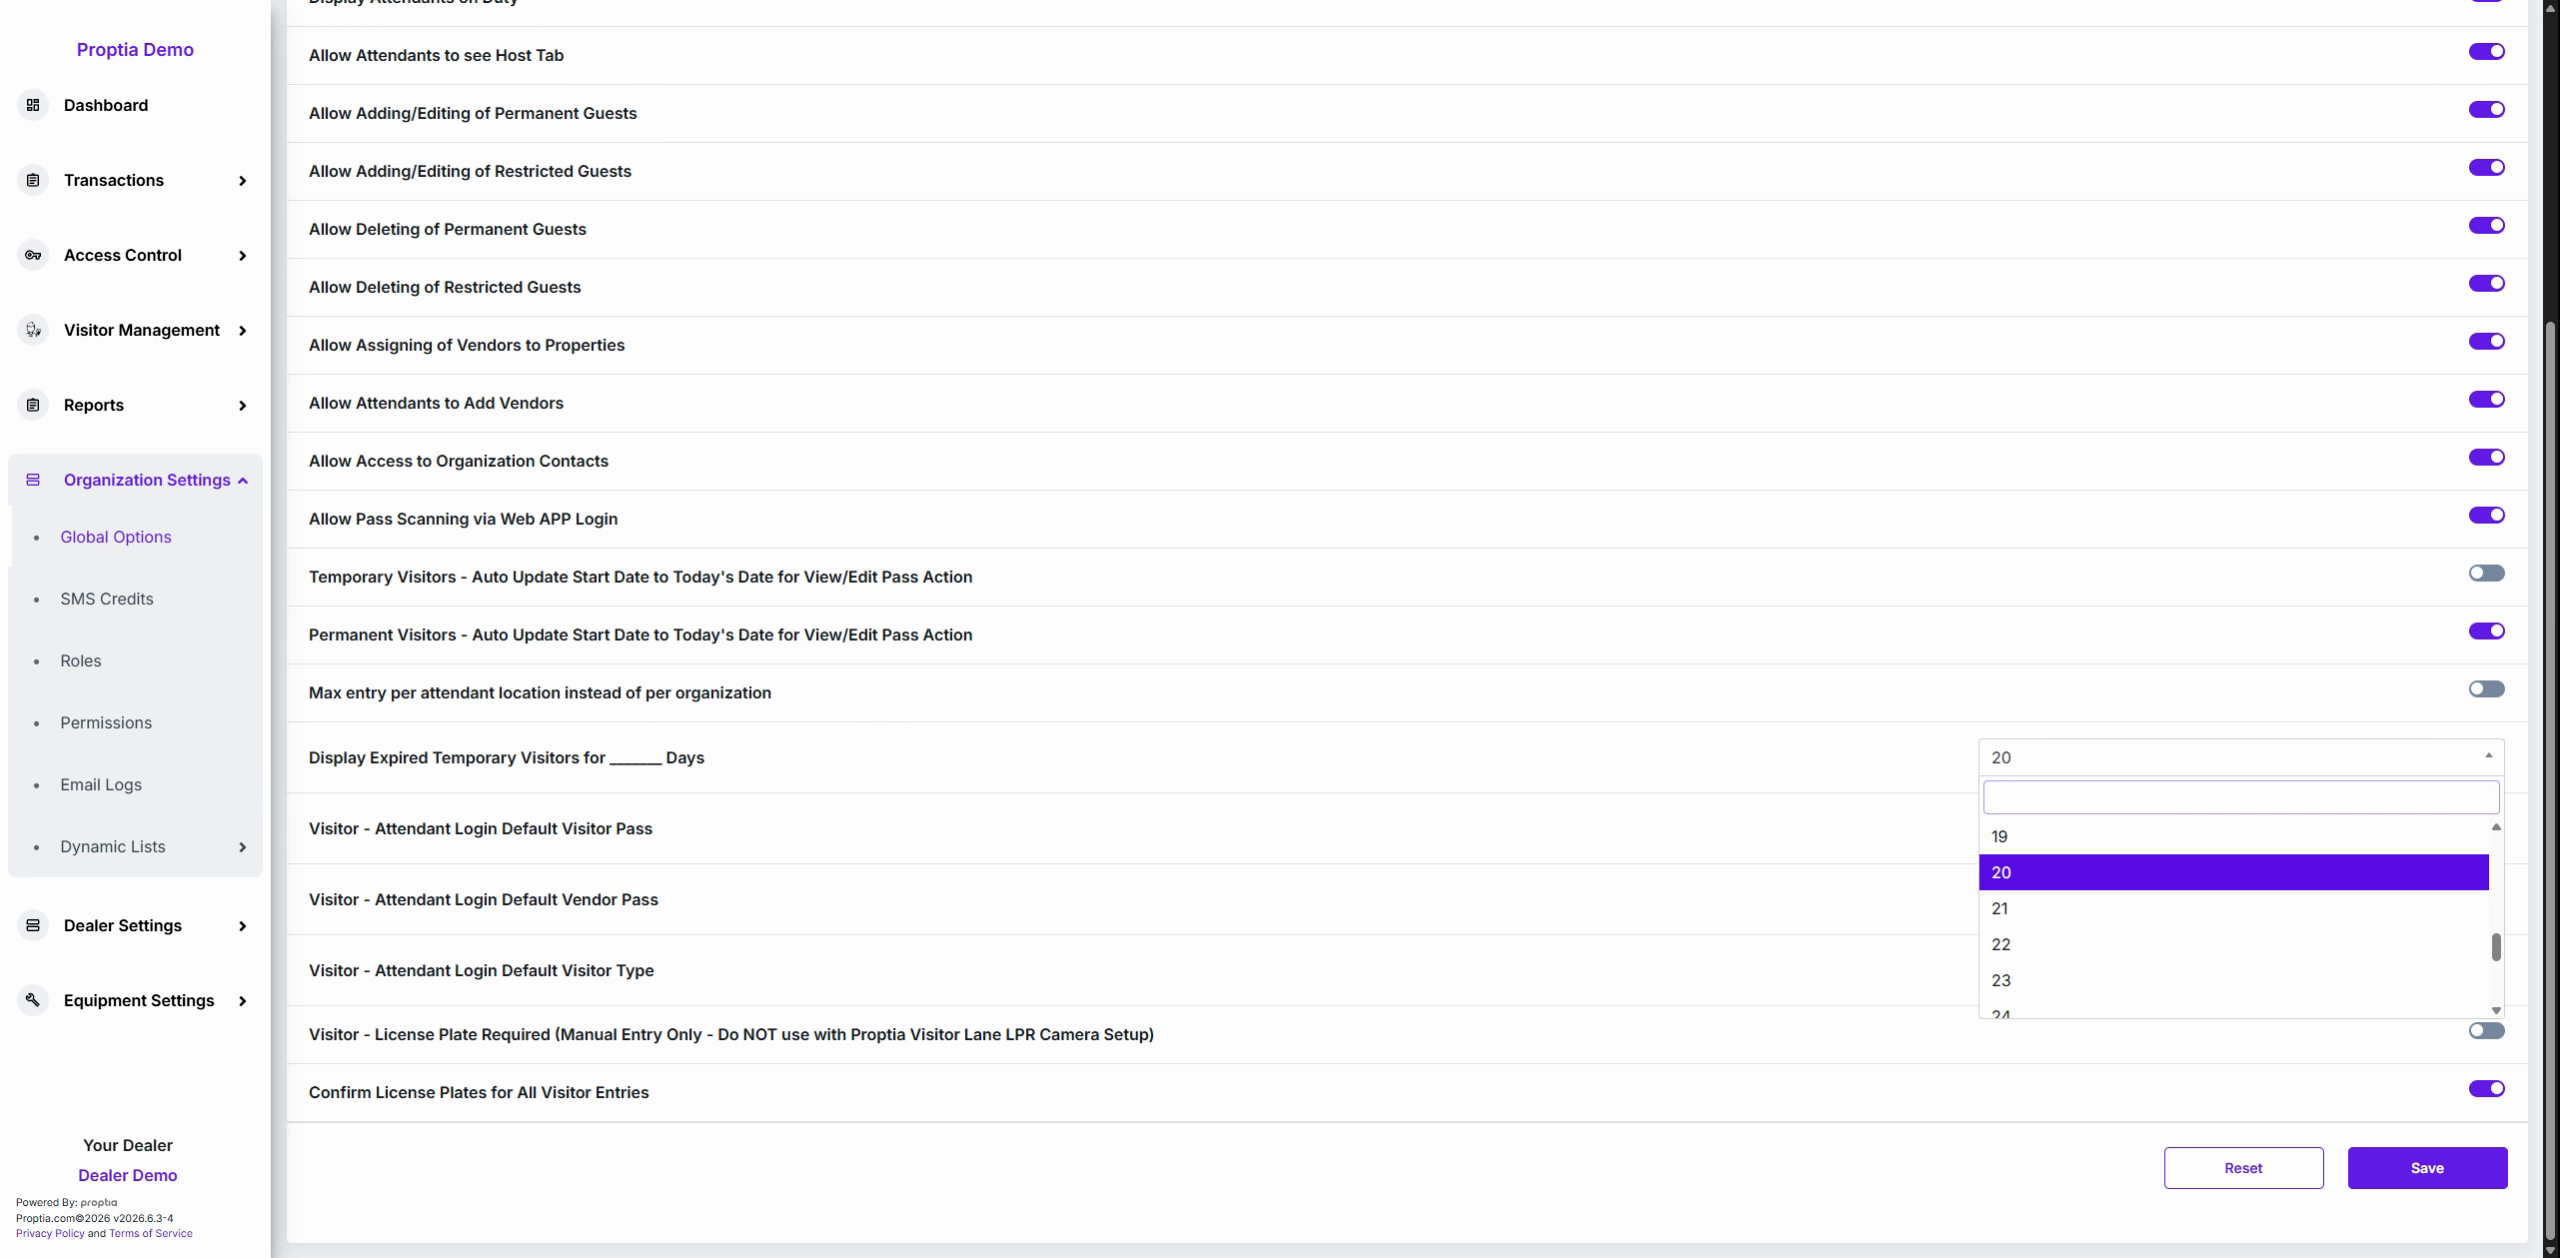
Module 5: Default Templates and Compliance
Use the Default Pass Dropdowns to set system defaults for visitor pass, vendor pass, and visitor type.
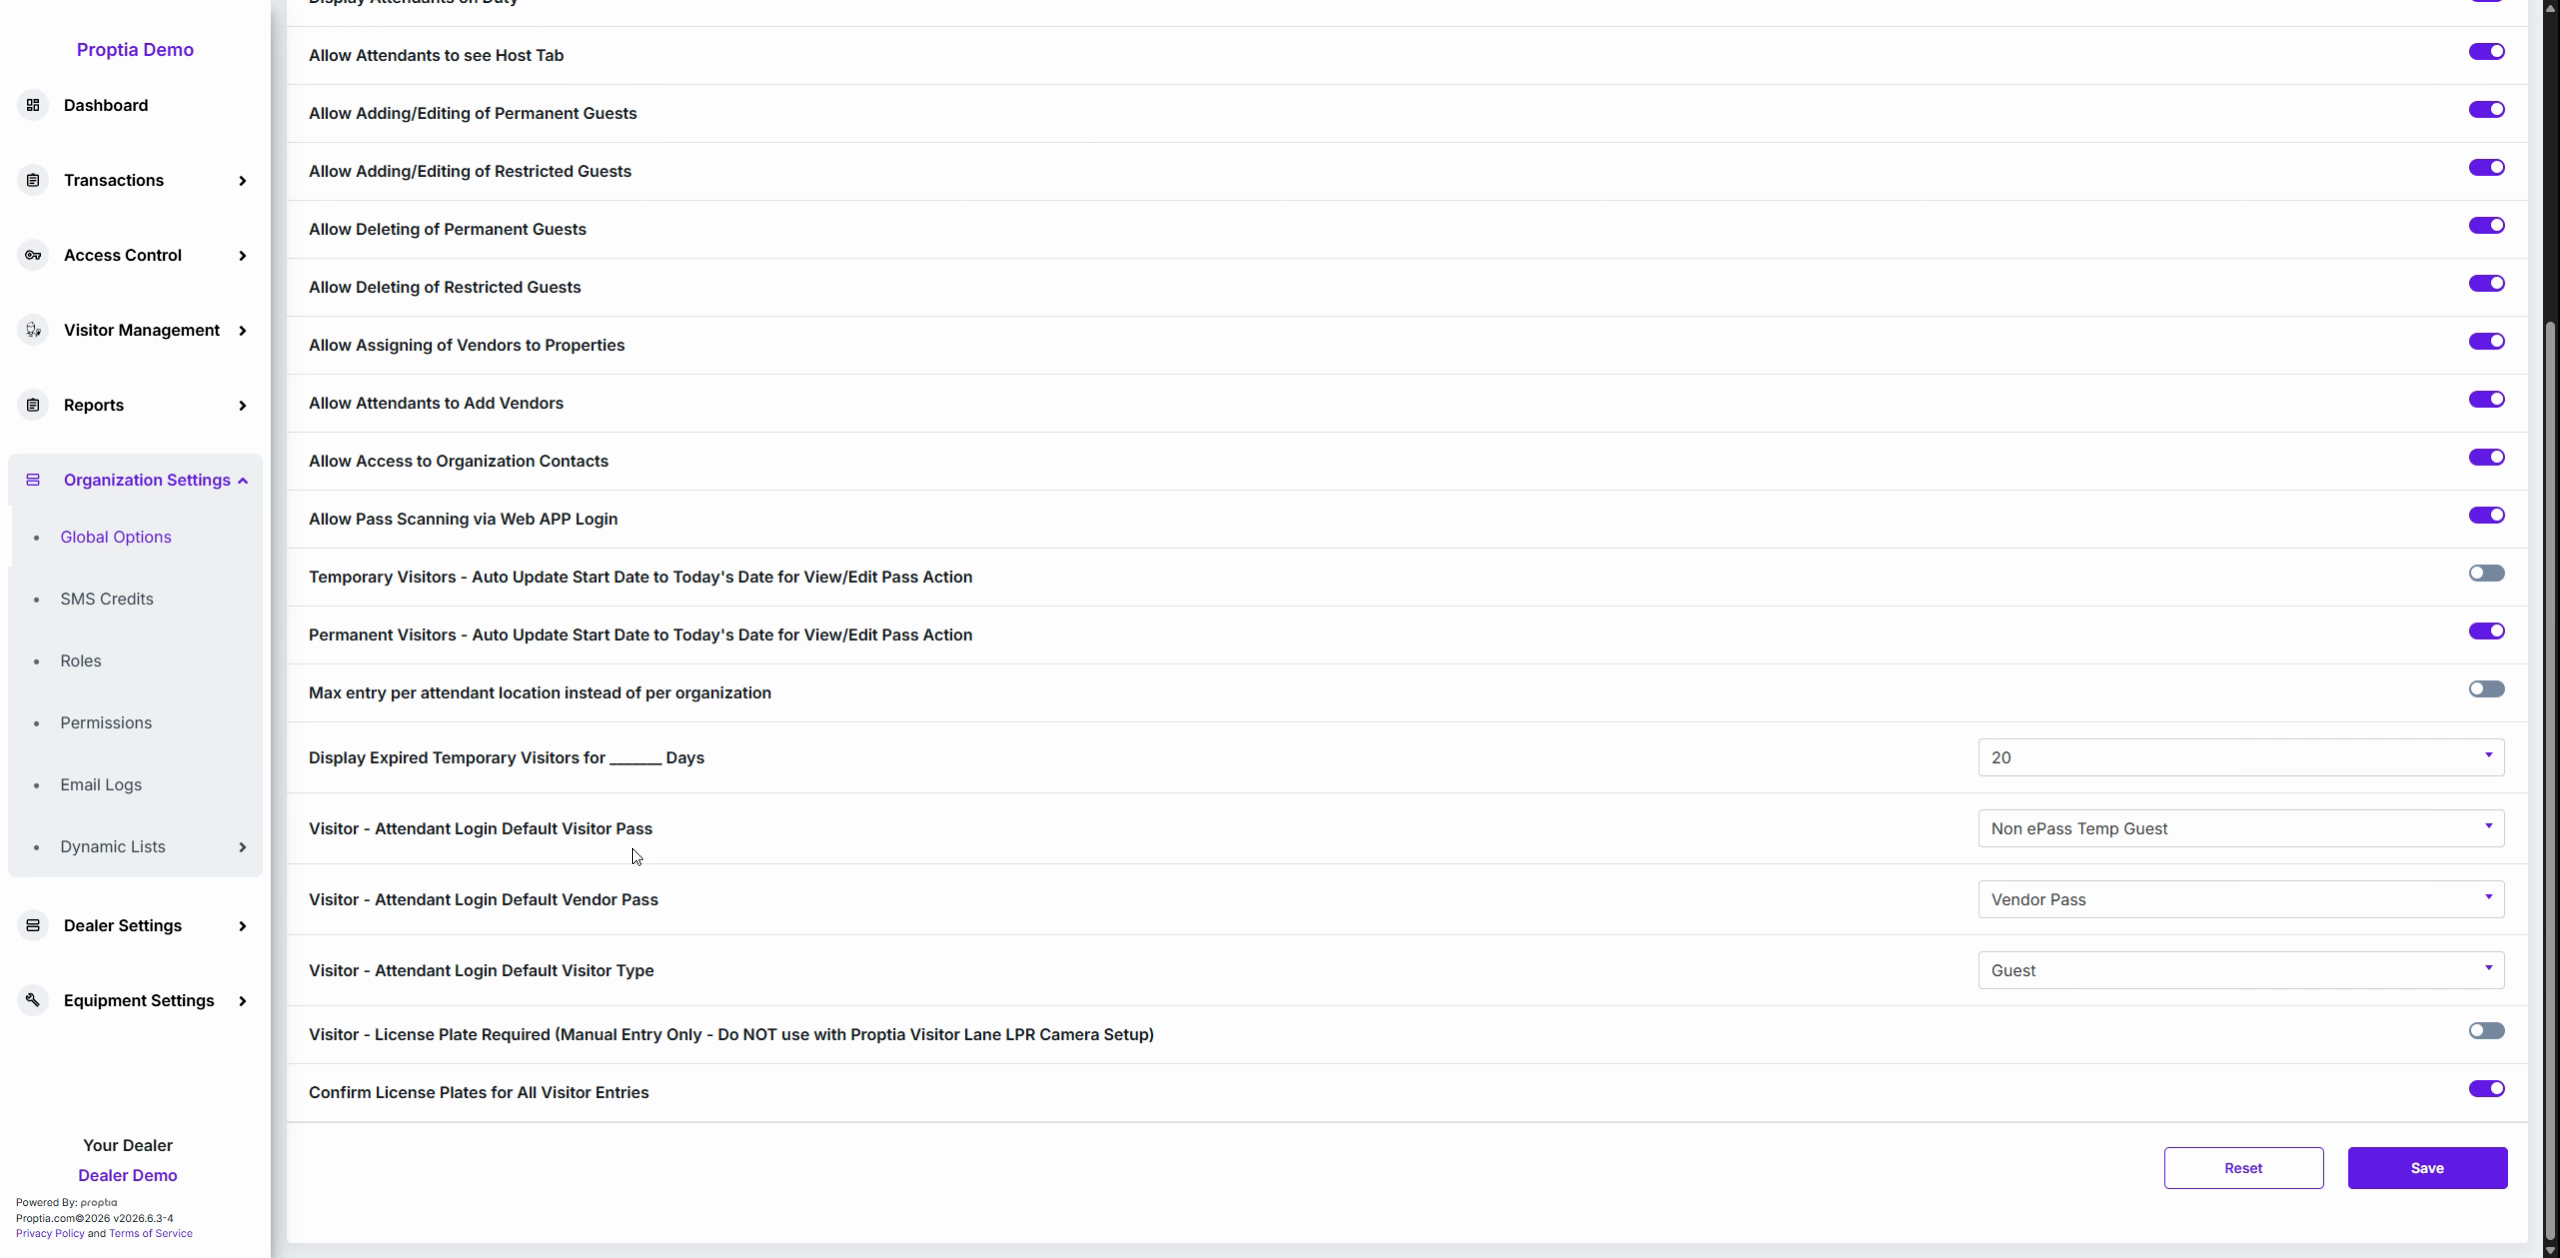
Toggle Visitor License Plate Required to force manual entry of a license plate when saving a visitor. Important: Leave this off if your site uses automated LPR cameras to avoid system conflicts.
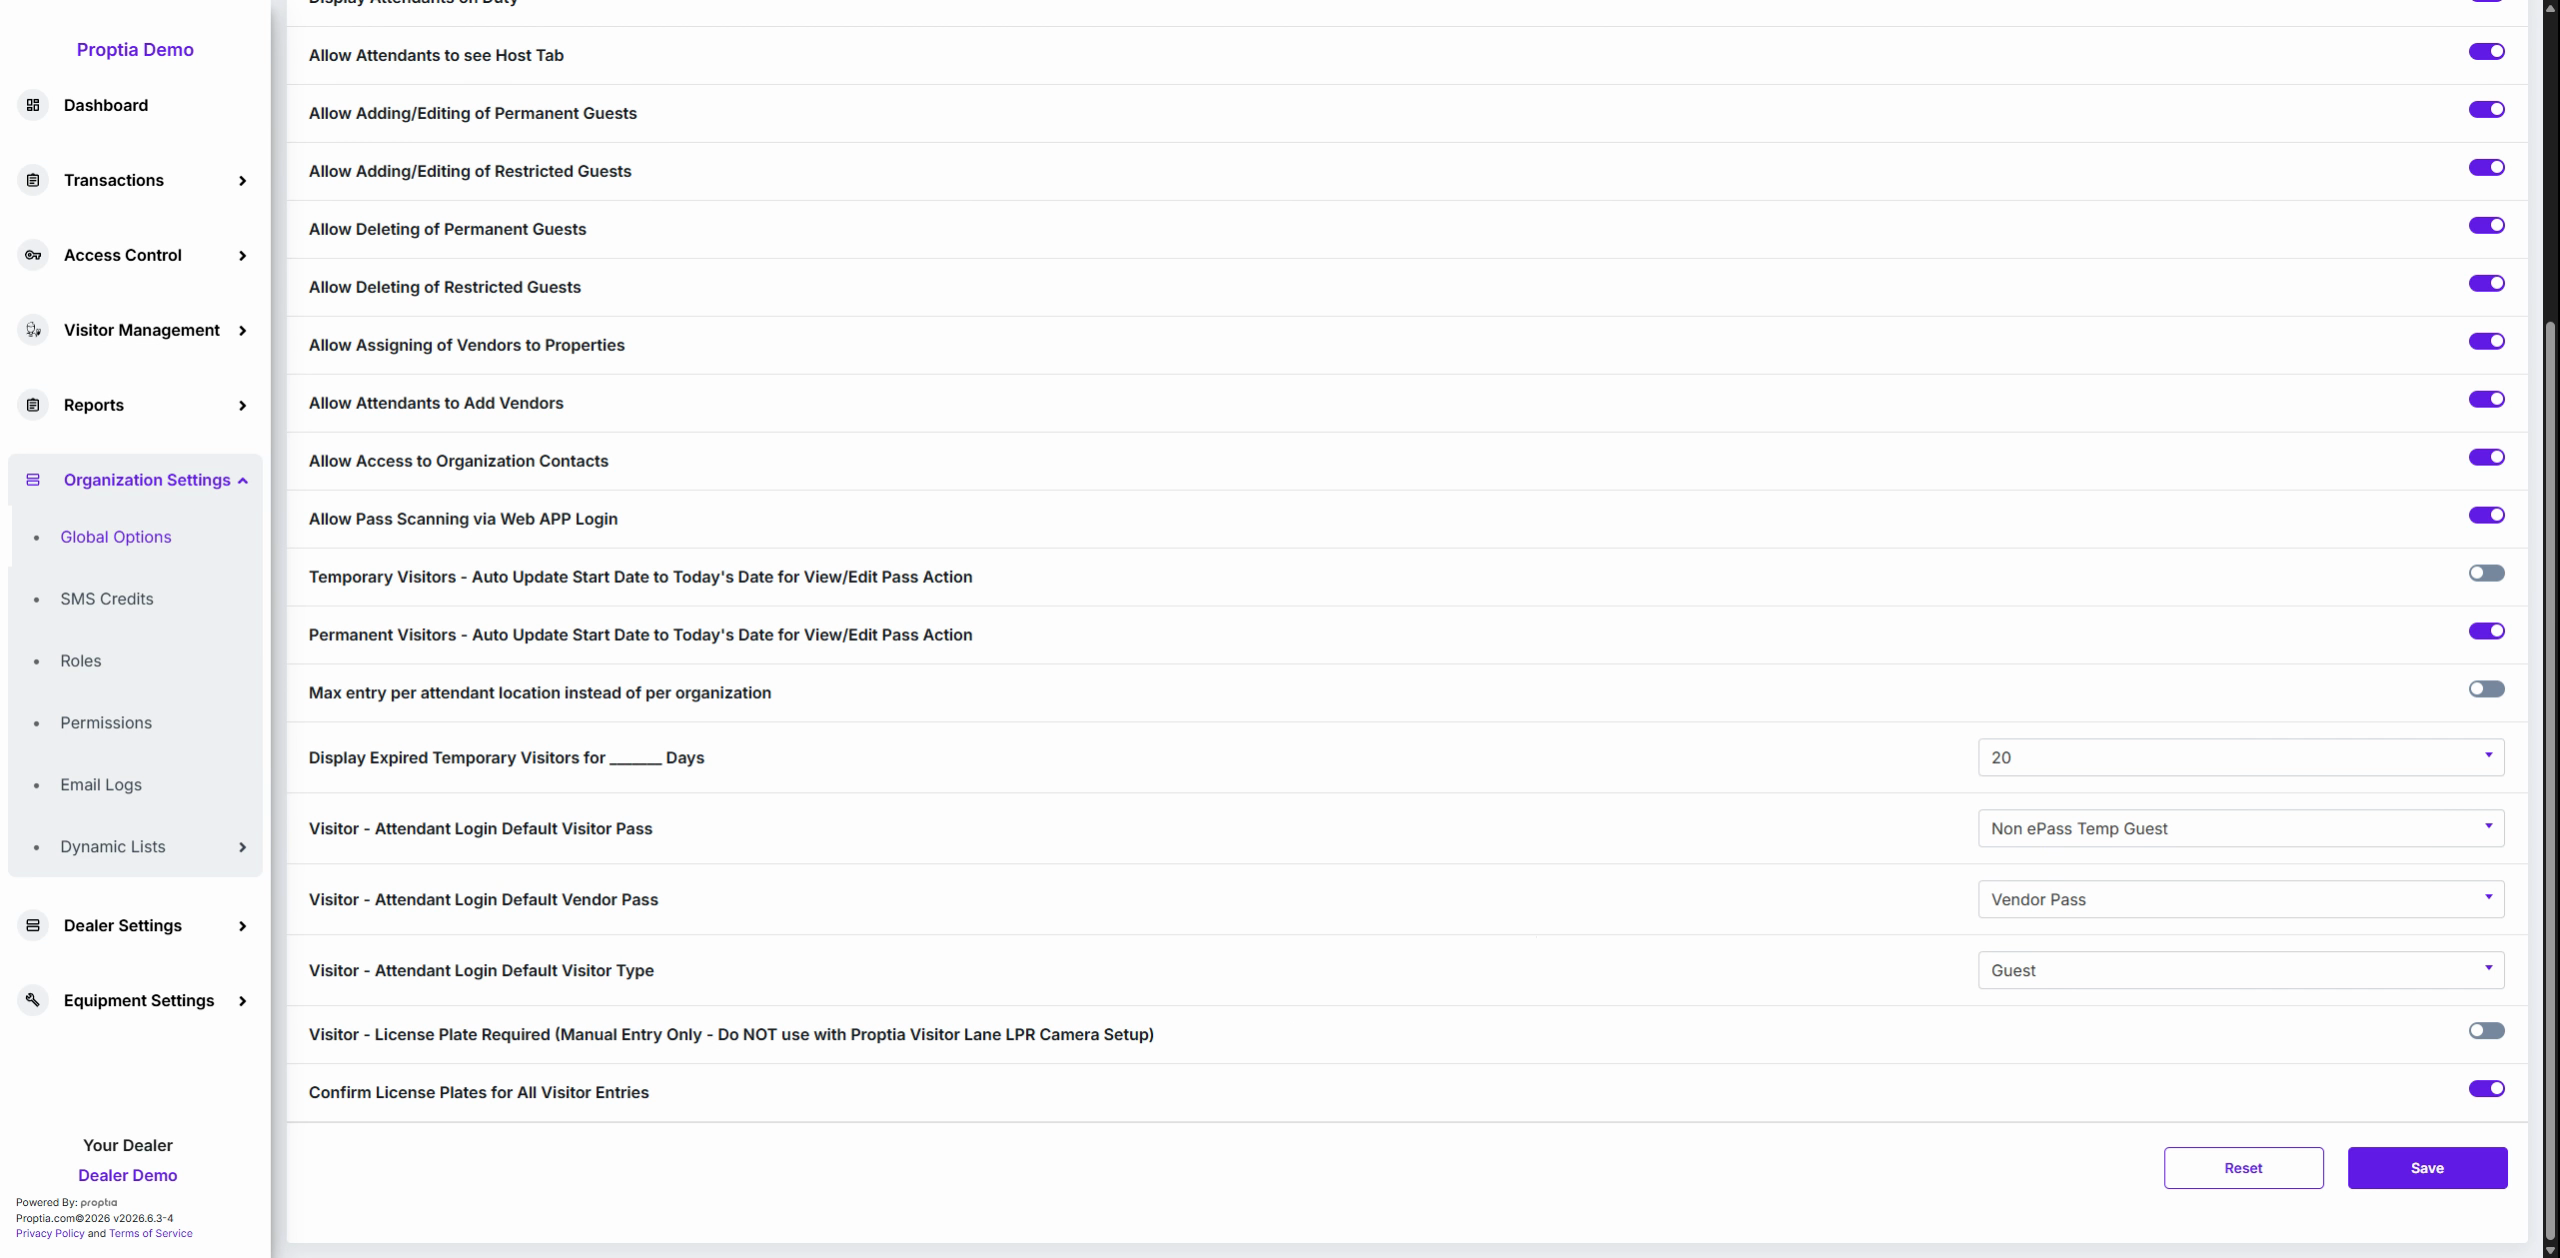
Enable Confirm License Plates for All Visitor Entries to require a manual confirmation before approving entry, ensuring the plate matches the record.
Module 6: Saving Changes
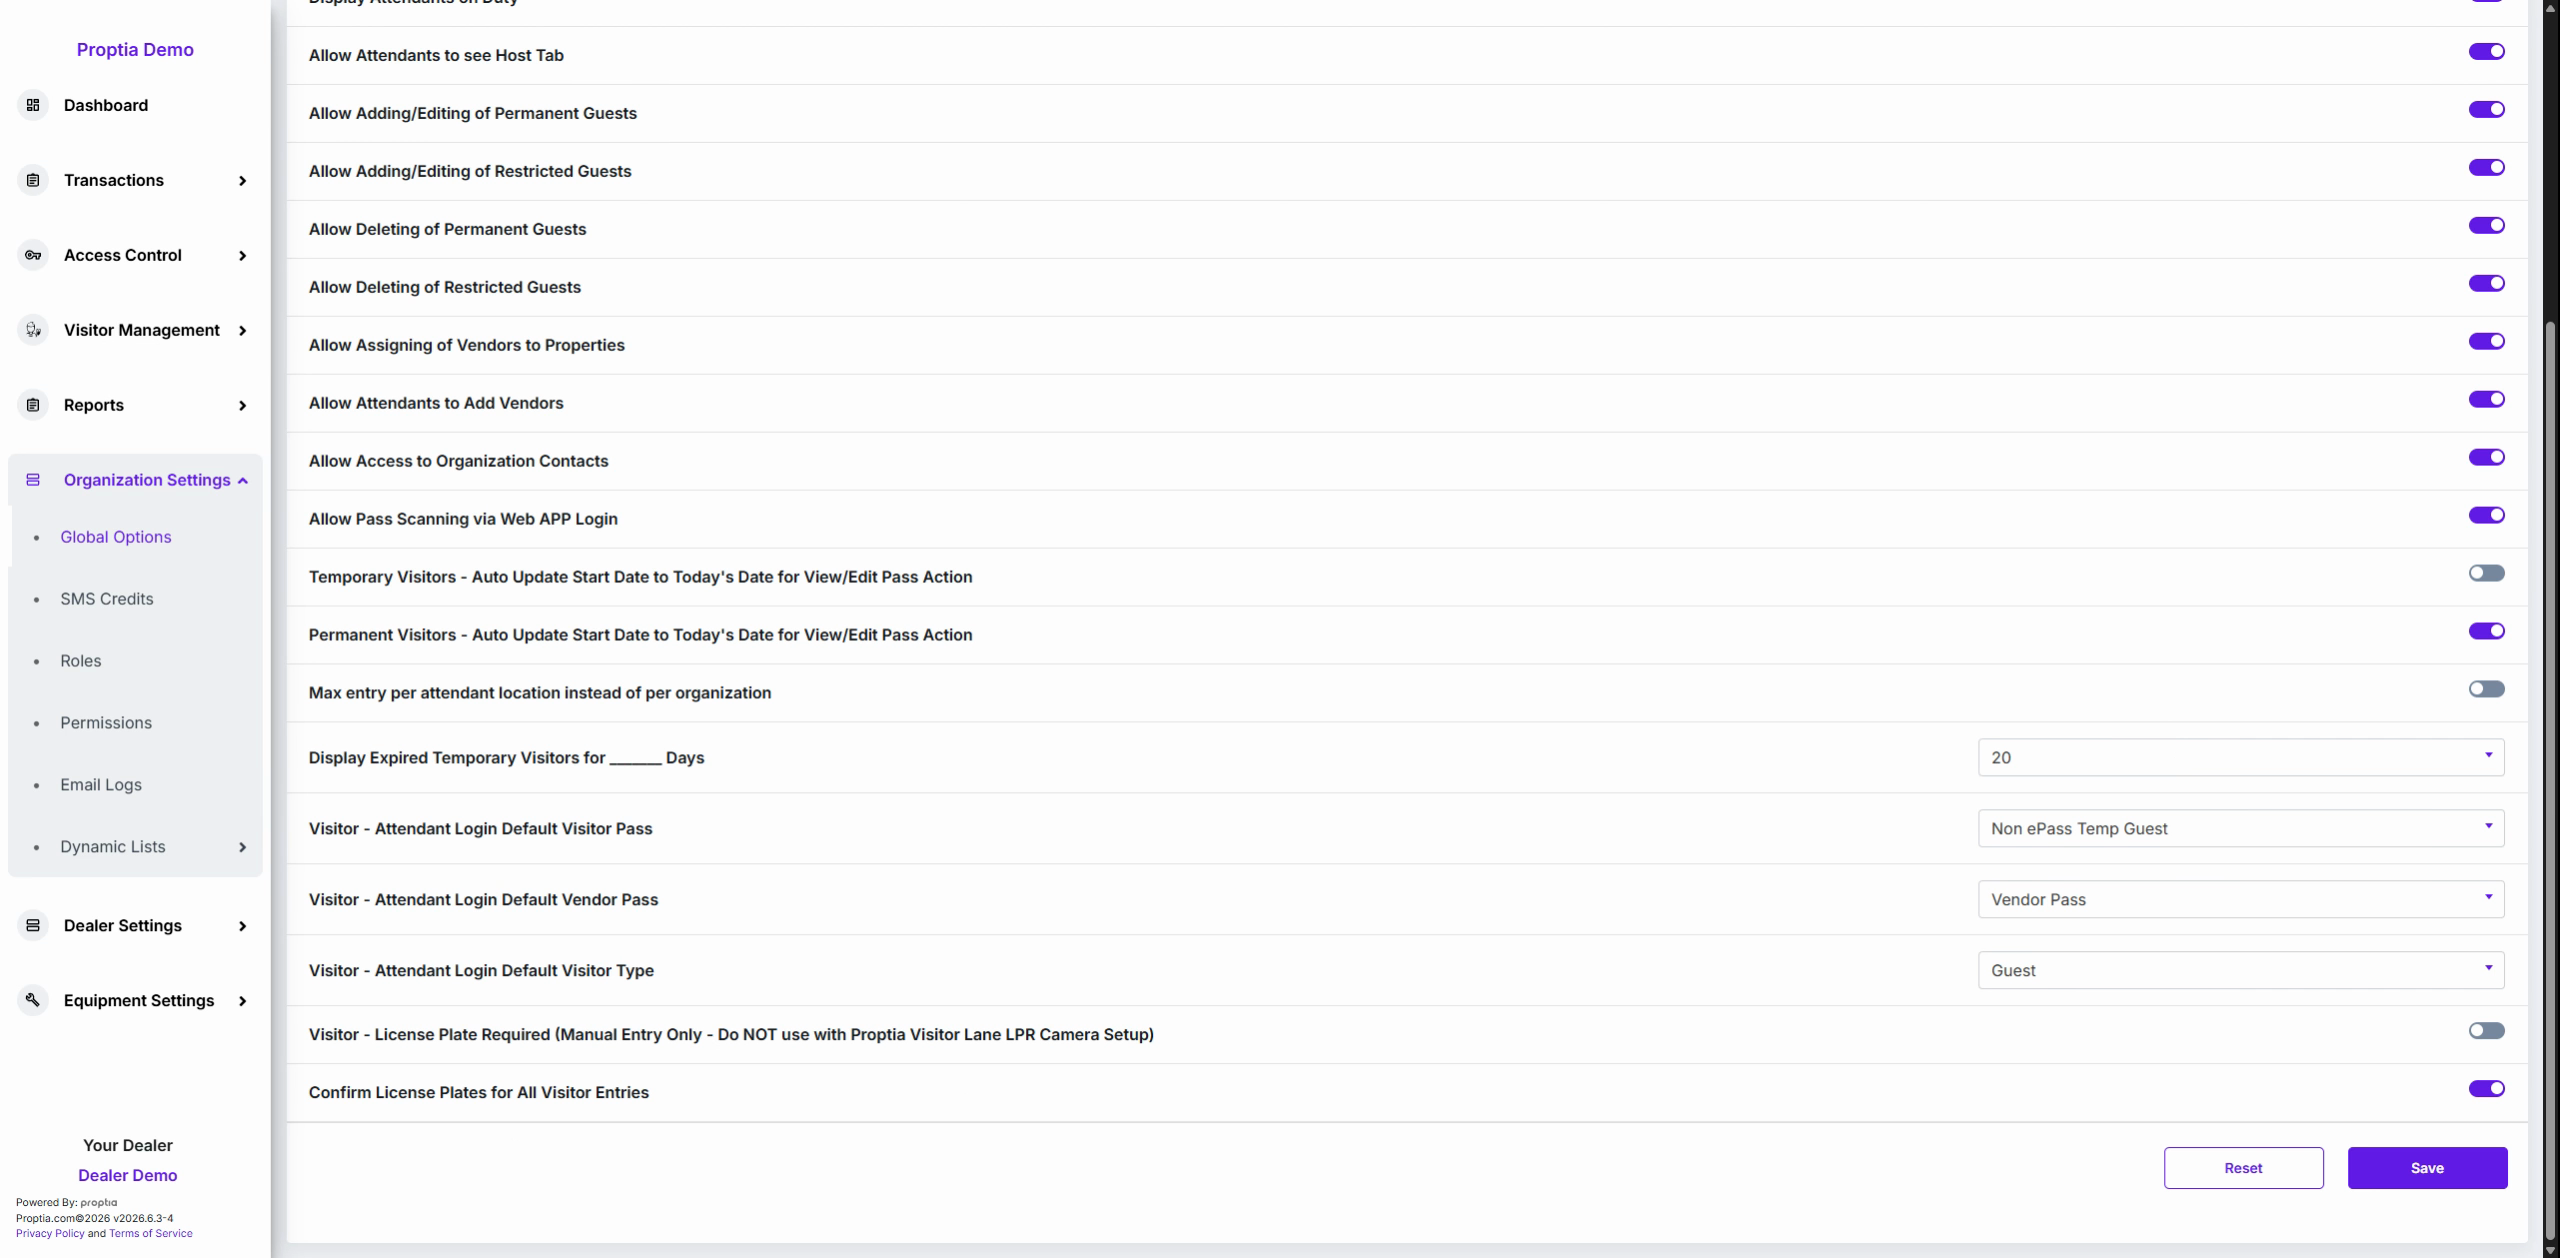
Click the purple Save button at the bottom right to apply your configured settings.
Pro Tip
For properties with high staff turnover or stringent security, restrict attendants’ ability to delete guests and always review compliance settings after activating new camera integrations. This prevents operational conflicts and secures your visitor management flow.
How to Configure Resident Settings for Optimal Security and Flexibility
Resident settings empower you to fine-tune exactly what residents can view and manage within their community portal. By carefully configuring these options, you ensure a balance between privacy, convenience, and oversight in your property management system.
Module 1: Accessing the Resident Settings
Click Global Options in the main navigation panel.
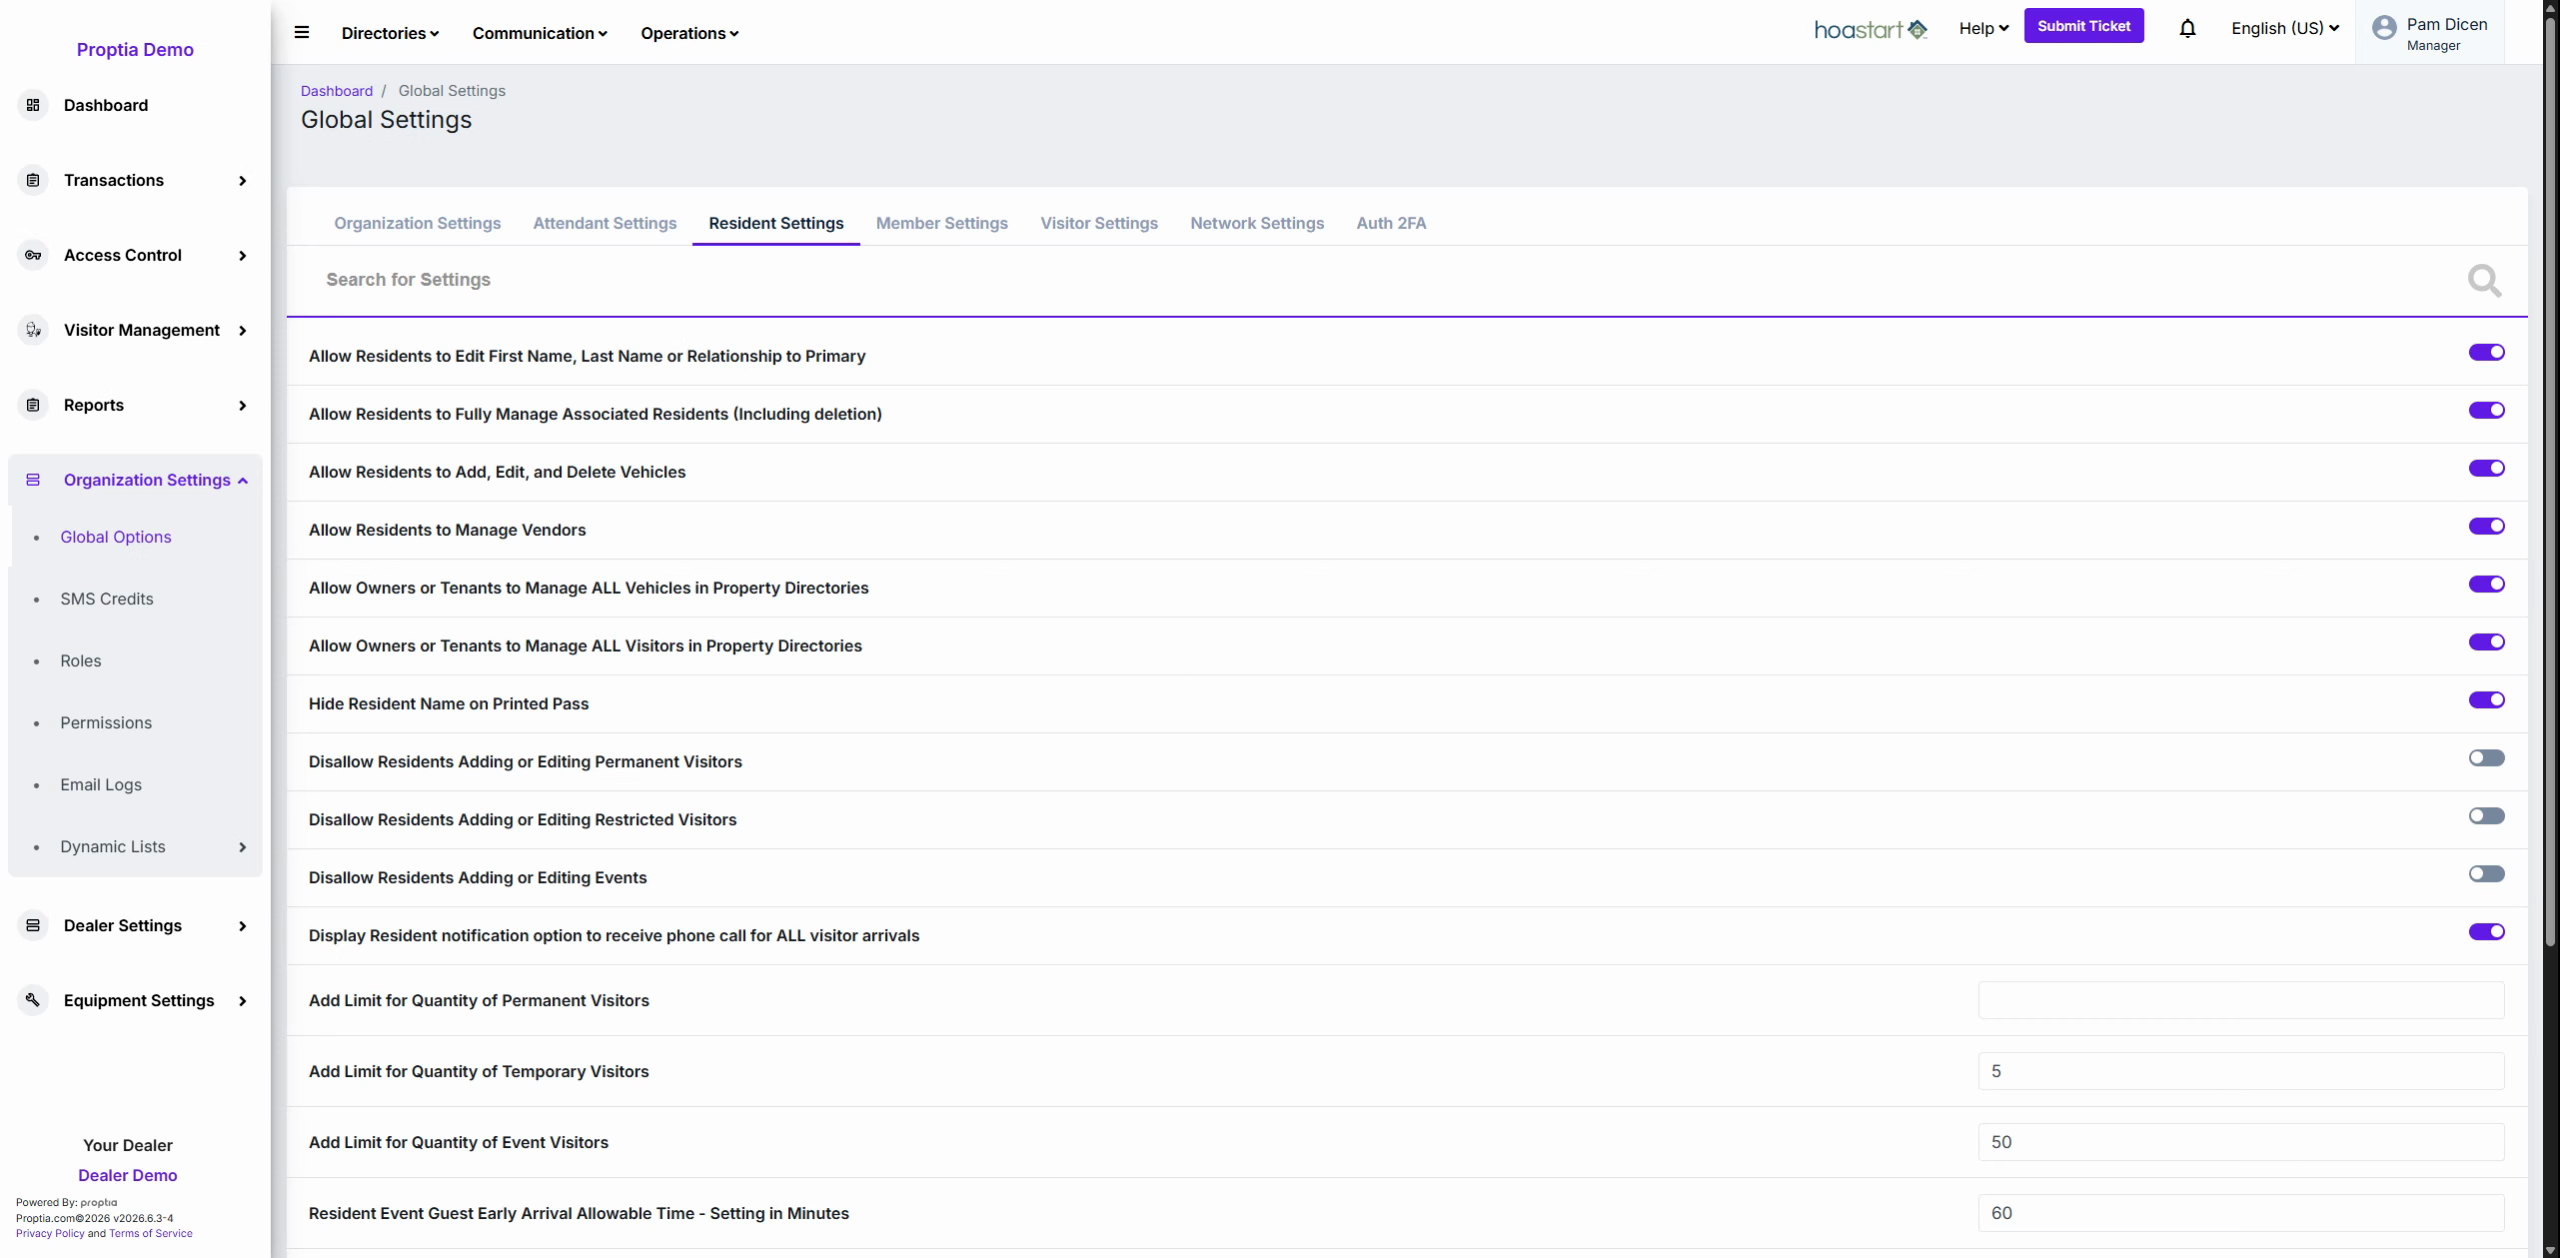
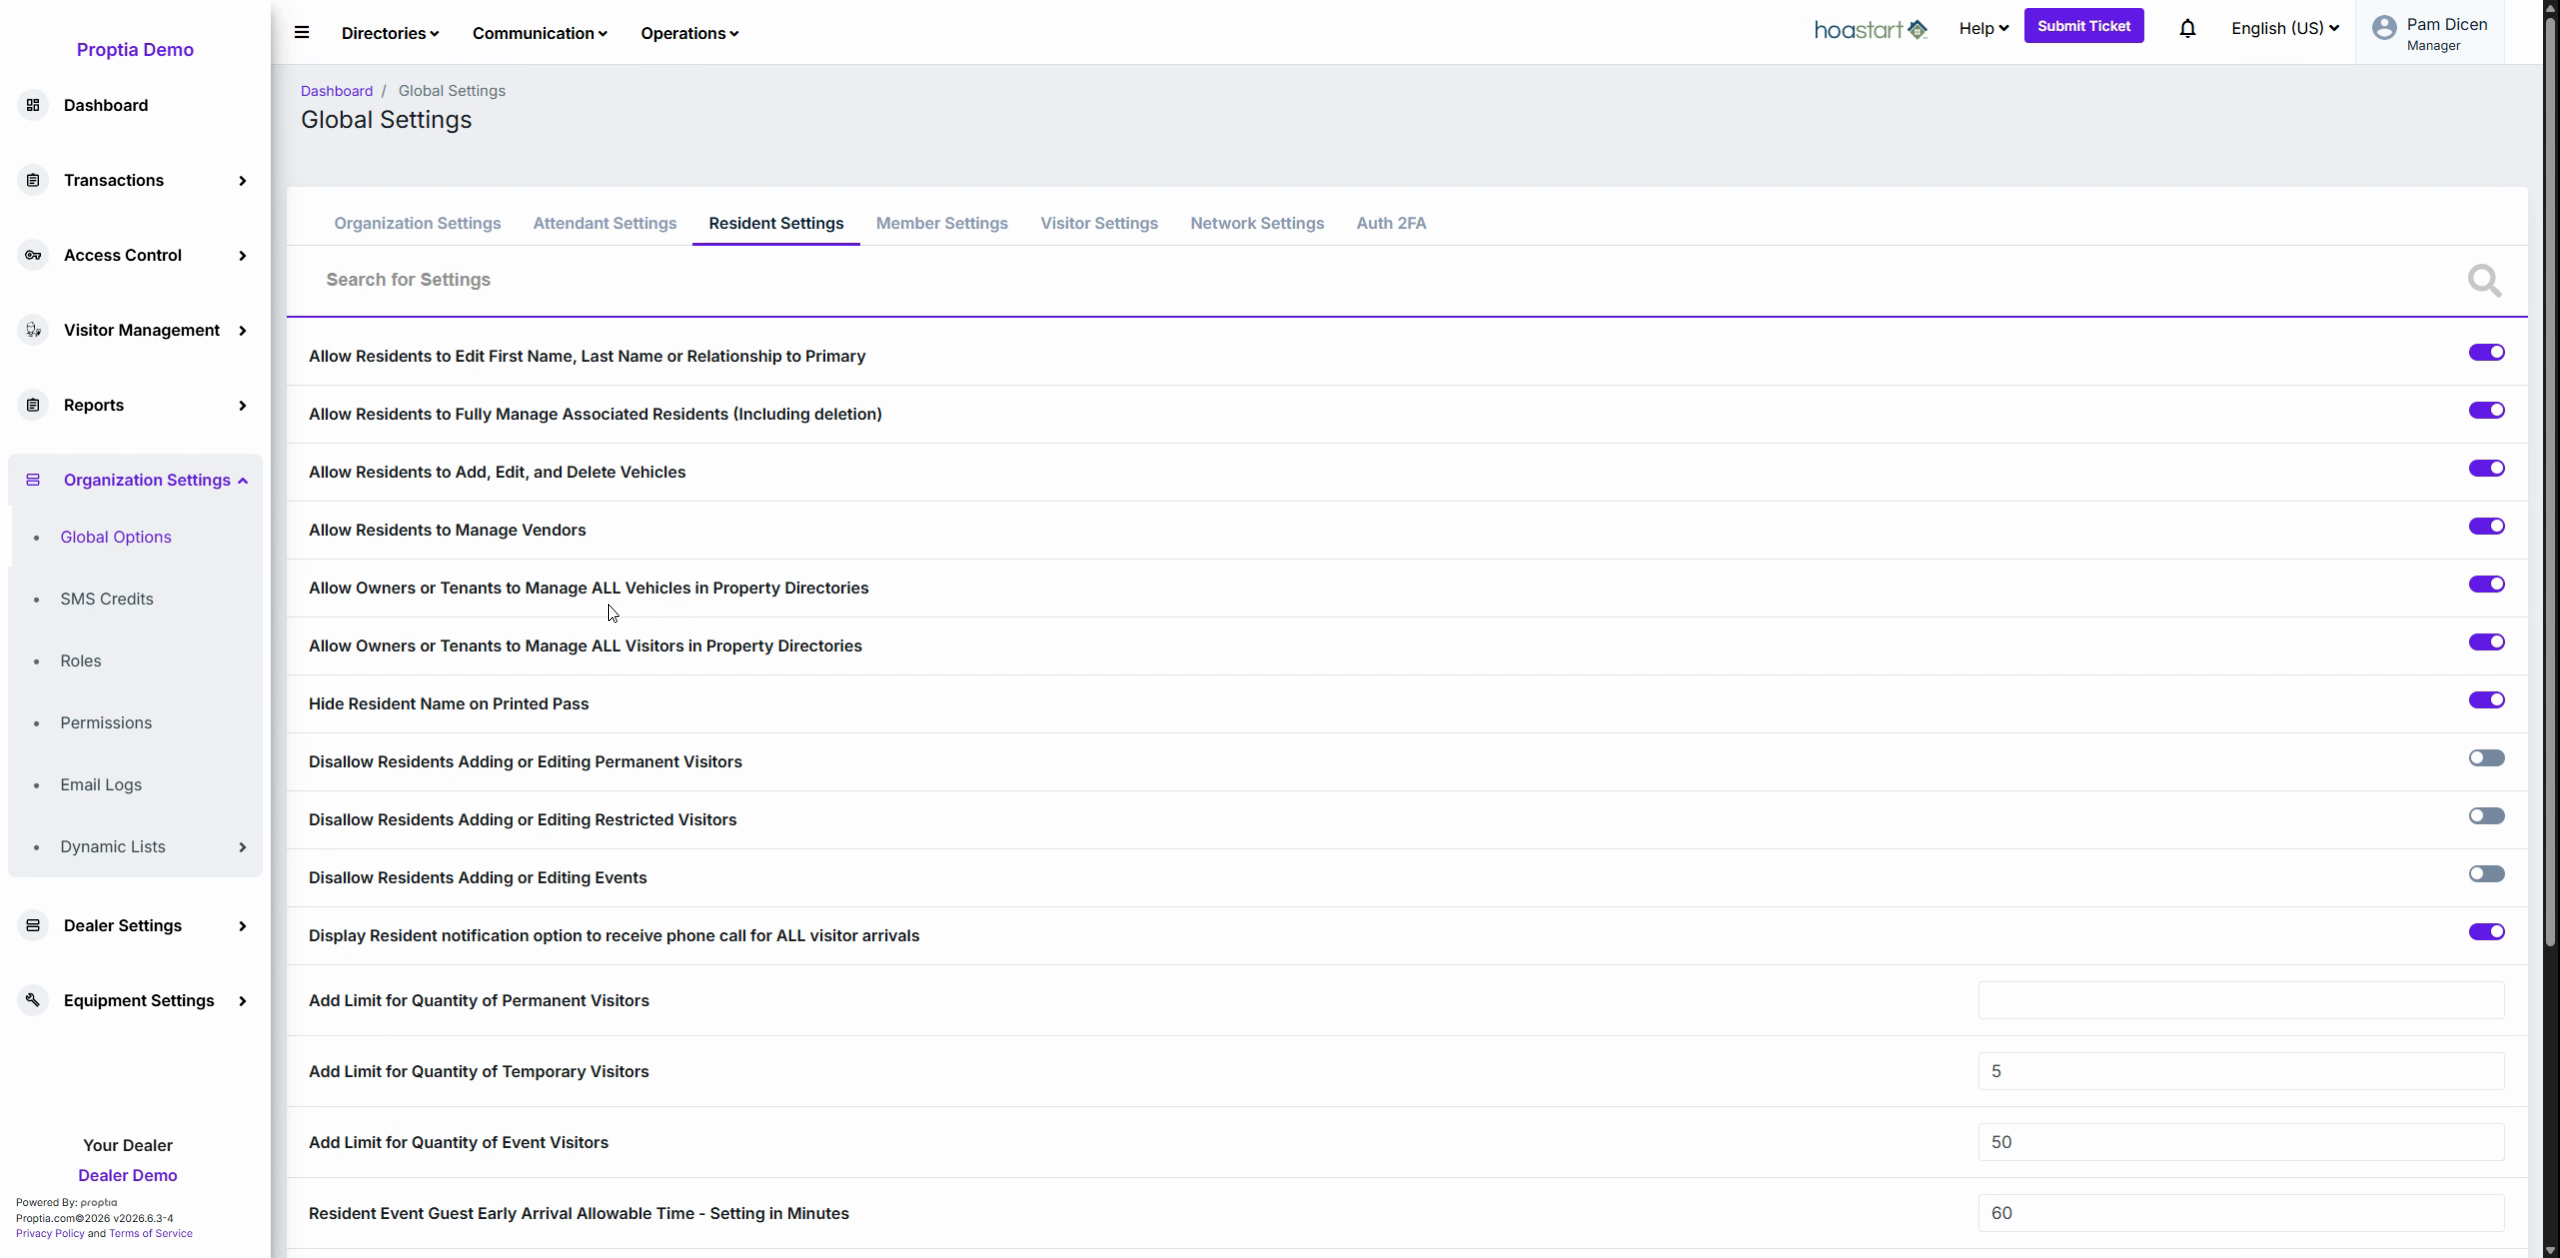
Select the Resident Settings tab (the third tab) at the top of the settings interface.
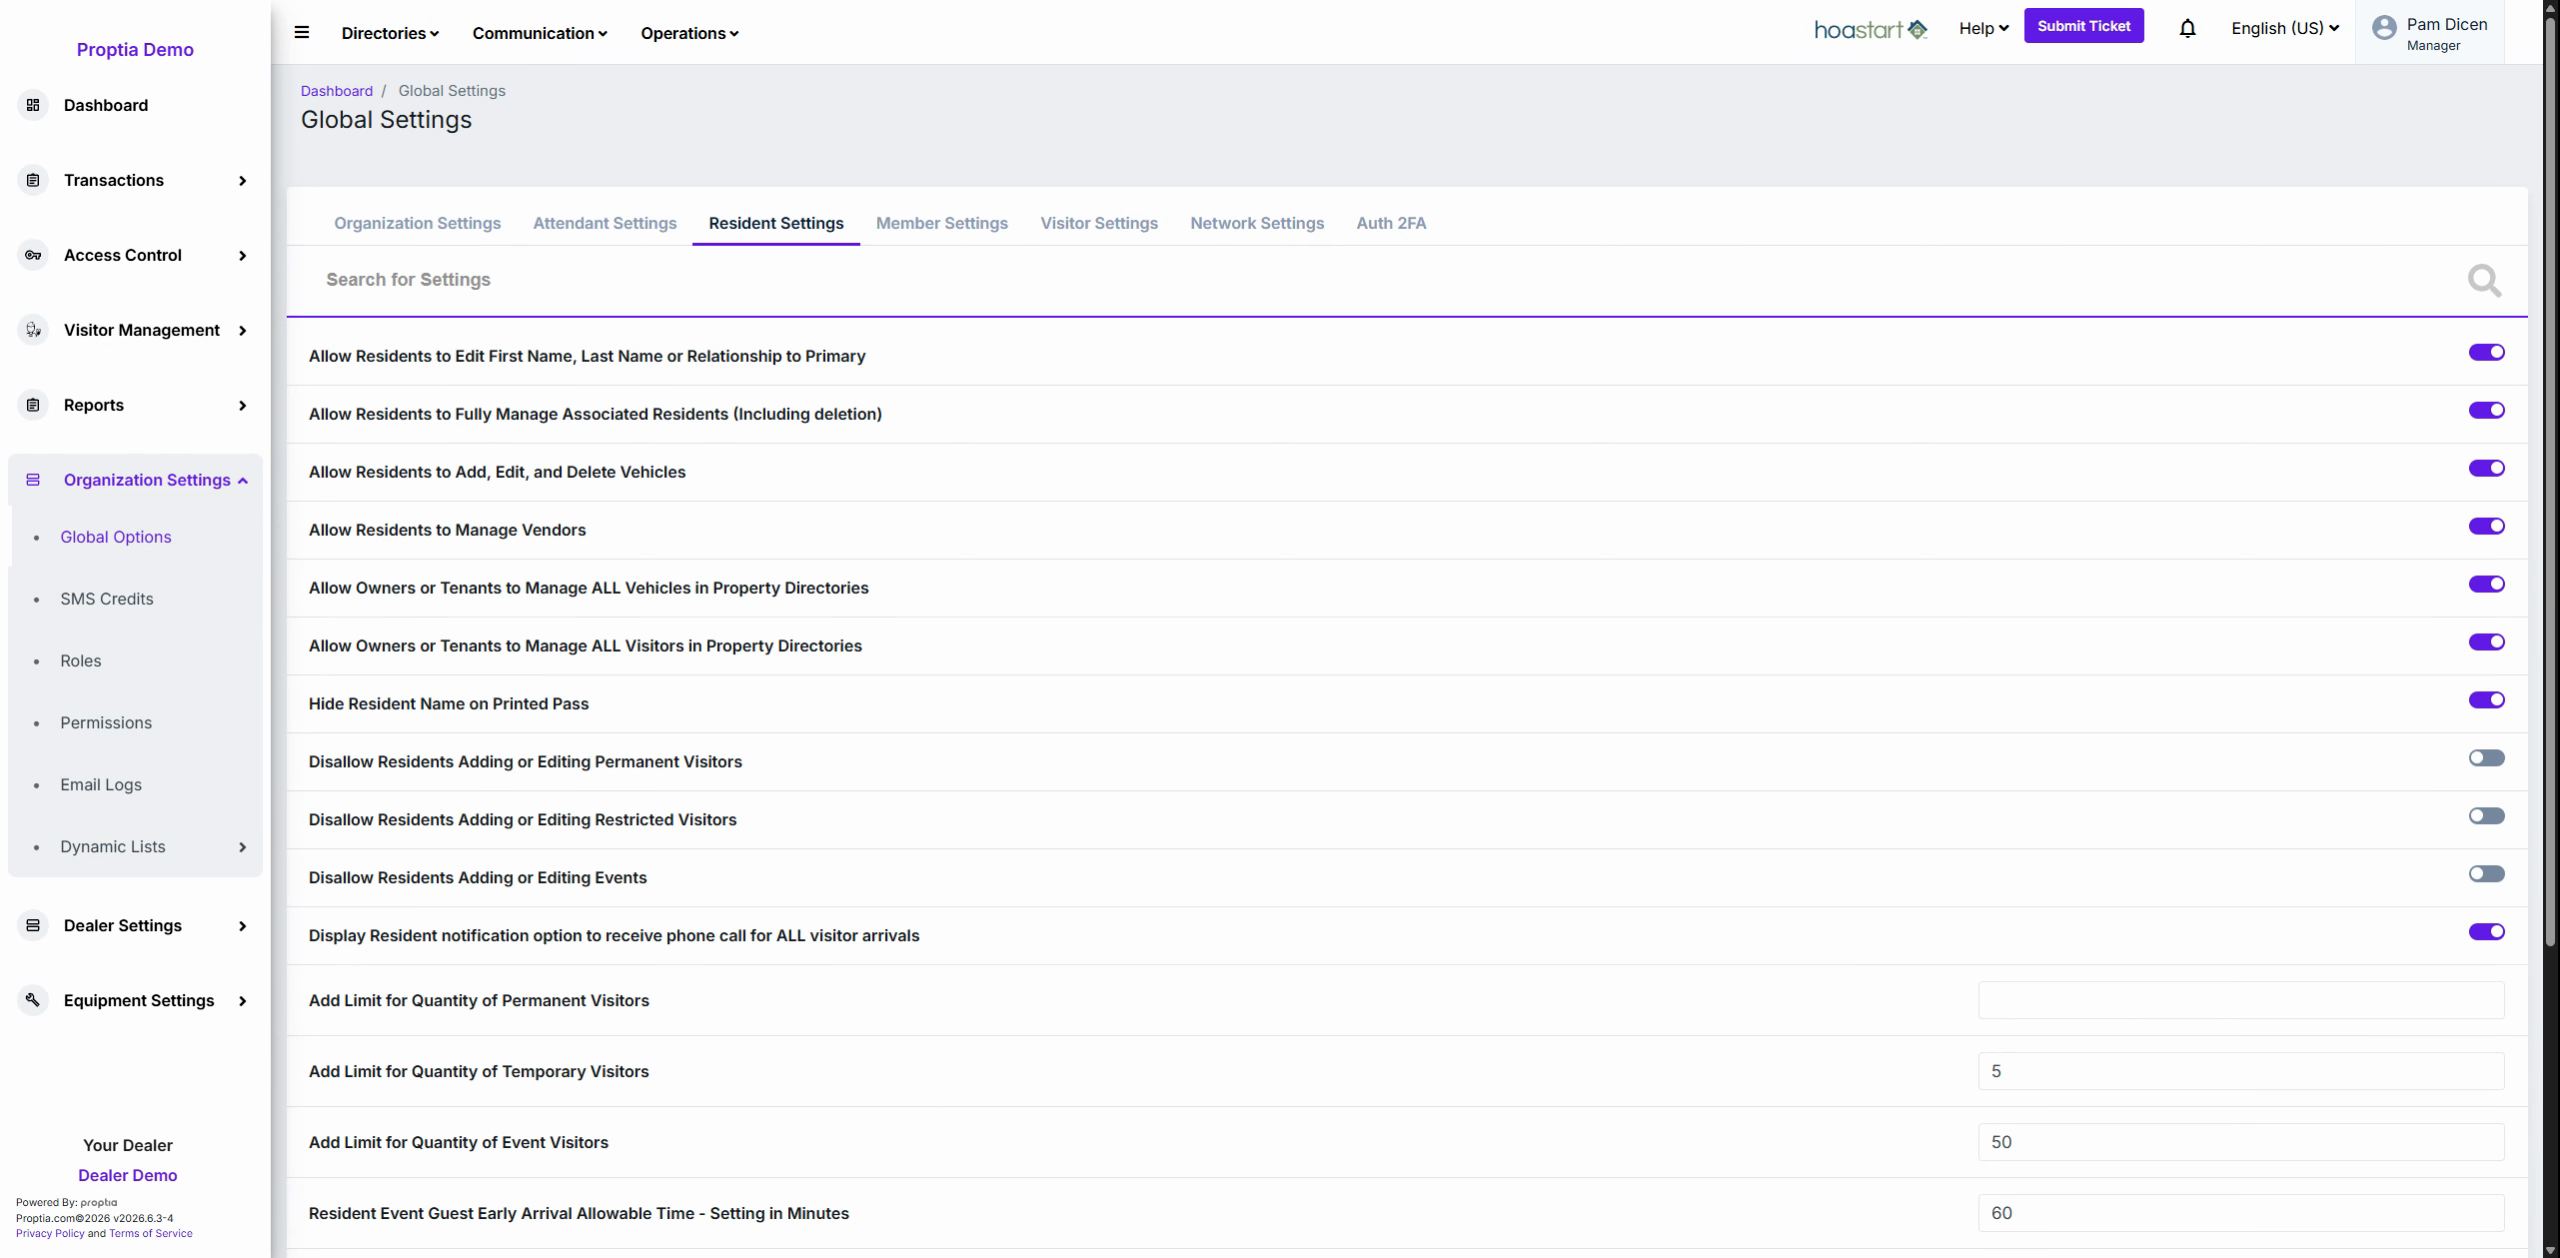
Result: You open the area where all resident-related permissions and controls are managed.
Module 2: Configuring Resident Profile and Account Controls
Review the first group of settings under Resident Profile Controls to decide what personal information residents can edit (e.g., first name, last name, relationship to primary resident).
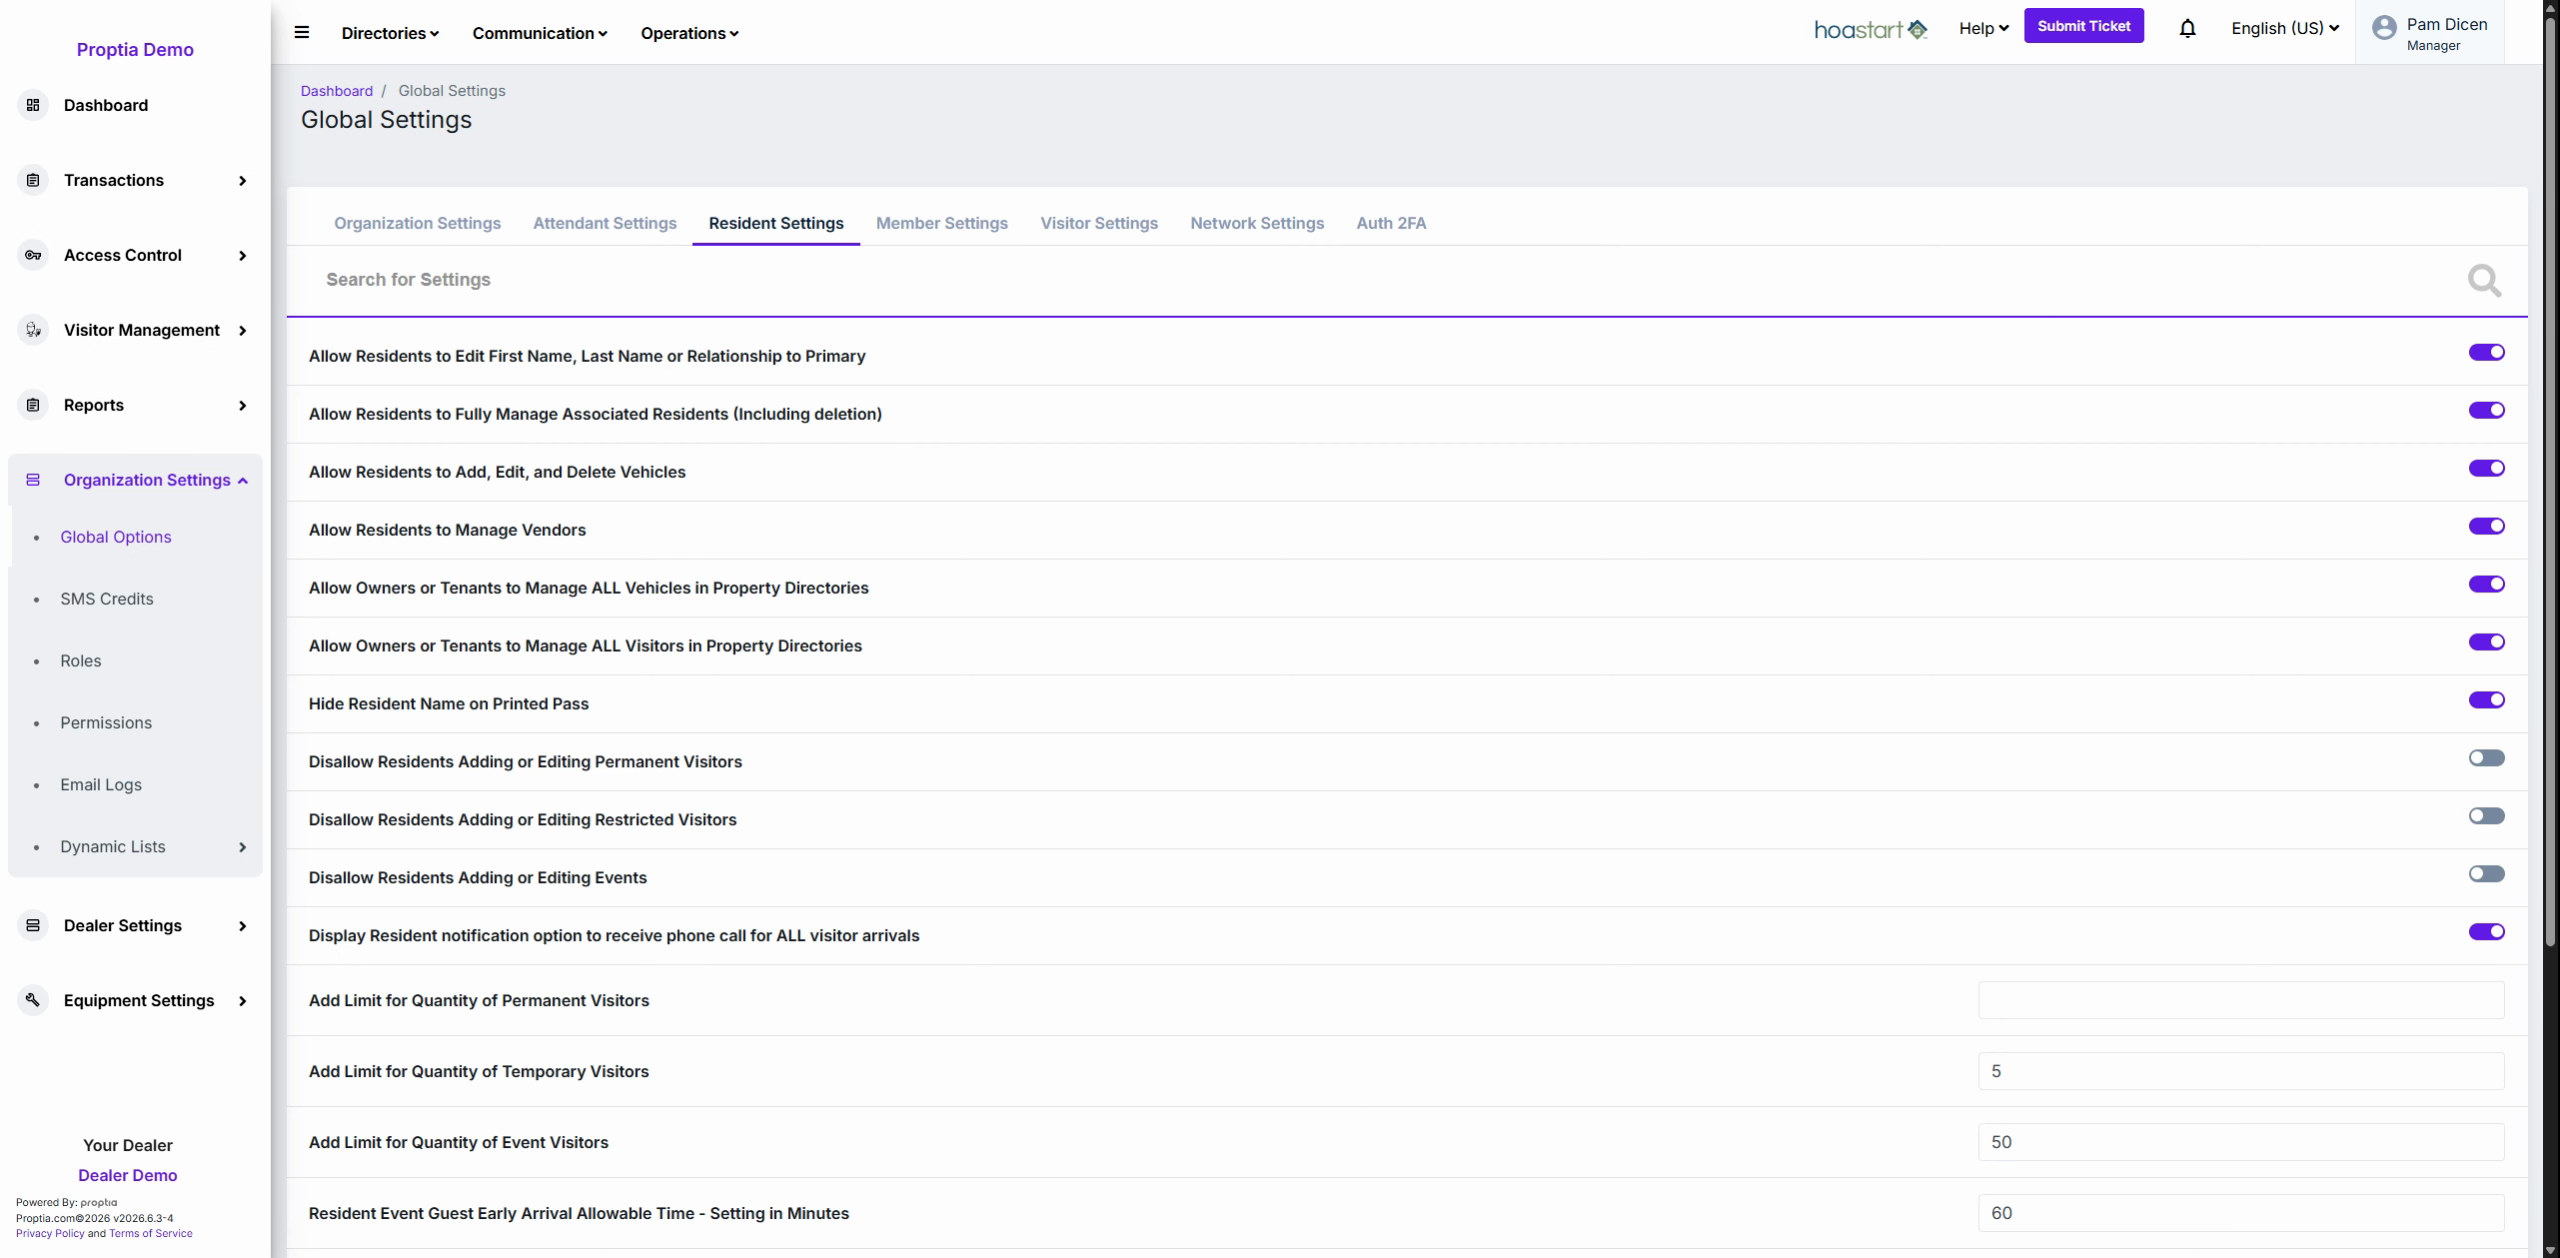
Toggle the corresponding switches to allow or restrict management of resident profiles and associated accounts. For example, enable editing or deletion of profiles where appropriate.
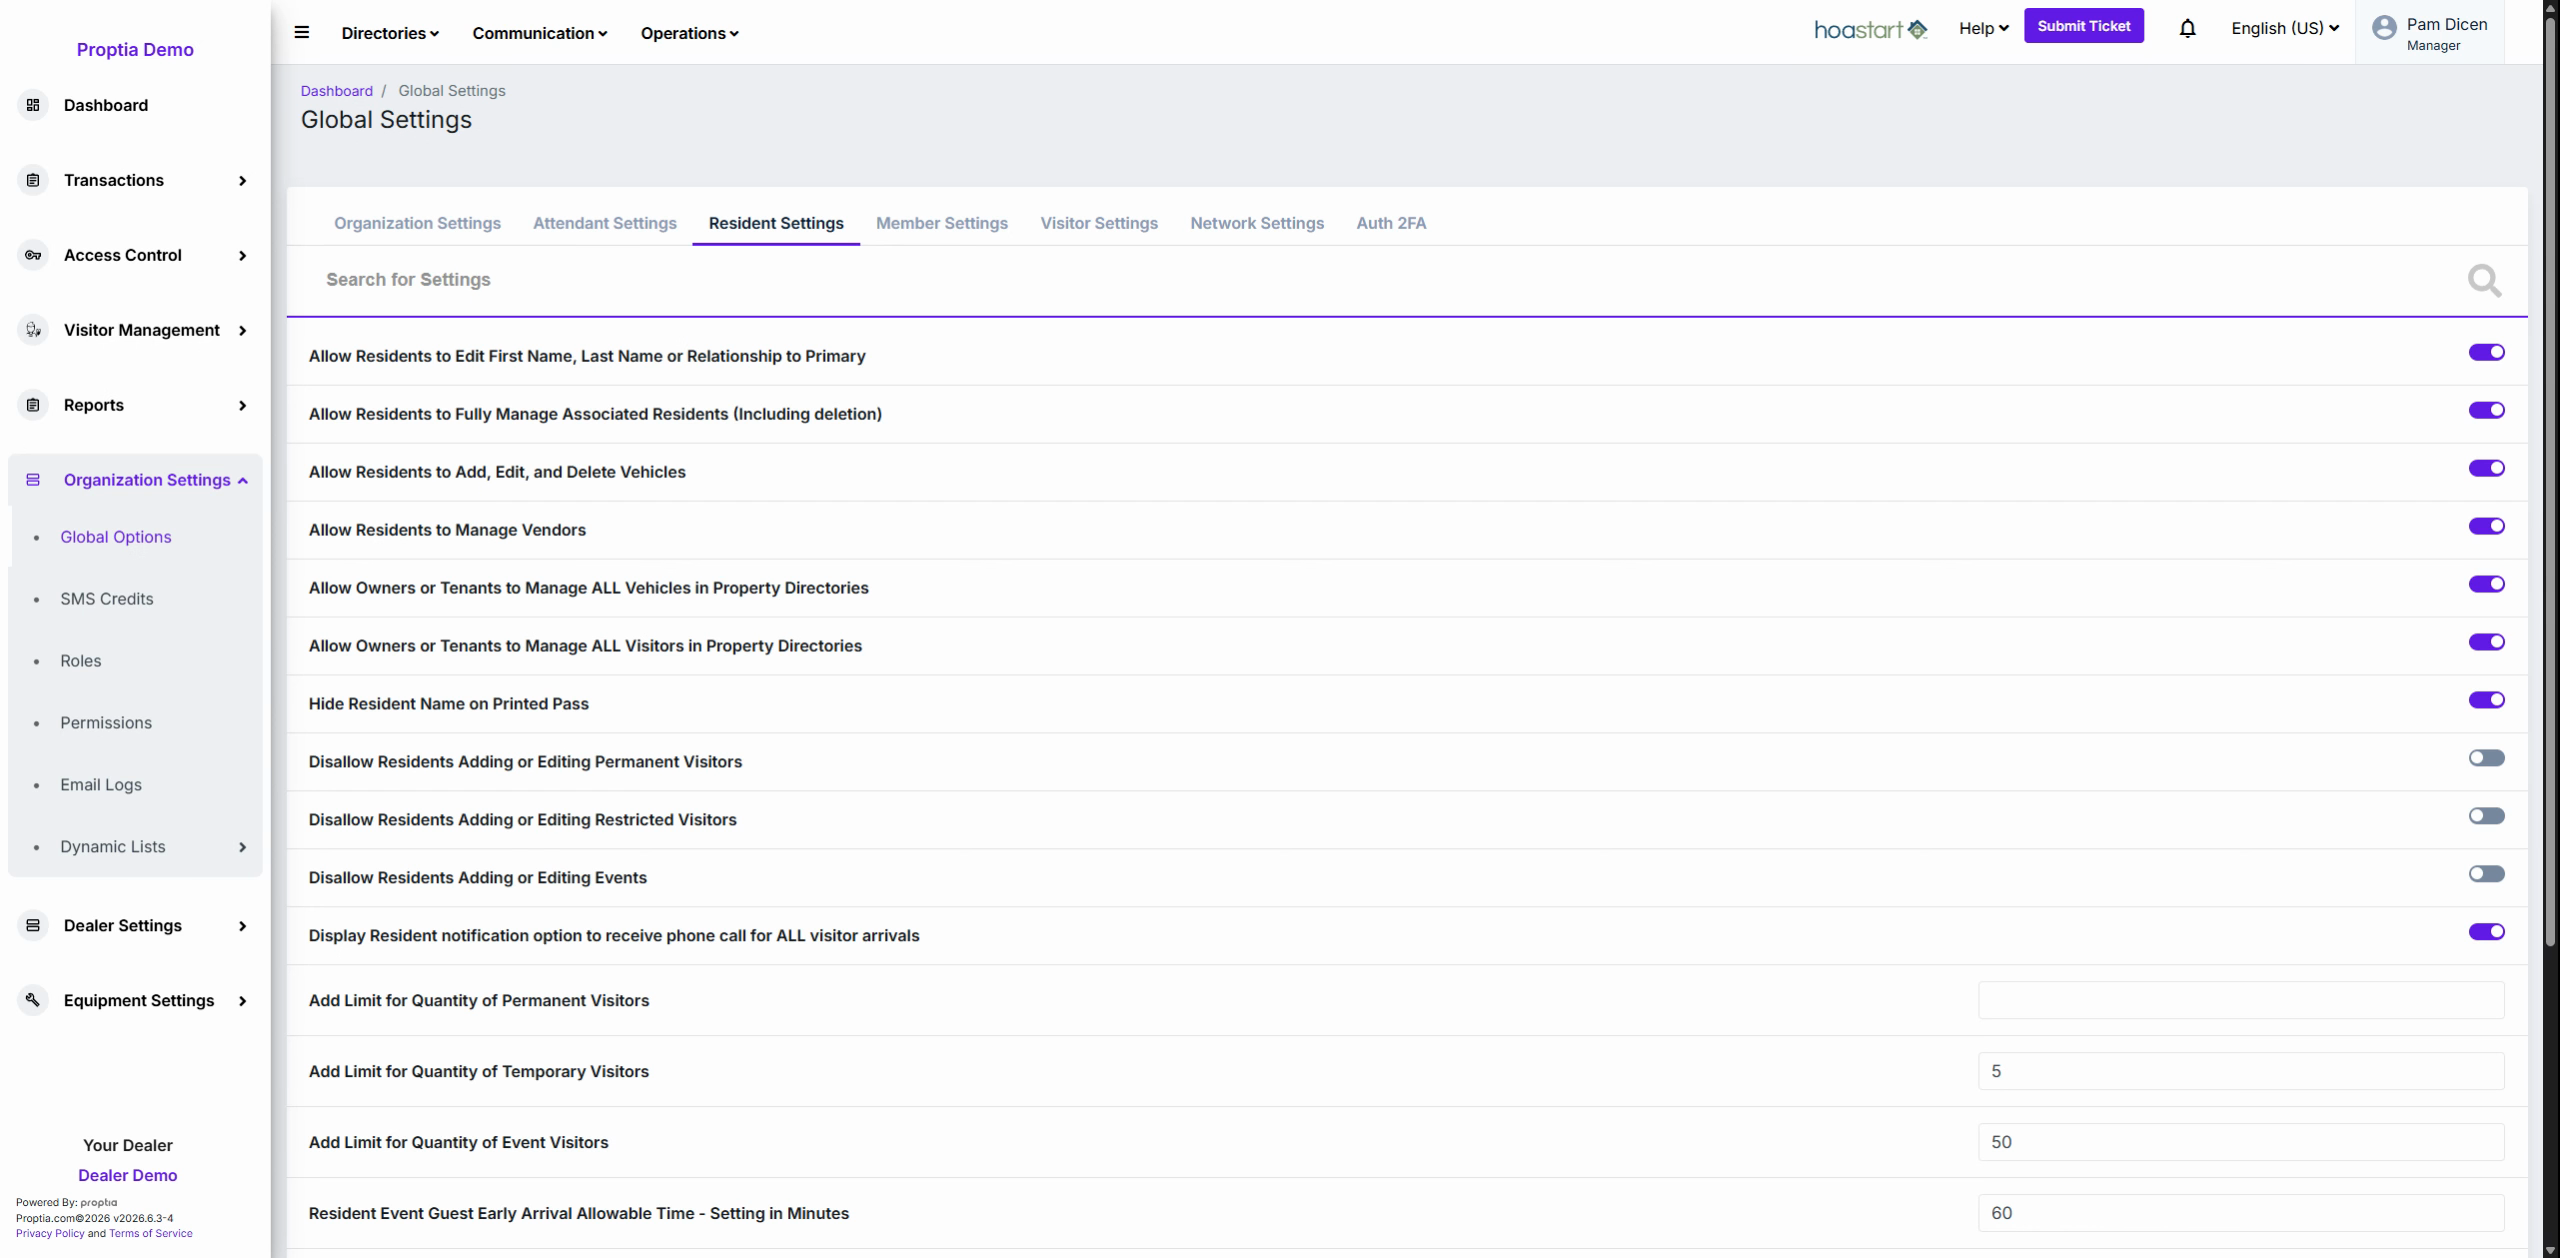
Toggle options to enable residents to add, edit, or remove their own vehicles and manage registered vendors.
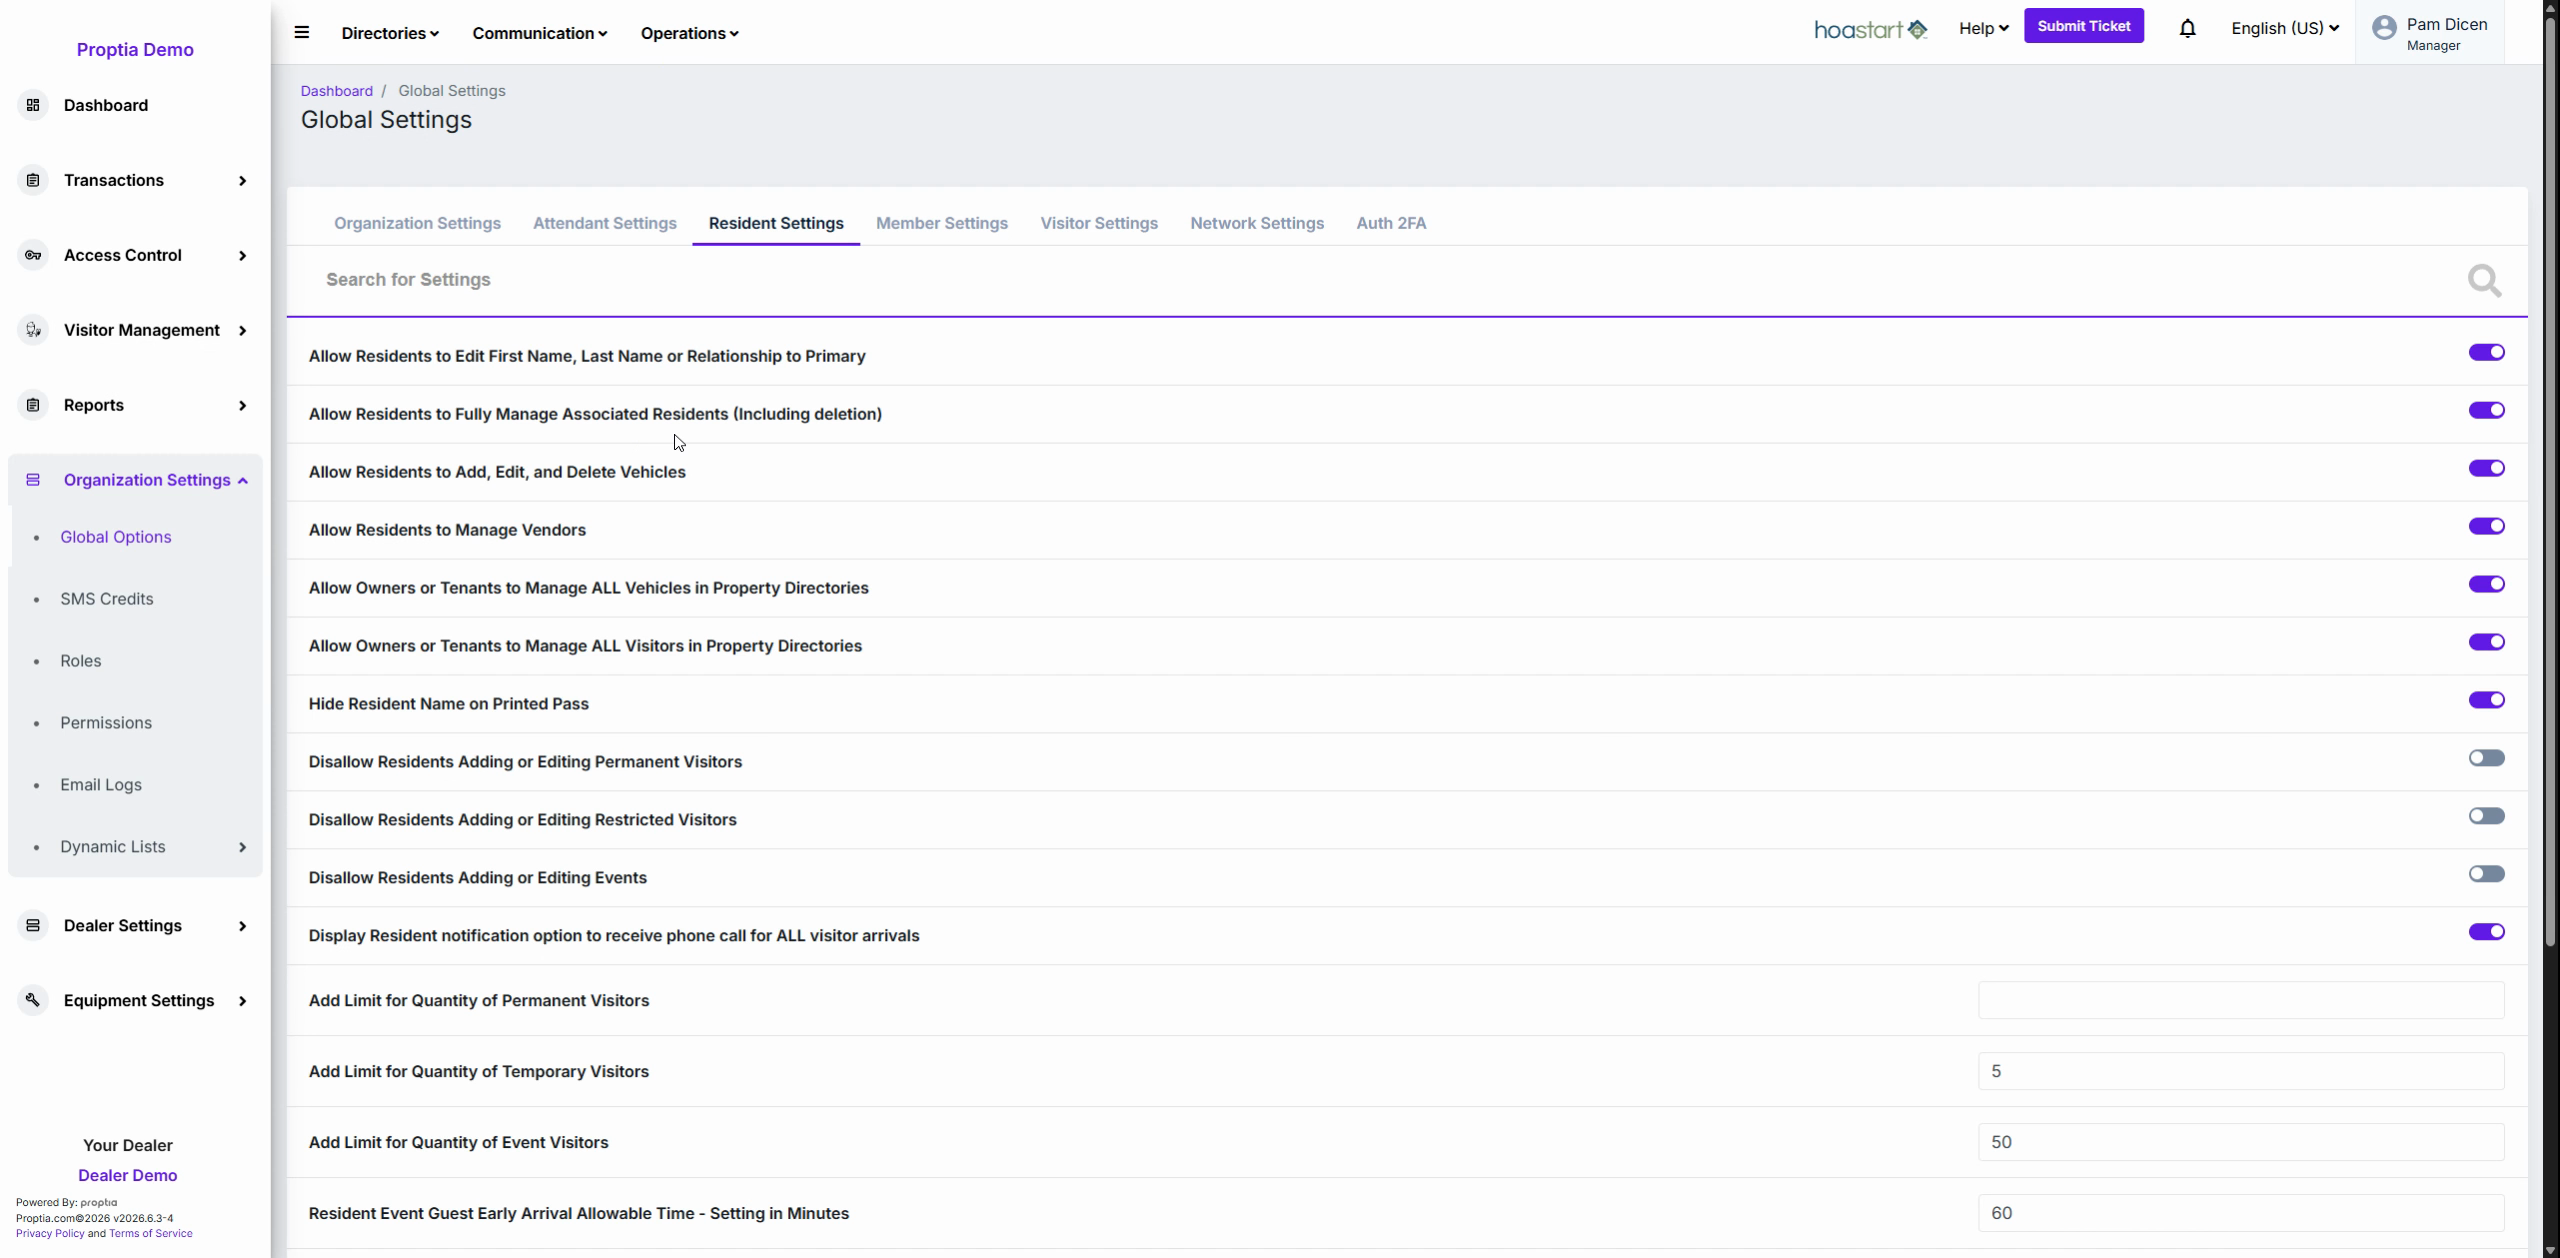
Why: This allows residents to maintain accurate vehicle and vendor information themselves, reducing administrative overhead.
Enable Allow Owners/Tenants to Manage All Vehicles and Allow Owners/Tenants to Manage All Visitors to empower them to track and update vehicles or visitors—ideal for large households or landlord properties.
Module 3: Enhancing Resident Privacy
Toggle Hide Resident Name on Printed Pass if you want to exclude personal names from gatehouse printouts for privacy.
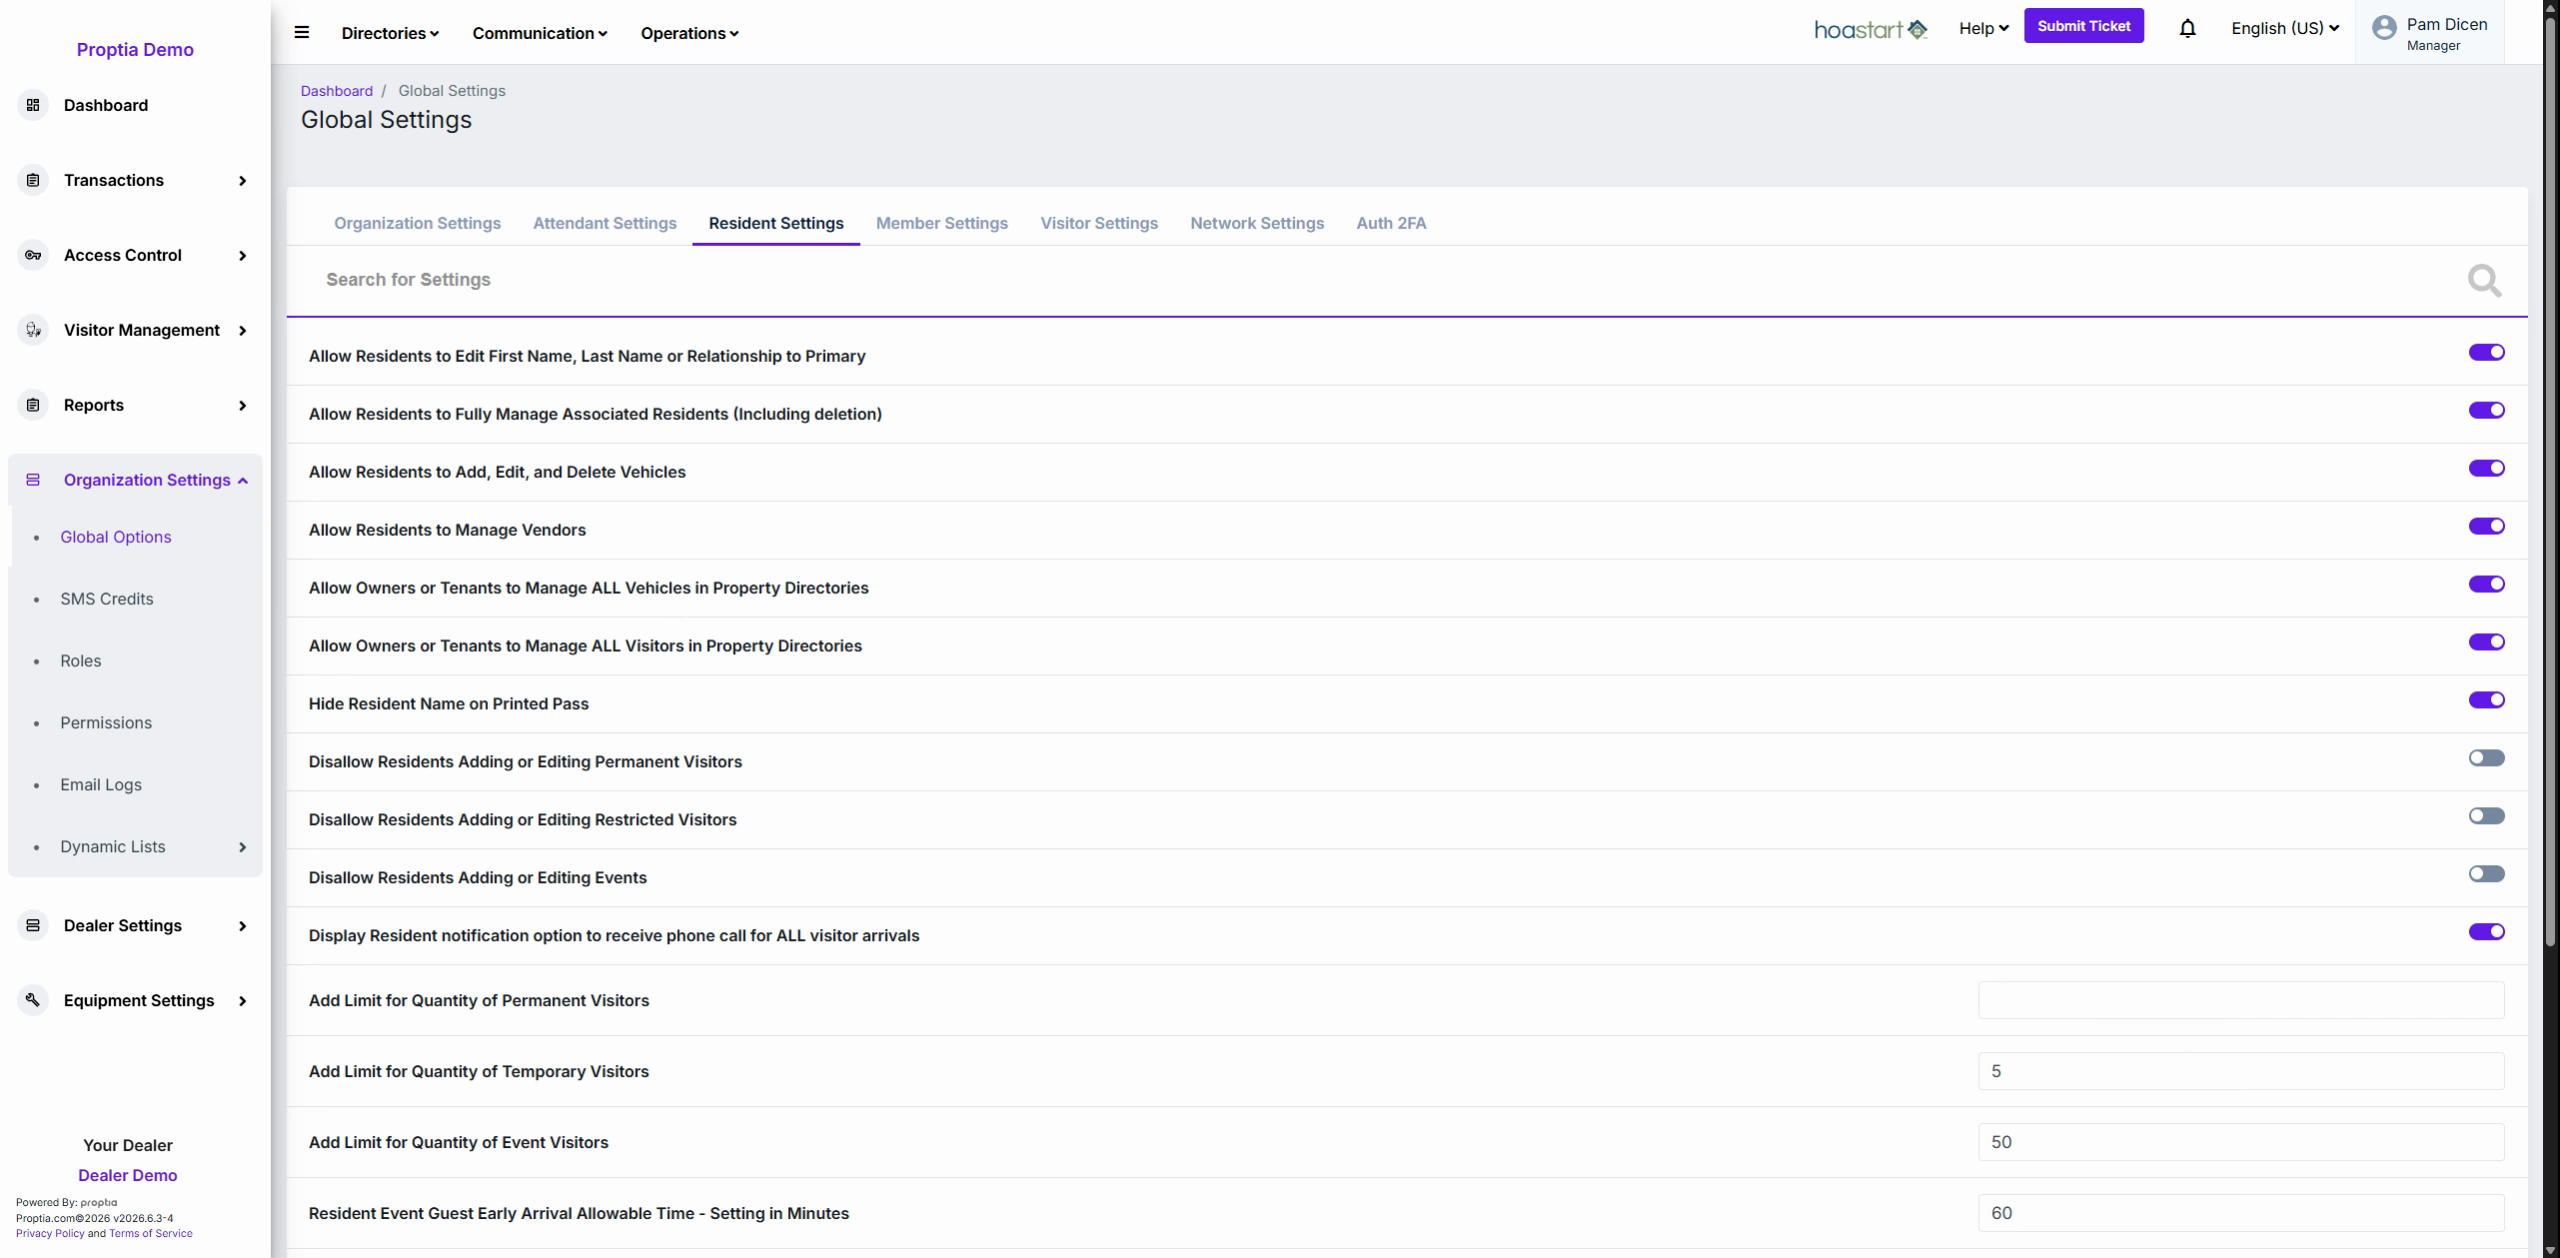
Why: This protects residents' identities on printed gate passes.
Module 4: Restricting Resident Privileges
Scroll to the section with switches labeled Disallow. Activate these toggles to explicitly prevent residents from managing permanent or restricted visitors, or from creating their own events.
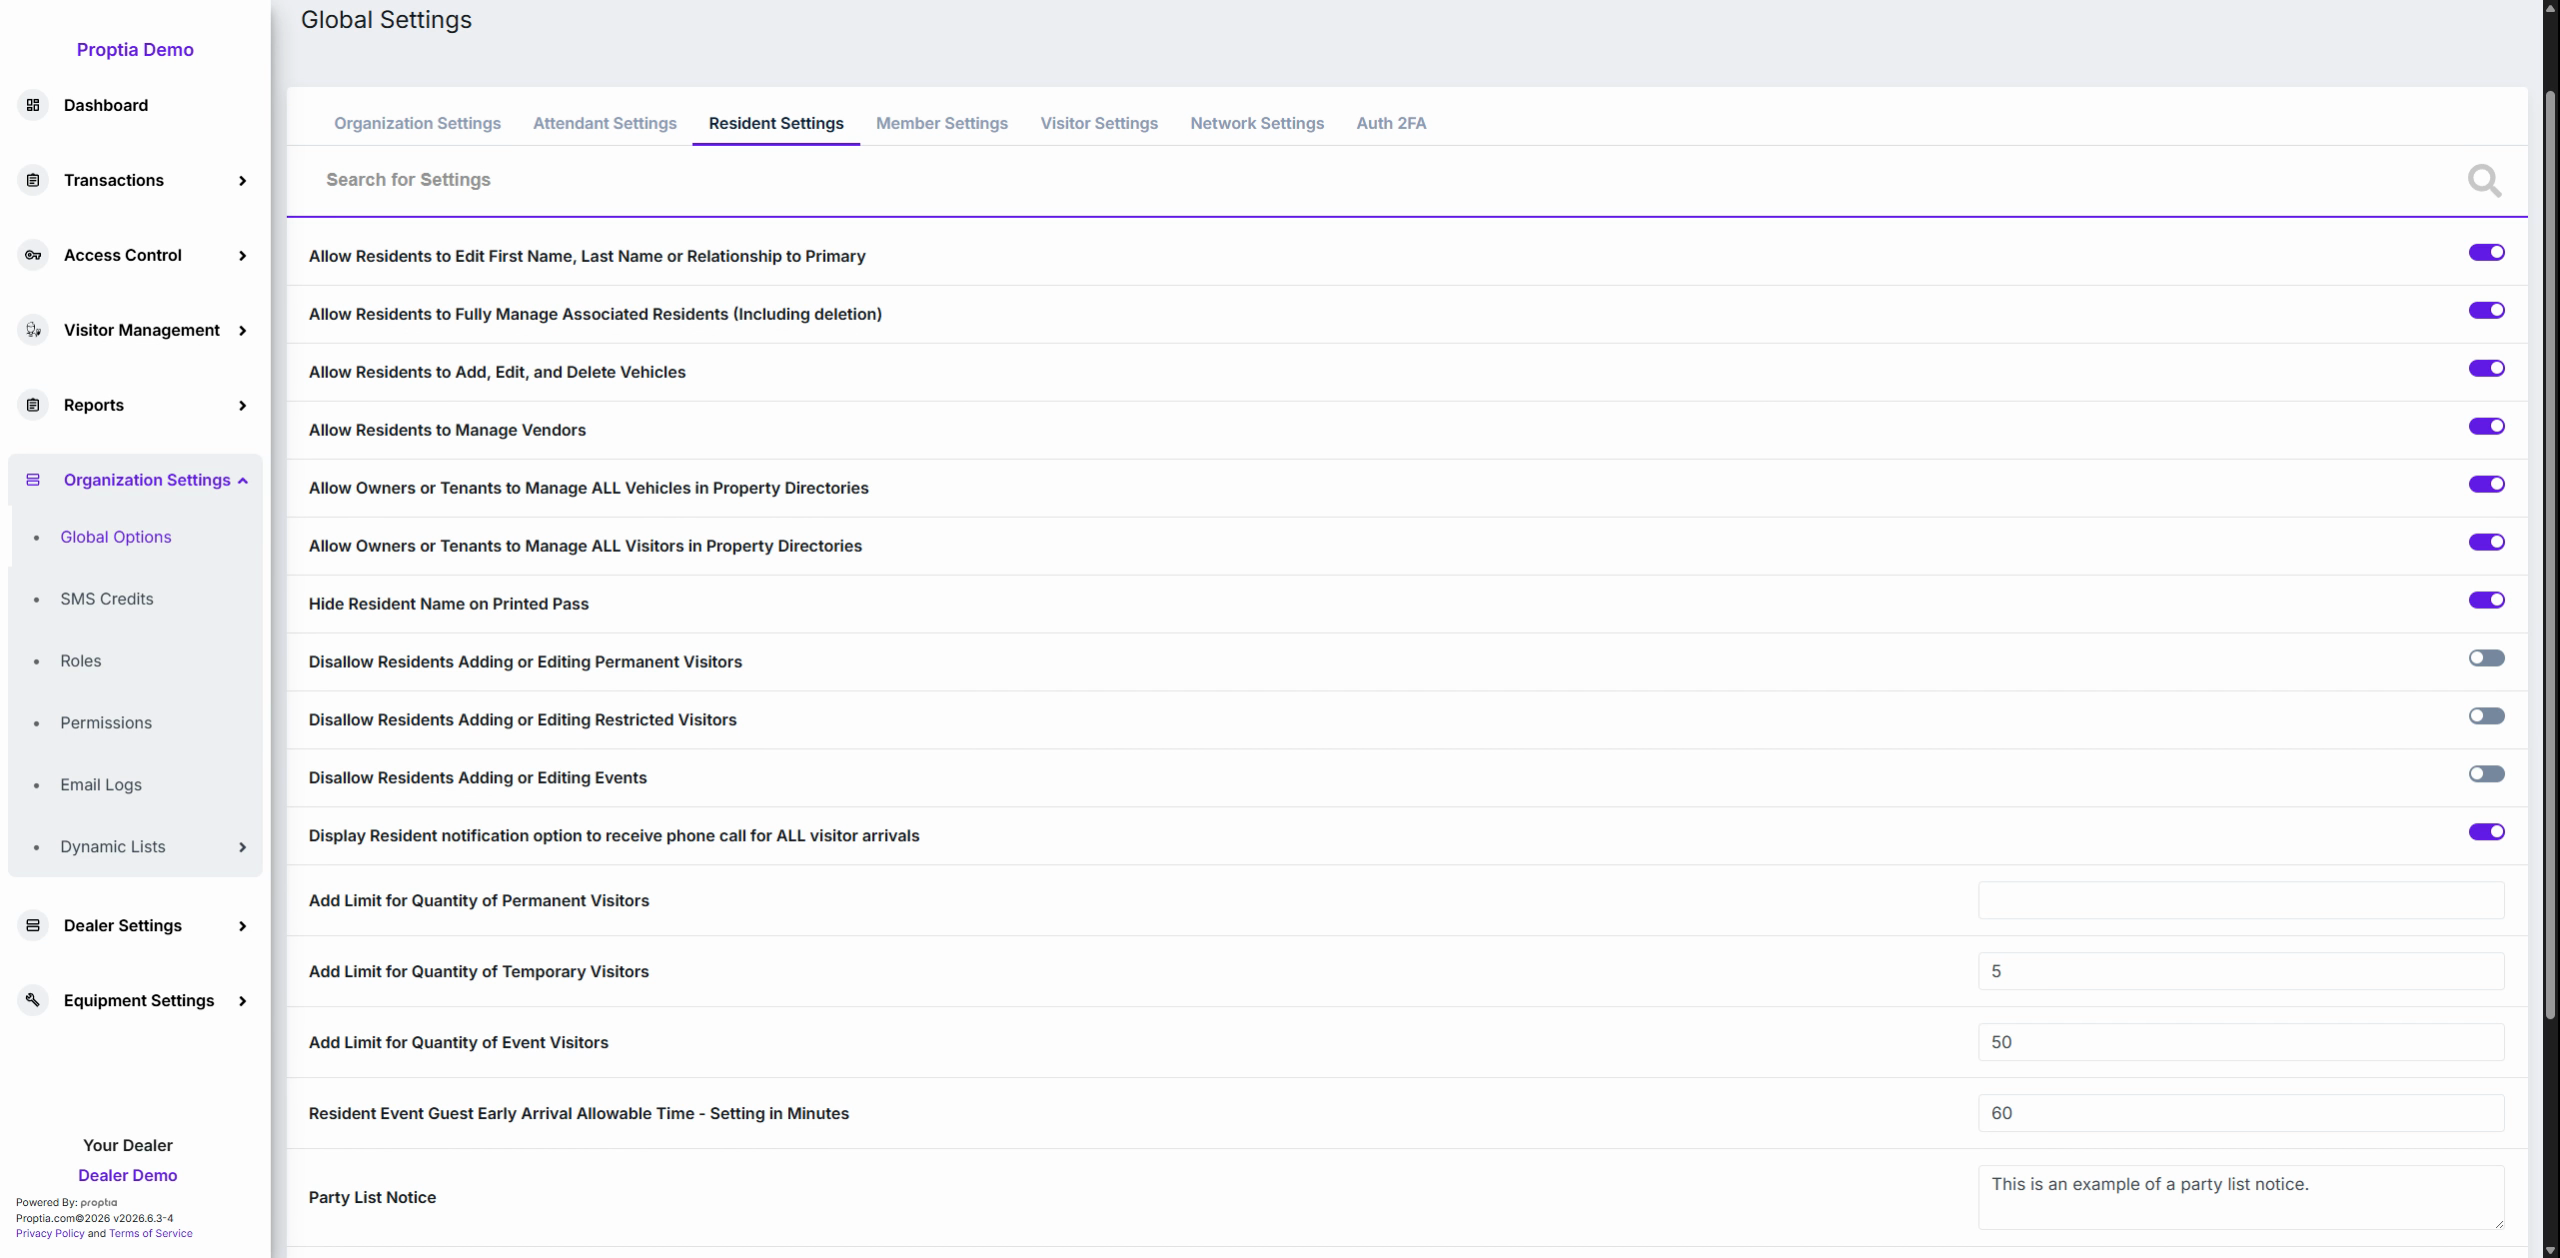
Why: Enabling these restrictions is crucial for communities where visitor passes or event access must be tightly controlled by management.
Module 5: Configuring Notification and Event Settings
Toggle Display Resident Notification Option to Receive Phone Call For All Visitor Arrivals to allow residents to opt for immediate phone notifications when guests arrive.
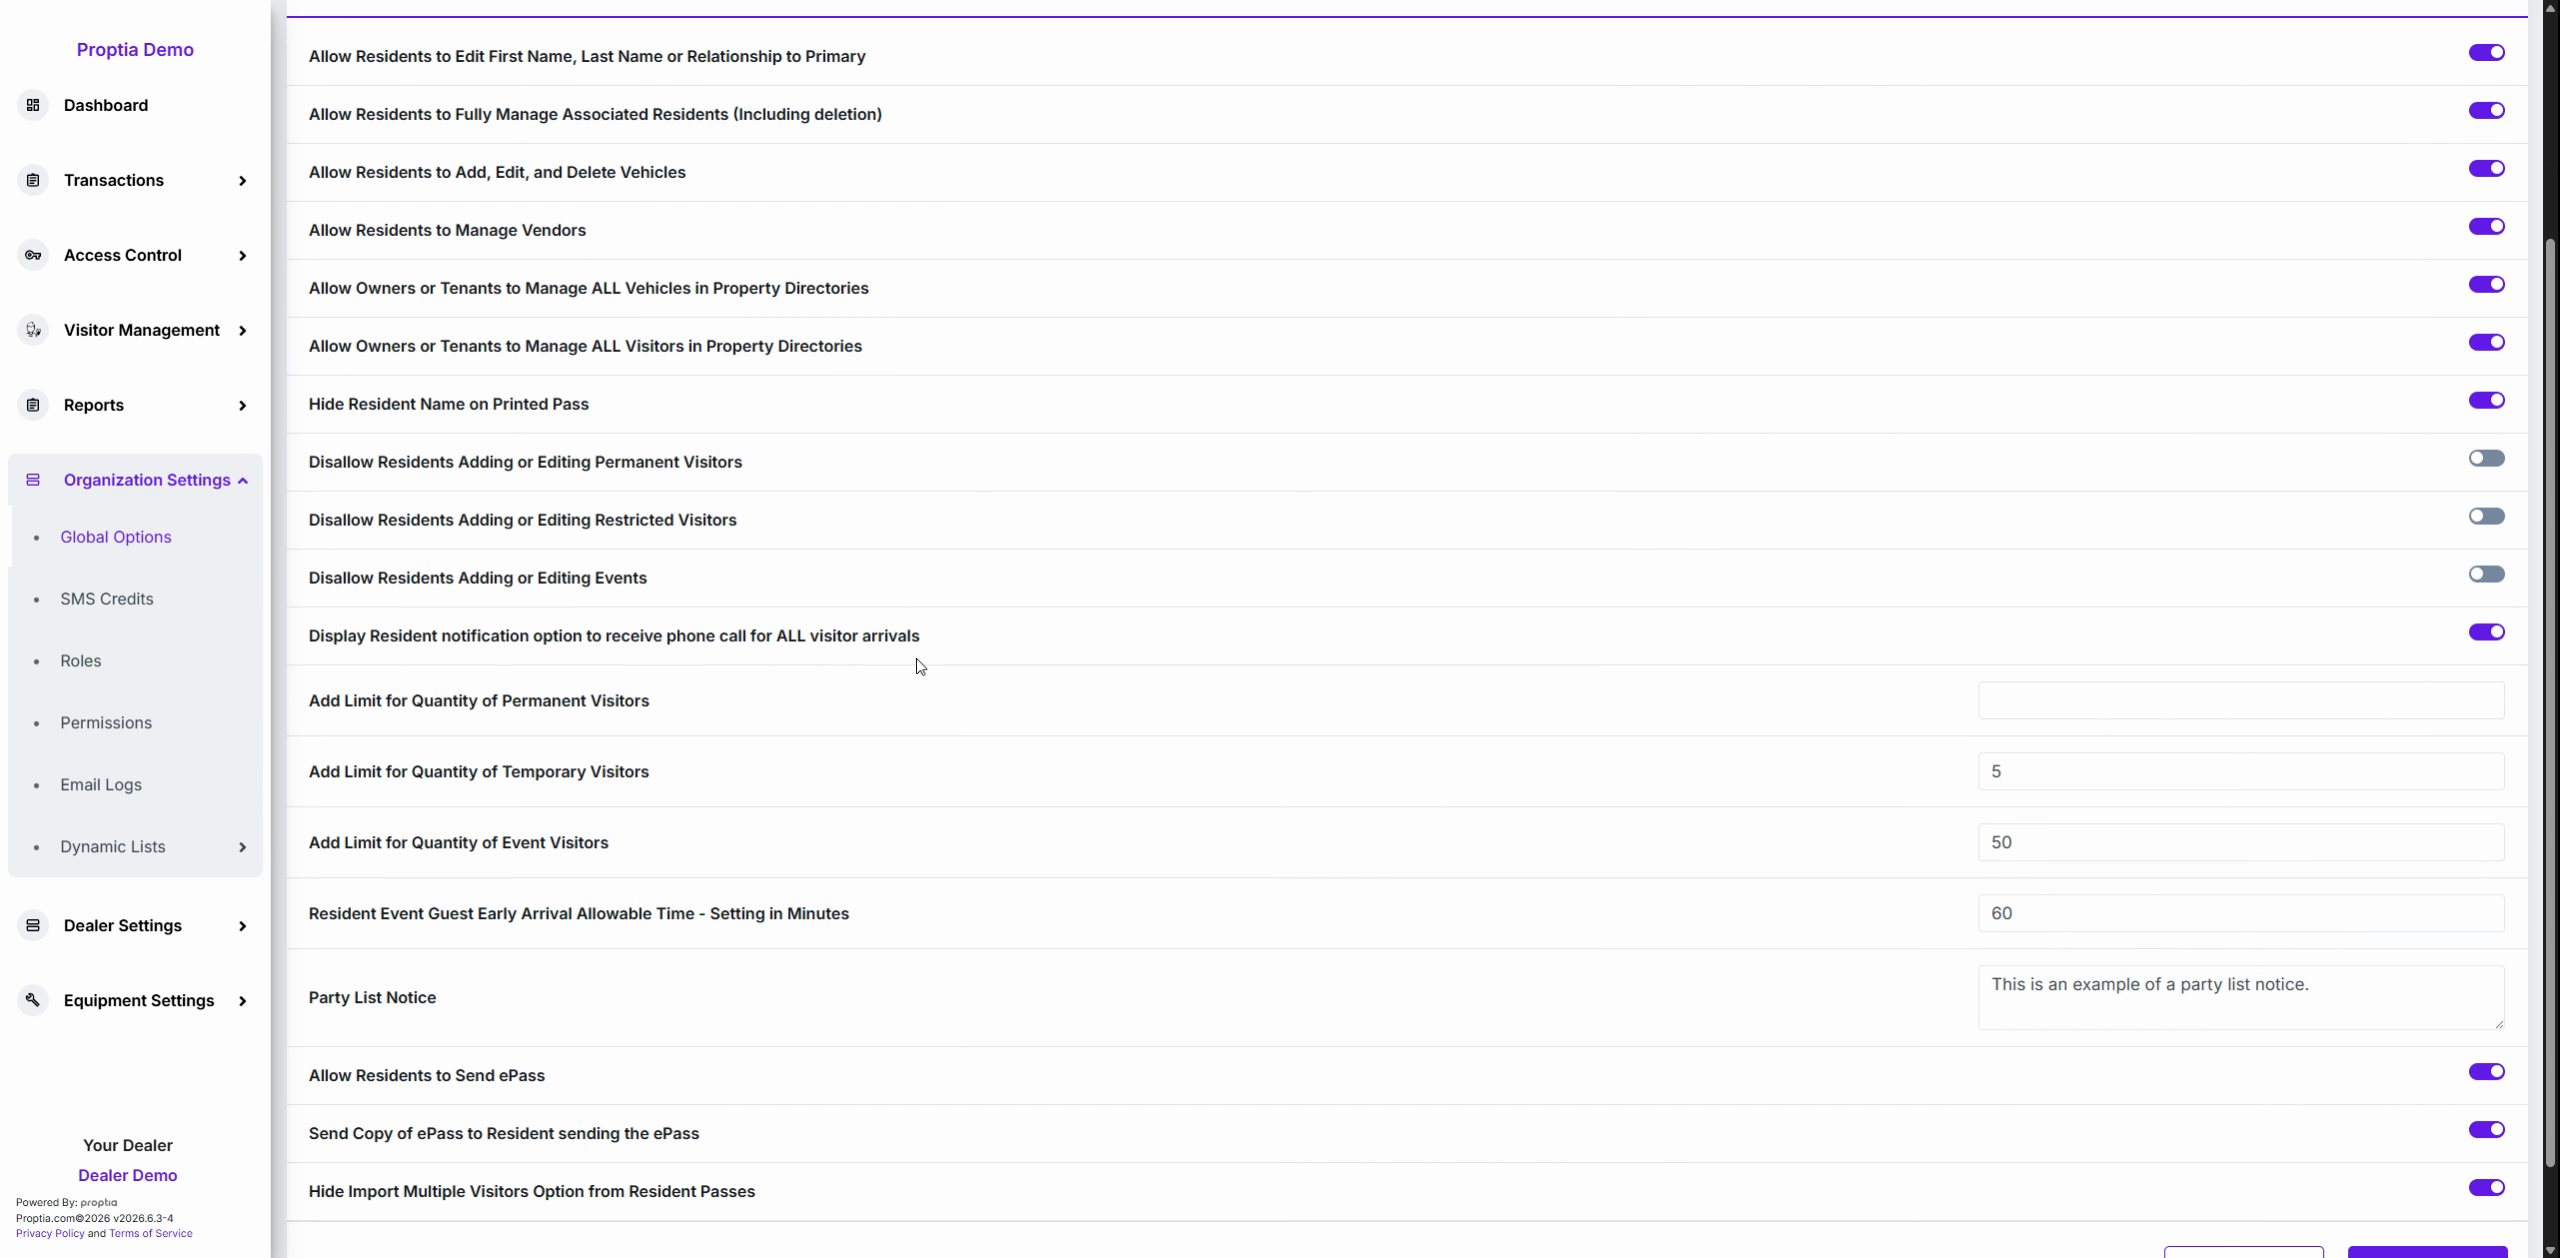
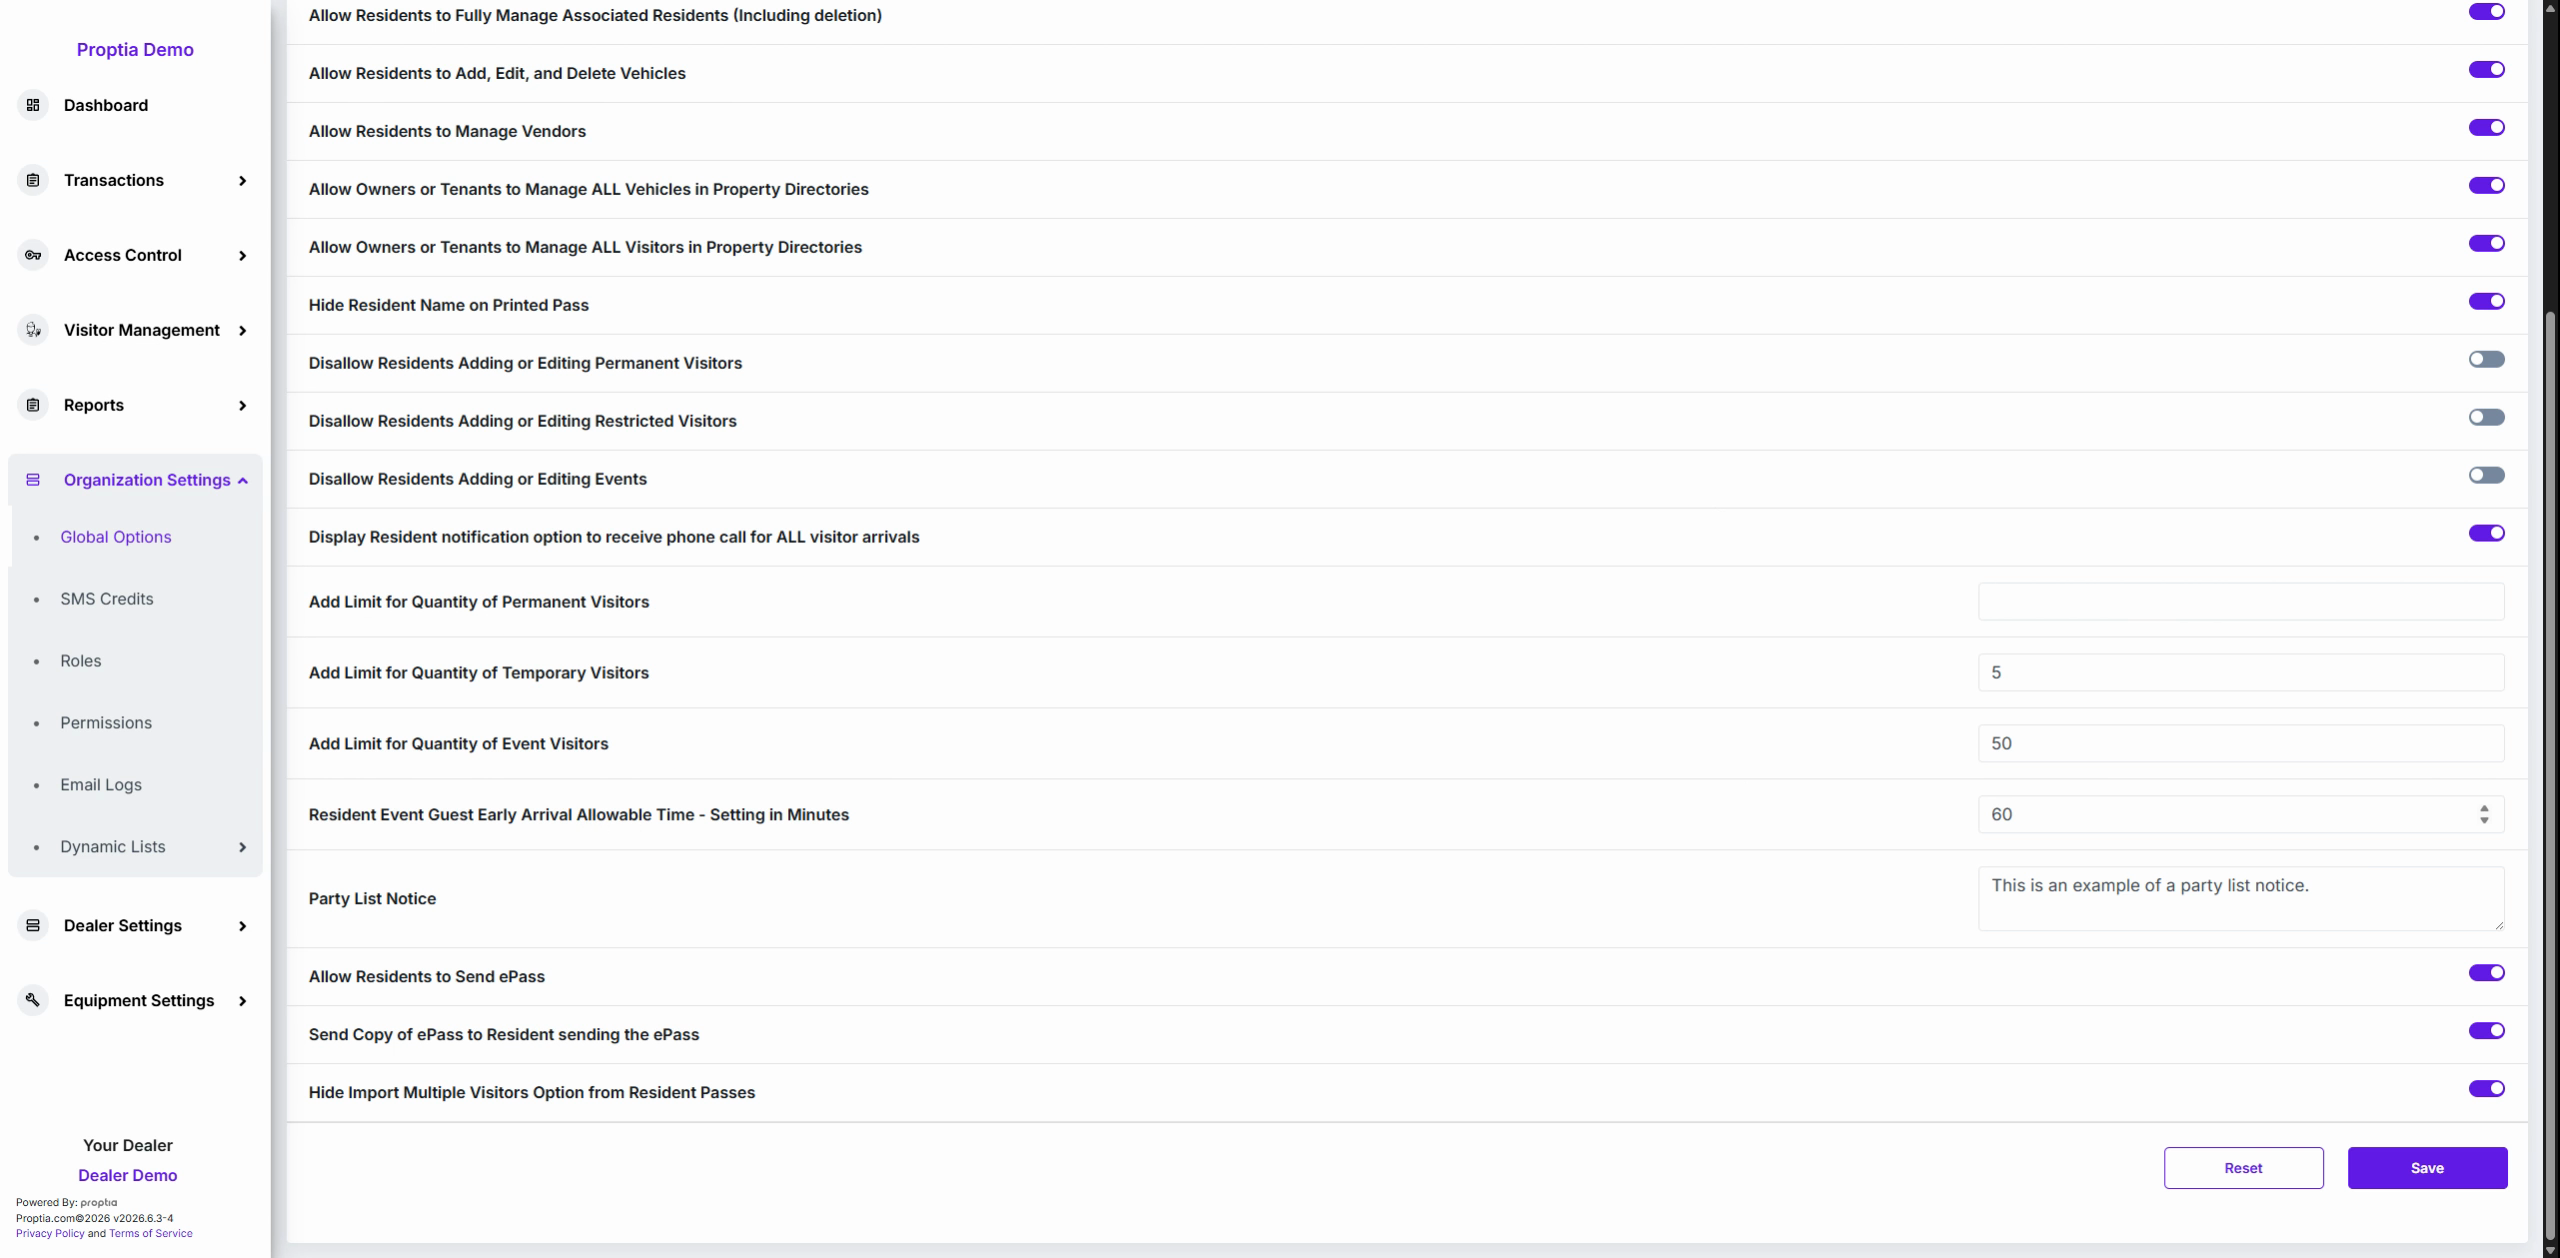
Scroll further to Numerical Limits and enter values for the maximum number of allowed permanent, temporary, and event visitors. Set a buffer time in minutes to define how early an event guest may be admitted before the scheduled start.
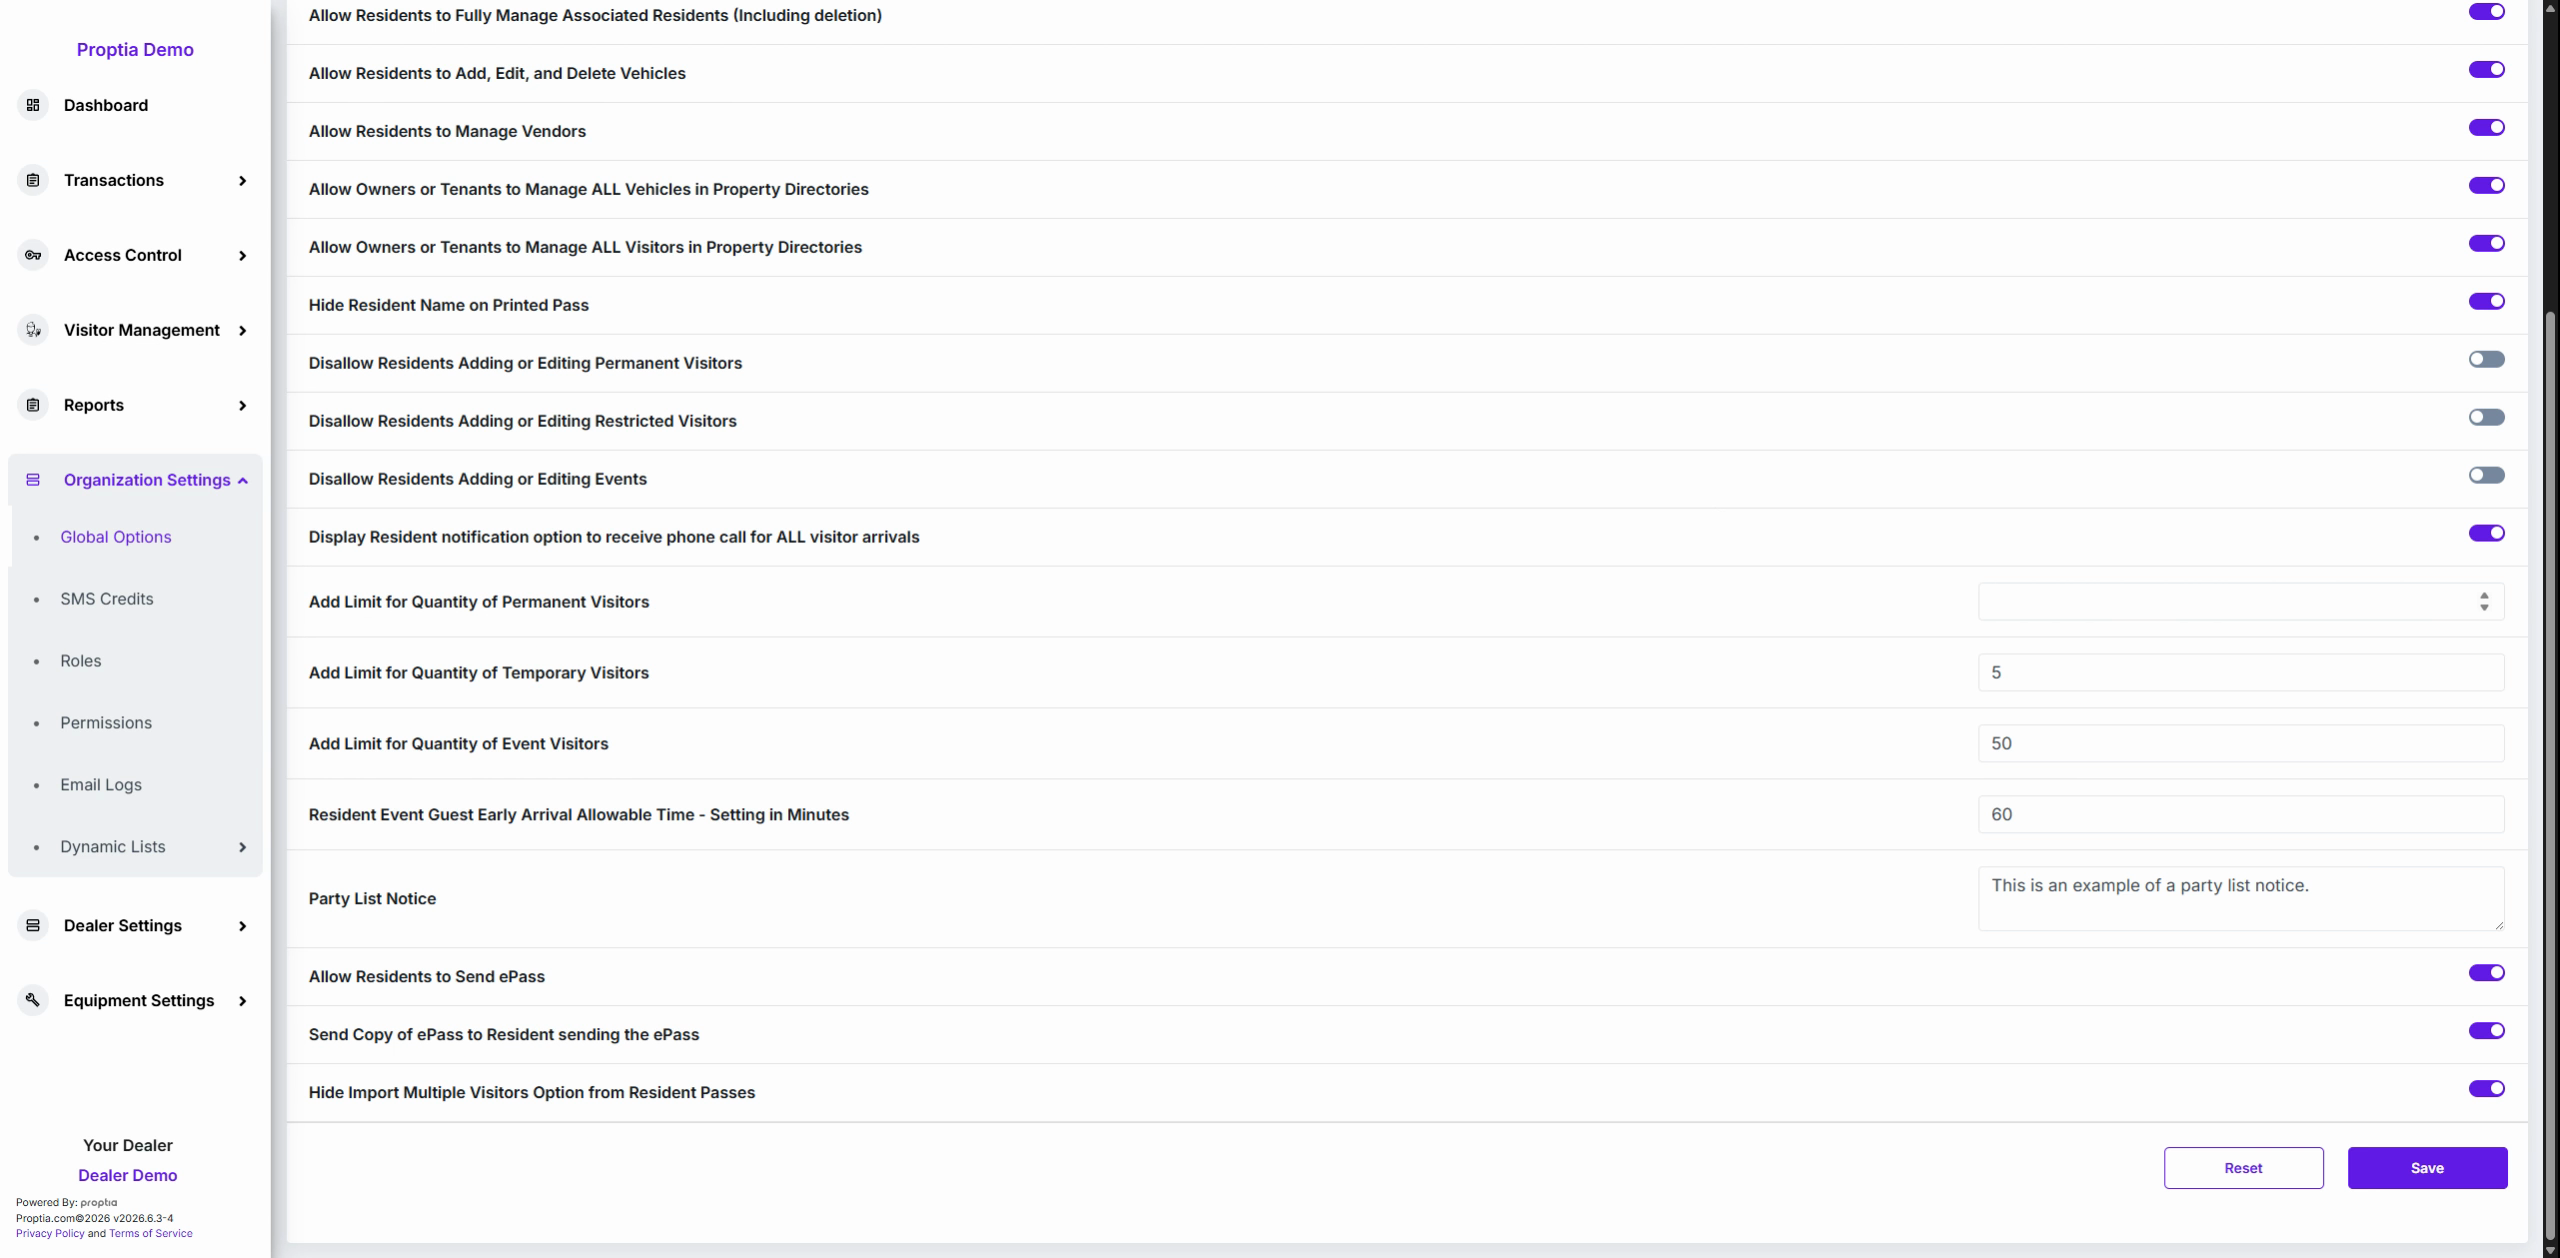
Enter the desired time value (e.g., 60 minutes) in the Buffer Time field.
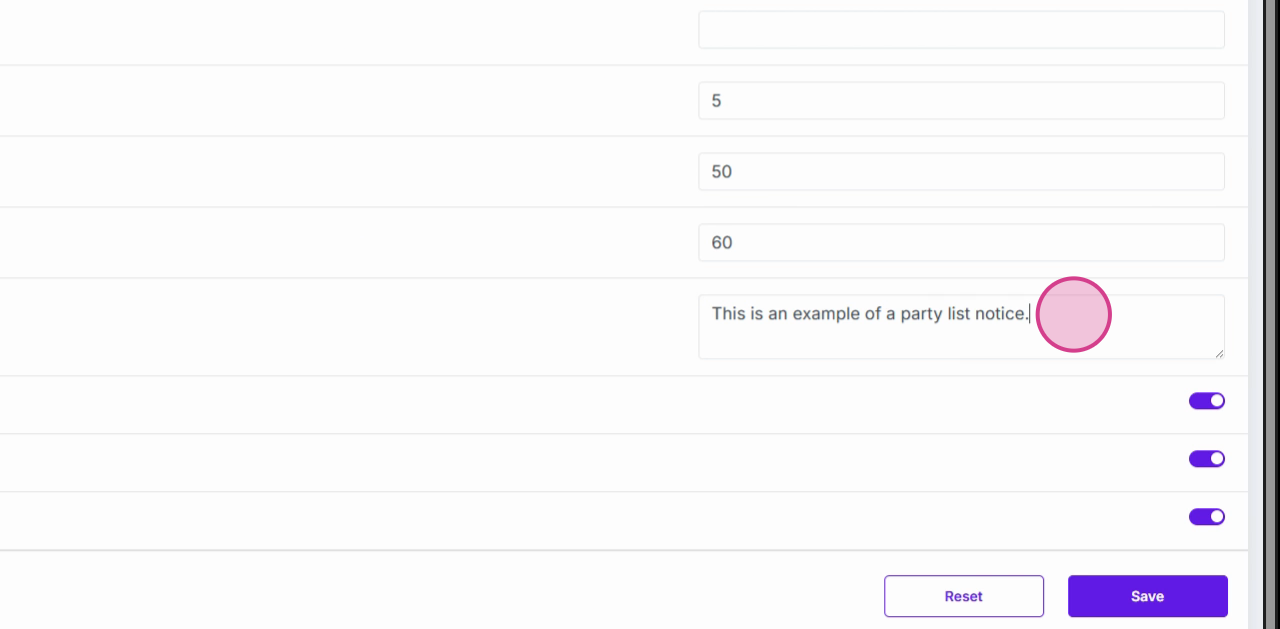
Type your custom terms and conditions checkbox text into the Party List Notice field. This text will become a required acknowledgment for event creation.
Module 6: Managing Gate Passes and Guest Imports
Toggle Allow Residents to Send ePass to enable digital barcode invitations for guests.
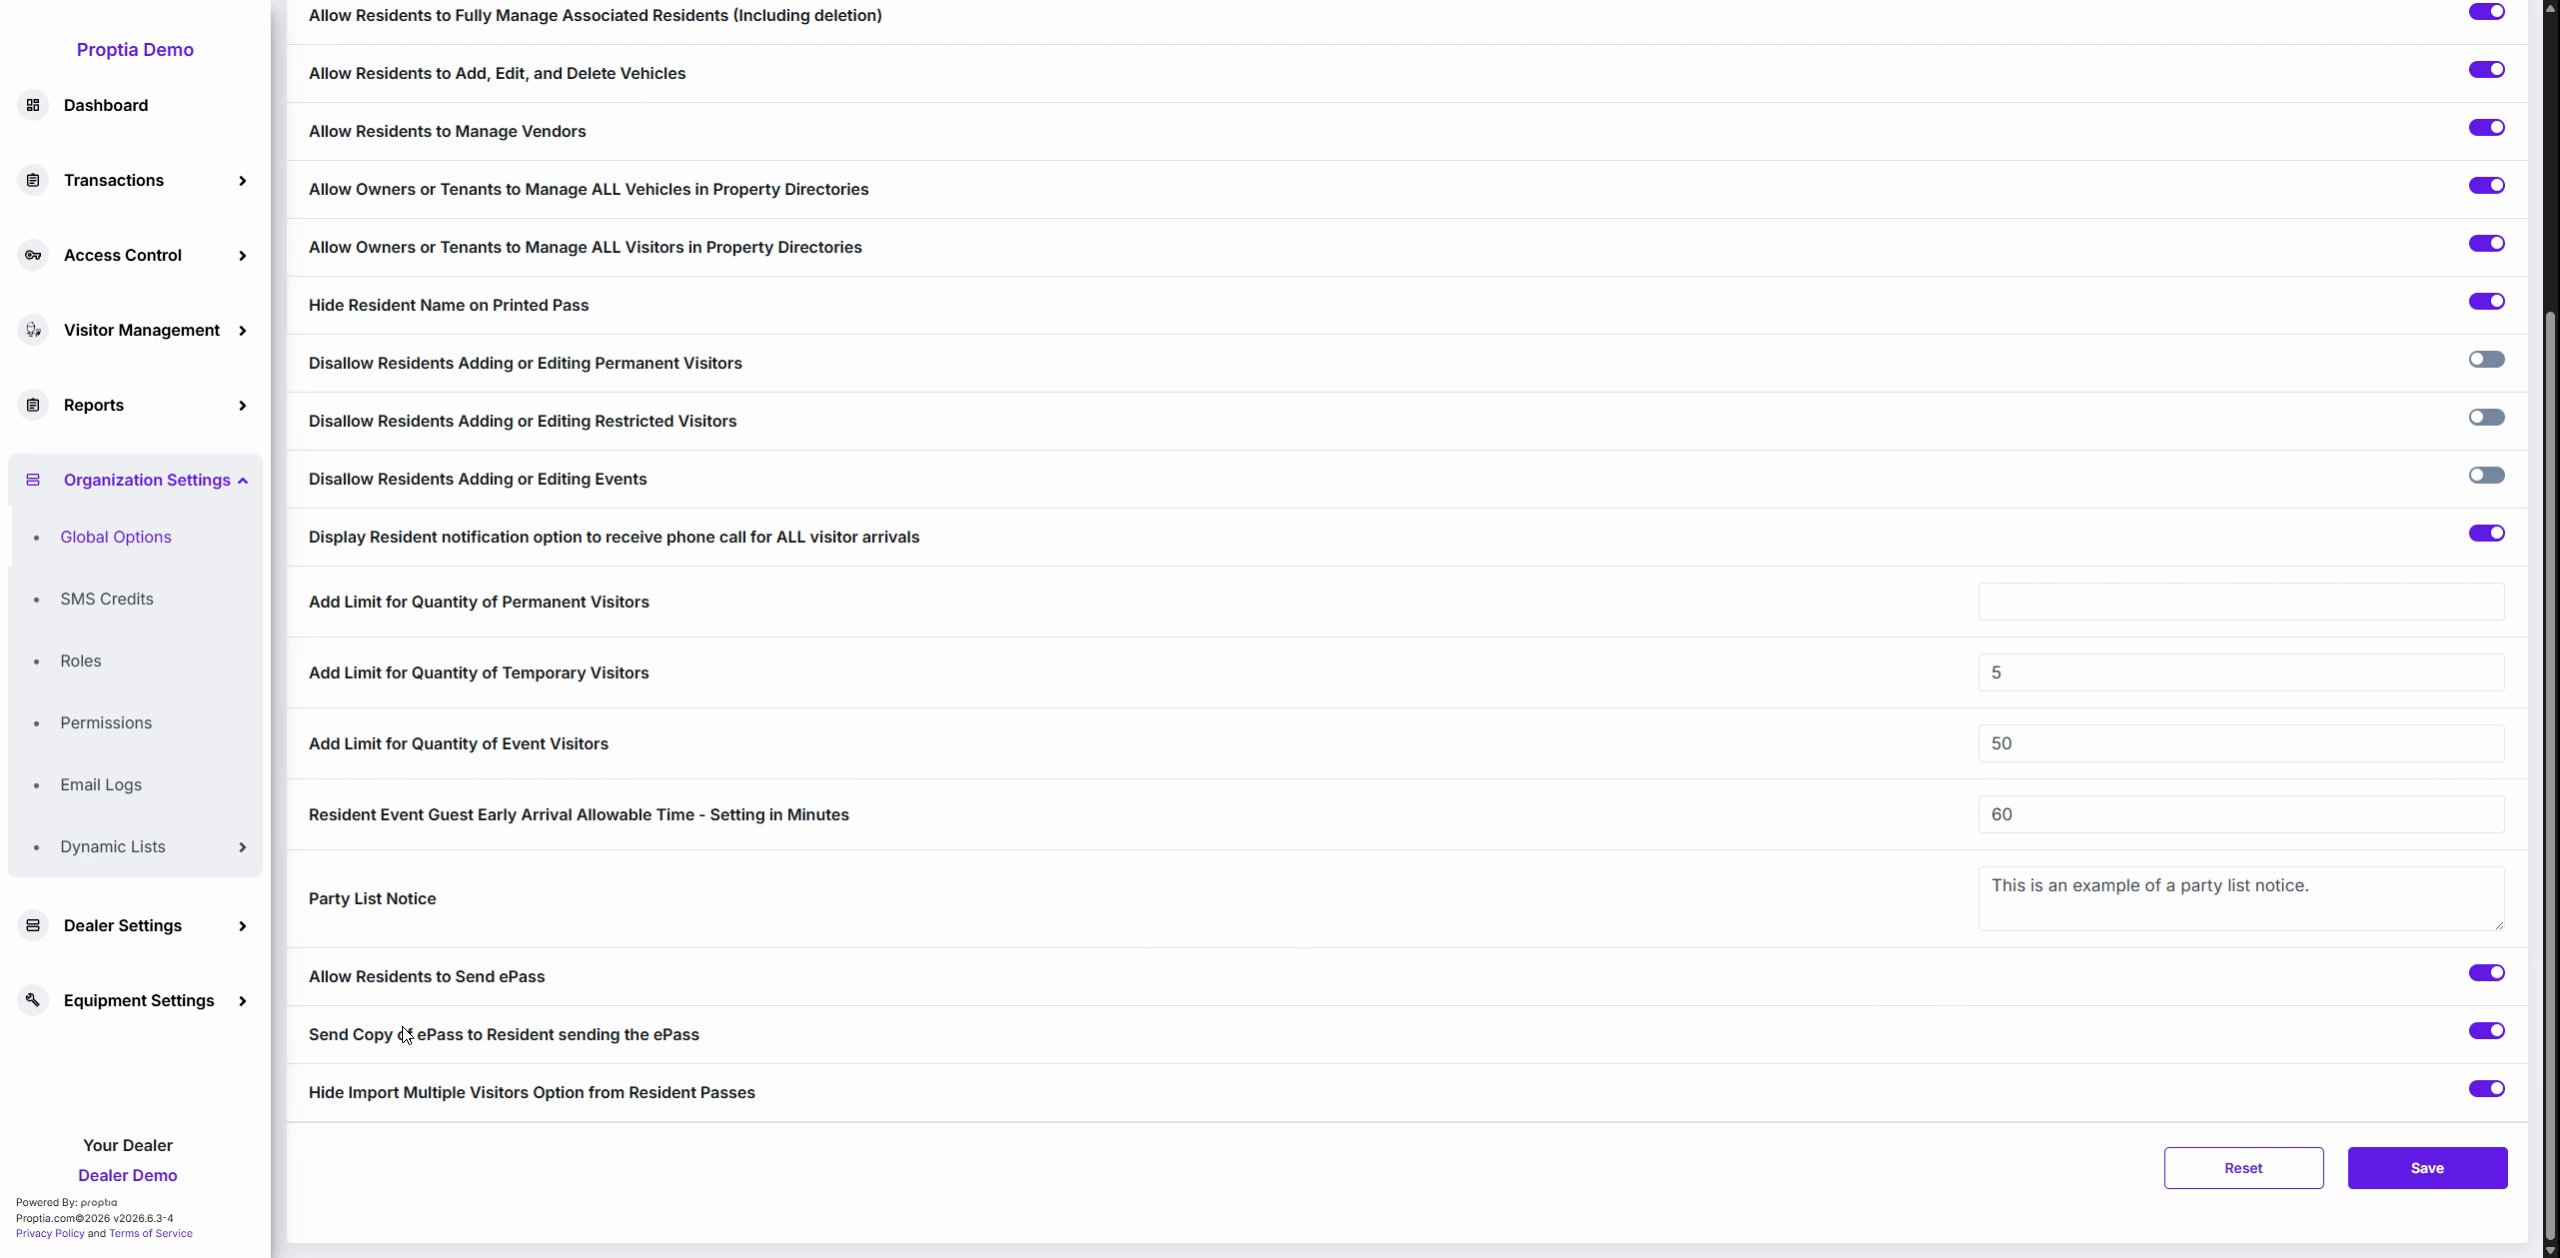
Activate Send Copy of ePass to Residents to ensure that the host receives the exact email send to their guests.
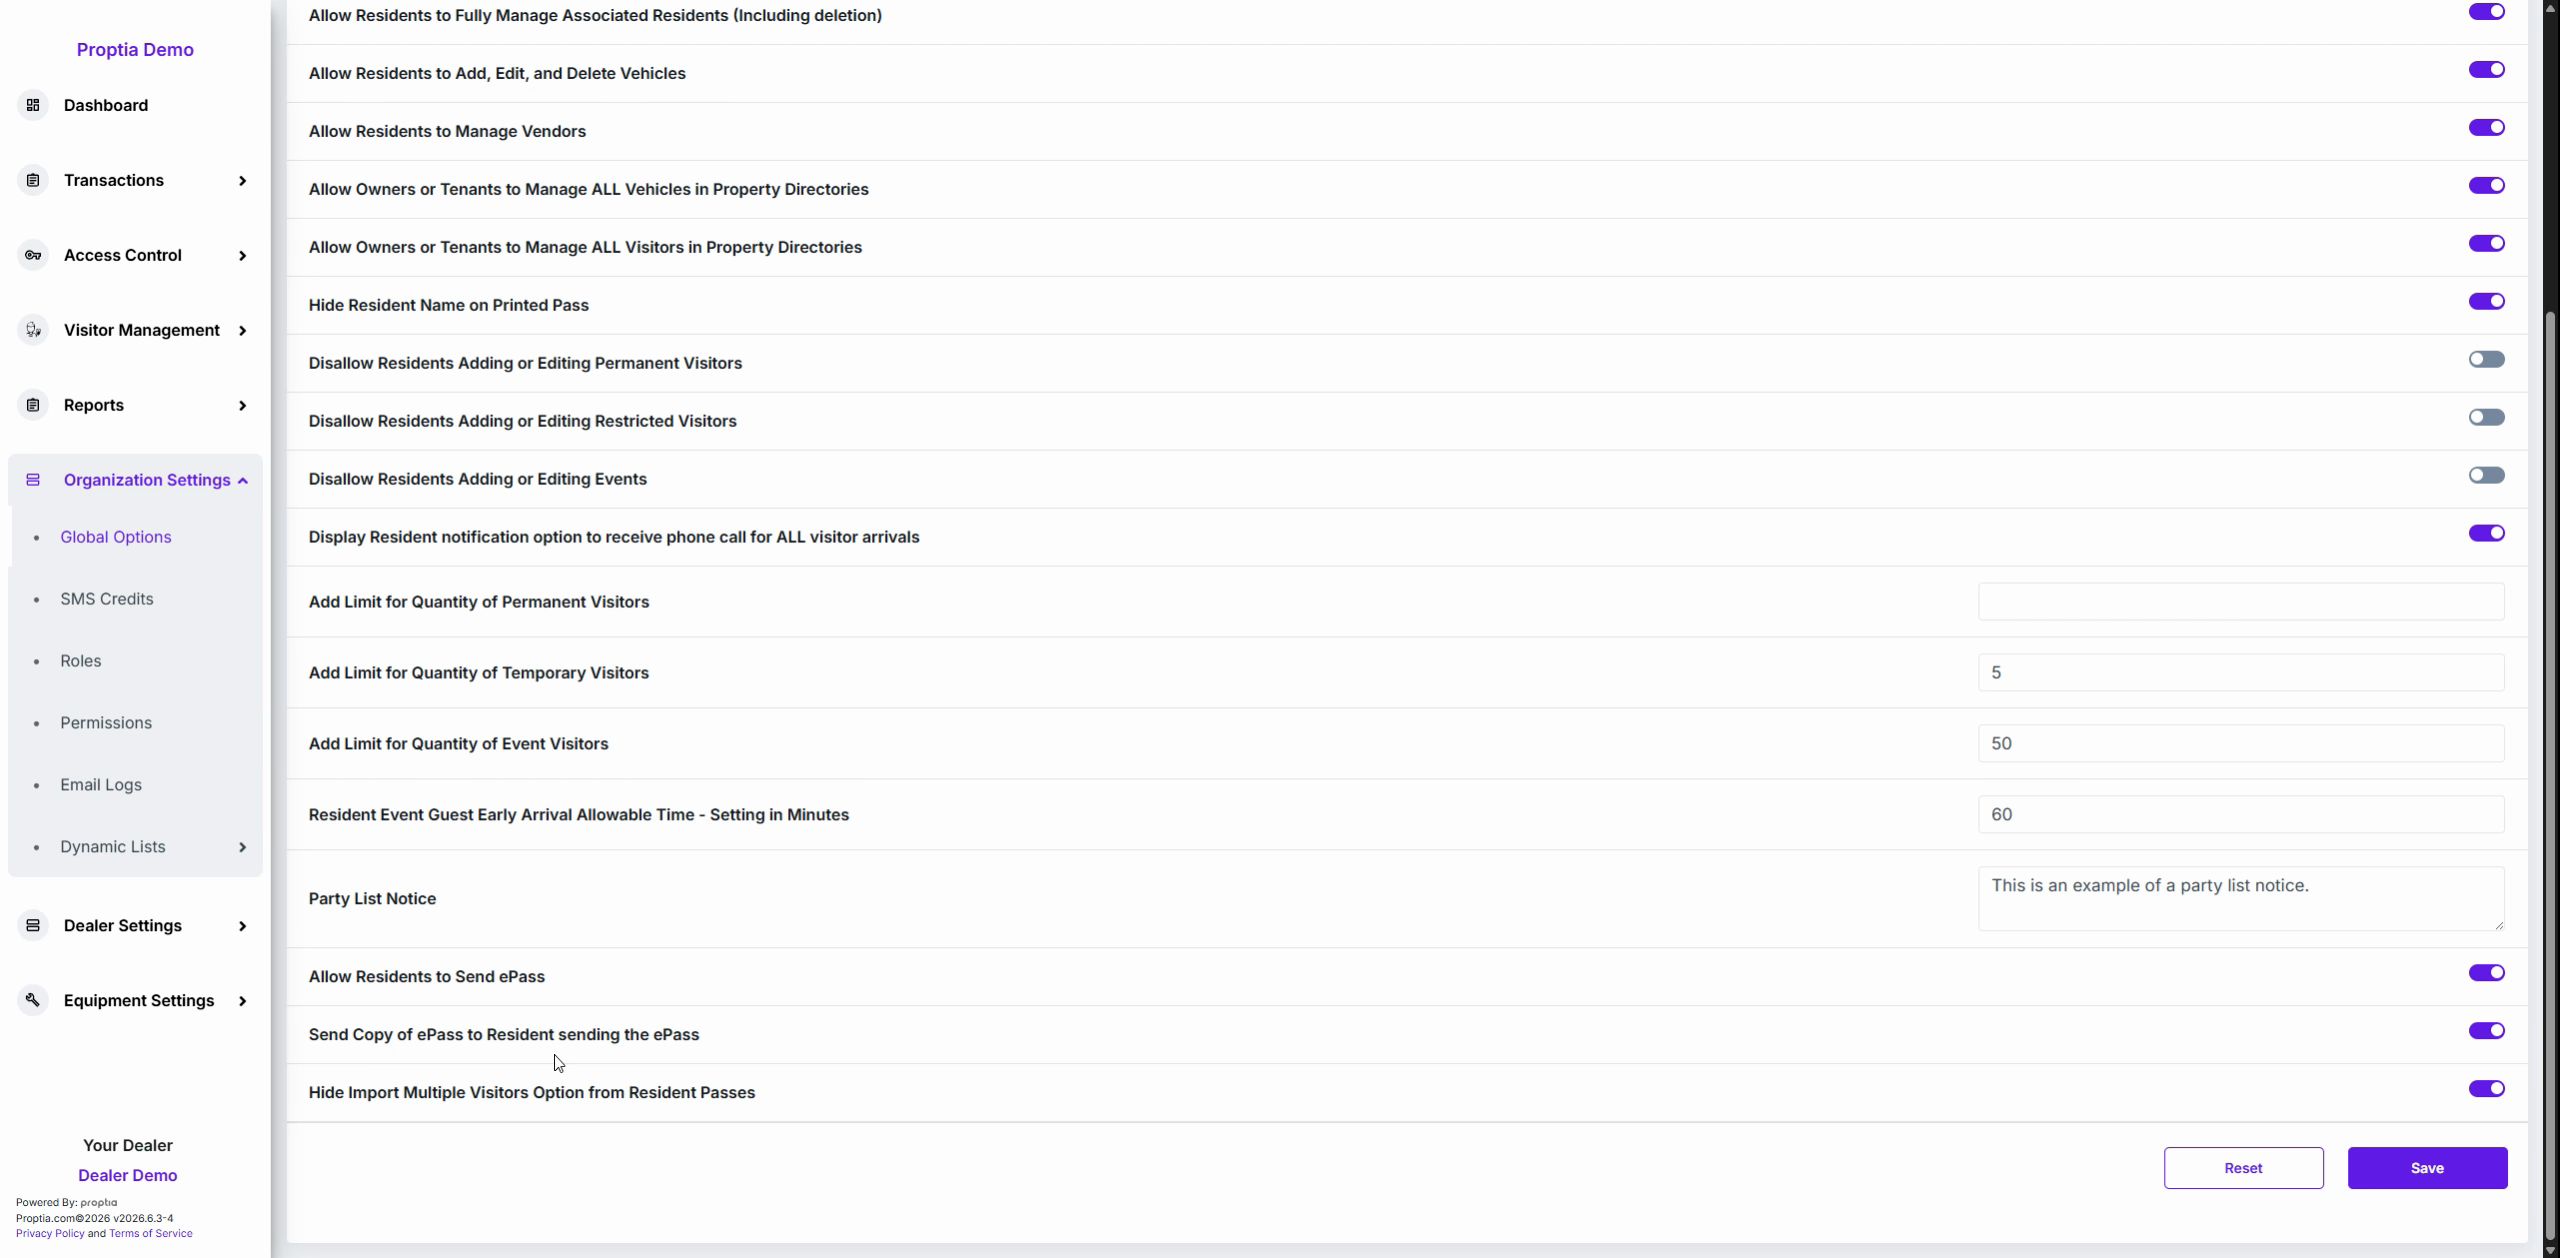
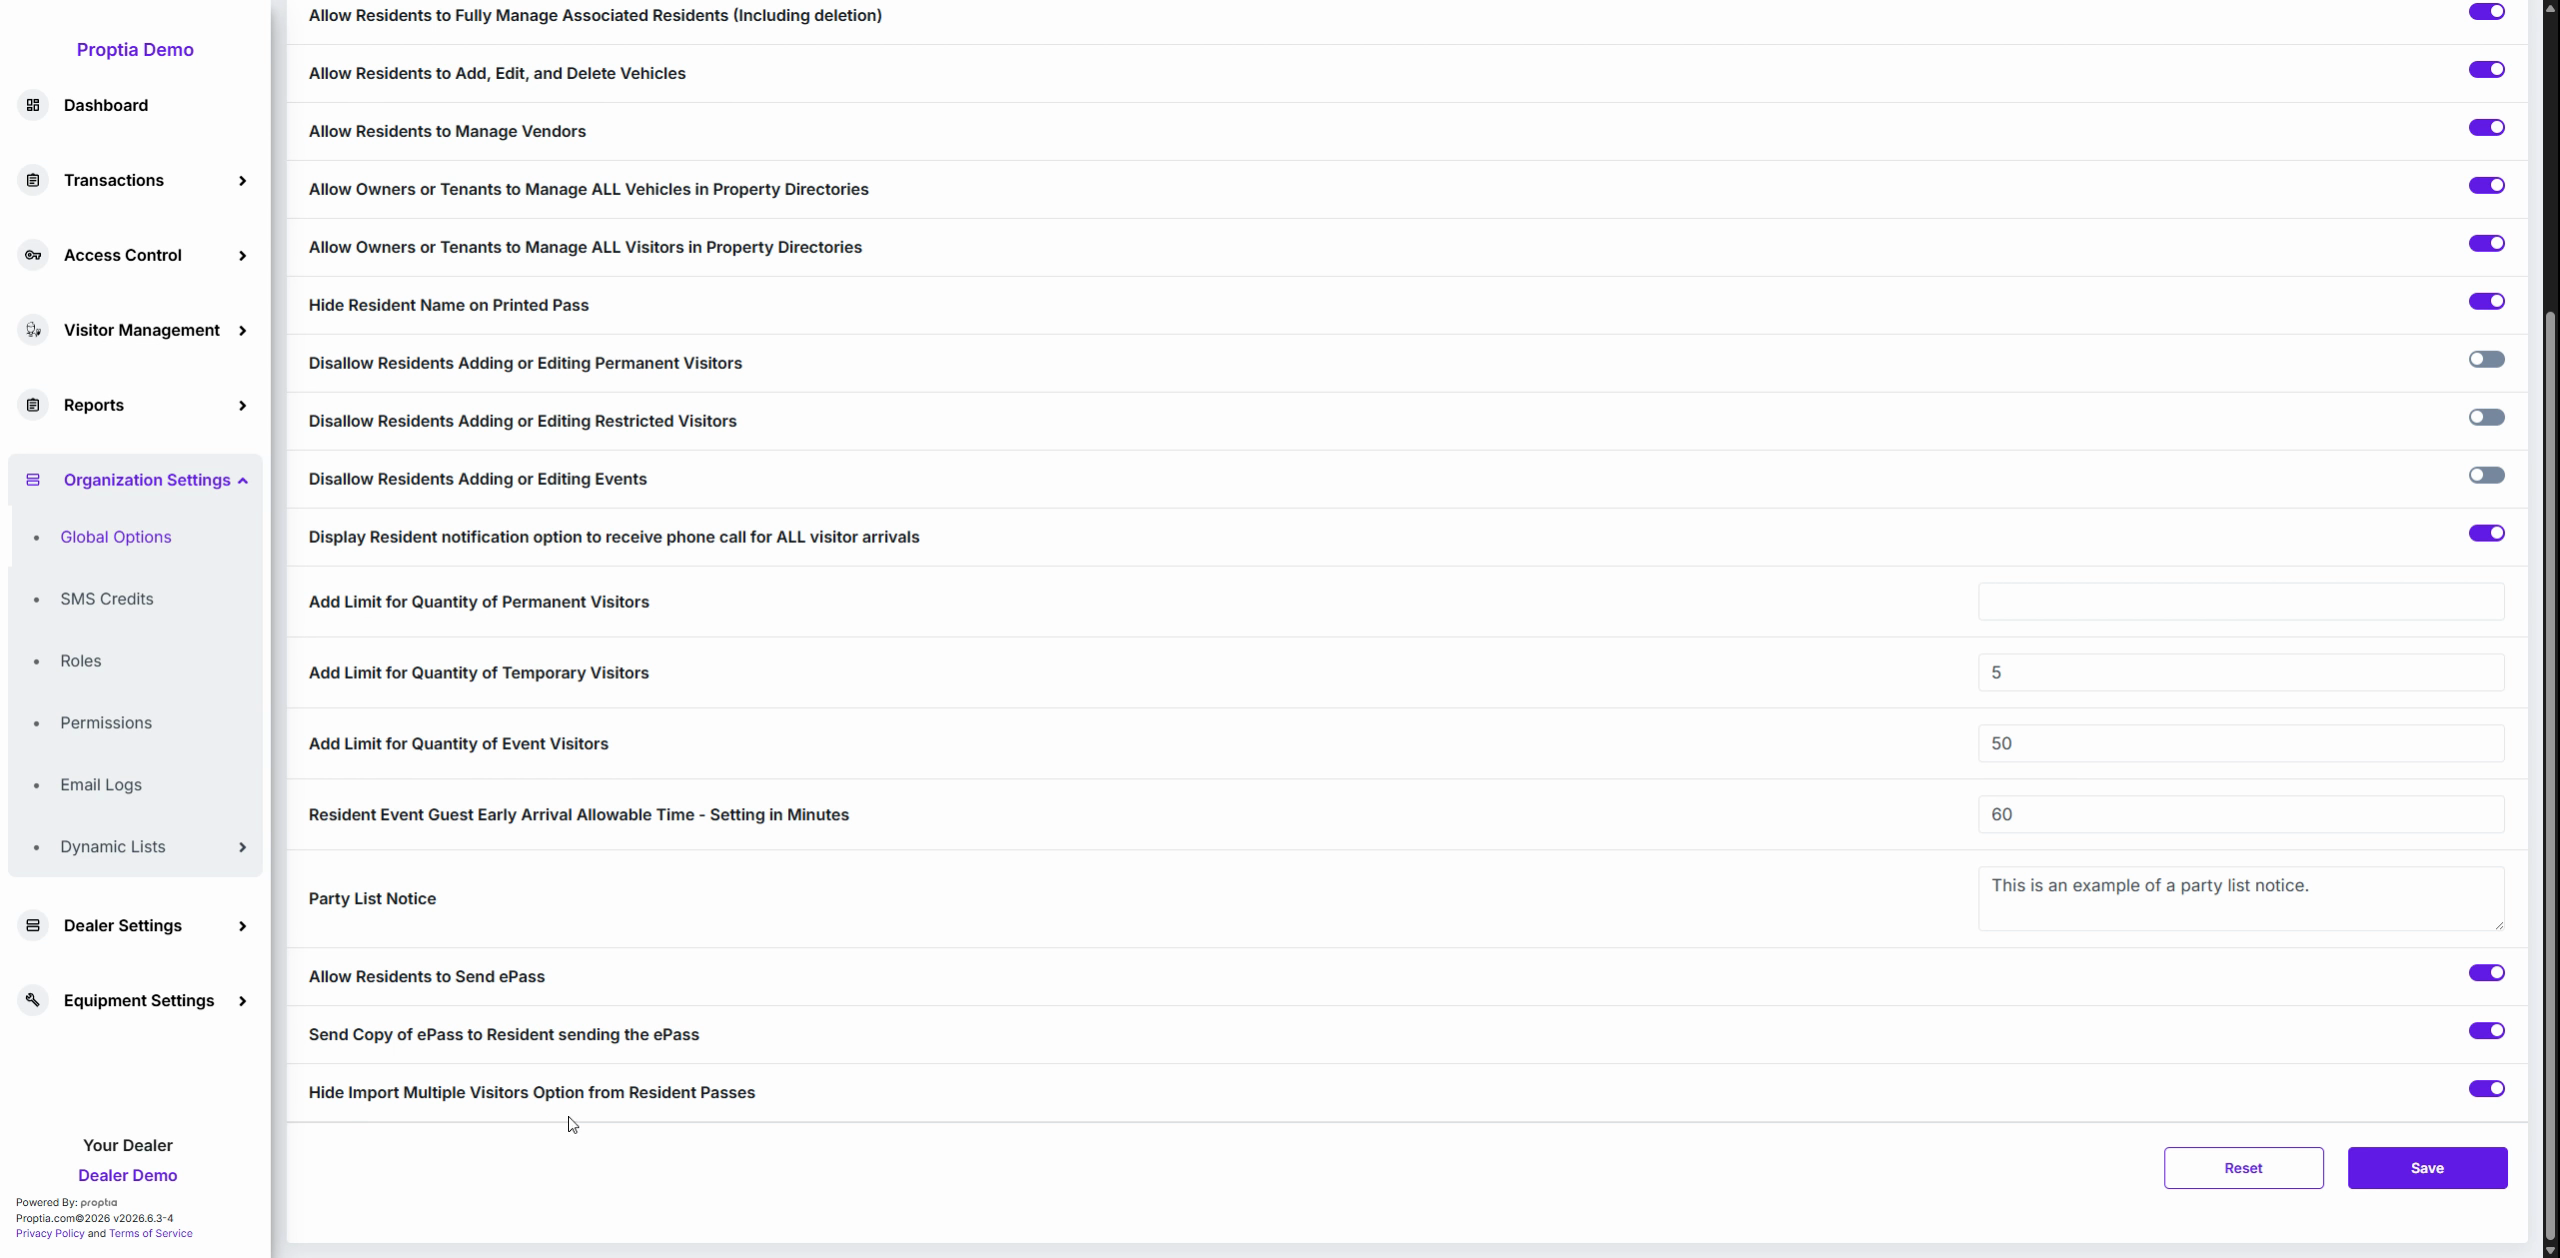
Toggle Hide Import Multiple Visitors Option from Resident Passes if you want to require manual entry of each guest instead of bulk imports.
Module 7: Saving Your Changes
Click the purple Save button in the bottom-right corner to apply all updated settings.
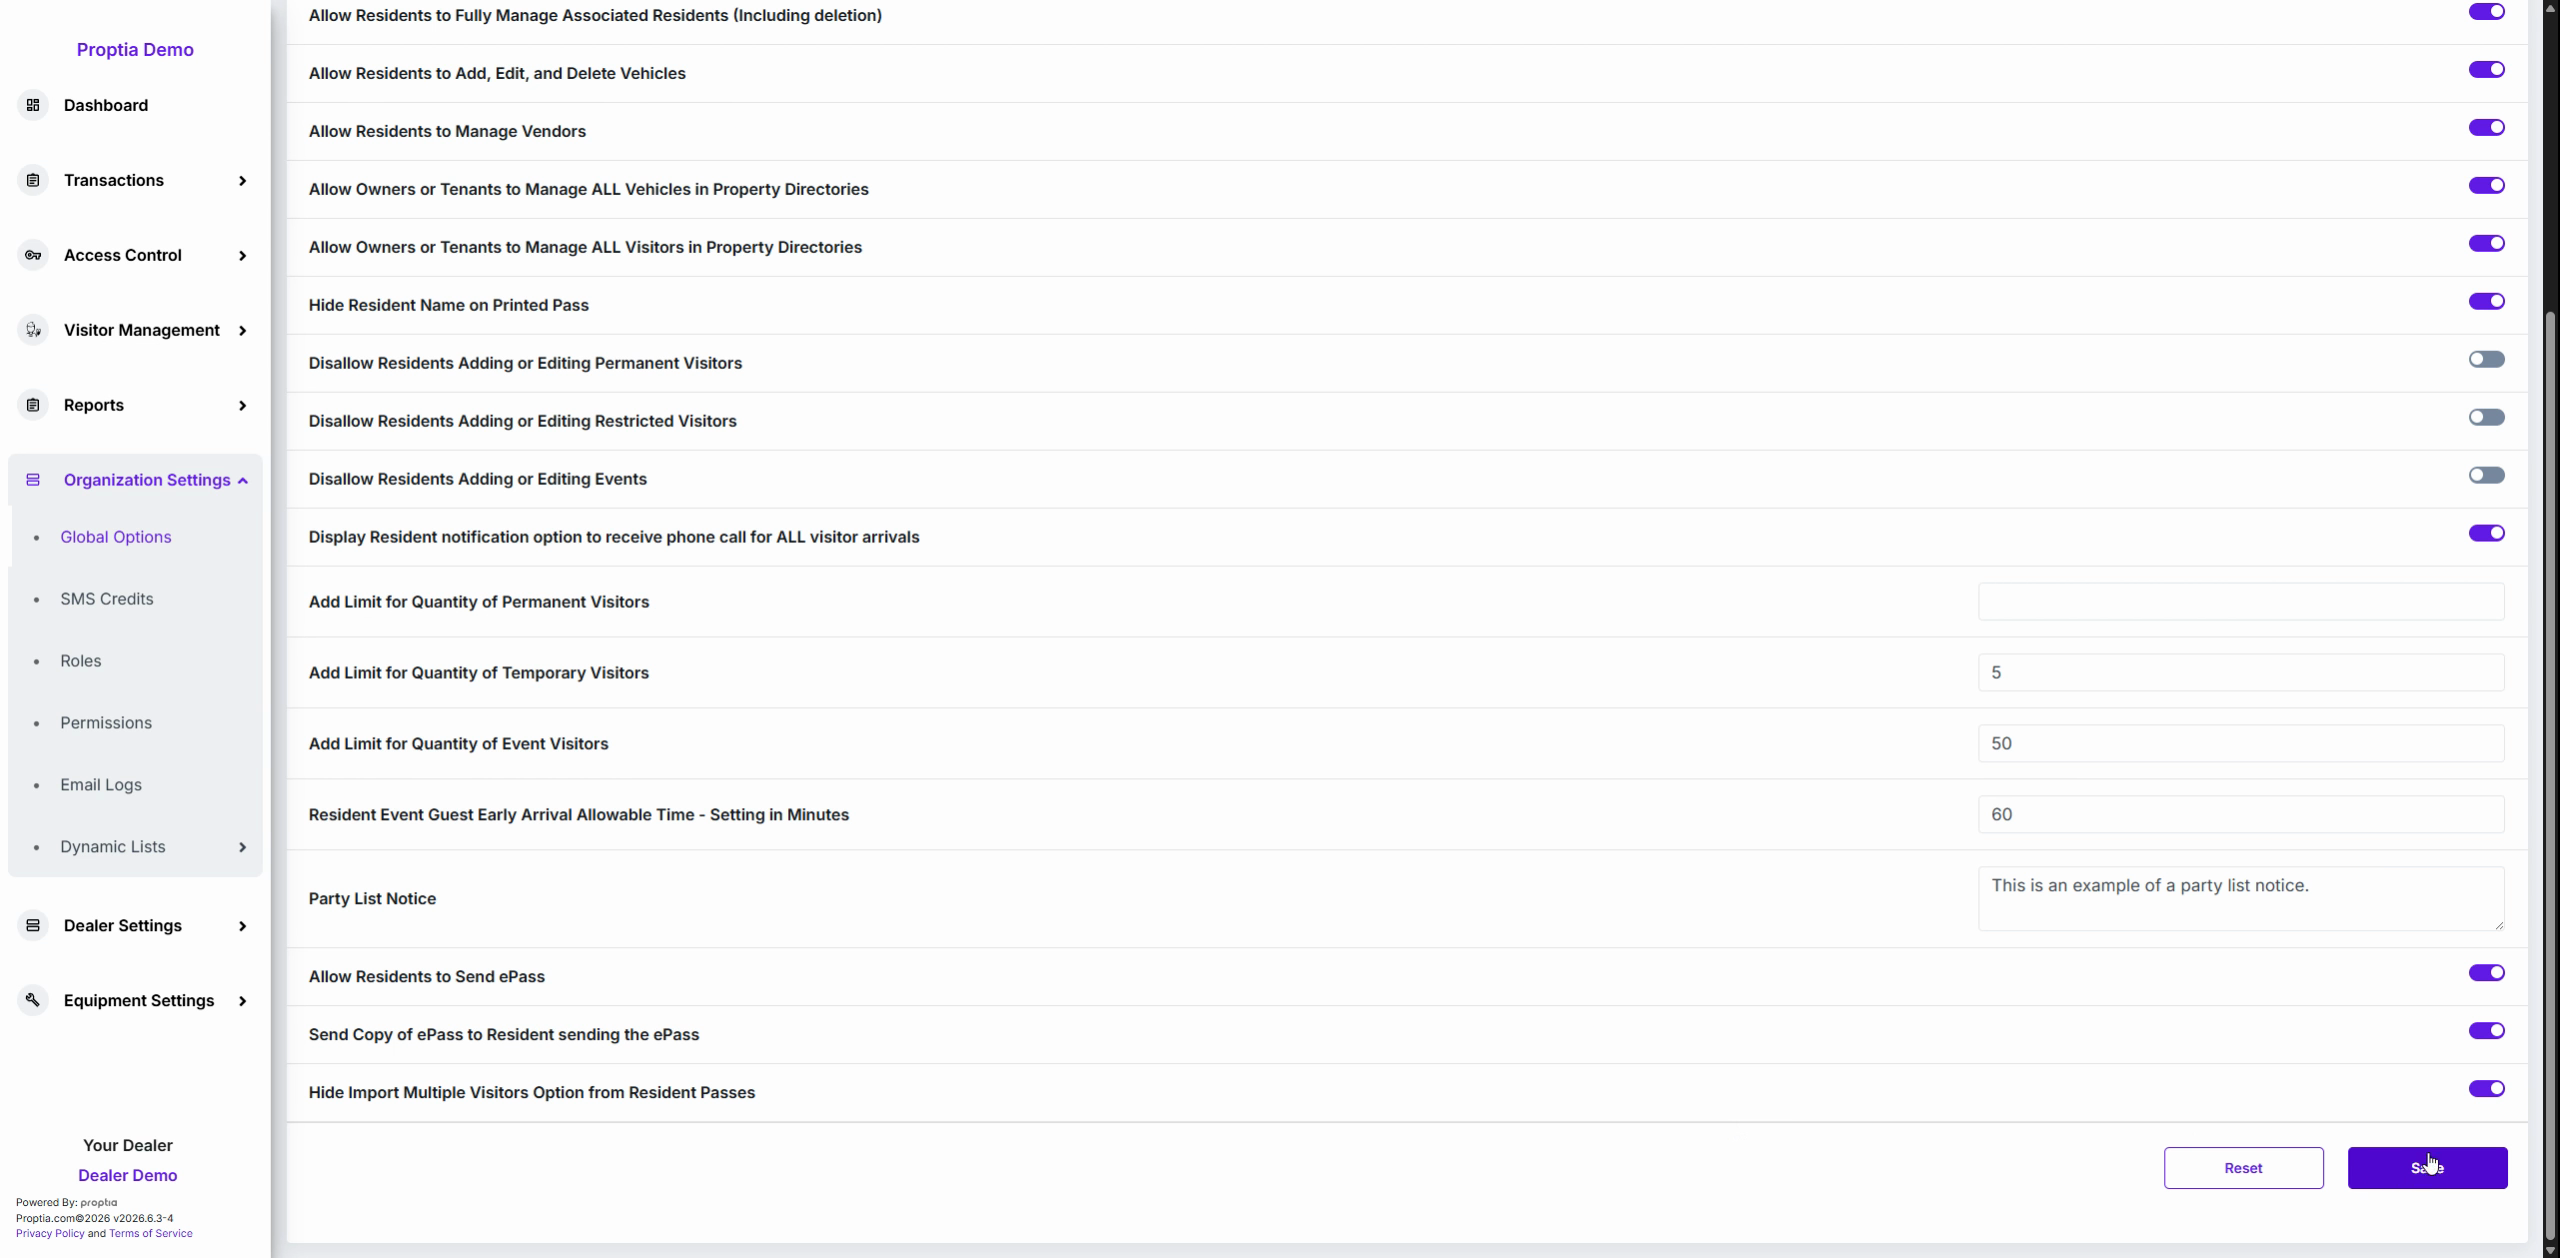
Why: Saving finalizes and enforces your new rules and permissions for all residents.
Pro Tip
Regularly revisit the Resident Settings tab, especially after community policy changes or system updates, to ensure resident permissions match your evolving privacy and security standards.
How to Configure Member Settings in Global Settings
Adjusting member settings empowers you to control what residents can manage within their profiles—boosting privacy and streamlining community management.
Module 1: Access the Member Settings Tab
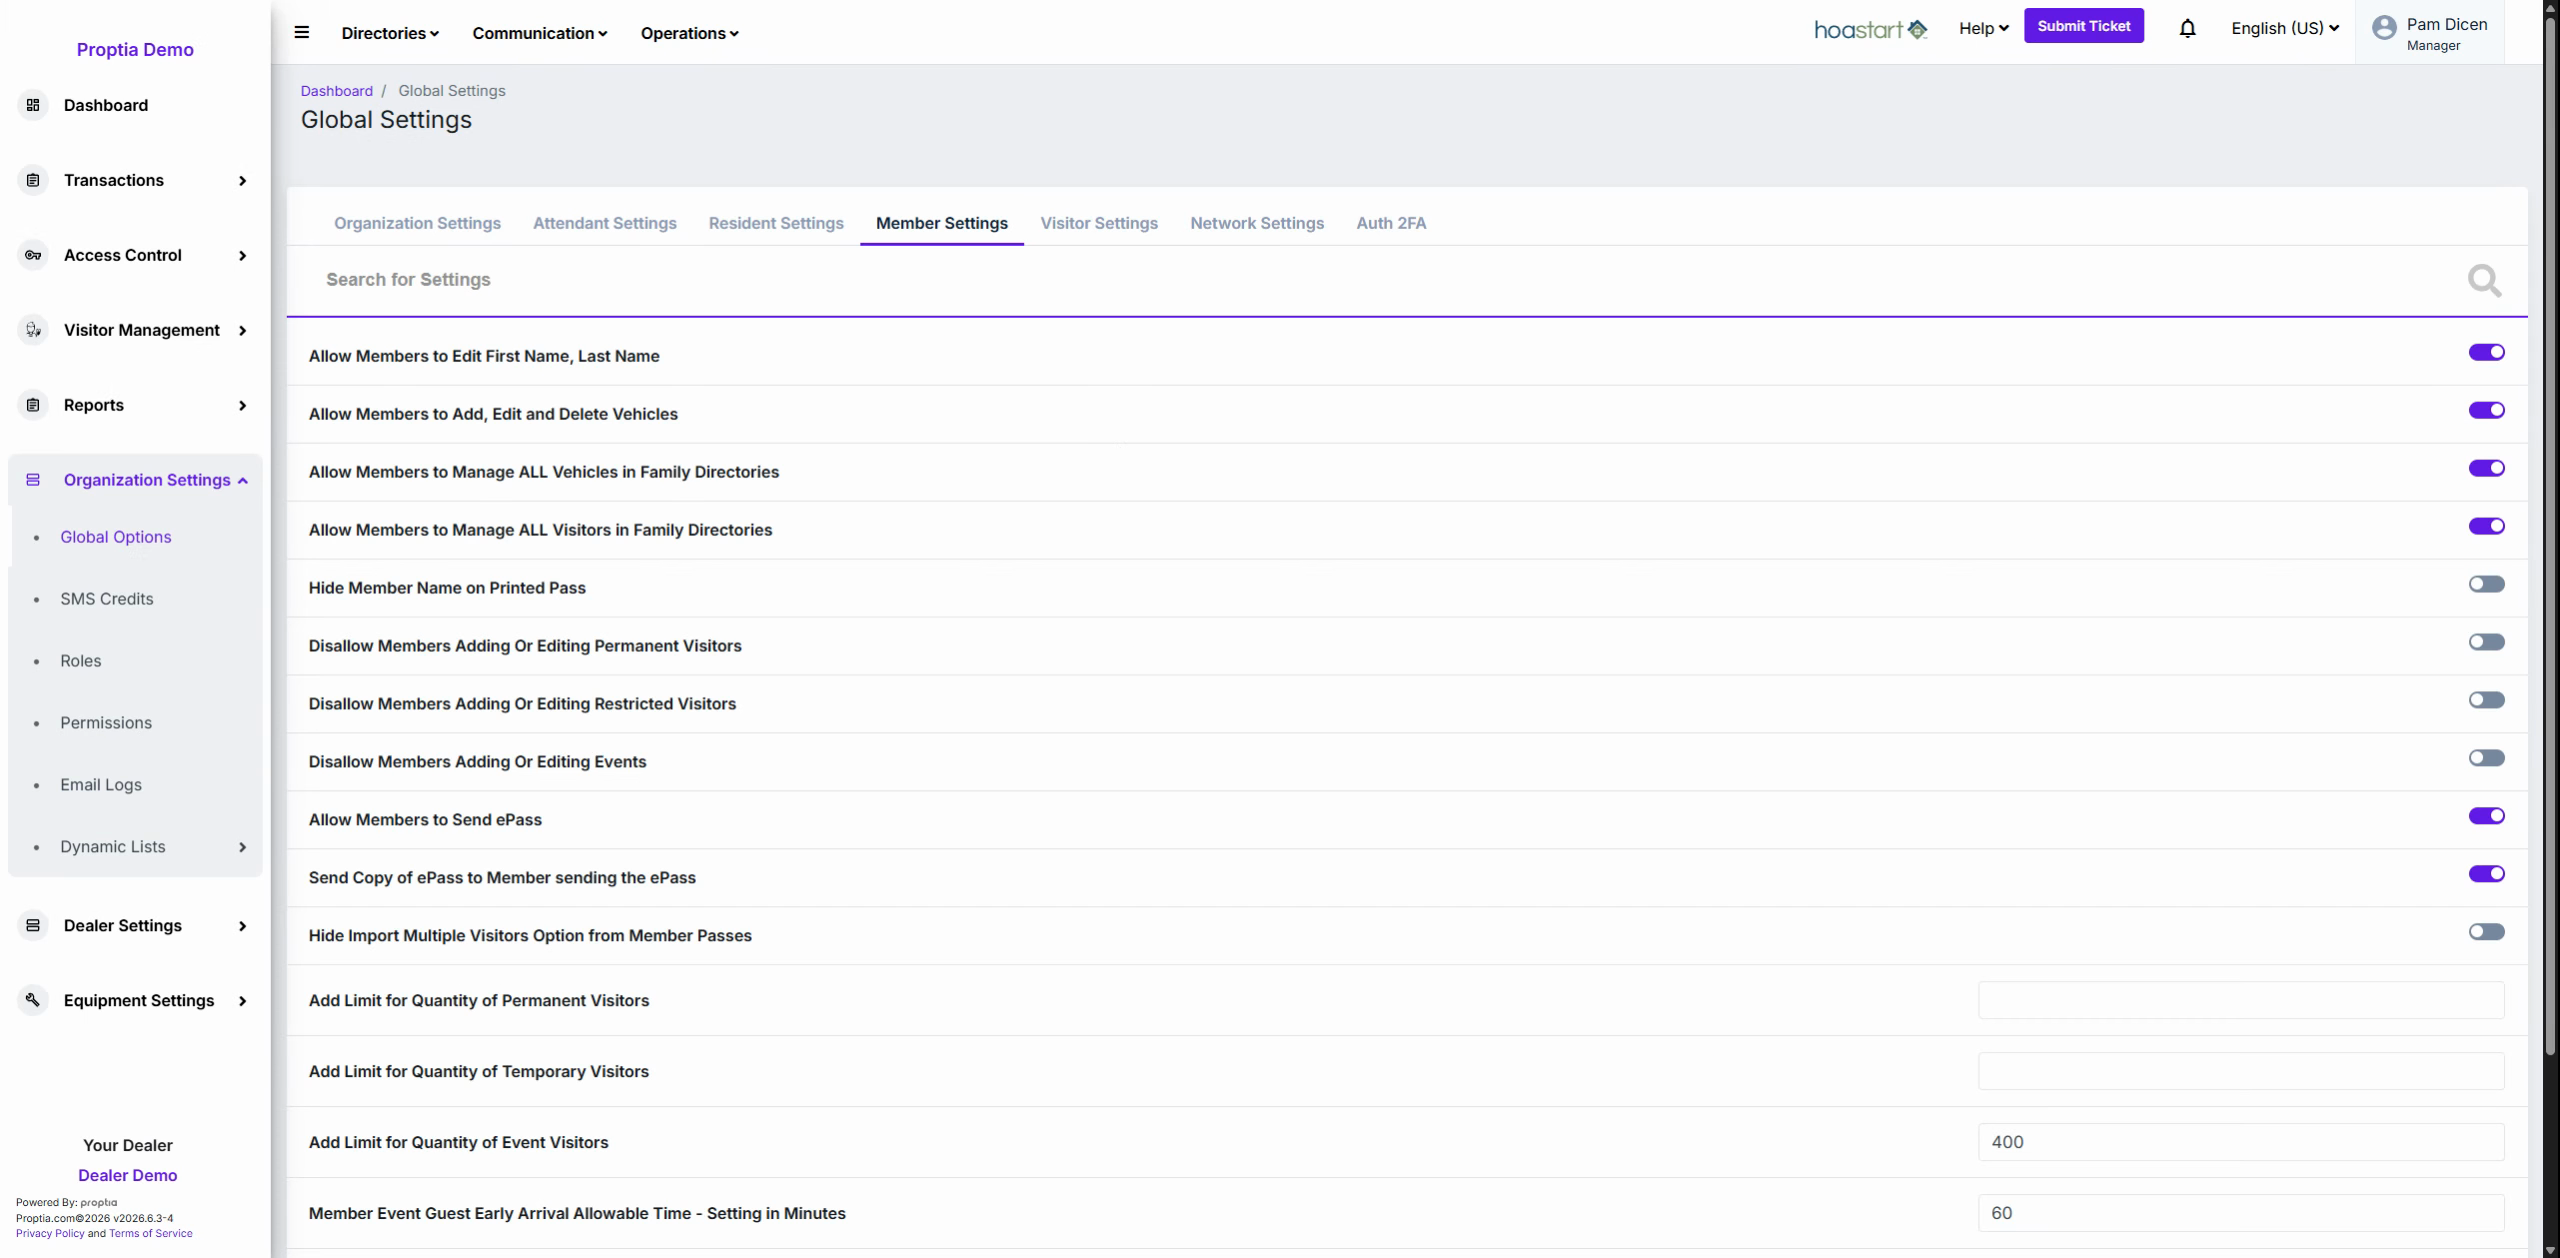
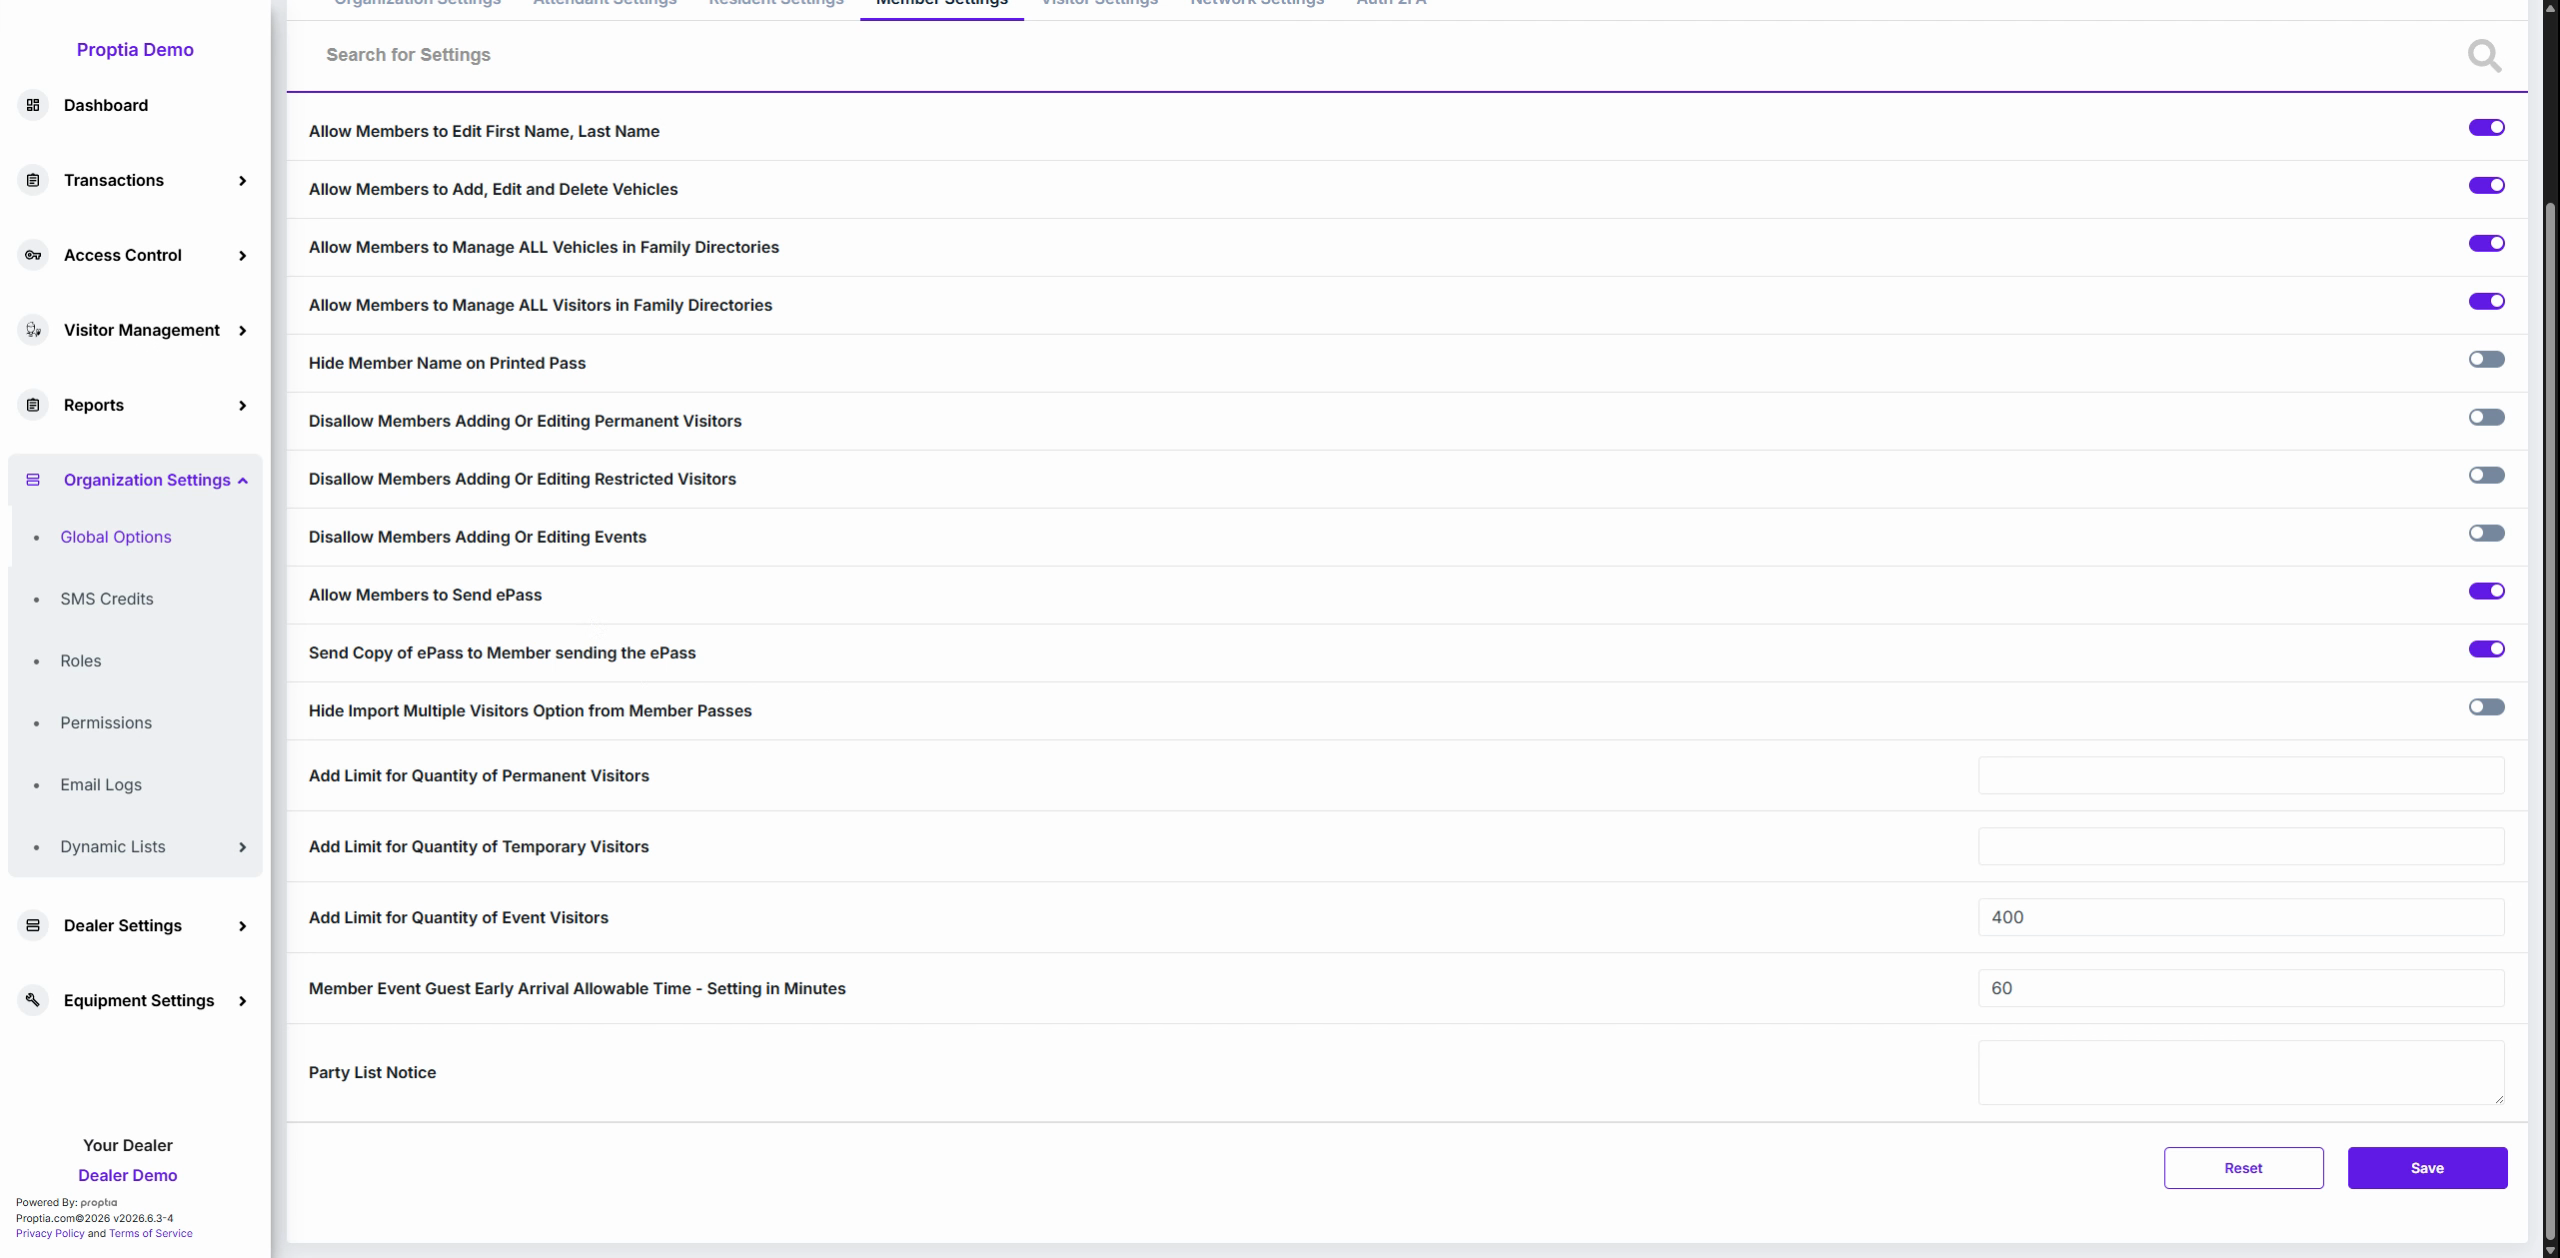
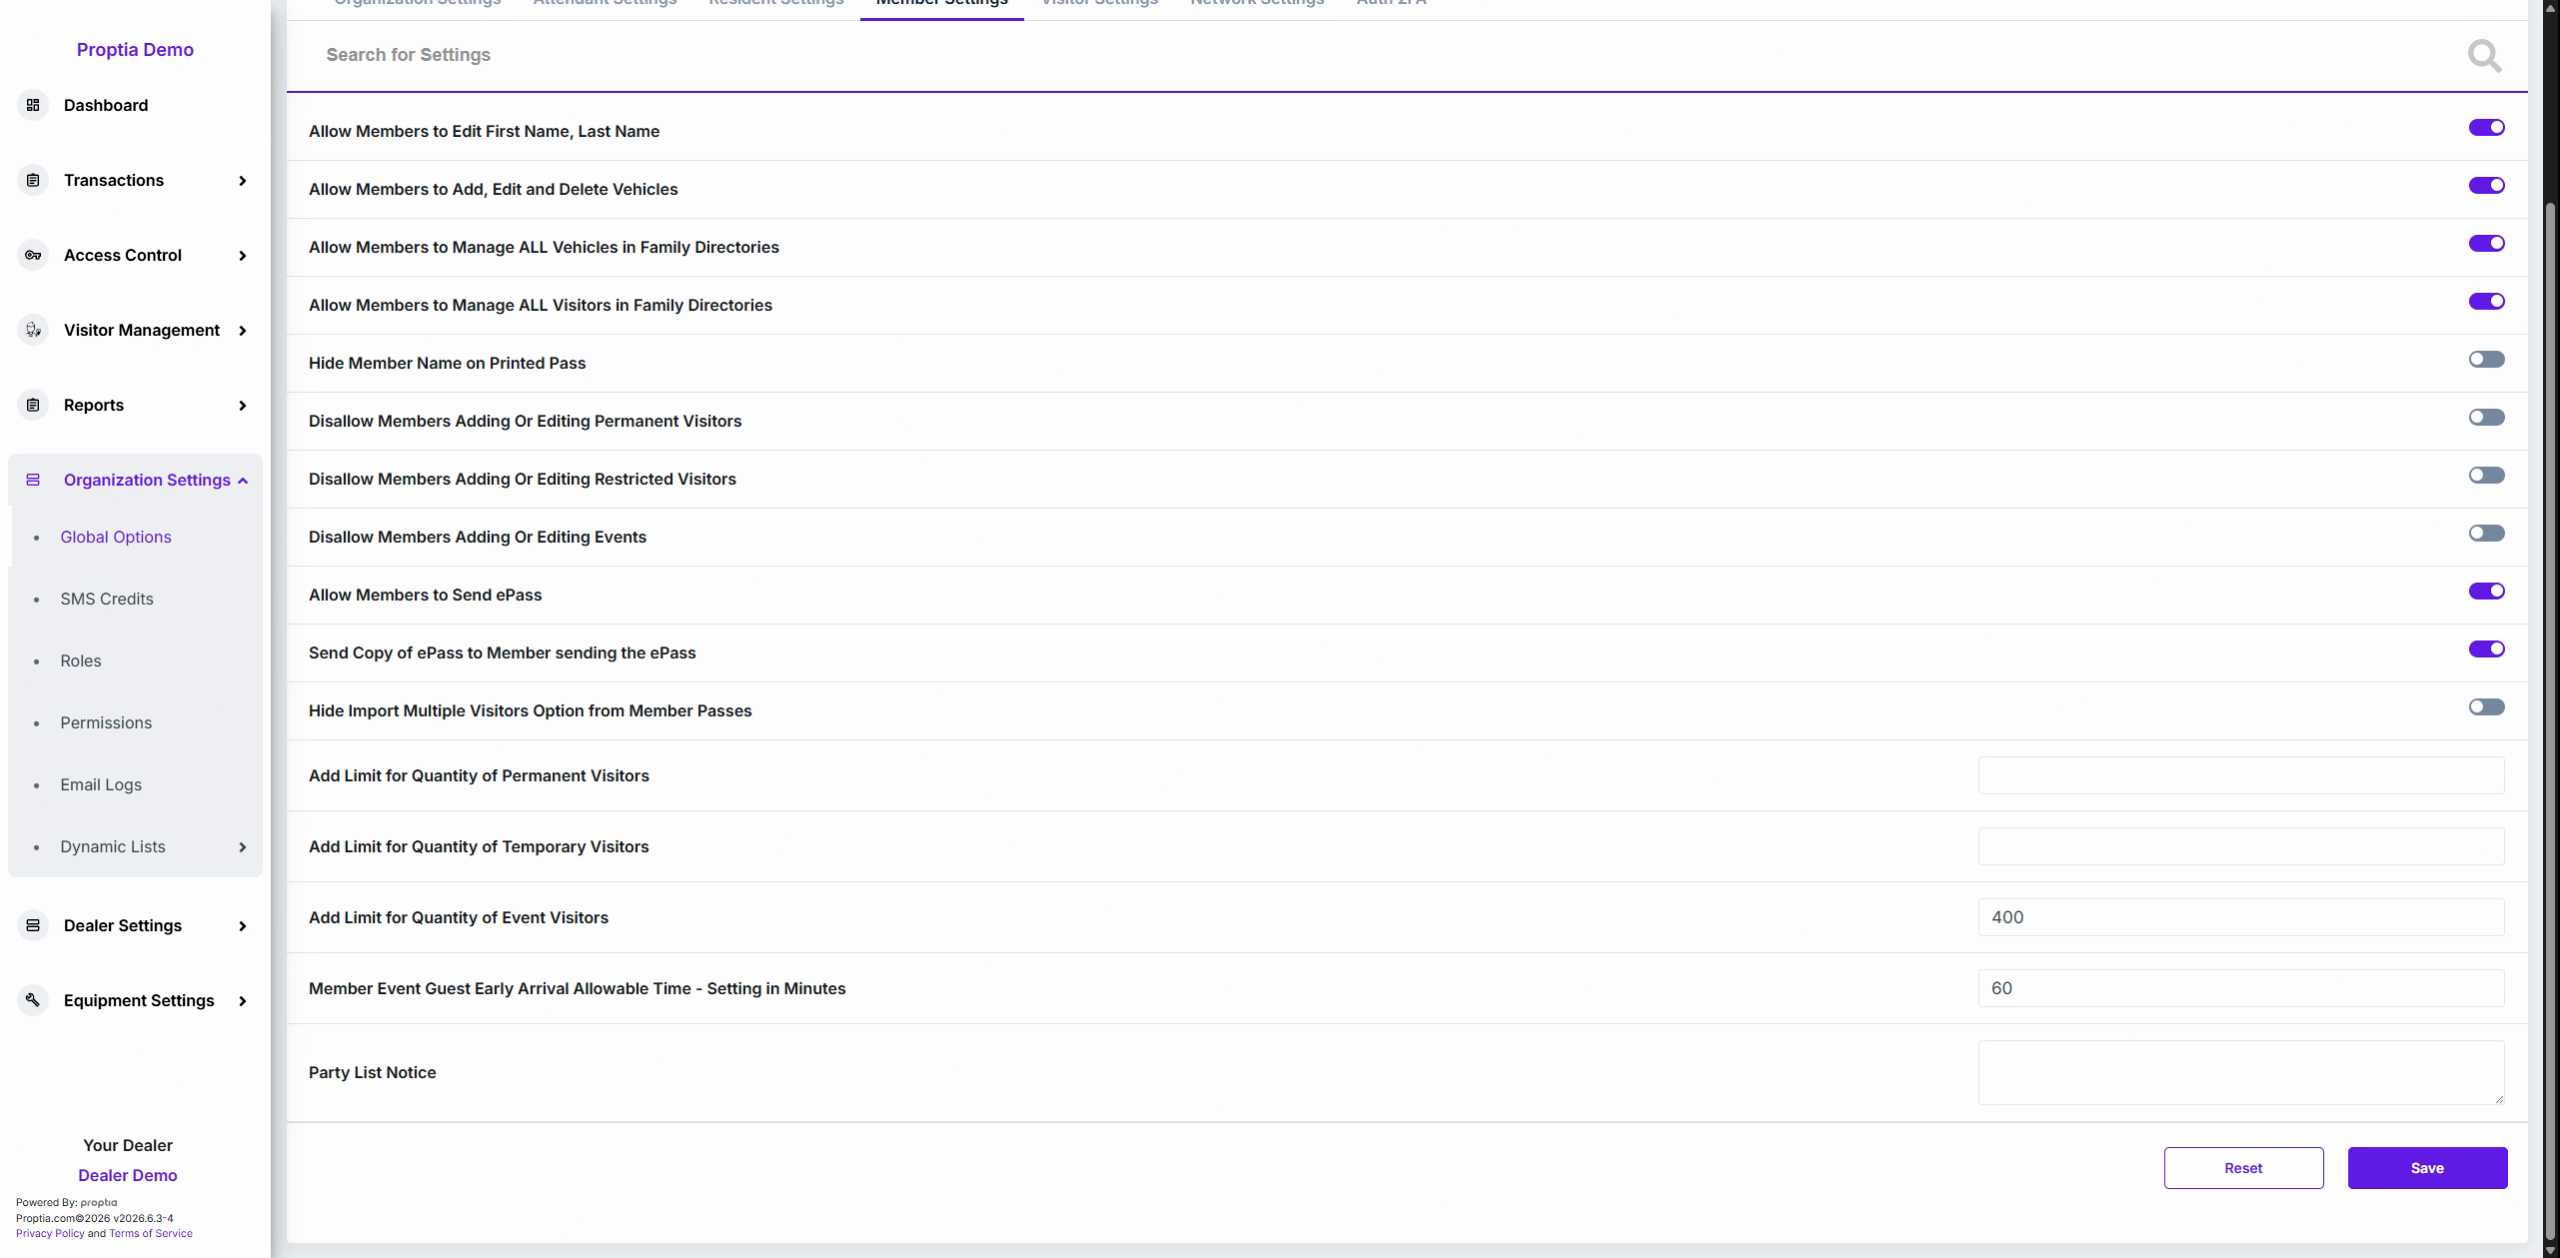
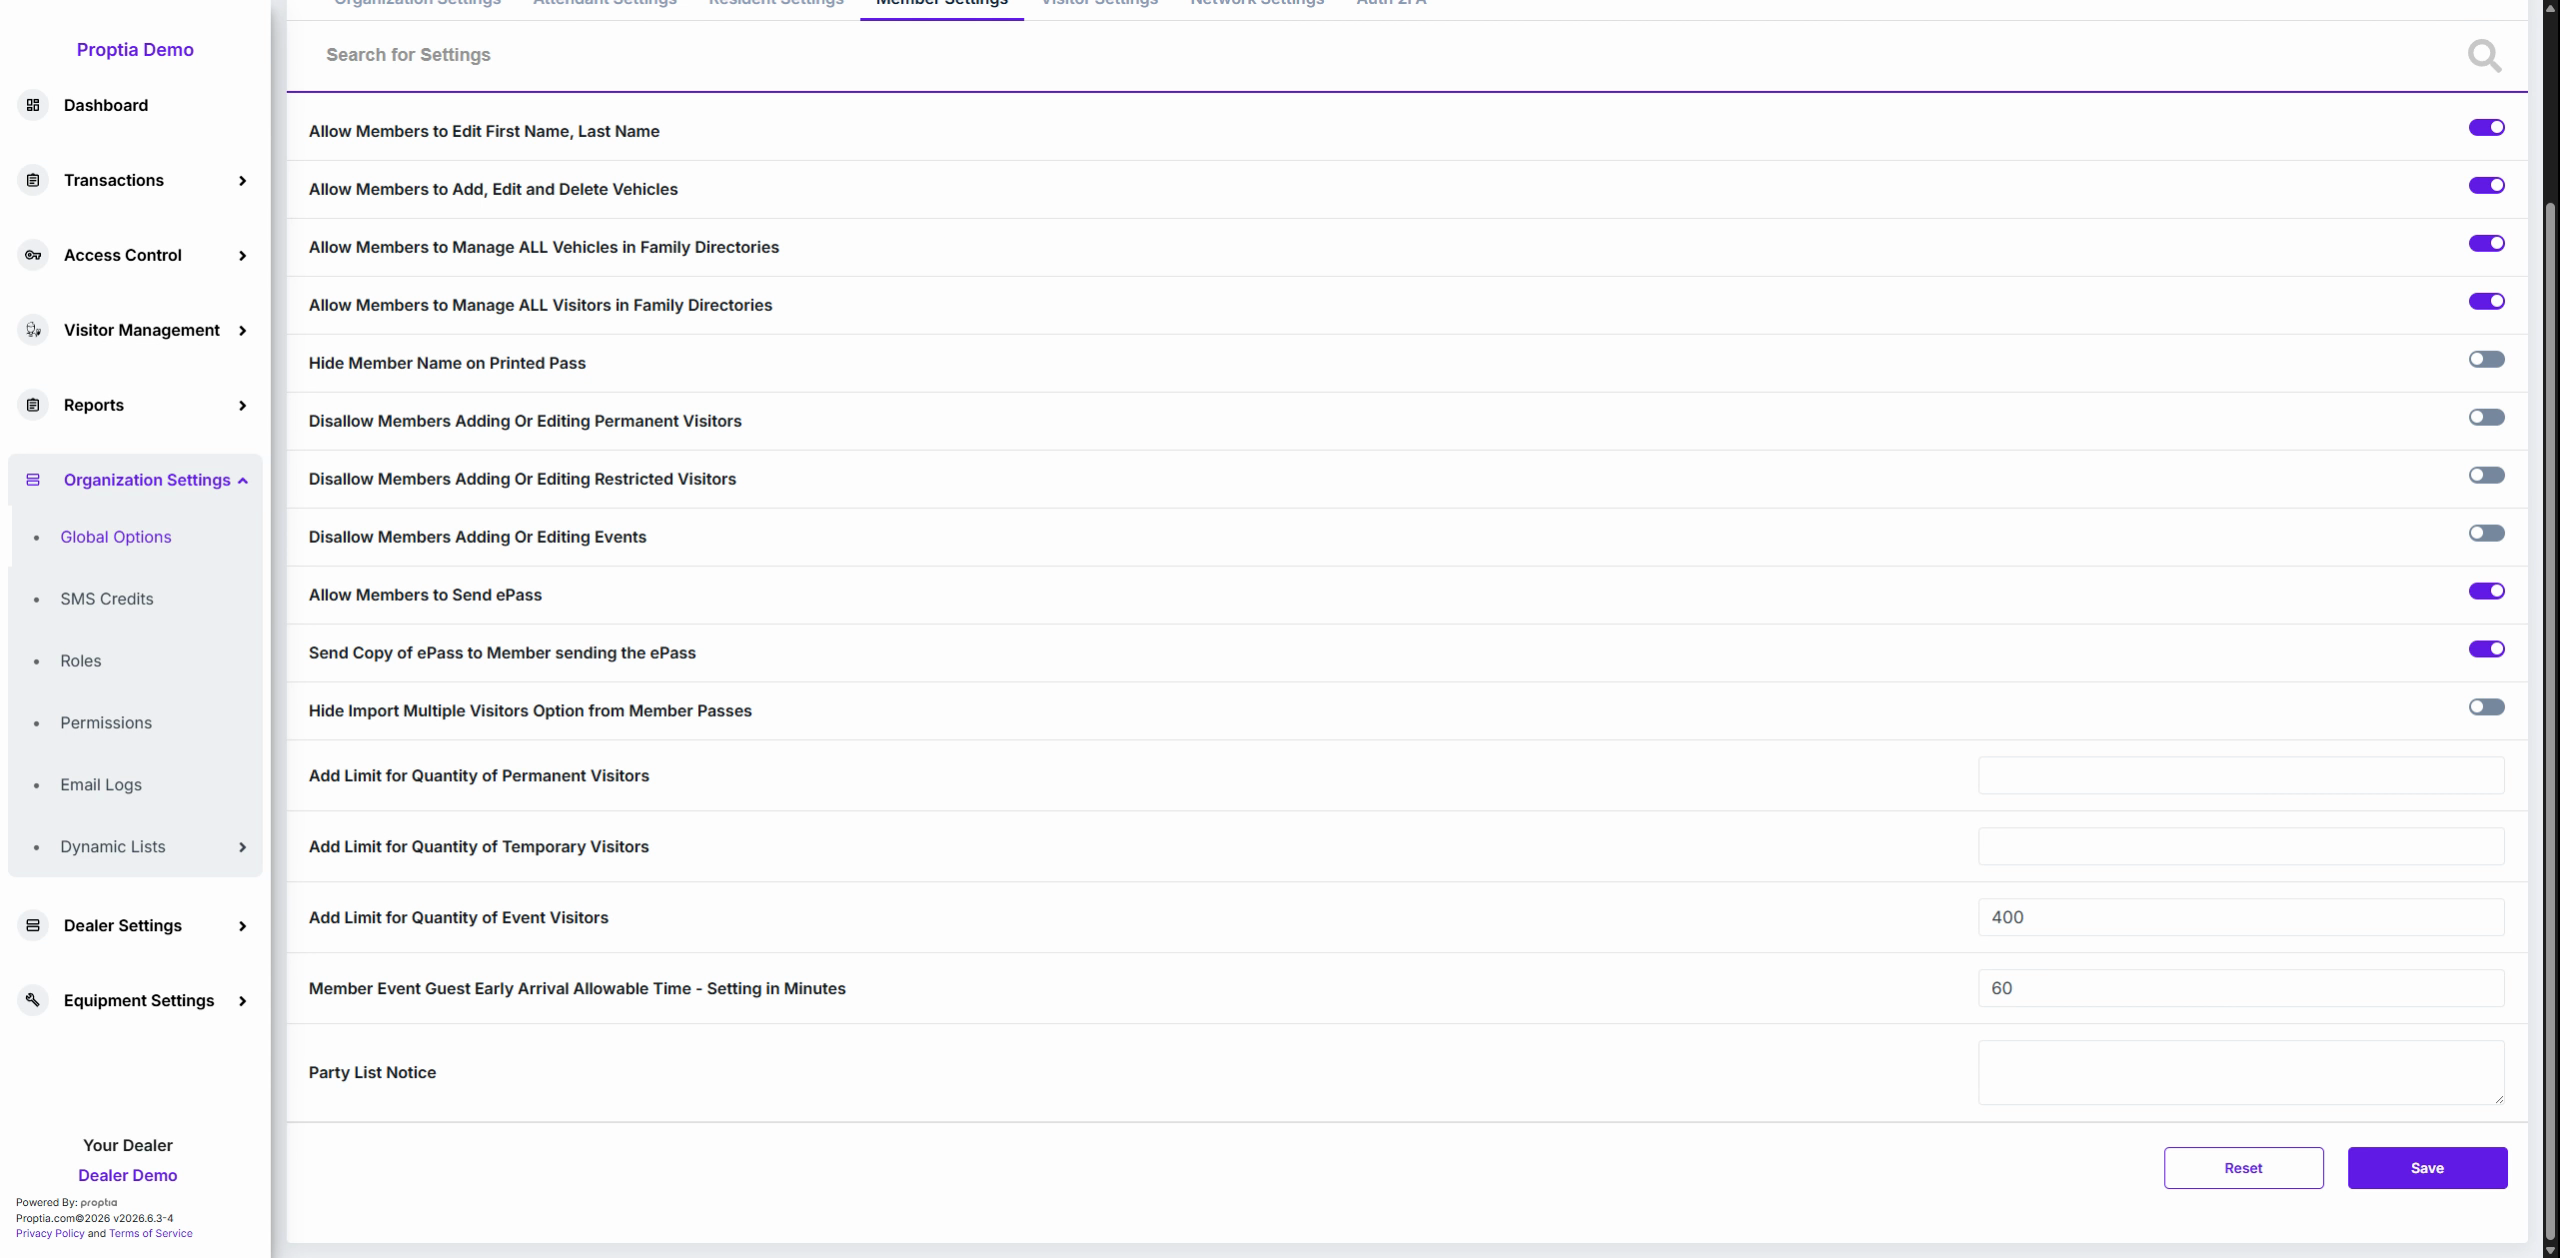
Click the Member Settings tab (the fourth tab) at the top of your Global Settings screen.
Module 2: Set Member Profile Edit Permissions
Toggle the permissions in the upper section to control whether members can edit their own First Name and Last Name fields, and if they can add, edit, or delete vehicles tied to their profile.
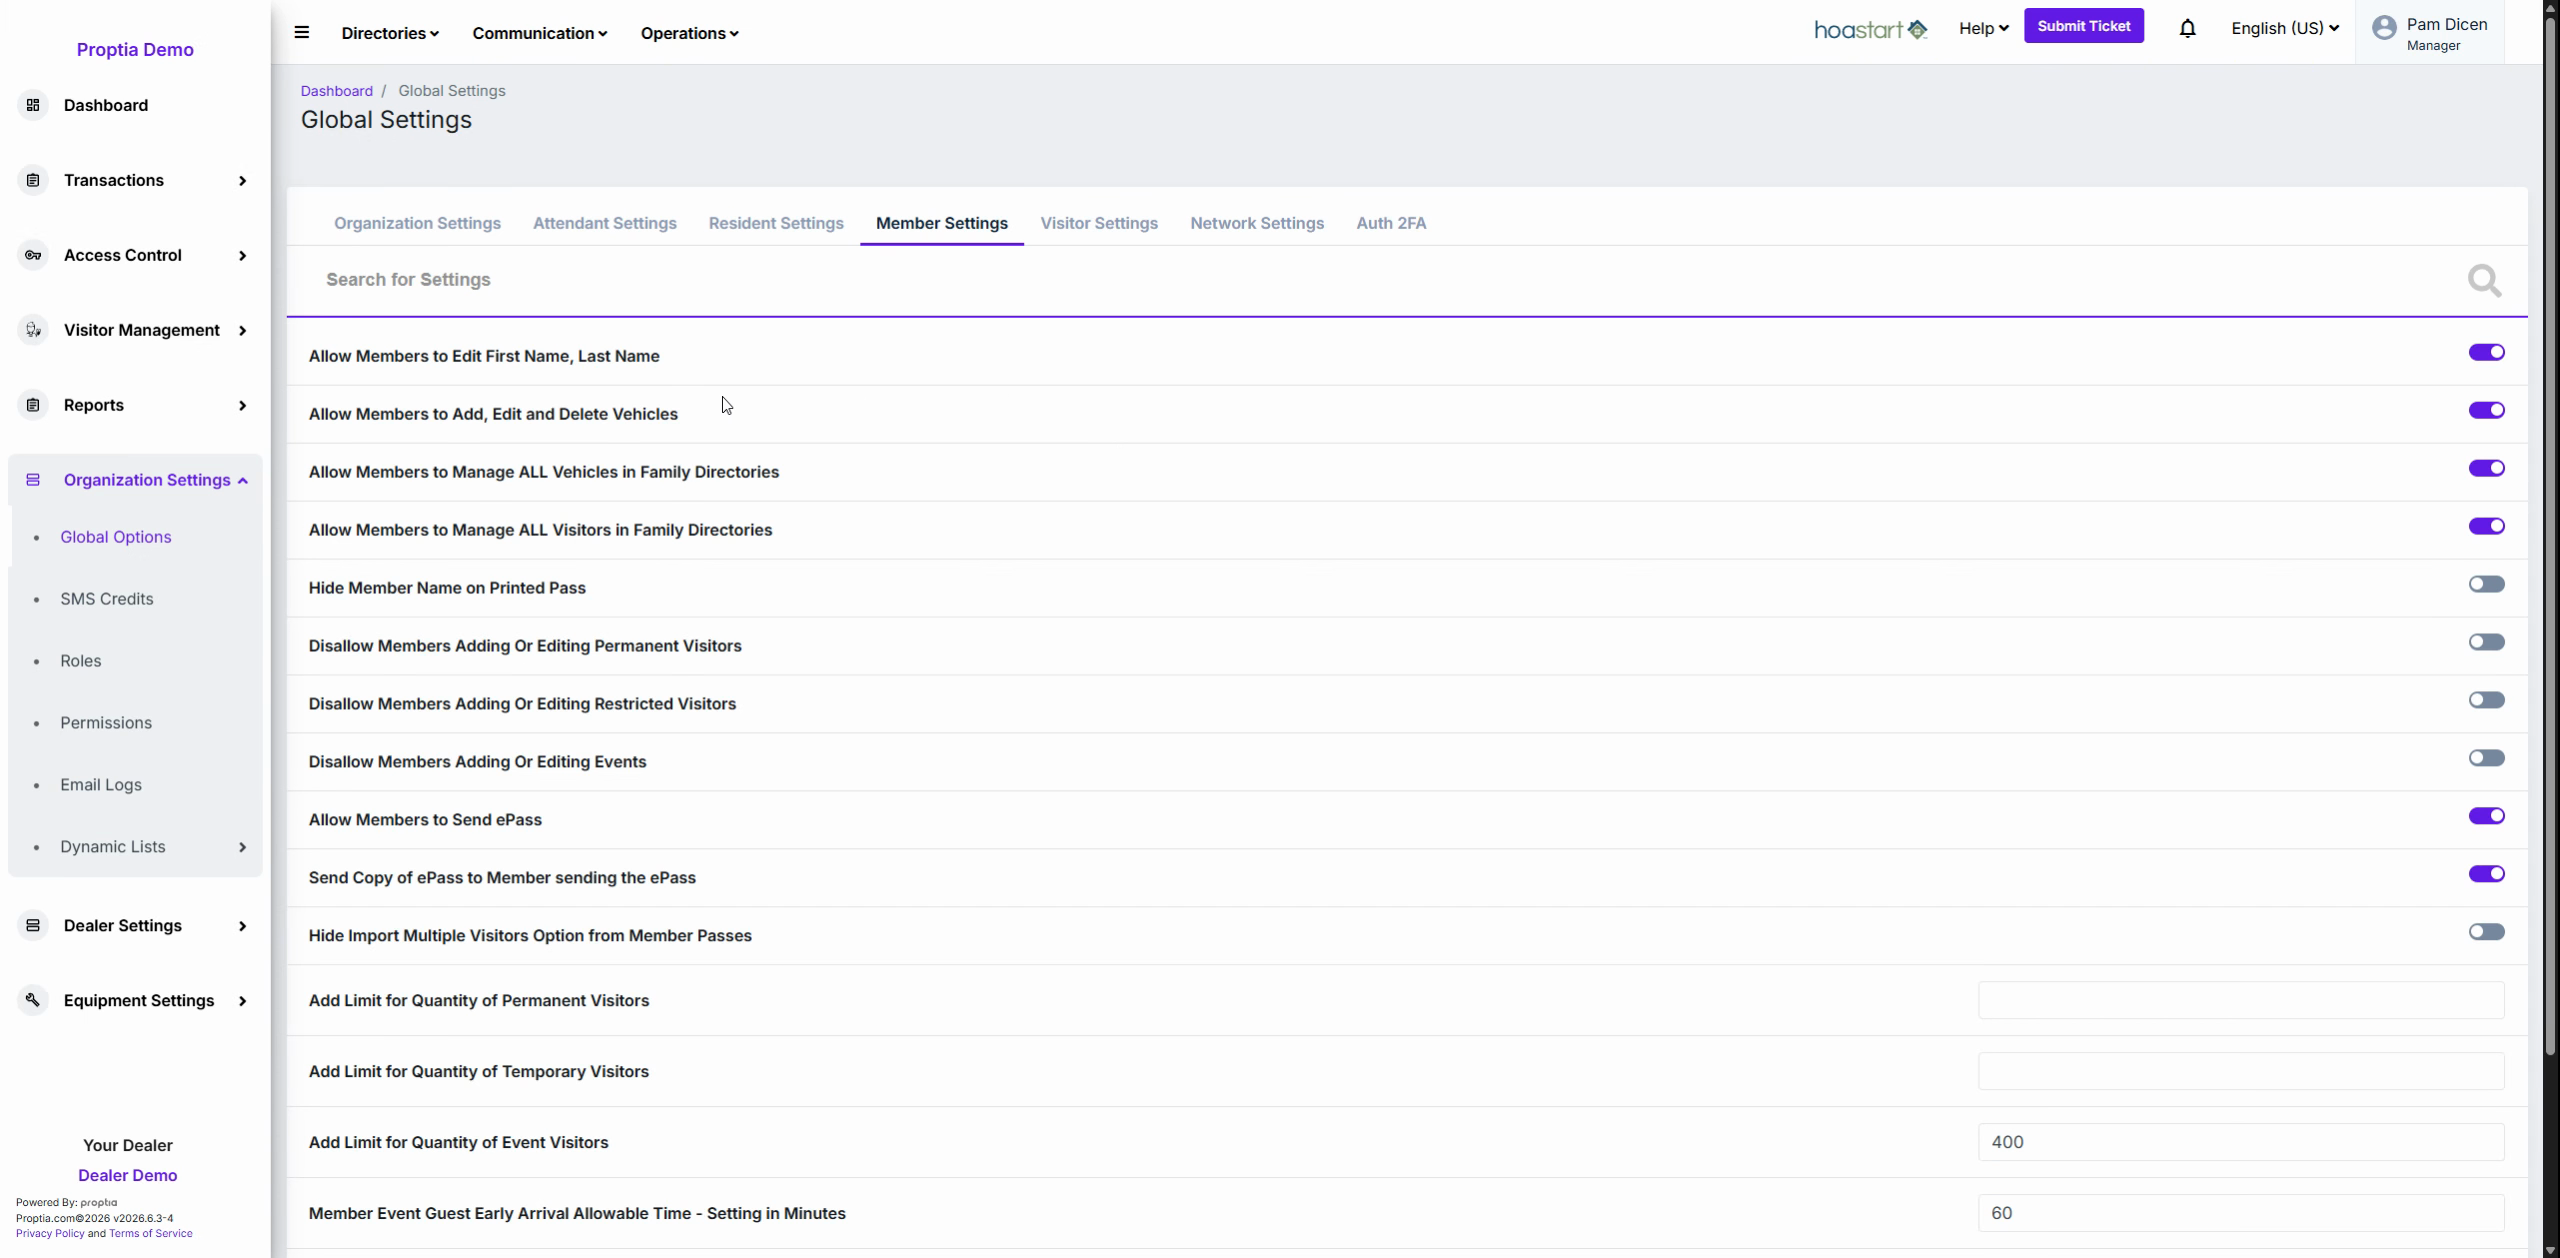
Toggle Allow members to manage all vehicles in family directories and Allow members to manage all visitors to enable members to view and update records for the entire family, not just their own.
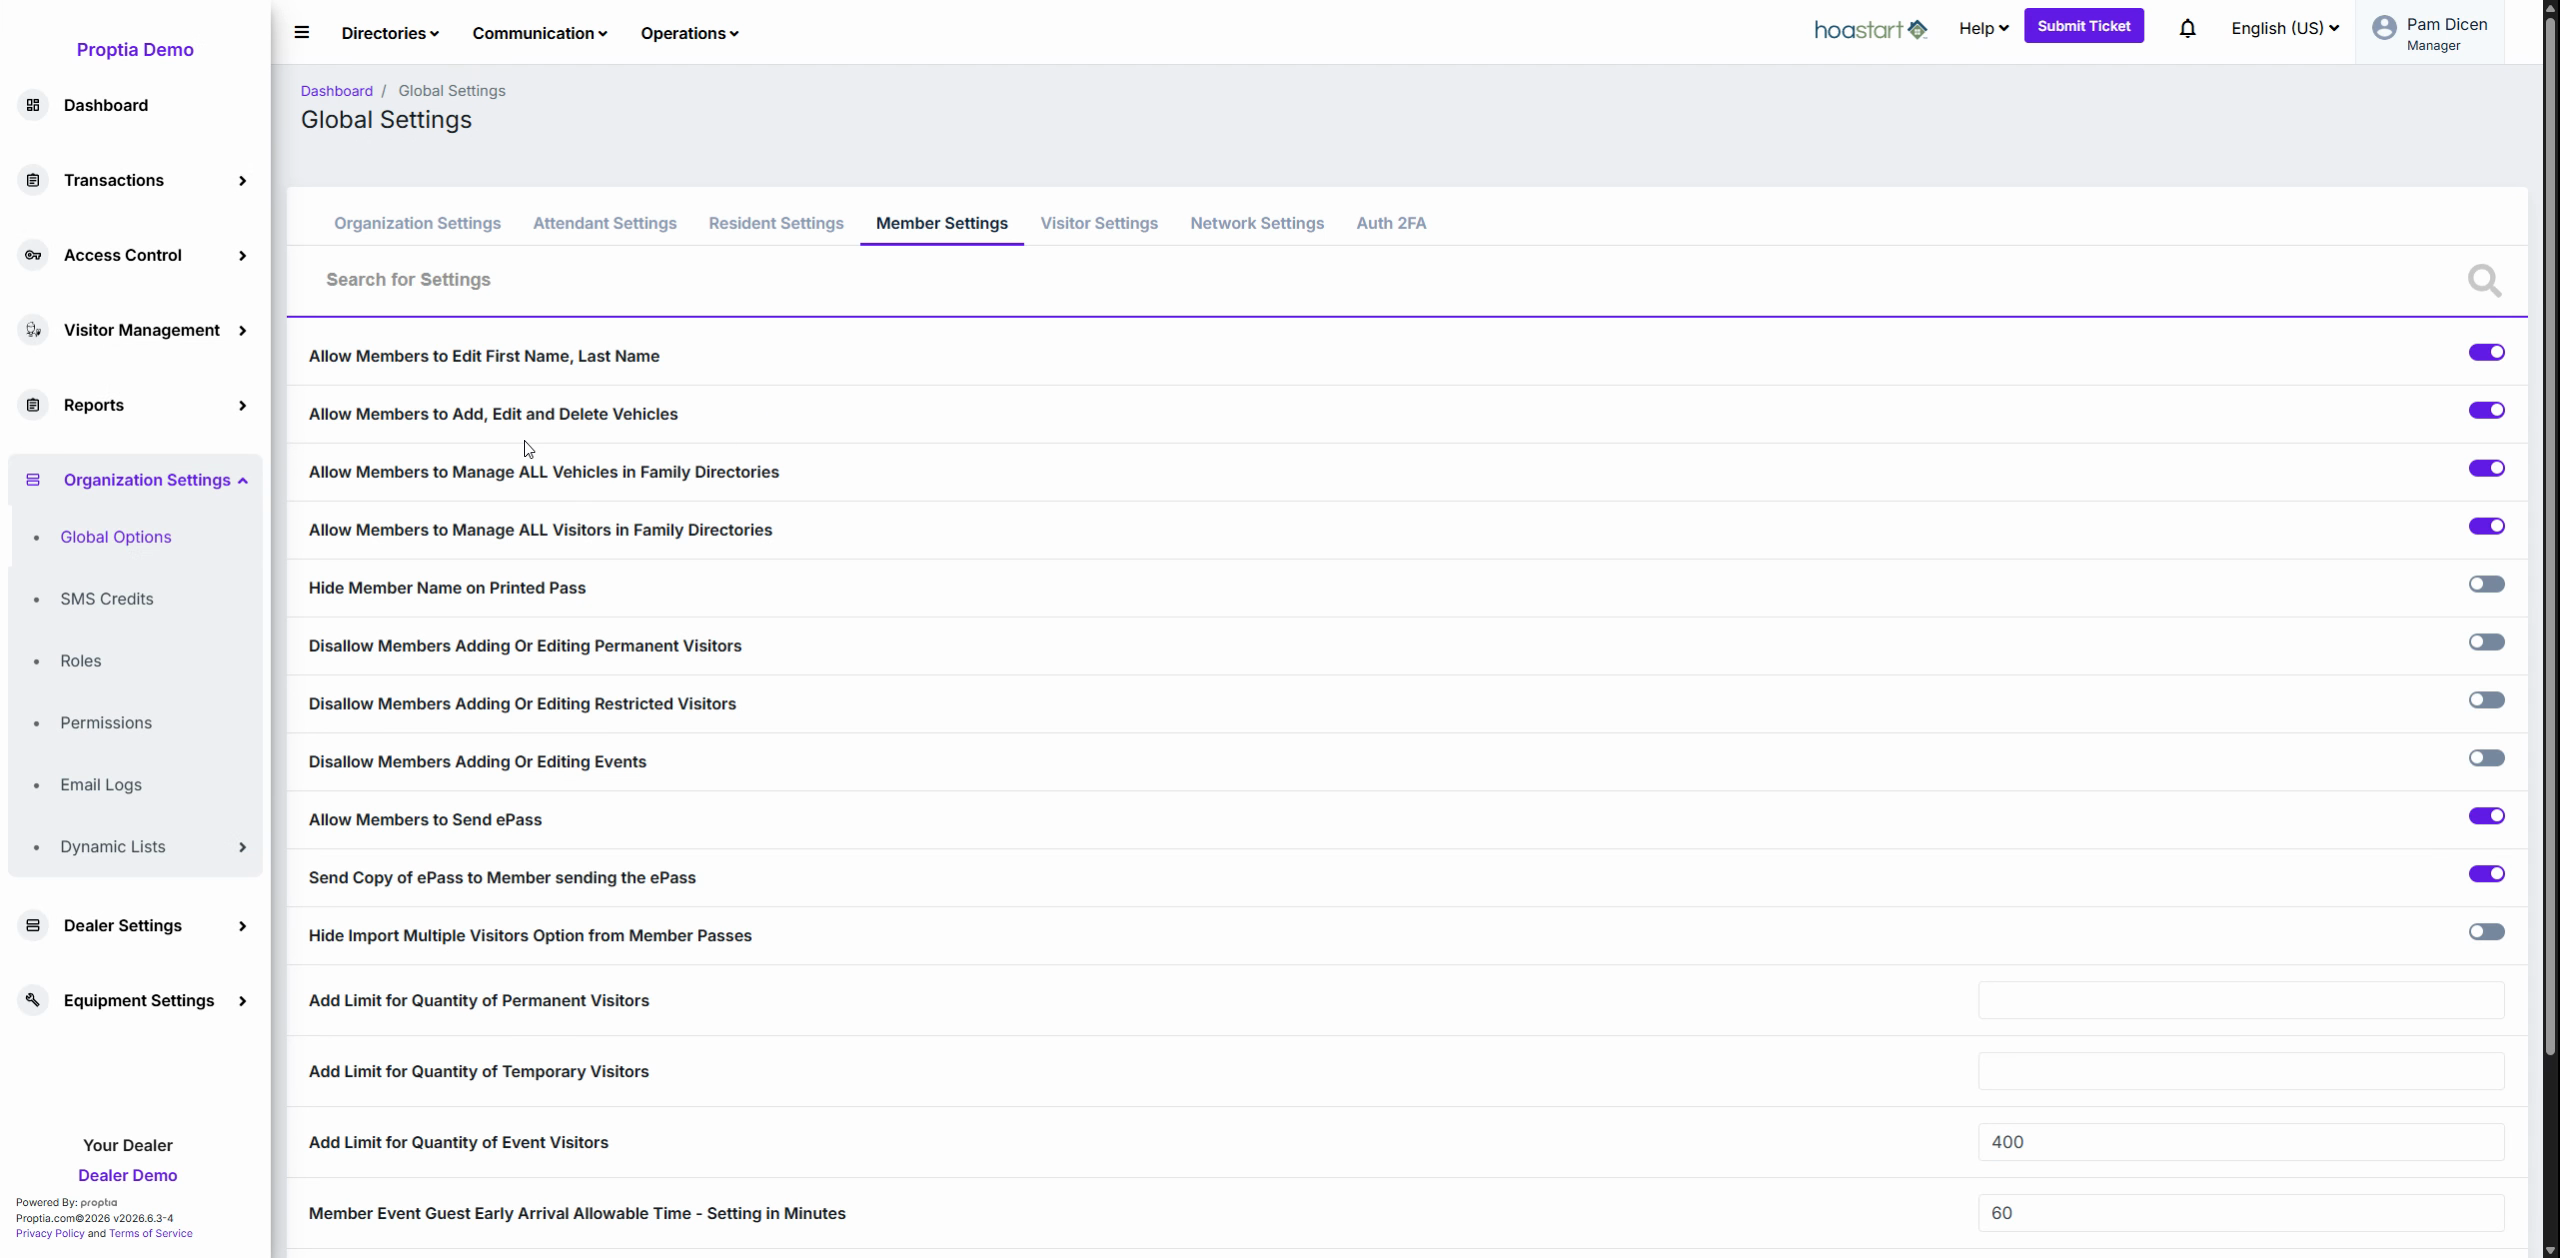
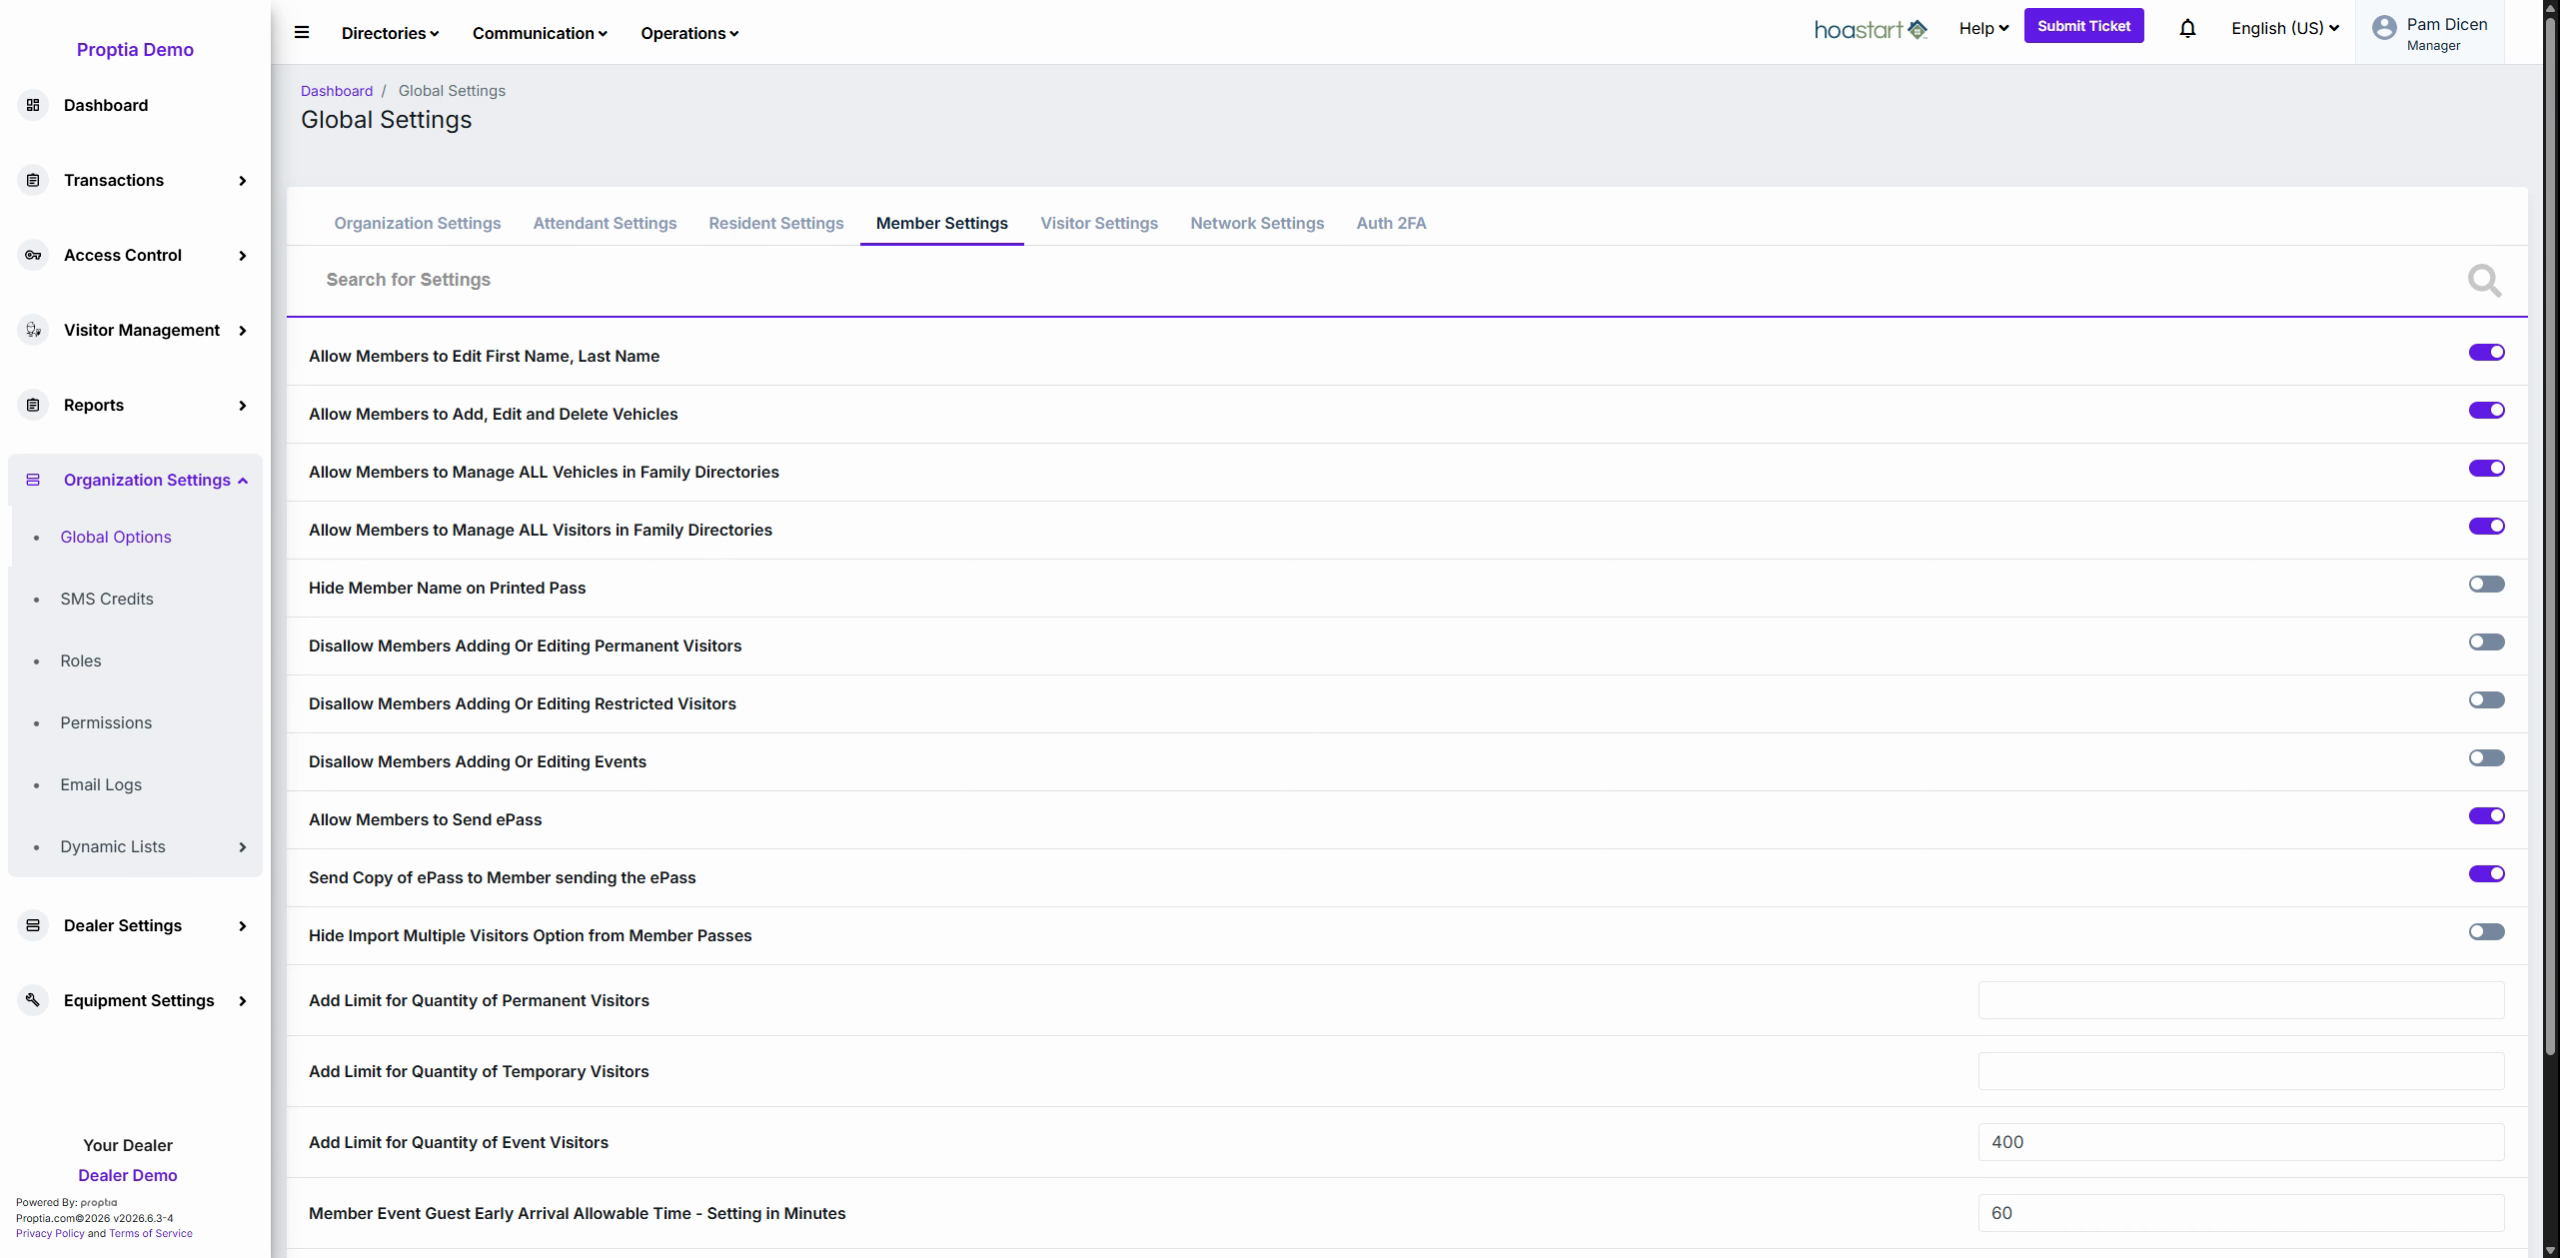
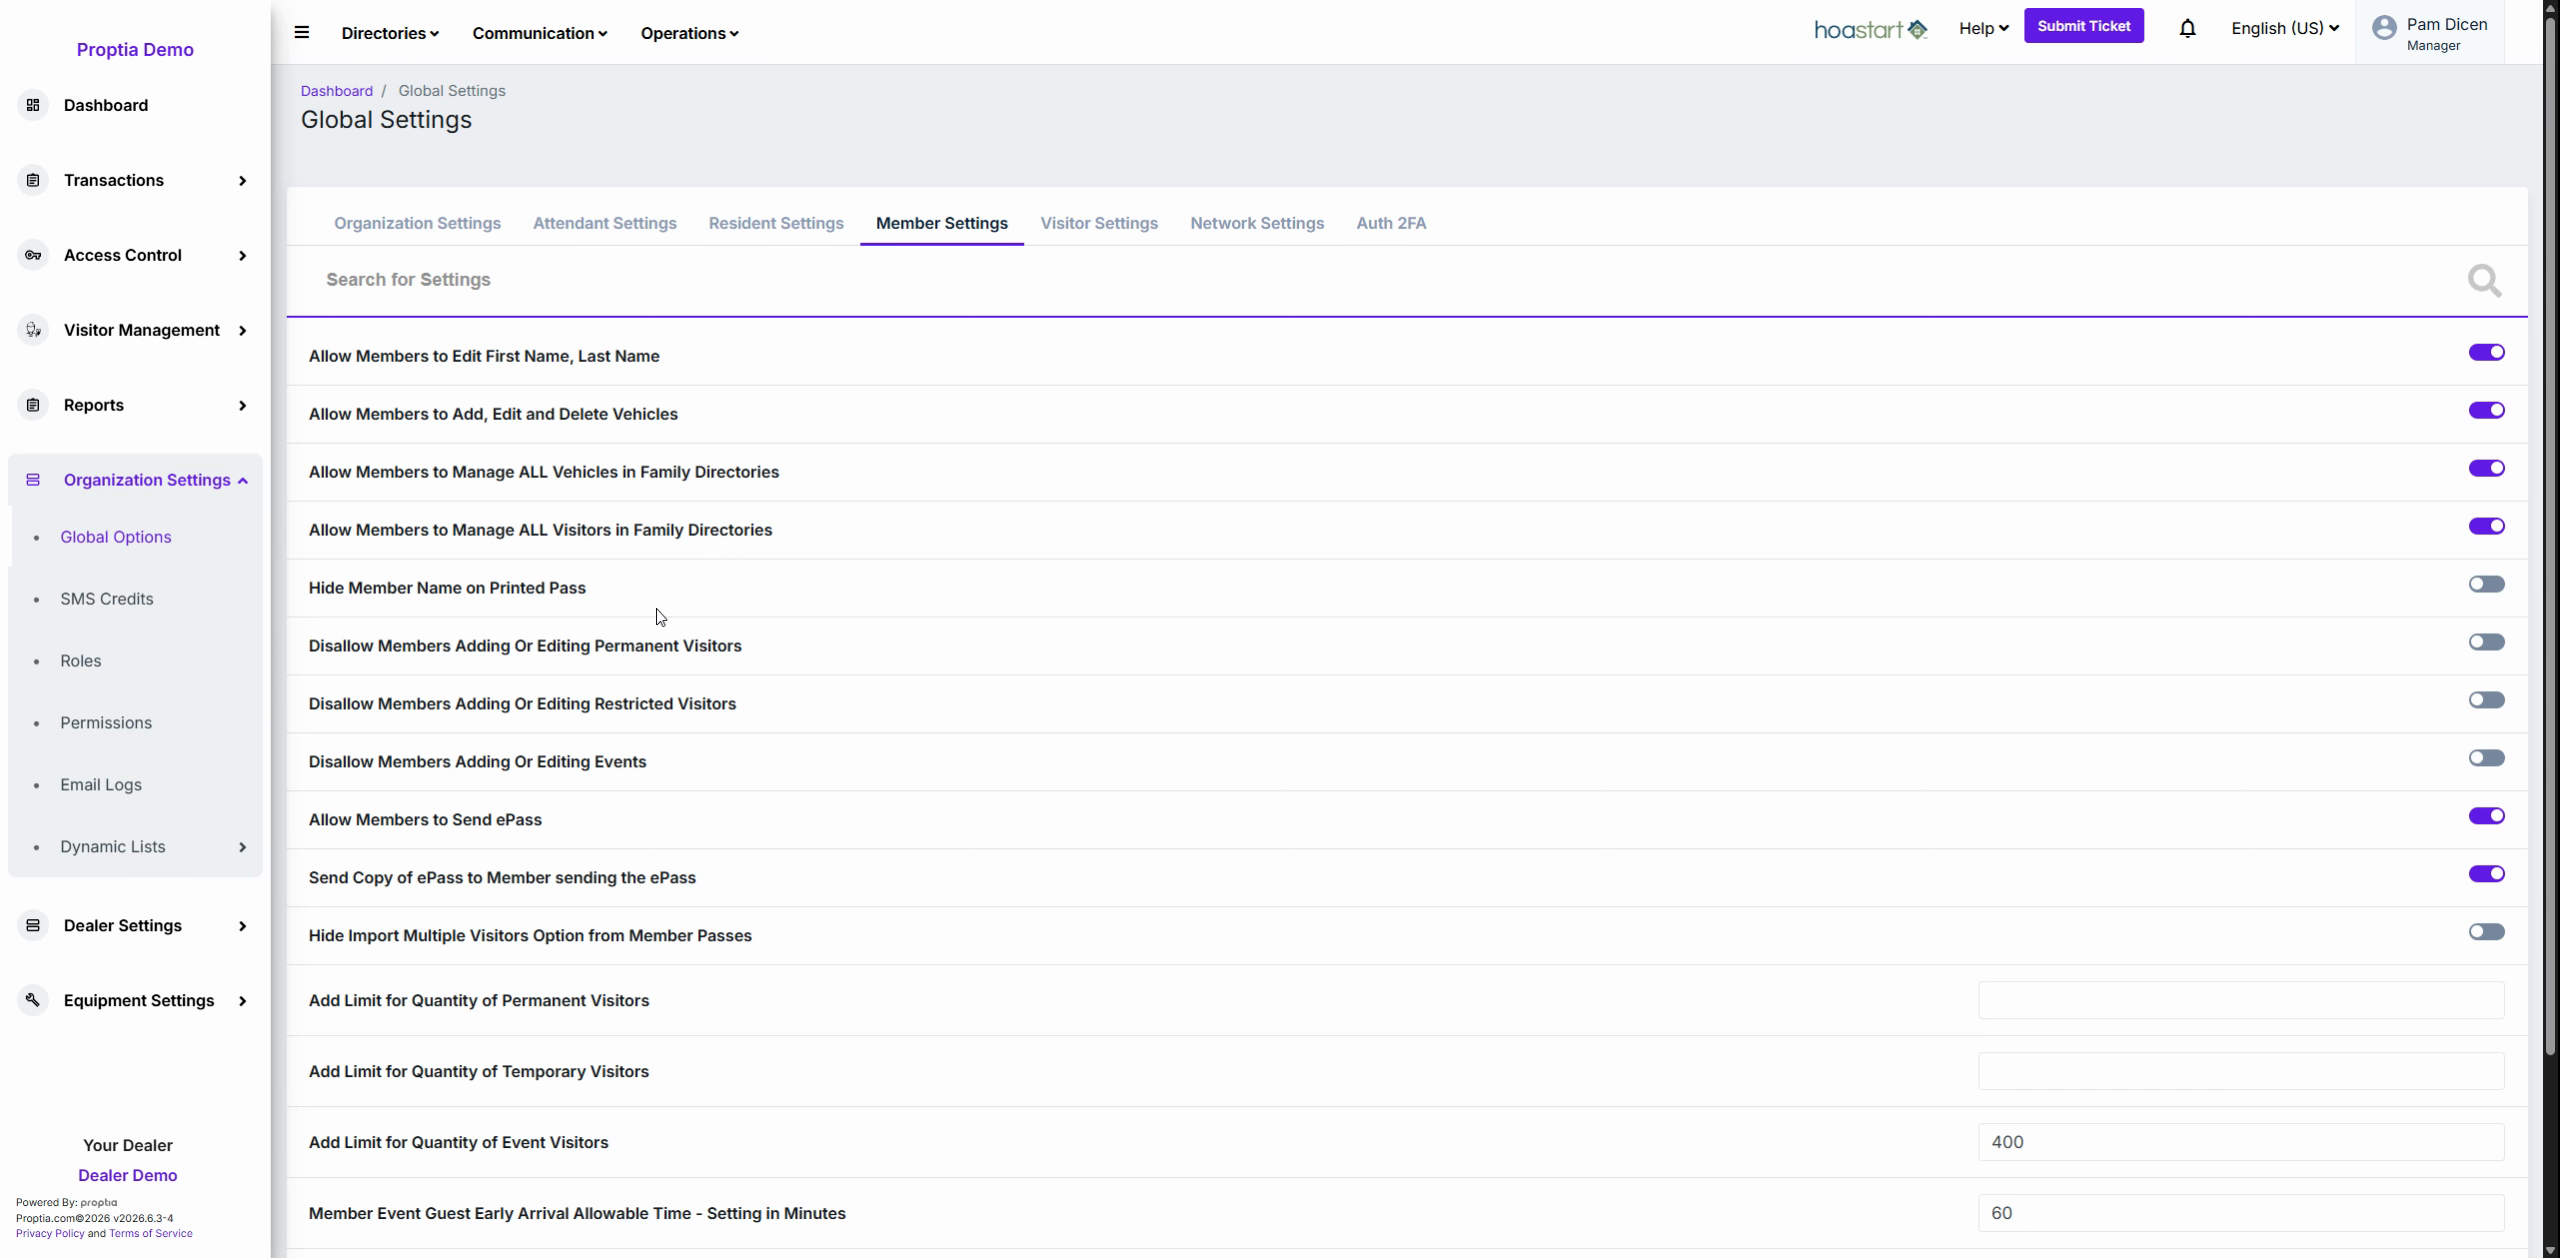
Toggle Hide member name on printed pass if you want to exclude member names from being printed on gatehouse visitor passes.
Module 3: Configure Visitor Management Permissions
Scroll down to the Visitor Management permission toggles. Toggle permissions to block members from adding or editing Permanent Visitors, Restricted Visitors, or scheduling events, as needed.
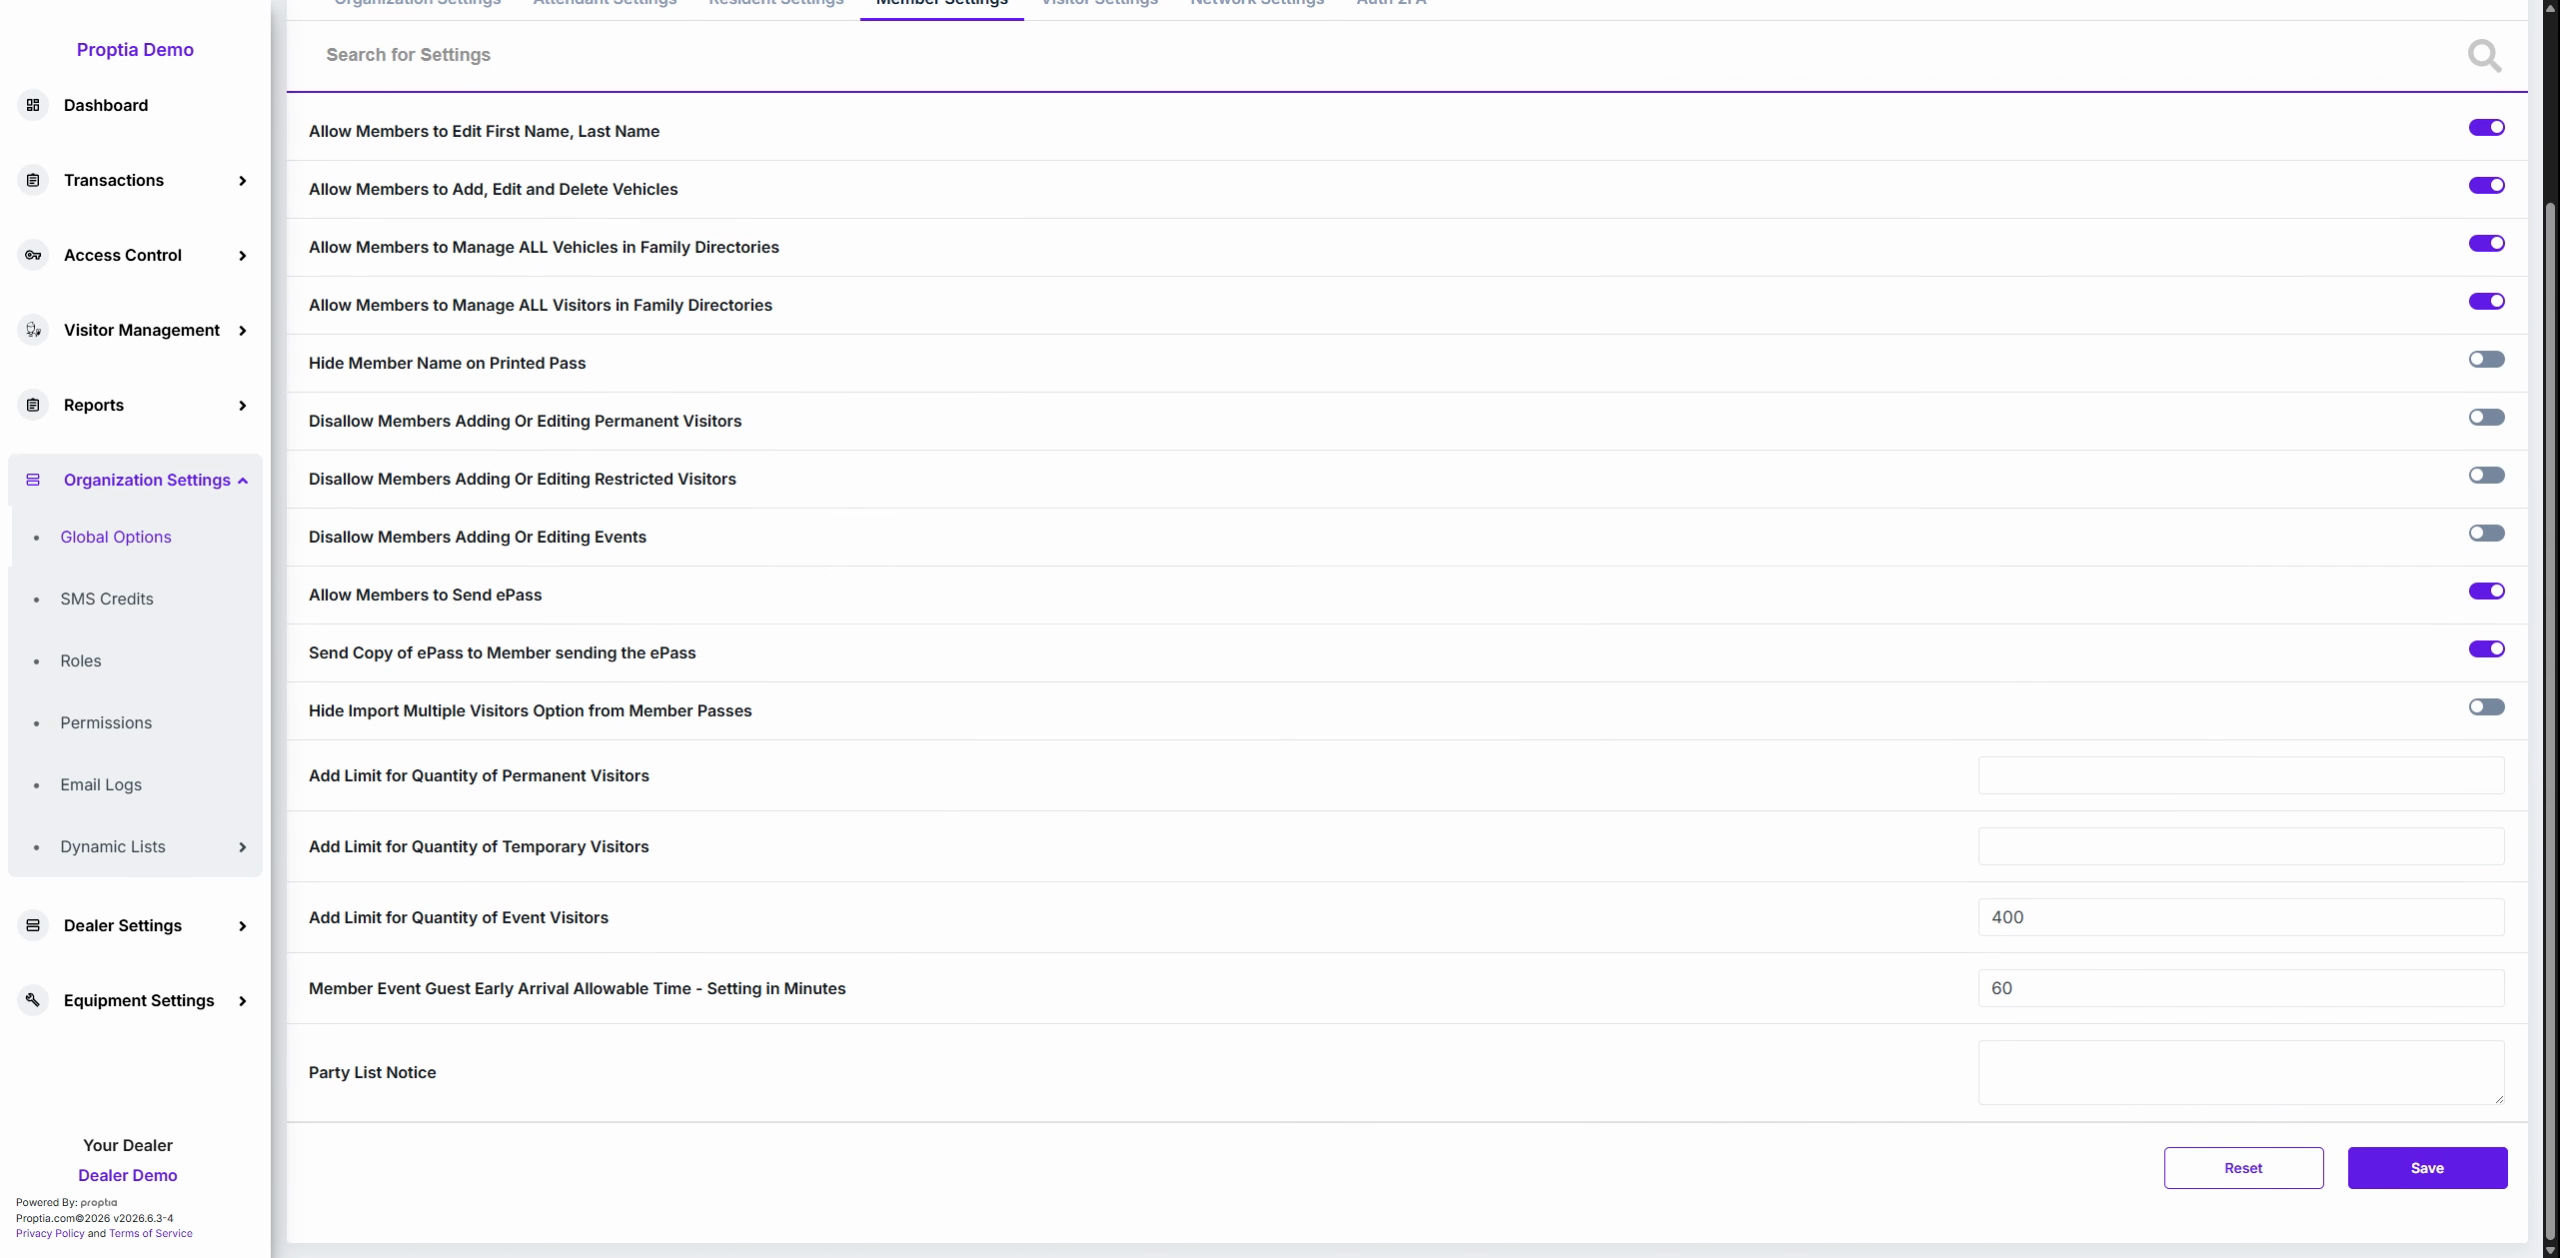
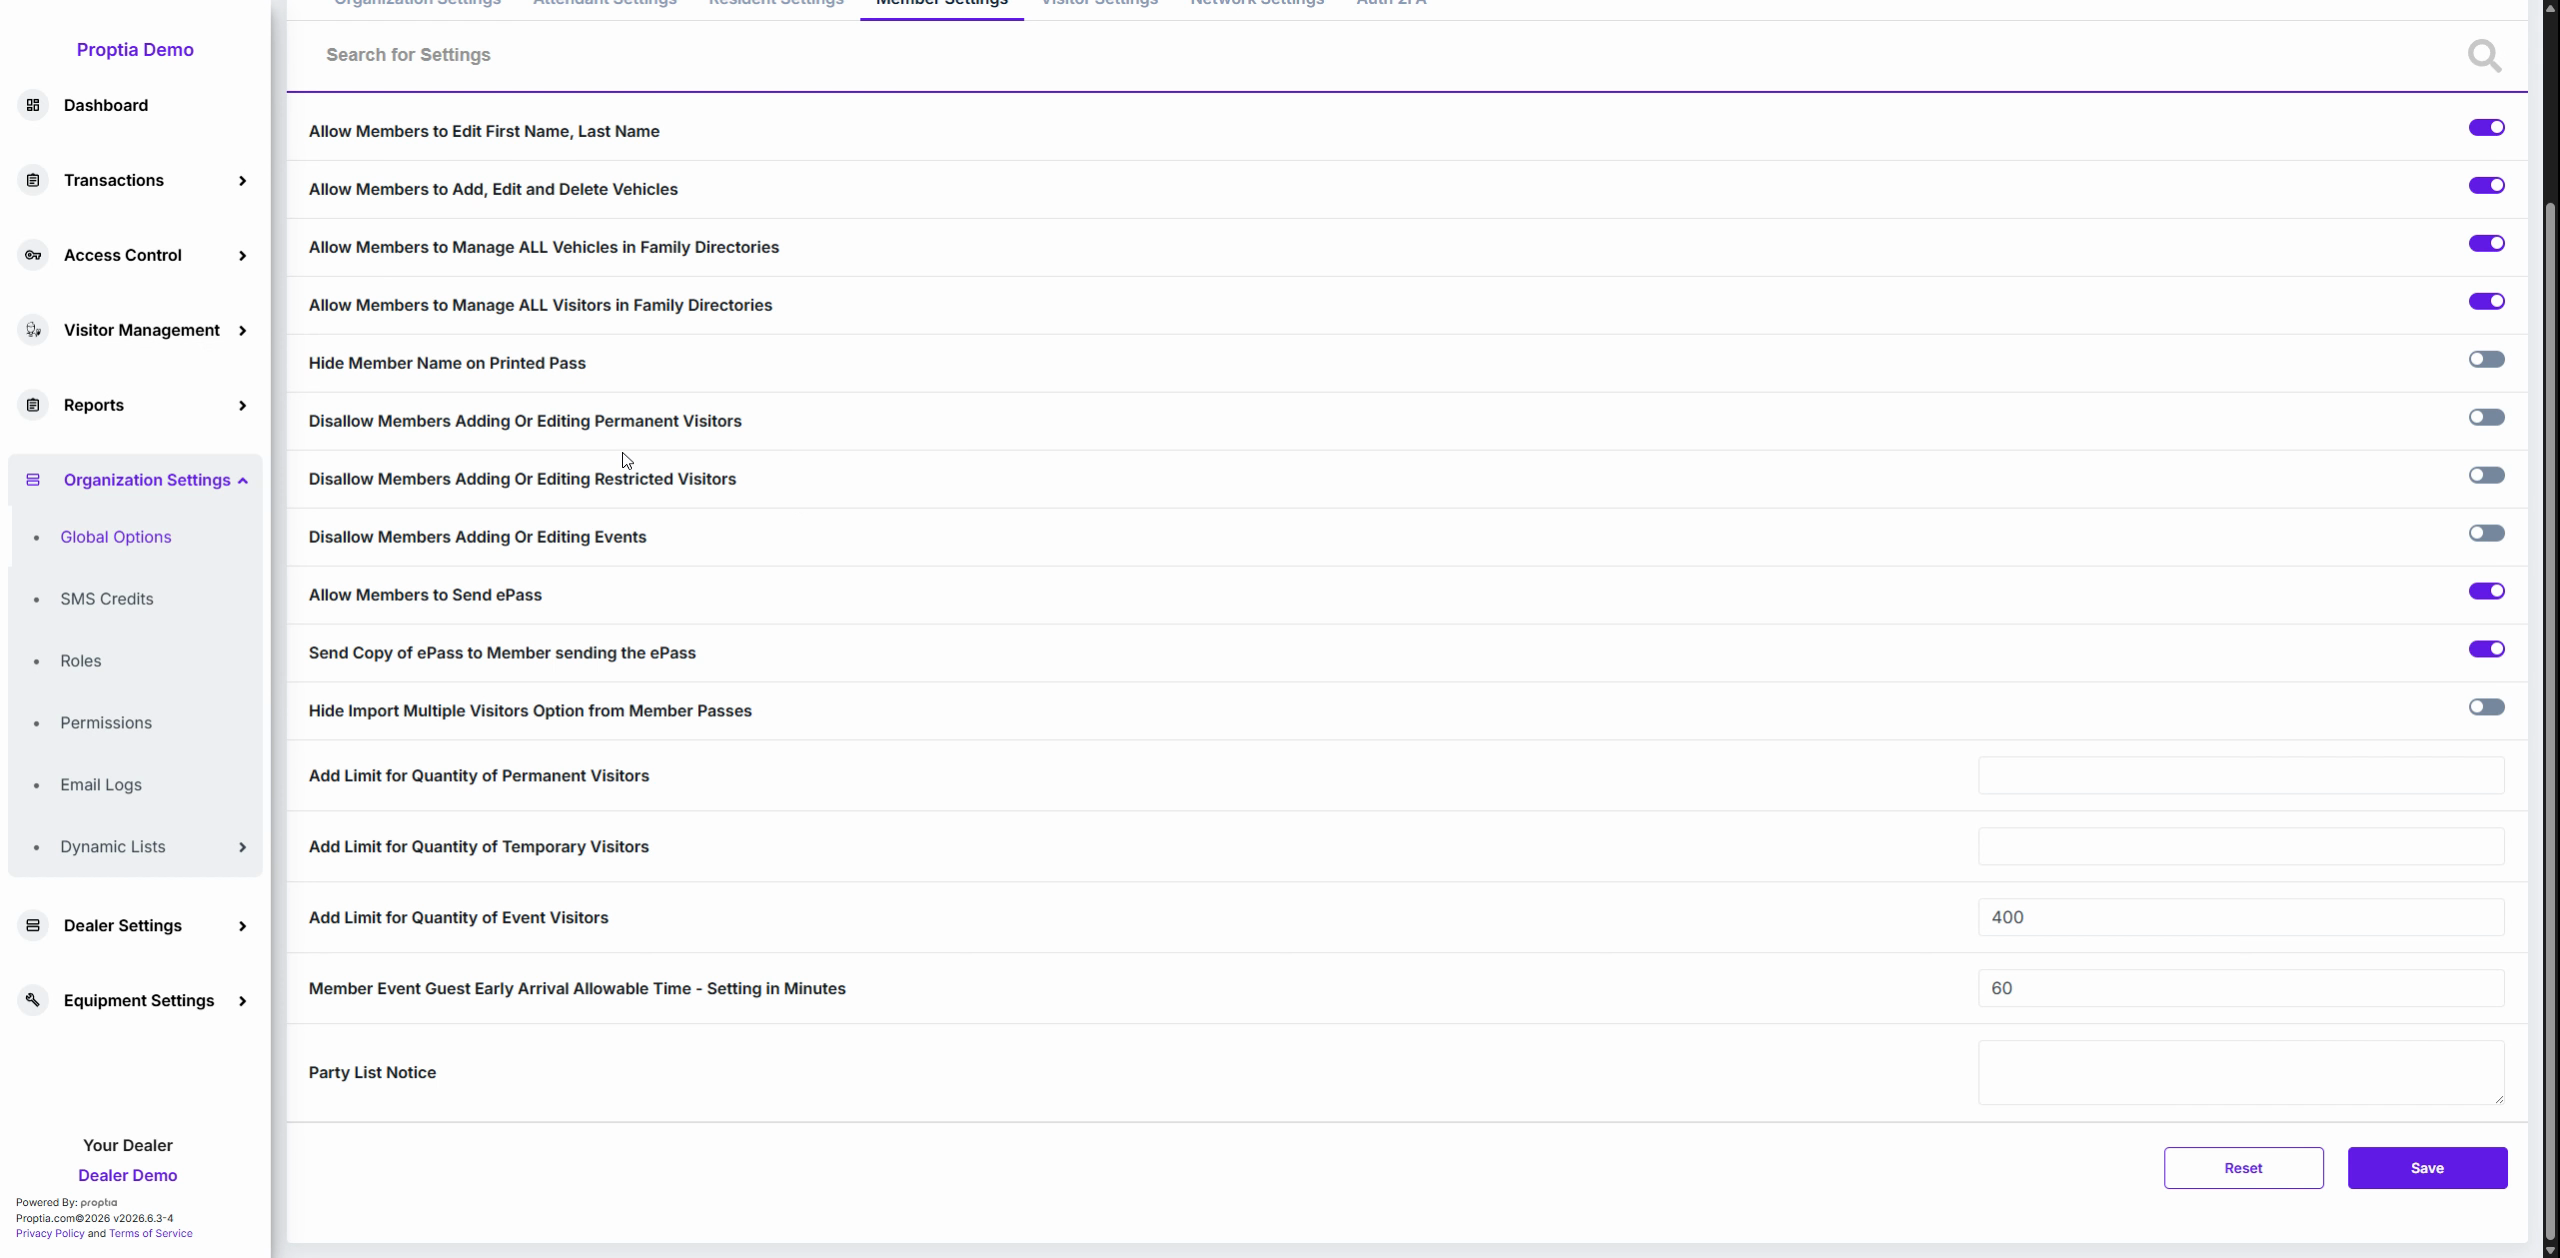
Toggle Allow members to send ePasses to give members the ability to distribute guest passes electronically.
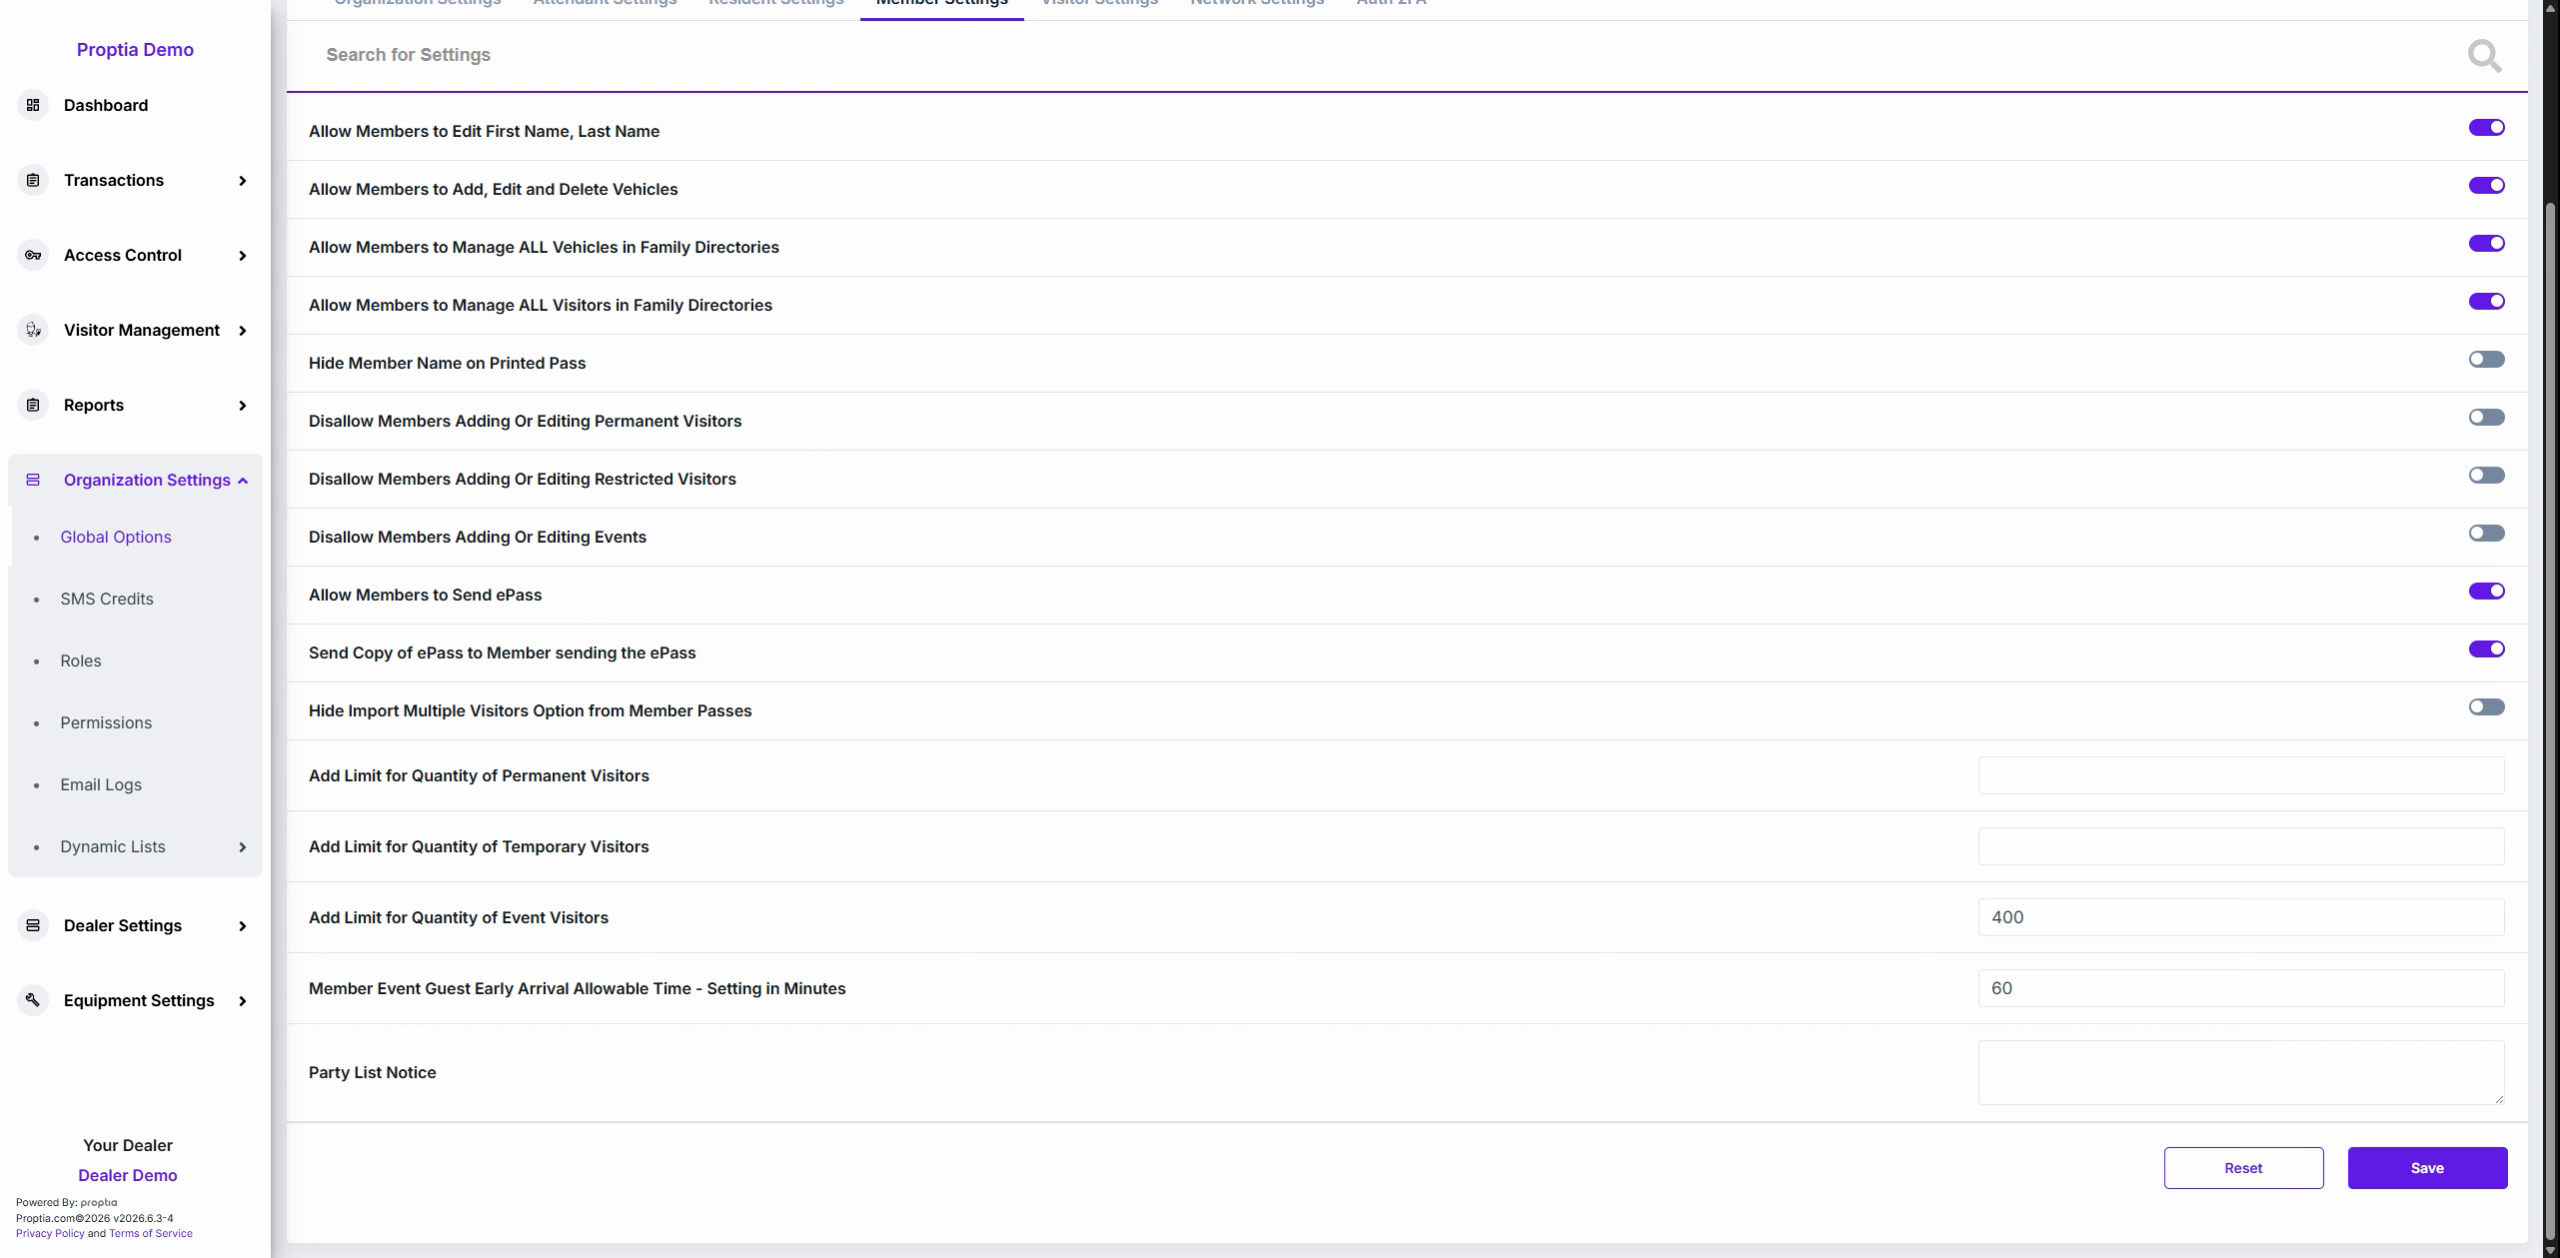
Toggle Send copy of ePass to member sending the ePass to ensure that members get a direct record of each guest invitation they send.
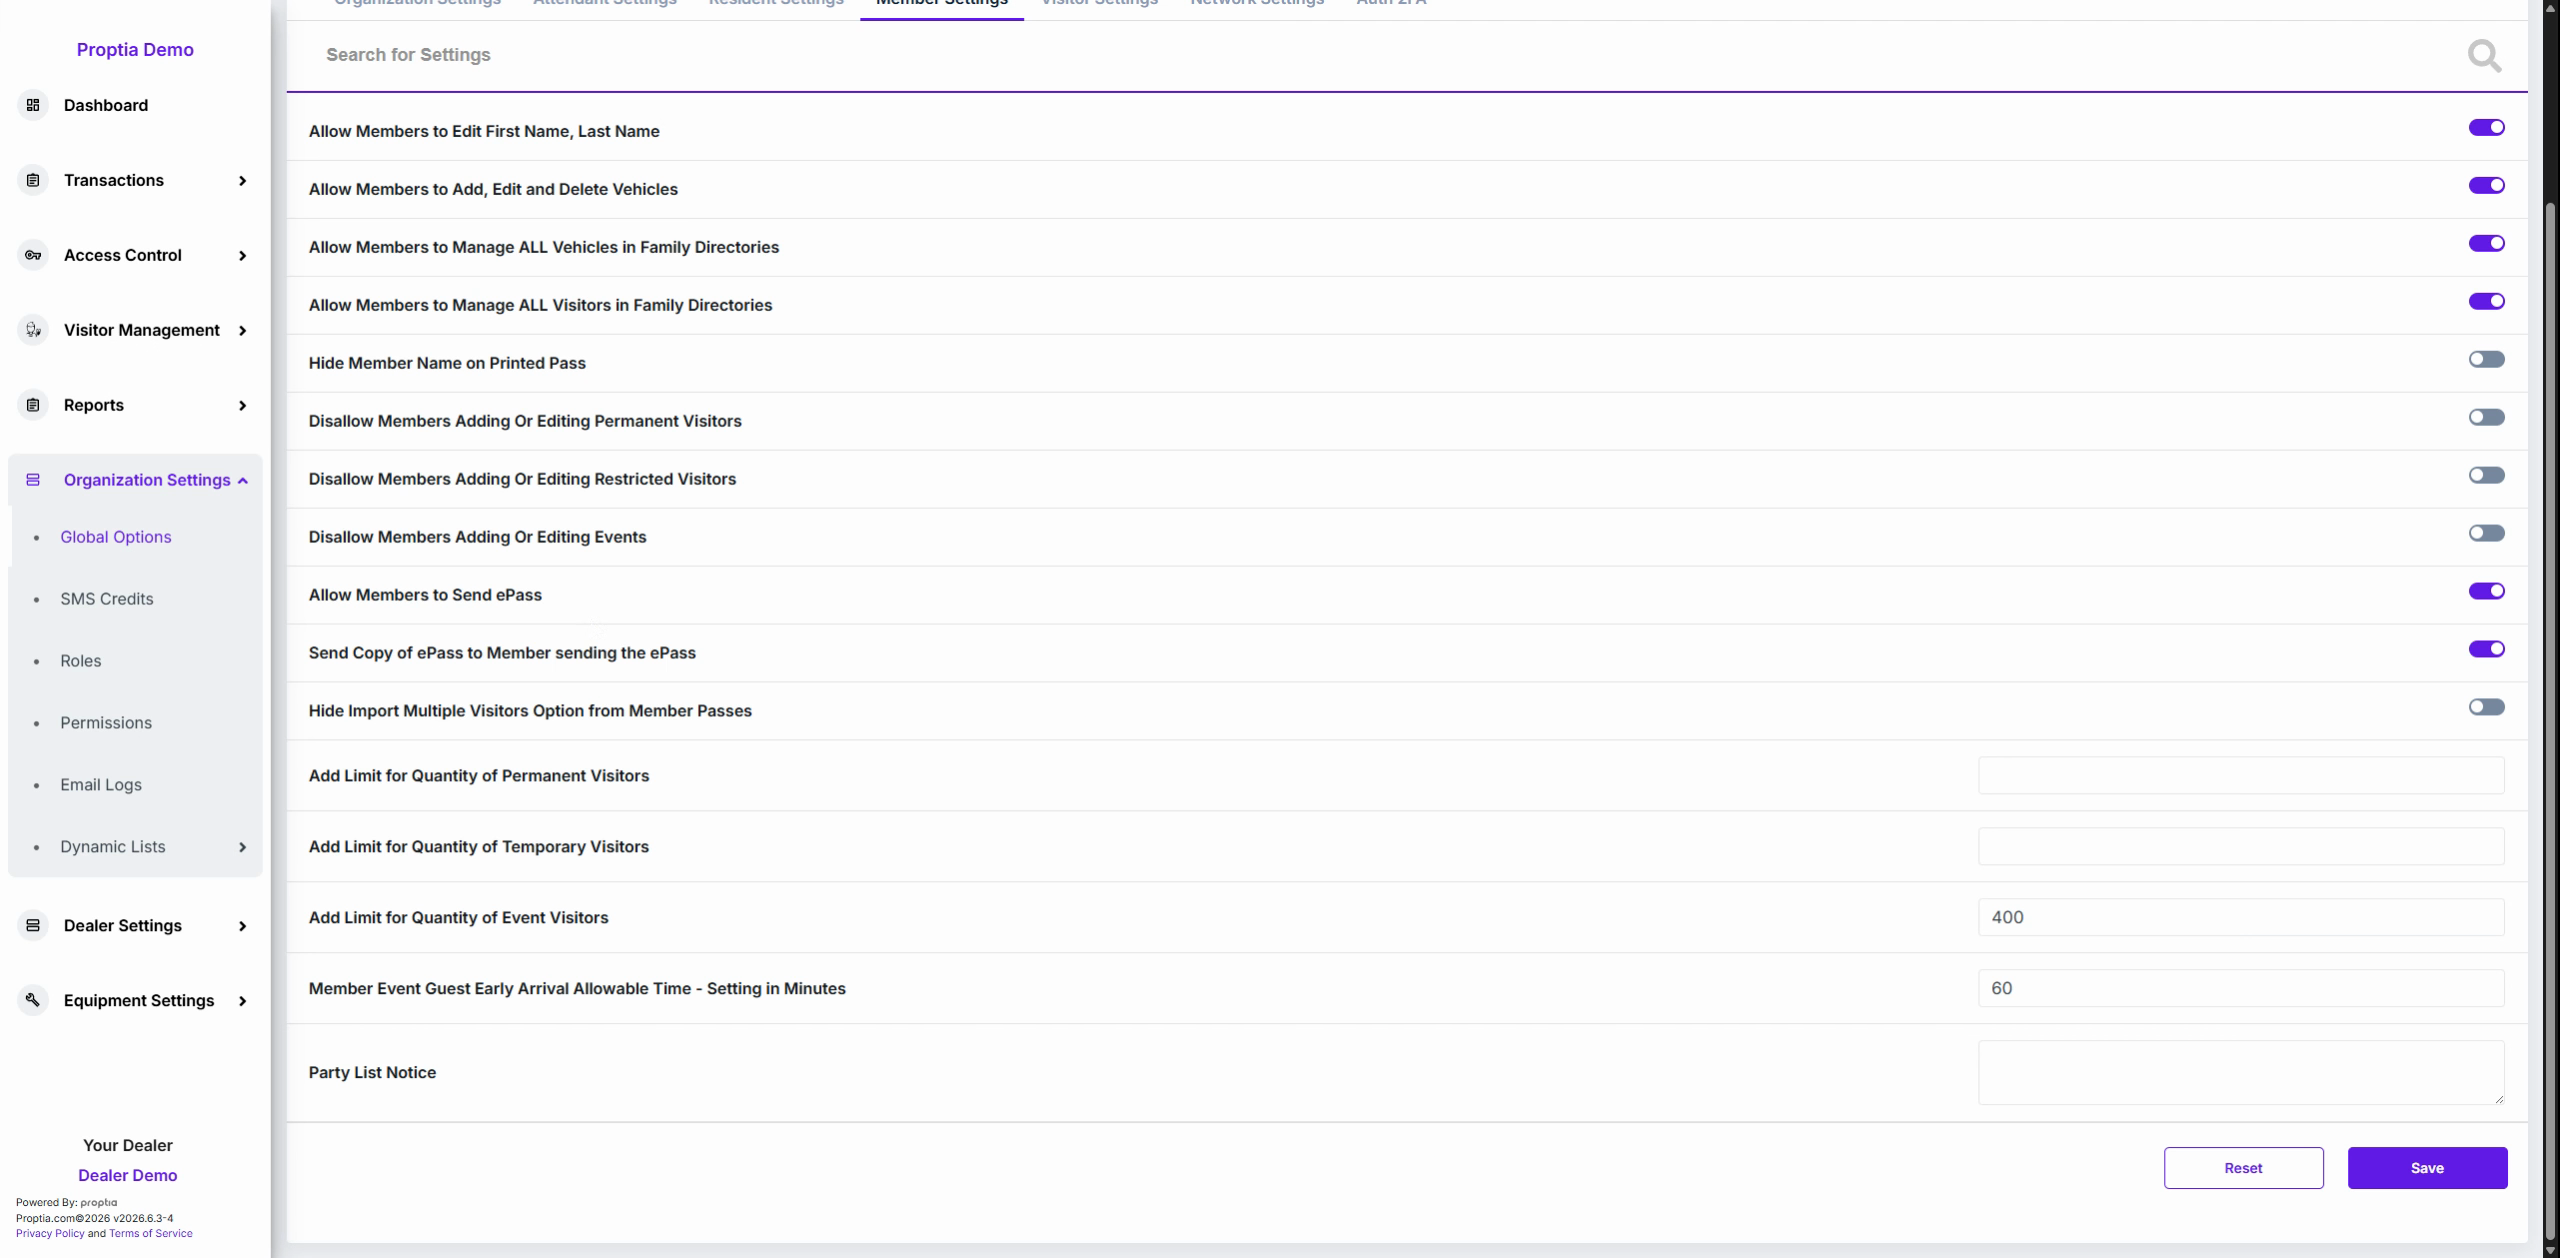
Toggle Hide import multiple visitors option from member passes to prevent members from uploading large external files of guests.
Module 4: Adjust Limits and Event Notices
Enter values directly into the input fields for Maximum Permanent Visitors, Temporary Visitors, and Event Visitors to set appropriate thresholds per member.
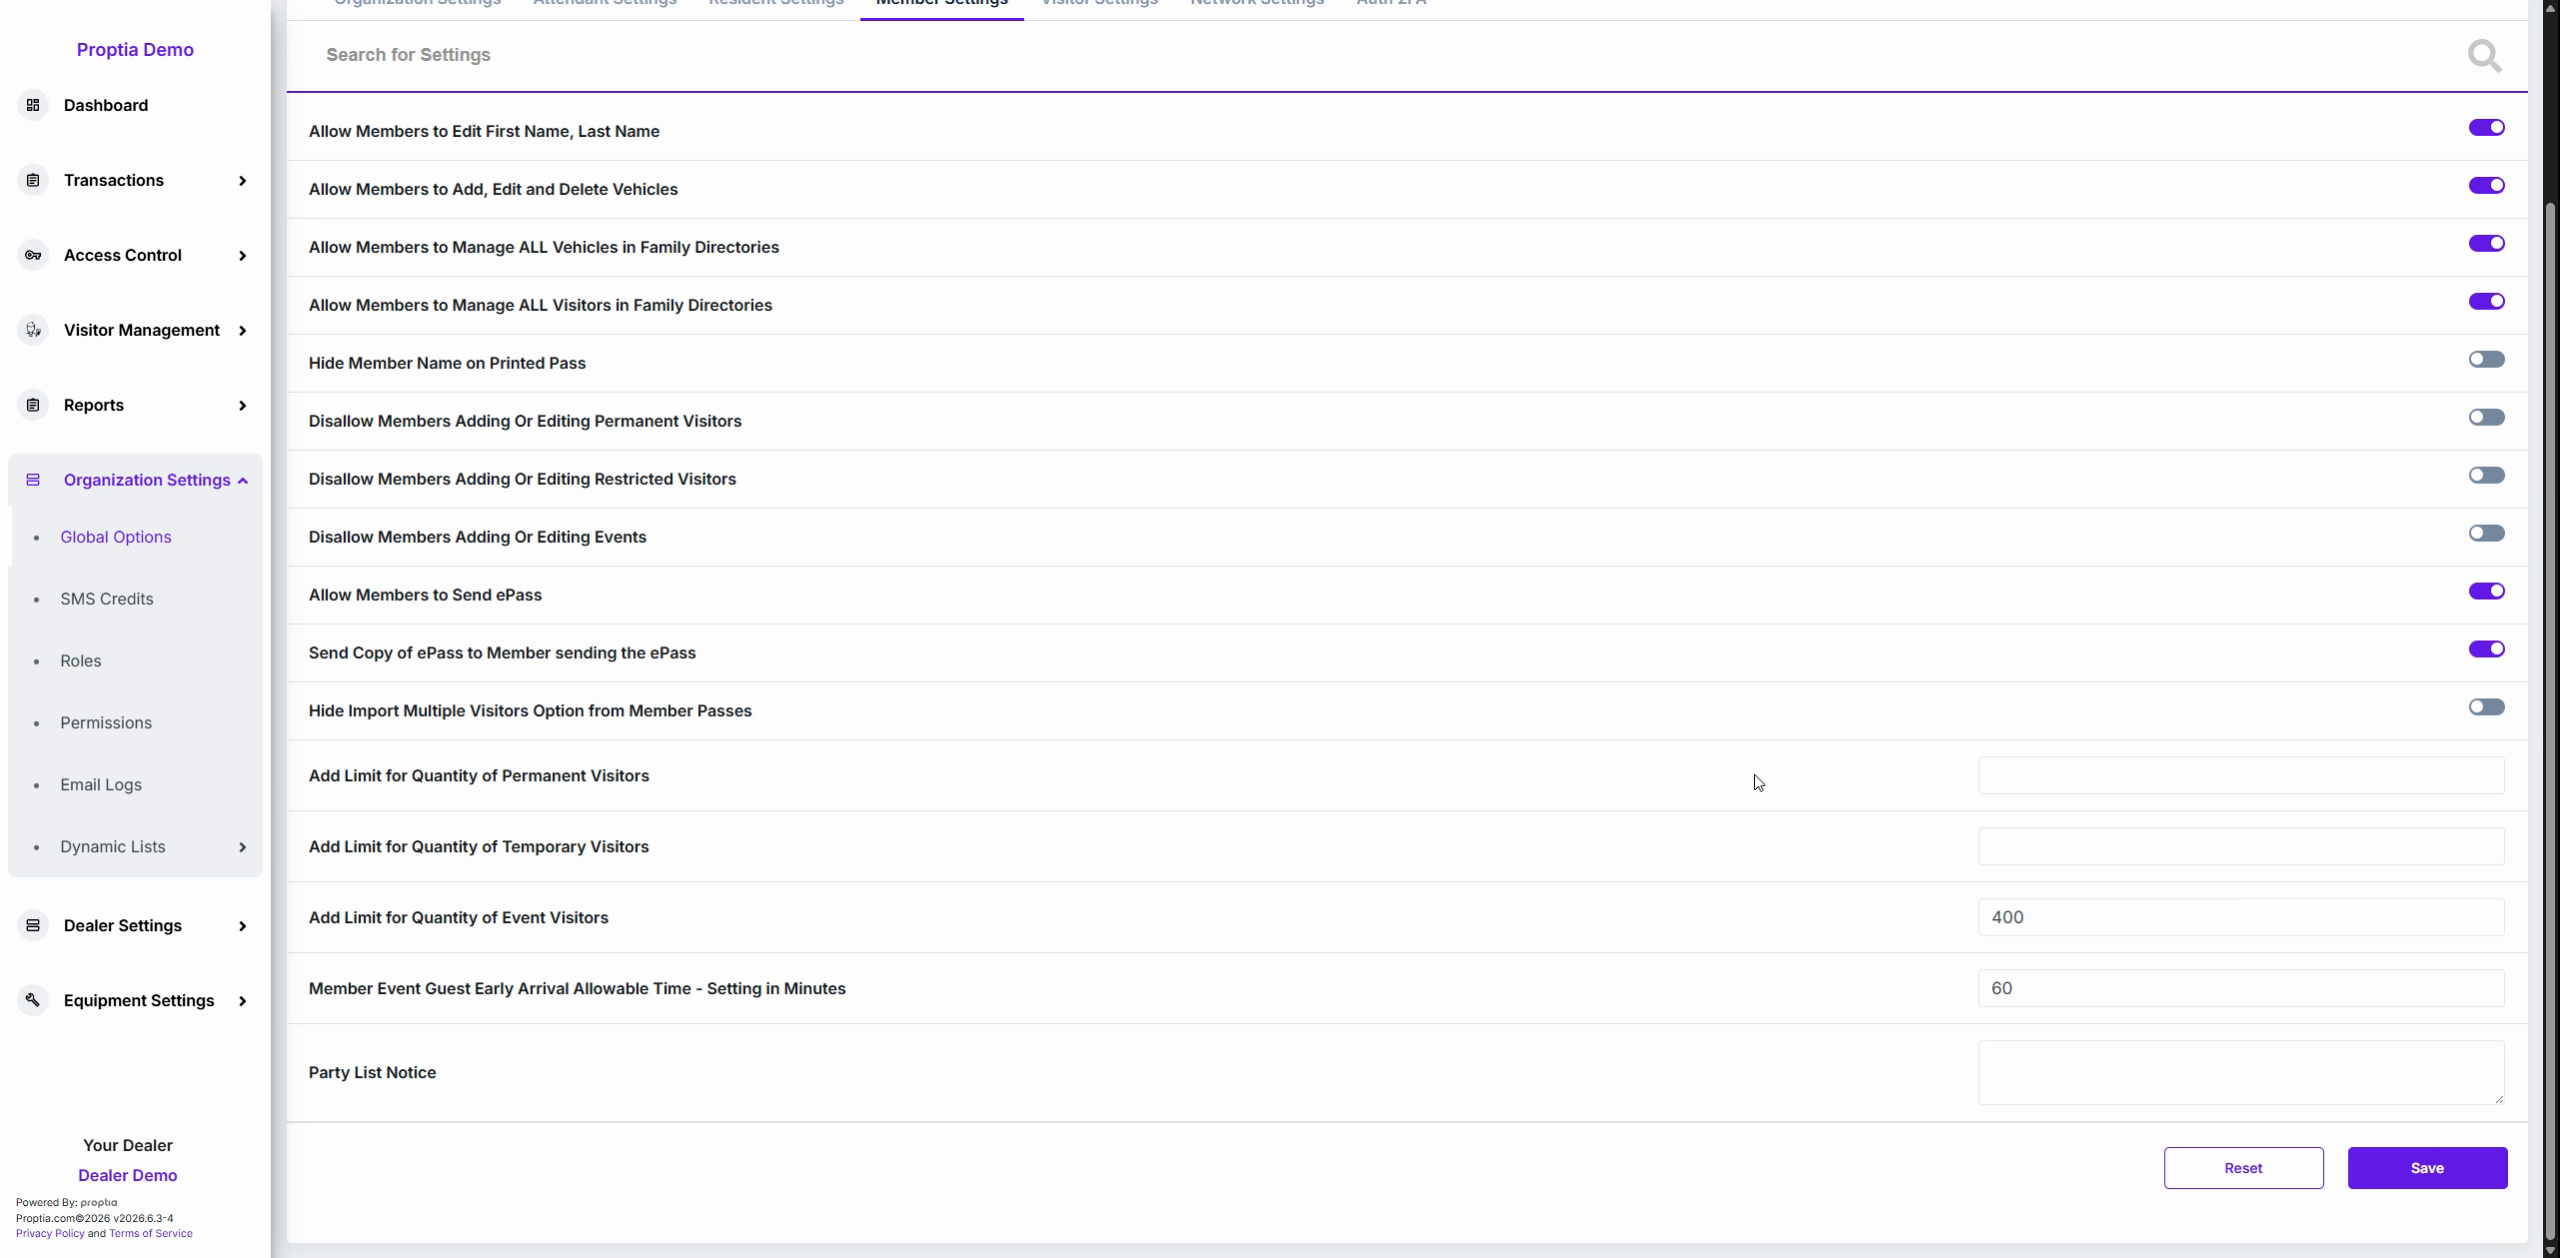
Fill in the Arrival Allowable Time field (in minutes) to set how early event guests can arrive at the gatehouse before the scheduled event start time.
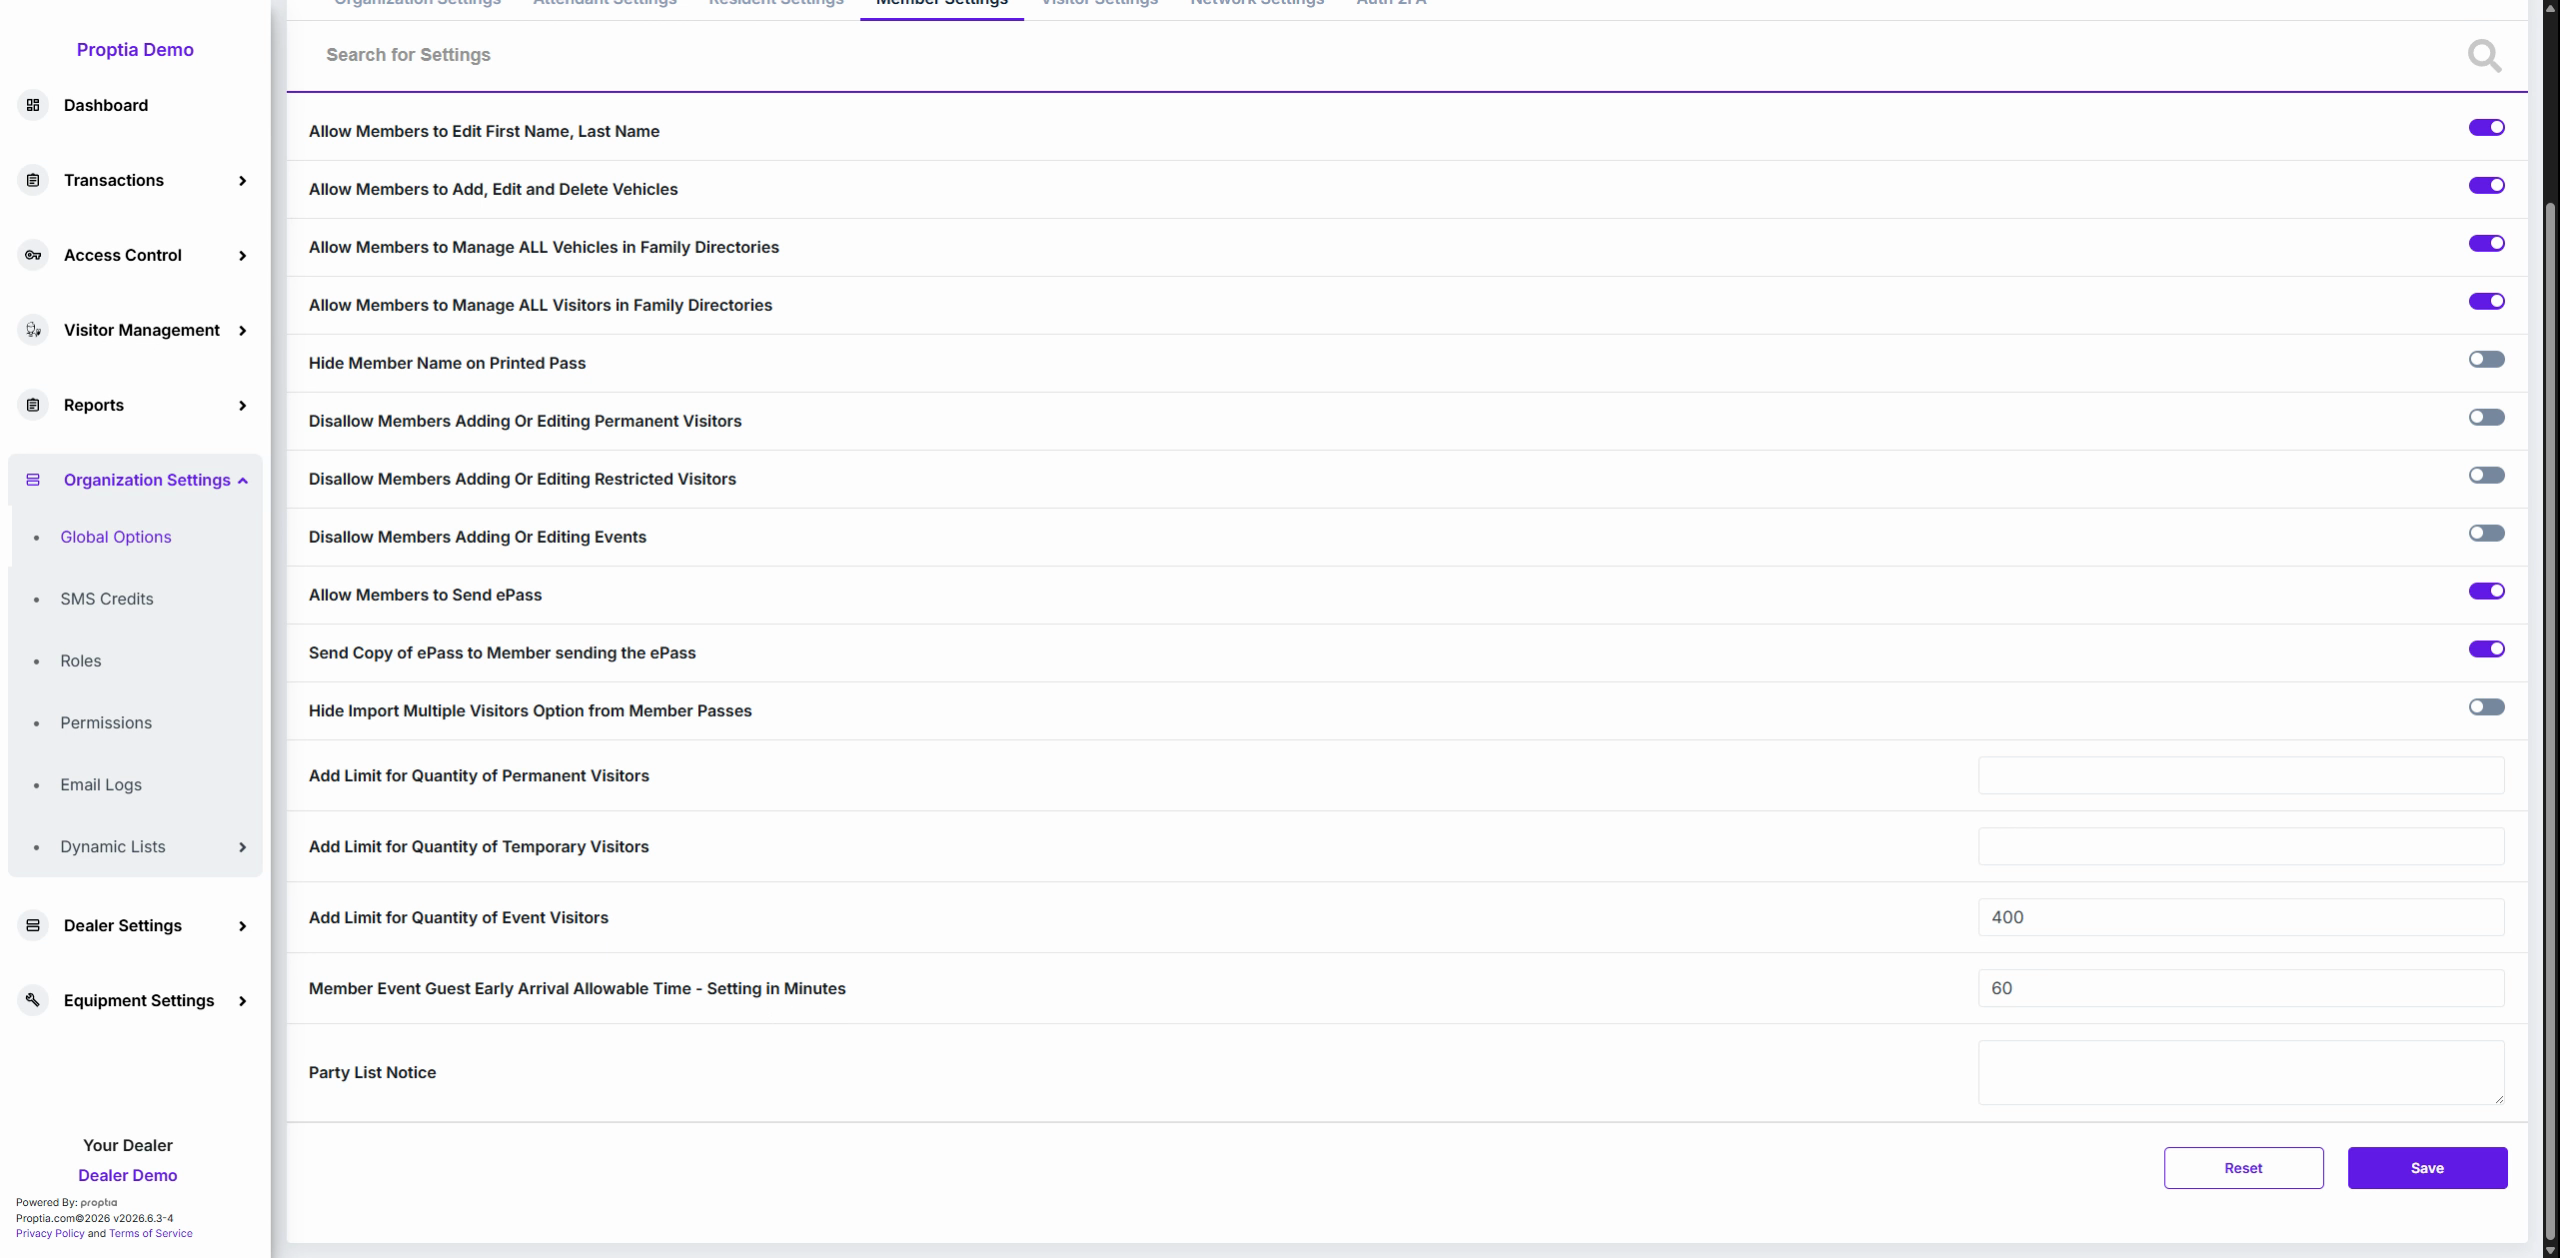
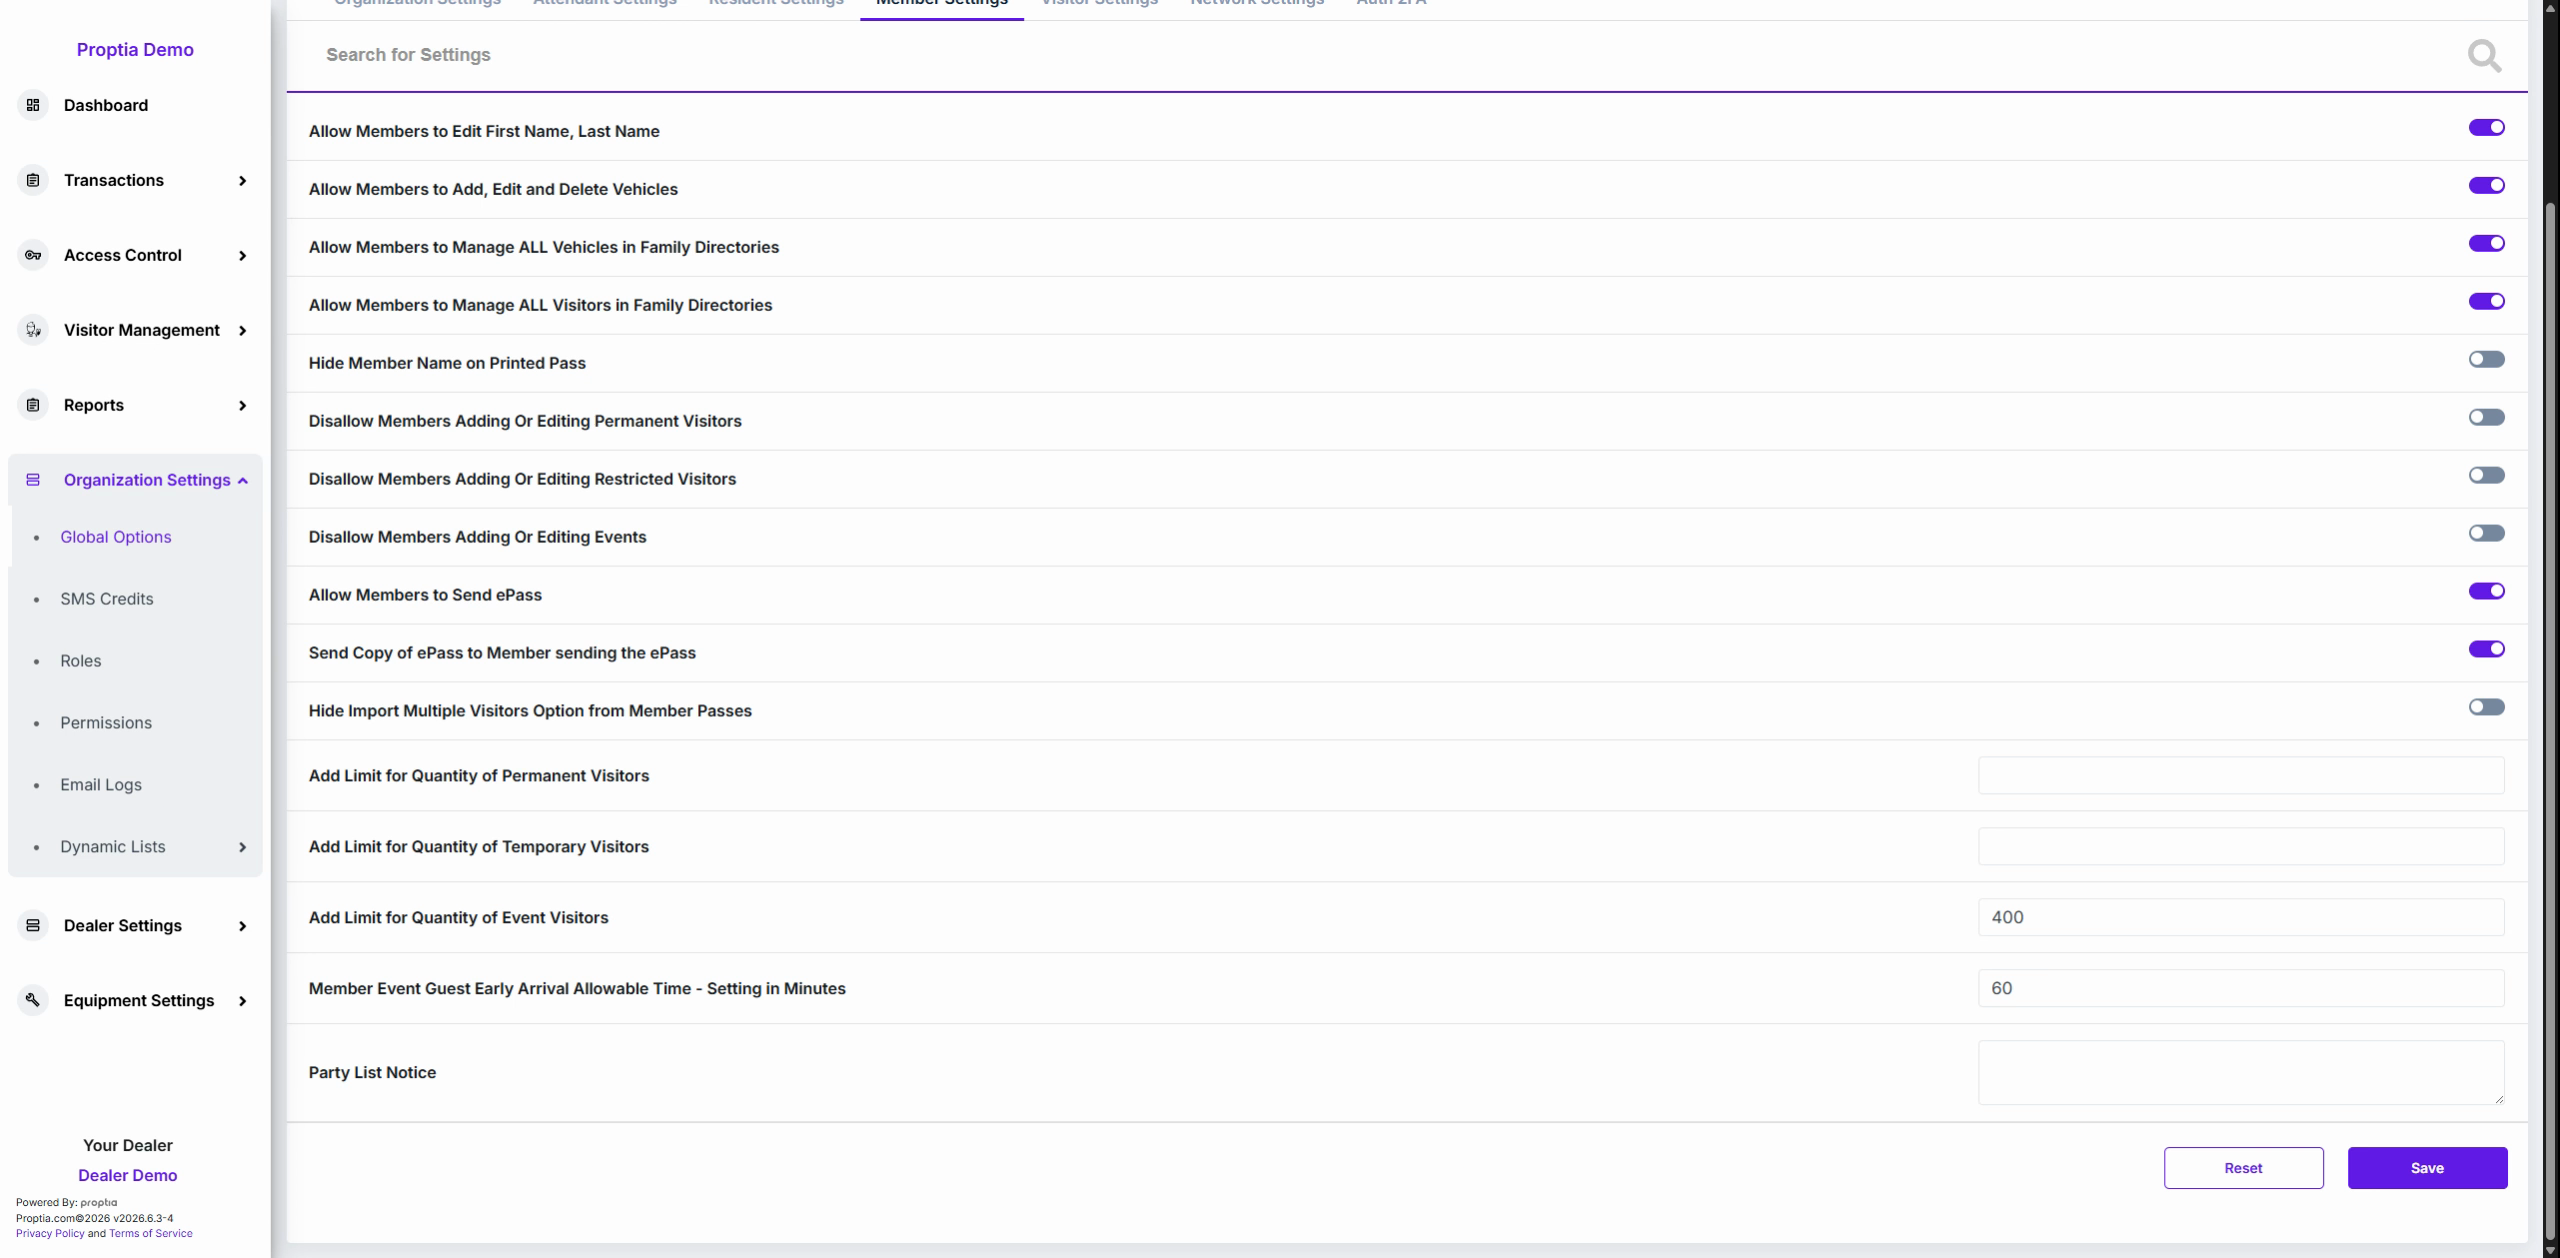
Enter text in the Party List Notice box to display a custom notice to members when they create an event.
Module 5: Save Your Settings
Click the purple Save button in the bottom right corner to apply all changes.
Pro Tip
Regularly review these permissions to align with changing community guidelines and ensure members have just the right level of access—neither too little nor too much.
How to Configure Visitor, Network, and Two-Factor Authentication Settings for Maximum Security
Managing your global settings empowers your community to streamline visitor management, regulate network behaviors, and safeguard admin access. Follow these steps to ensure your system operates securely and efficiently.
Visitor Settings: Standardize Guest Passes and Editing Privileges
Click the Visitor Settings tab (the fifth tab) in the global options section.

Locate the Resident Default Pass Type dropdown at the top of the panel.

Select your baseline pass type—choose between Temporary Guest, Permanent Guest, Temporary Vendor, or Permanent Vendor. This pre-populates the pass type when residents invite someone via the portal or mobile app.


Fill in the next four rows under the pass type dropdown. Set a Default Pass Name for each pass type. - Why: Defining default names simplifies the process for residents adding visitors, especially from a mobile device.


Verify that each pass type (guest/vendor; temporary/permanent) has a default name. For example: setting Non E Pest Perm Vendor as the Permanent Vendor Pass means this label auto-fills during vendor invitation.

Configure the Default Pass for Event Pass Print using the relevant dropdown below the pass names. This determines which pass is used by default for printed event passes.

Review the three toggles below the dropdown options: - Toggle Allow Residents to Edit Visitor's License Plate ON to let residents correct visitor license plates for active invitations. - Toggle Allow Vendor Users to Edit Visitor's License Plate ON to grant vendors the same editing privileges. - Toggle Kiosk Scanner: Grant Access Based on Permanent Printed Pass End Date Instead of Guest List Until Date ON to have kiosks check end dates on passes rather than guest list dates.


Network Settings: Control Invitation Email Generation
Click the Network Settings tab (the sixth tab).


Use the Disable Sending Invitation Email switch to instantly stop or resume automatic portal invite emails. - Why: This is useful for maintenance windows or to prevent unintended mass emails.

Two-Factor Authentication: Boost Admin Security
Click the 2FA Authentication tab (the seventh tab) to access advanced security options.

Enable the Two-Factor Authentication toggle to require all admin managers and attendants to verify their identity on login. - Why: Adds a crucial layer of protection, helping to prevent unauthorized portal access.

Save and Apply Changes
Click the purple Save button in the bottom-right corner to publish your configuration across all three tabs.

Pro-Tip: Double-check your default pass types and editing permissions. Consistency here means residents and vendors enjoy a smoother, error-free invitation experience—while your system stays secure and compliant.