How to Review Email Logs and Troubleshoot Delivery
Troubleshooting Email and SMS Delivery with Email Logs
Email Logs quickly solve communication issues between your portal and residents or guests. This dashboard helps you trace what happened when someone reports not getting notifications.
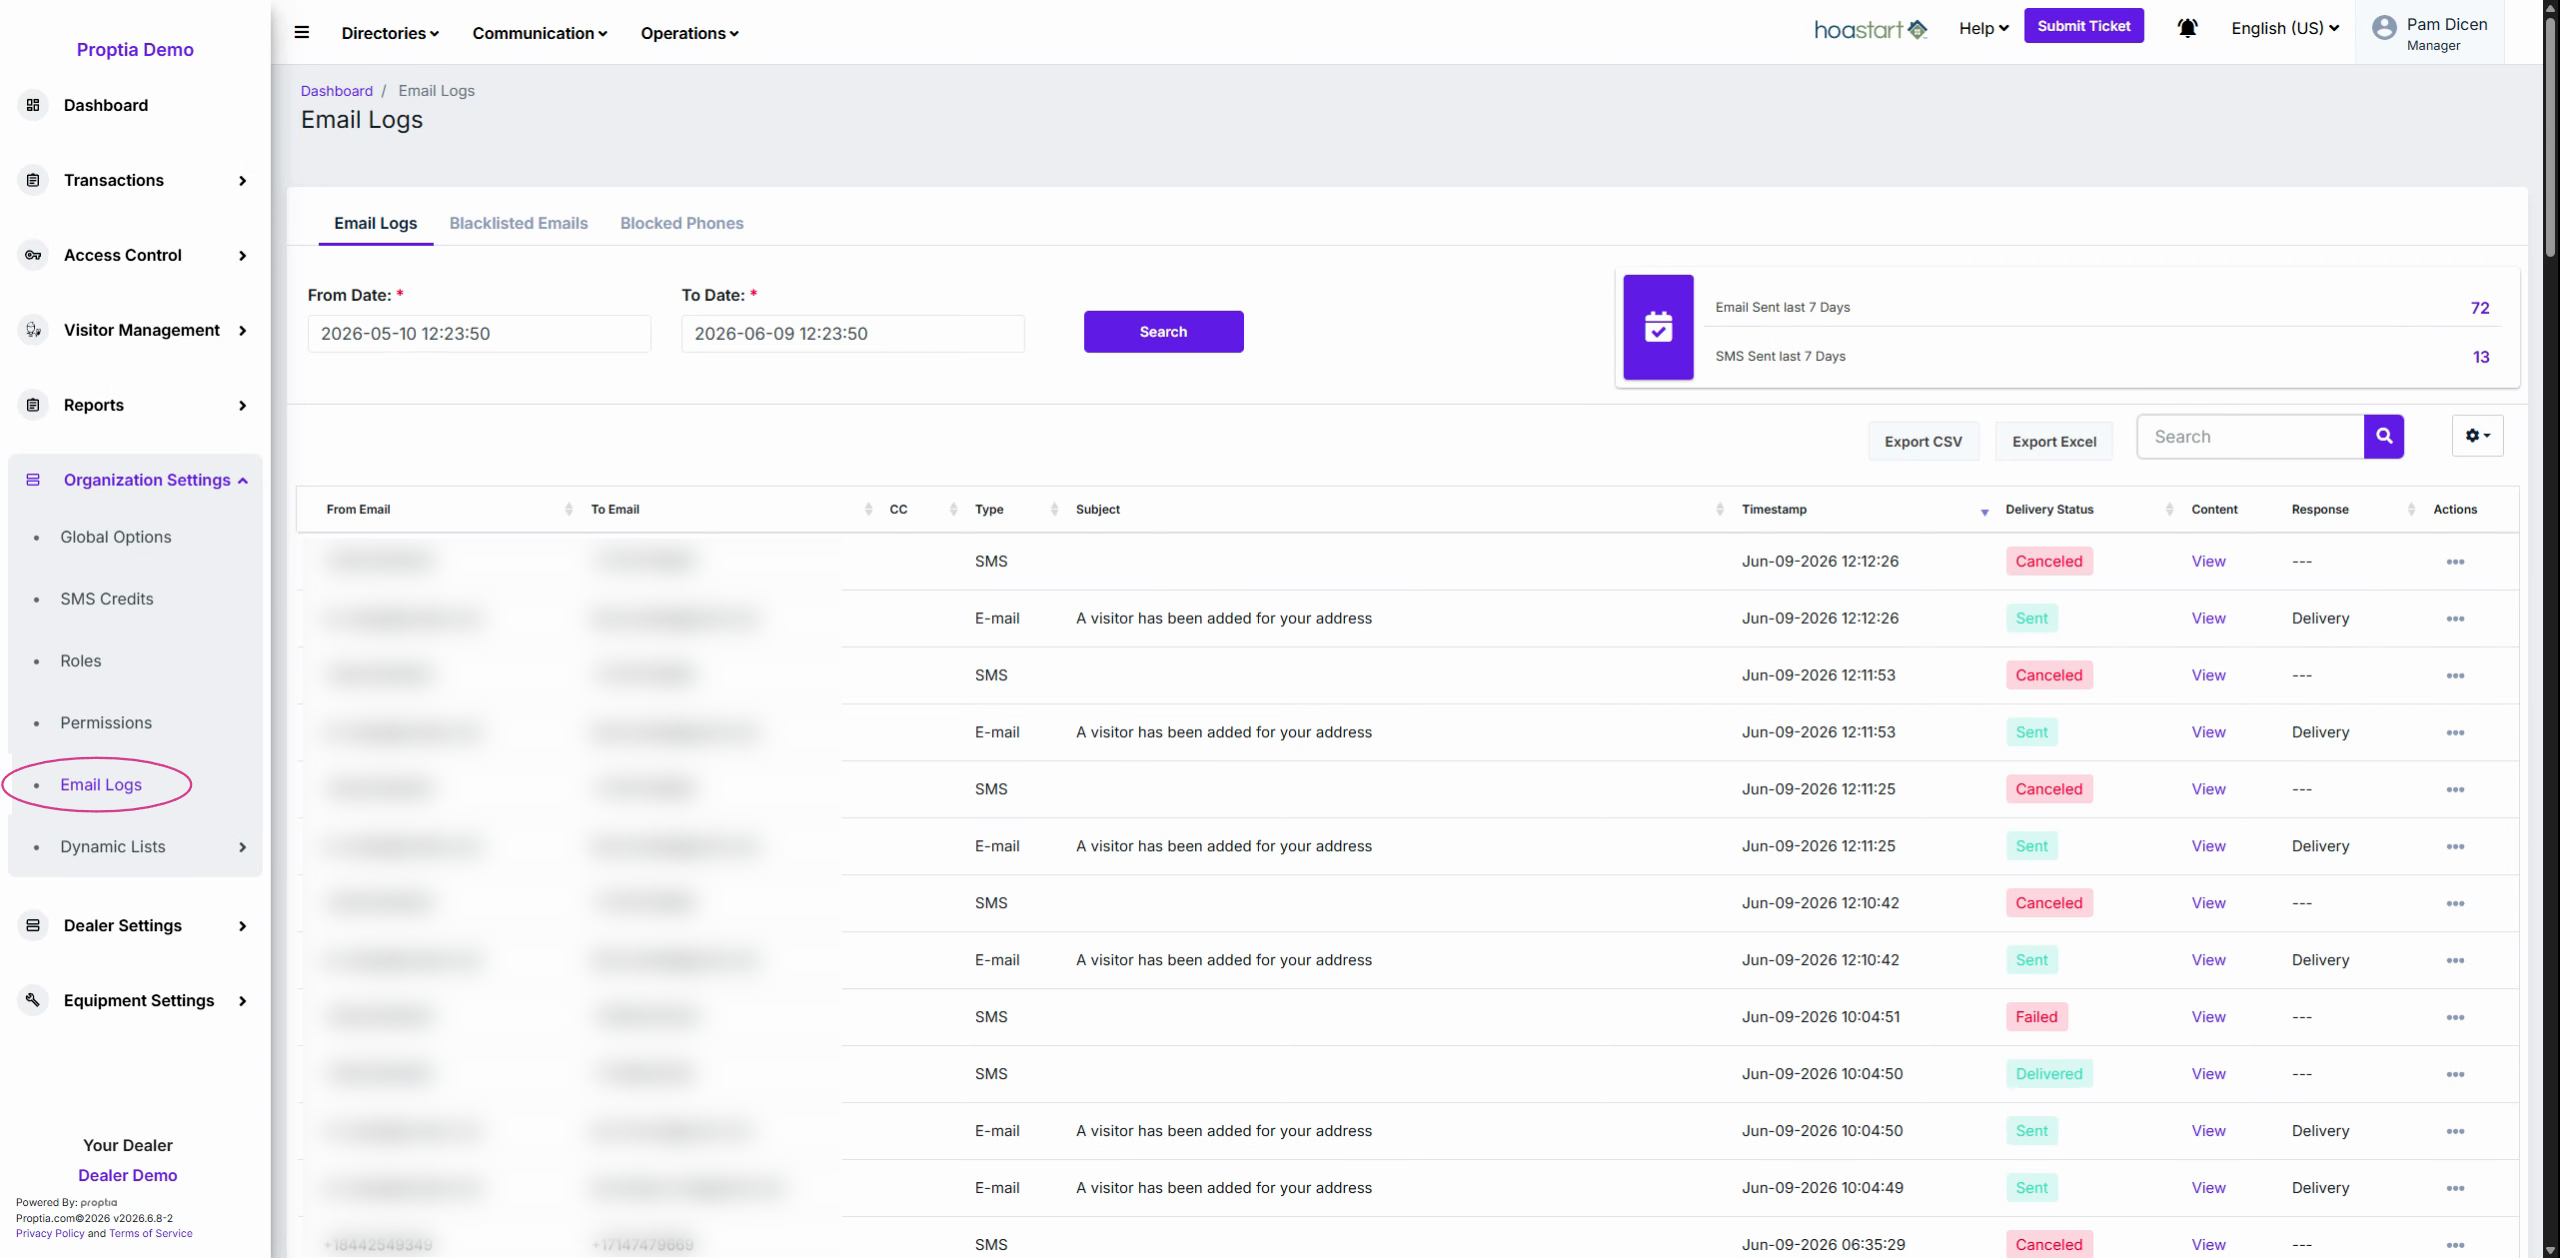
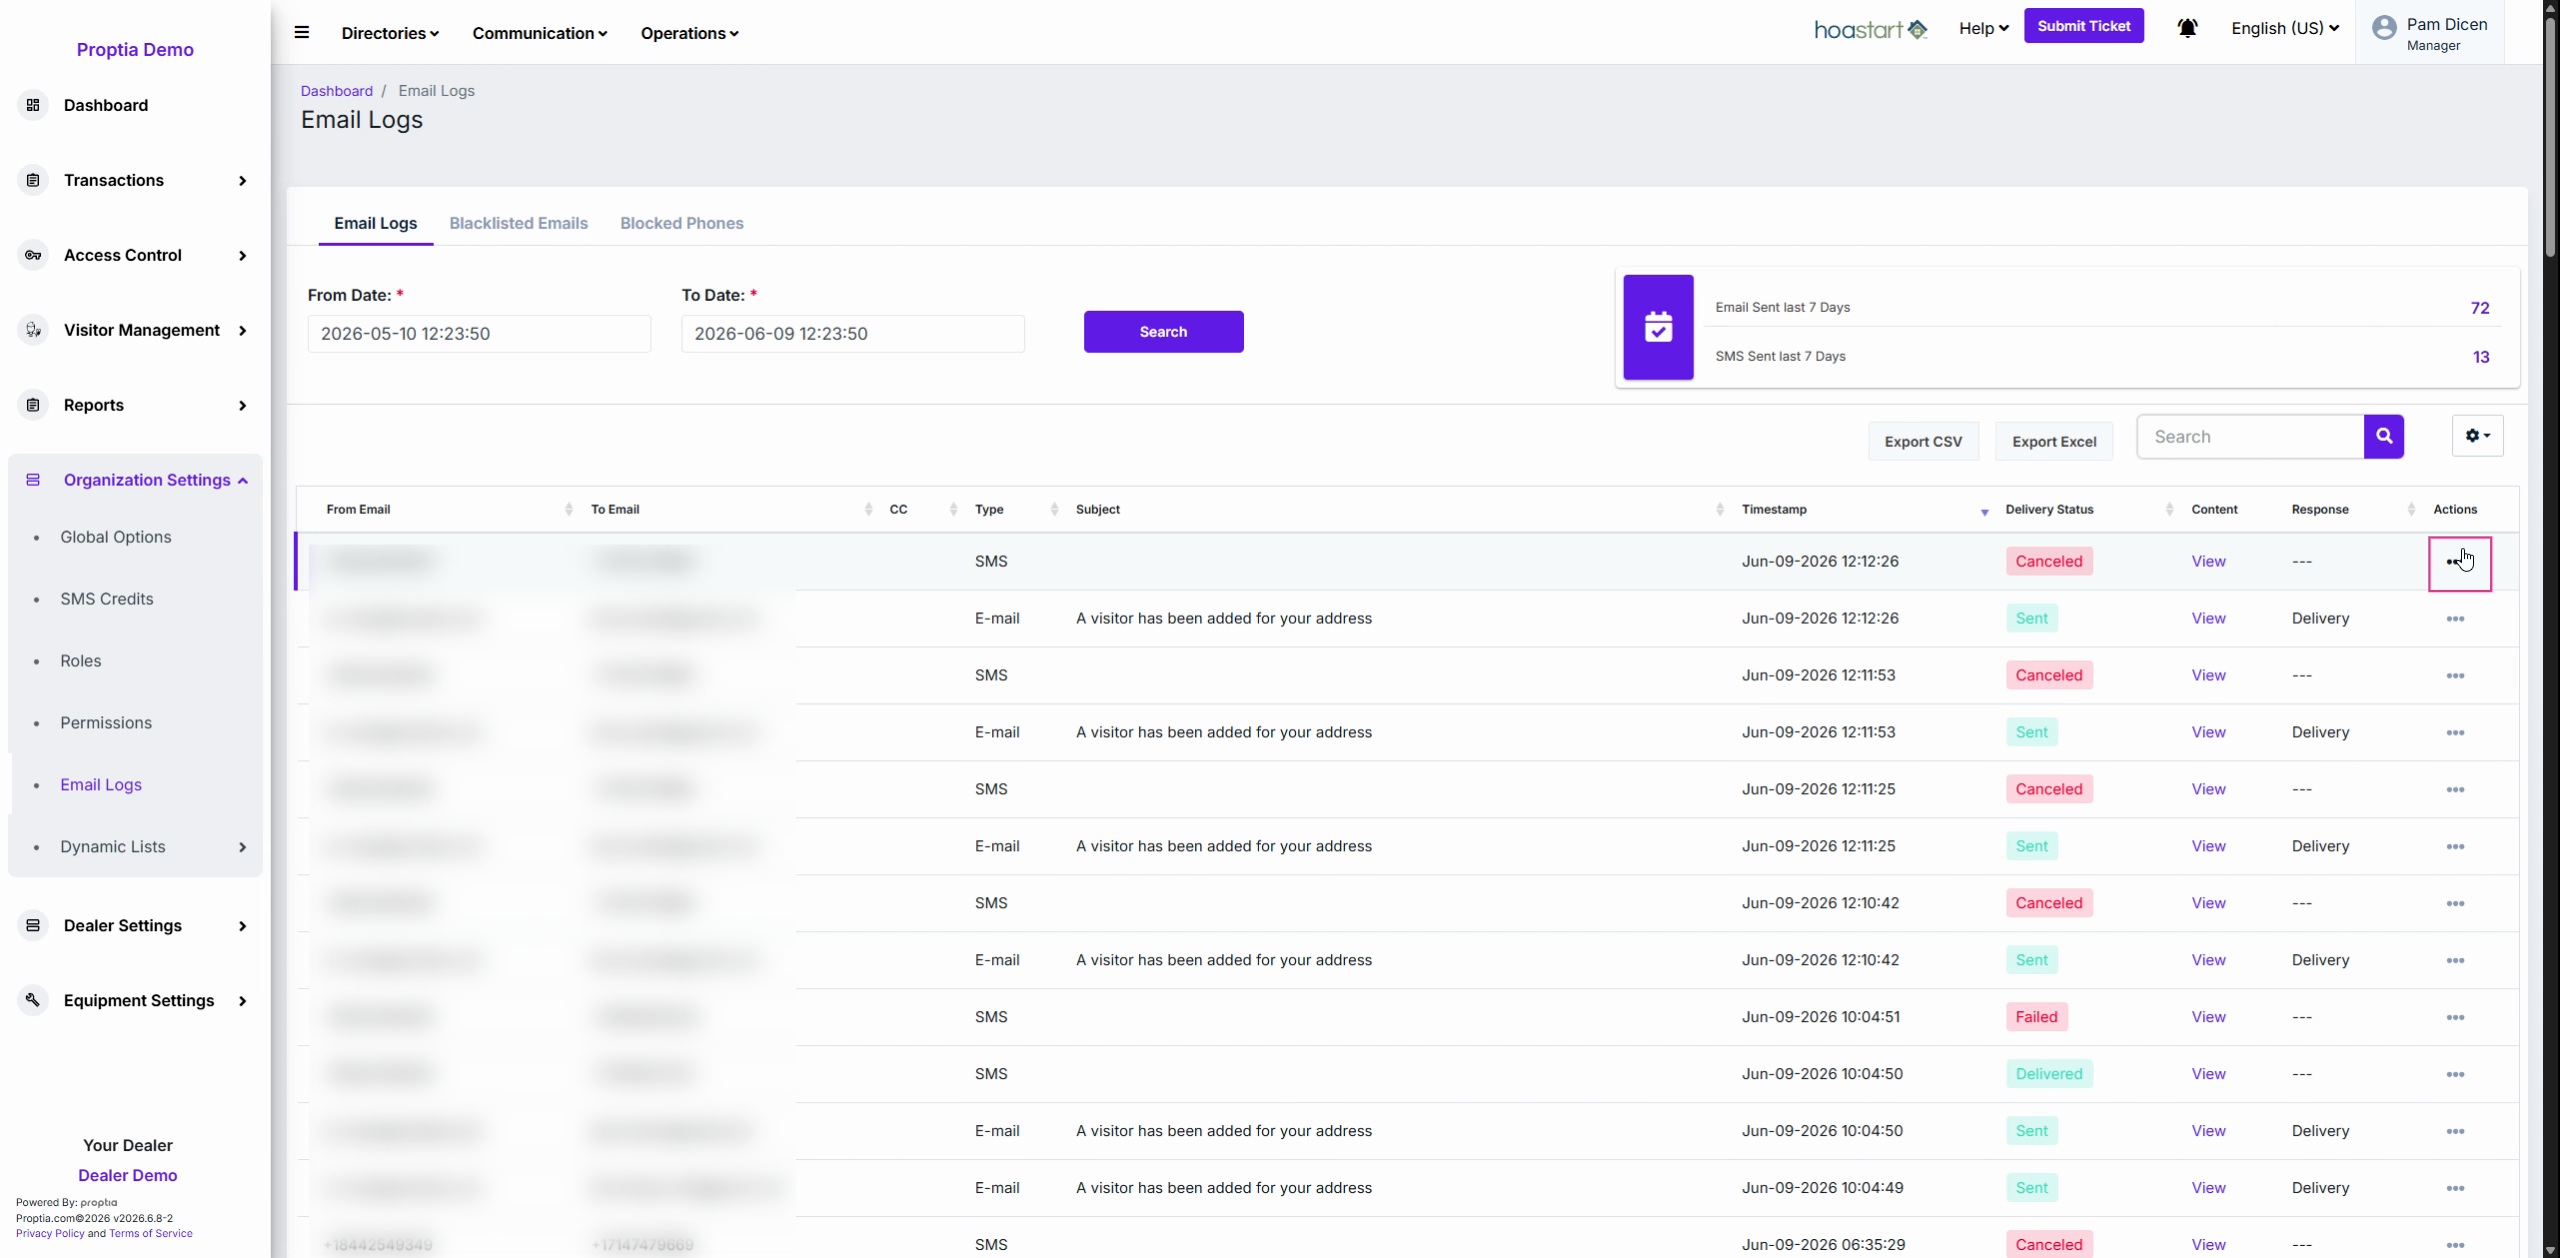
Step 1: From the sidebar, expand Organization Settings and select Email Logs.
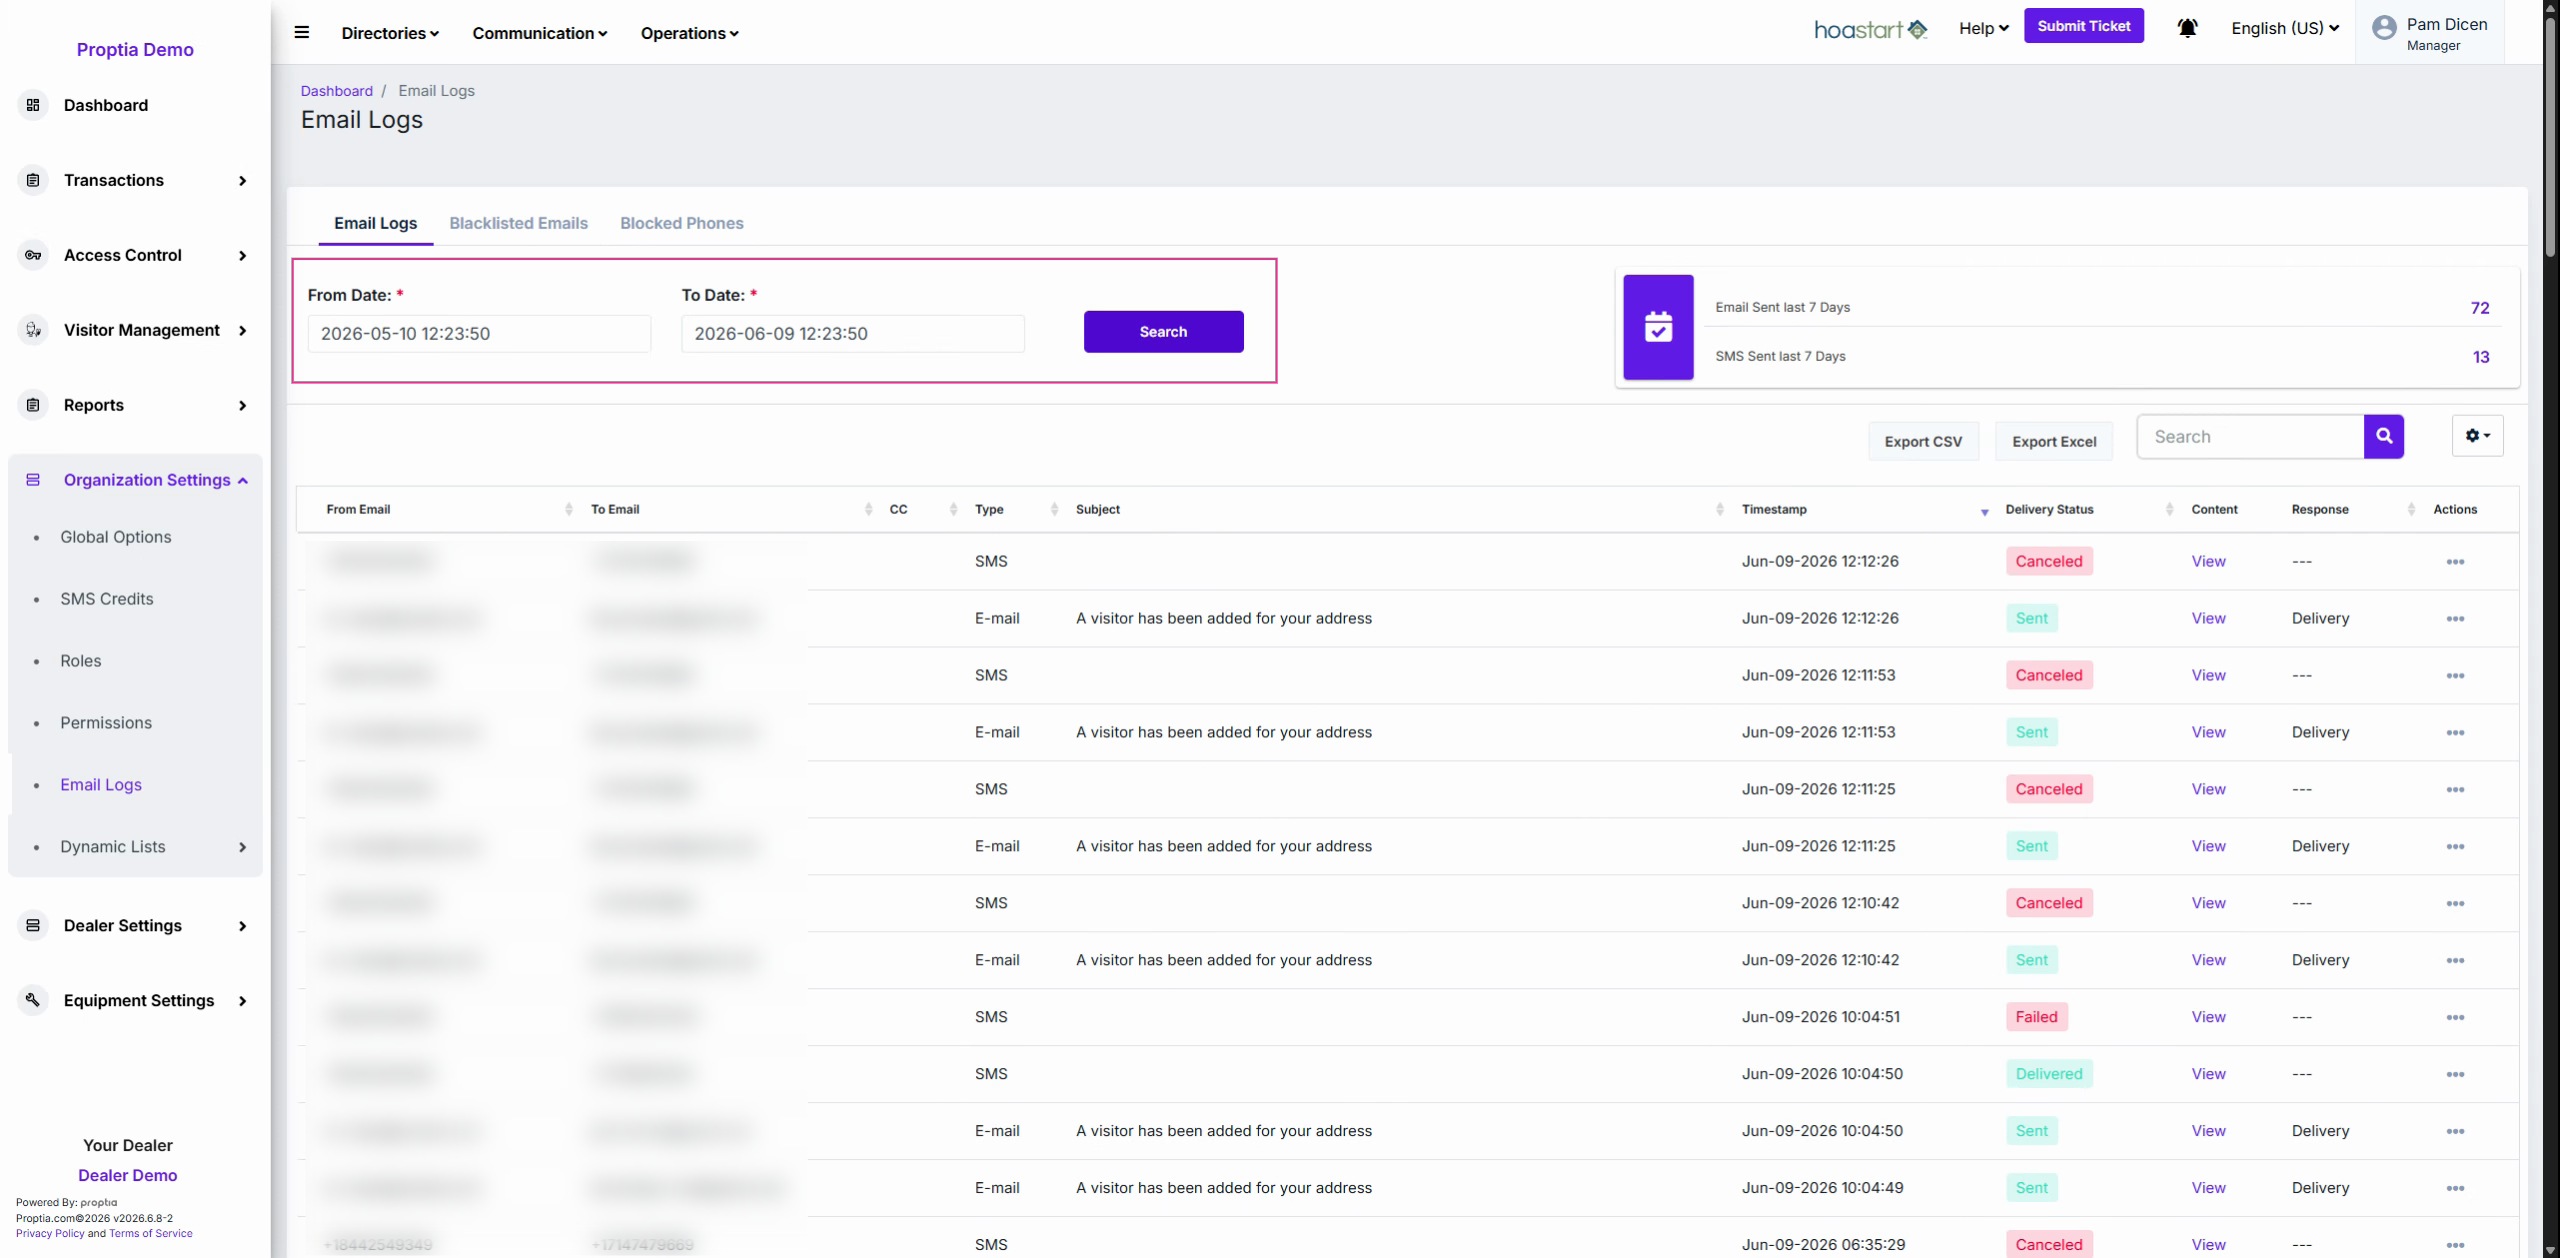
Step 2: On the main Email Logs tab, check the From Date and To Date filters at the top. Adjust the calendar to expand your search beyond the last thirty days.
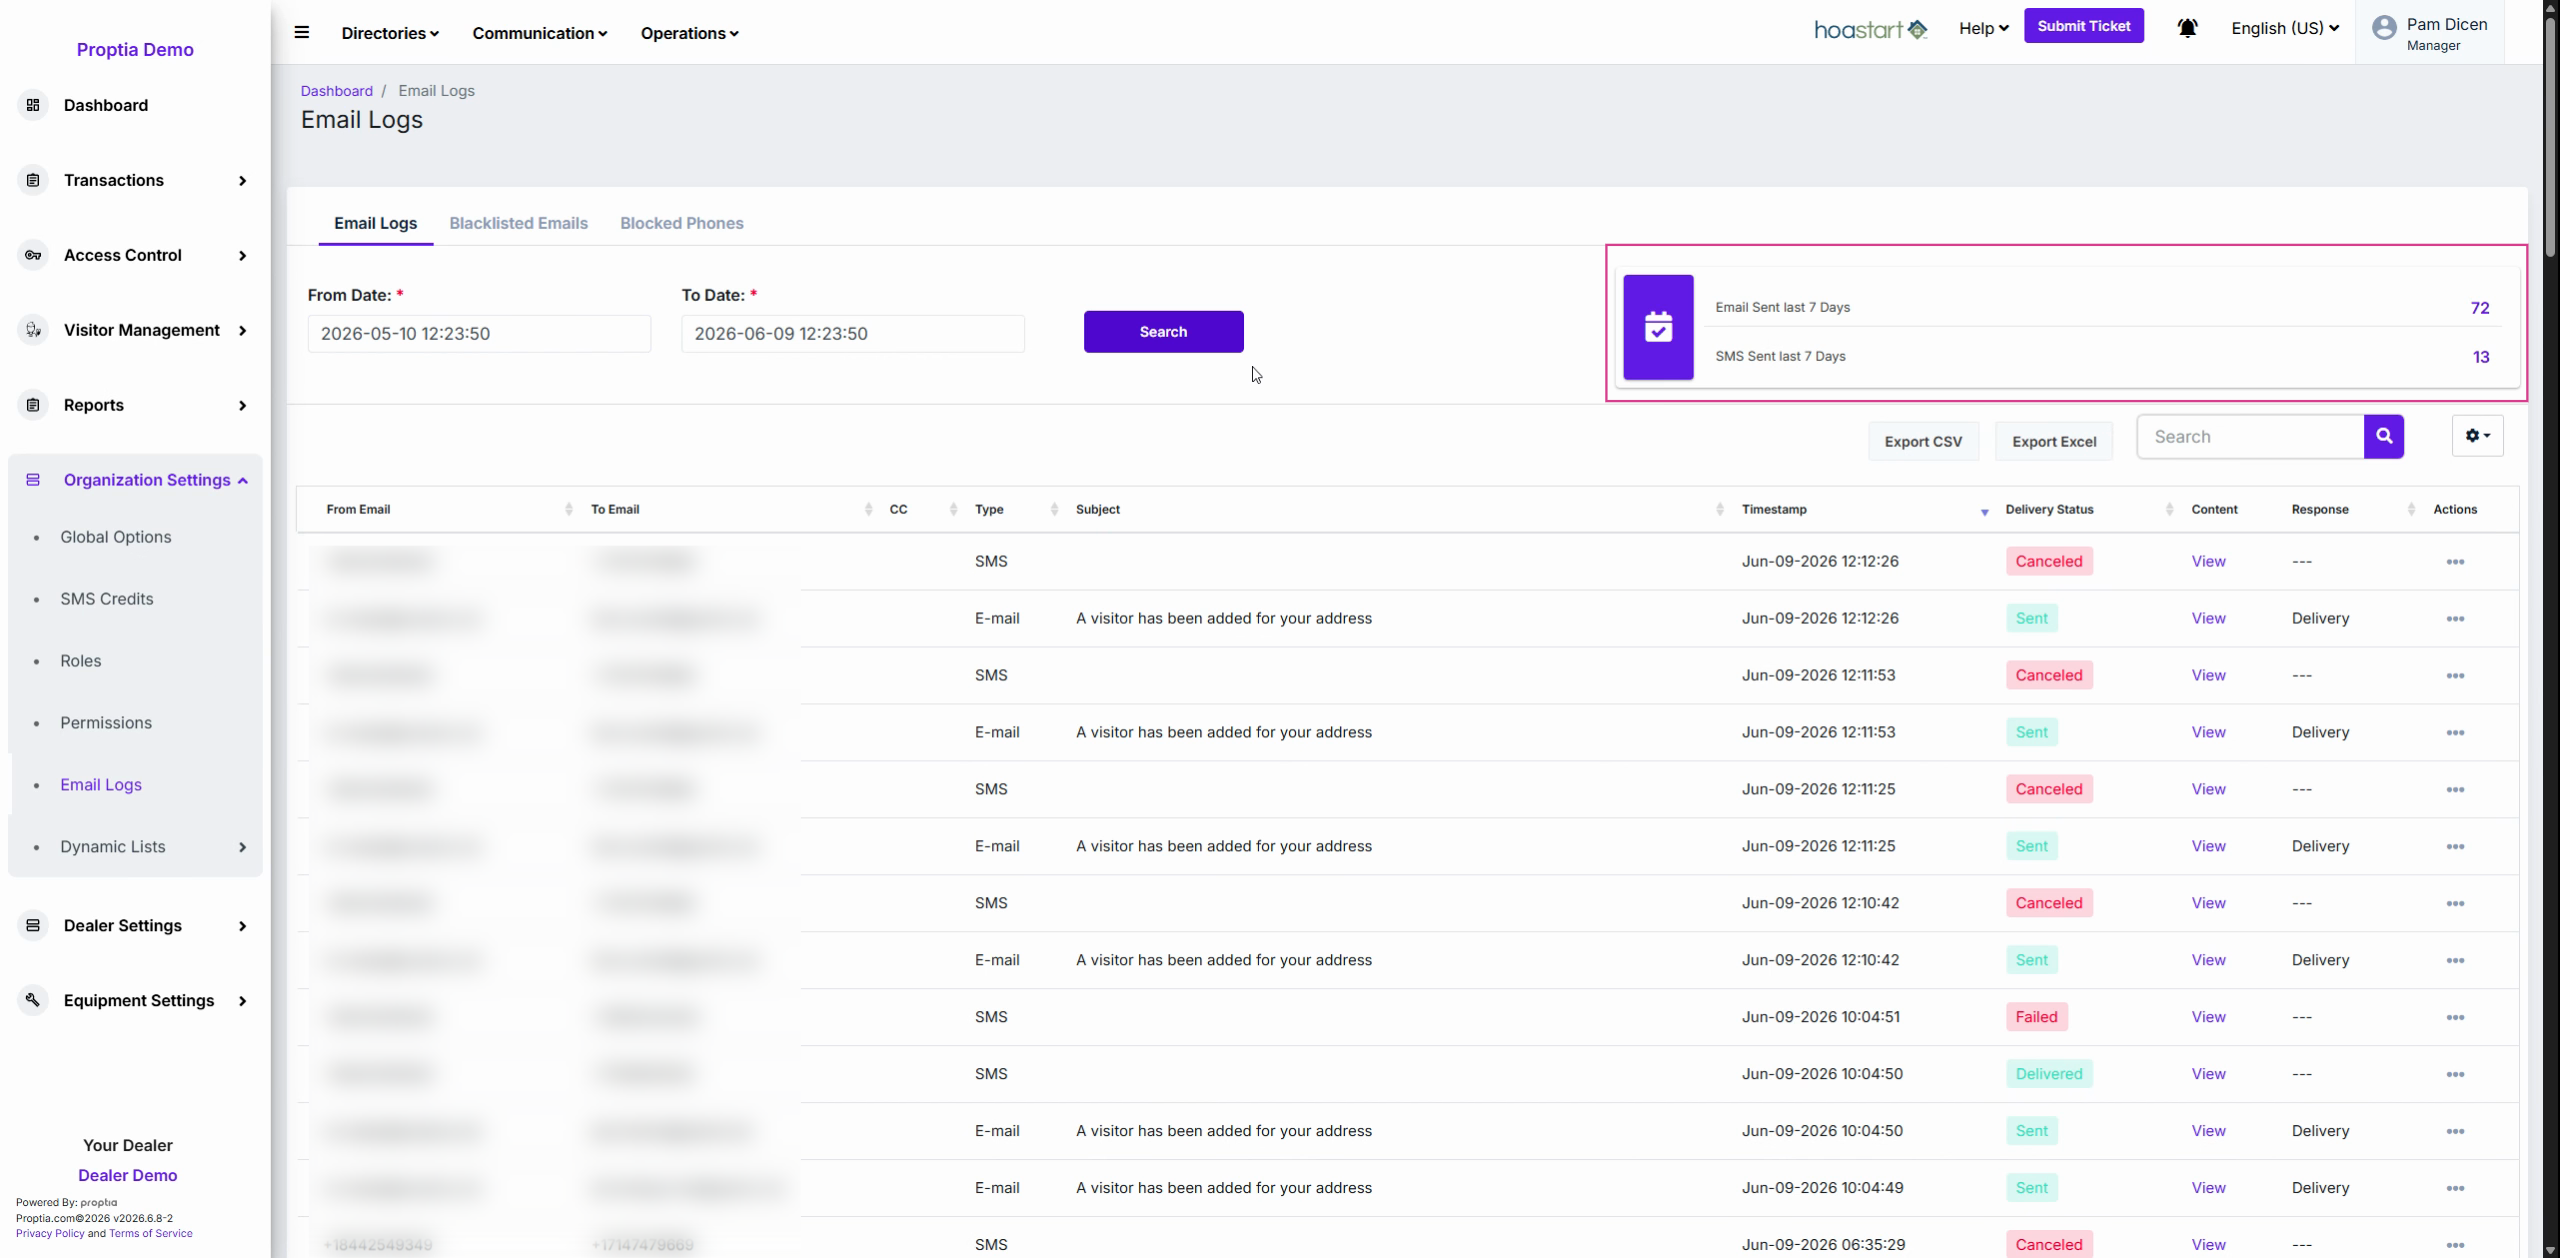
Step 3: Review the stats overview for total emails and SMS sent over the last 7 days.
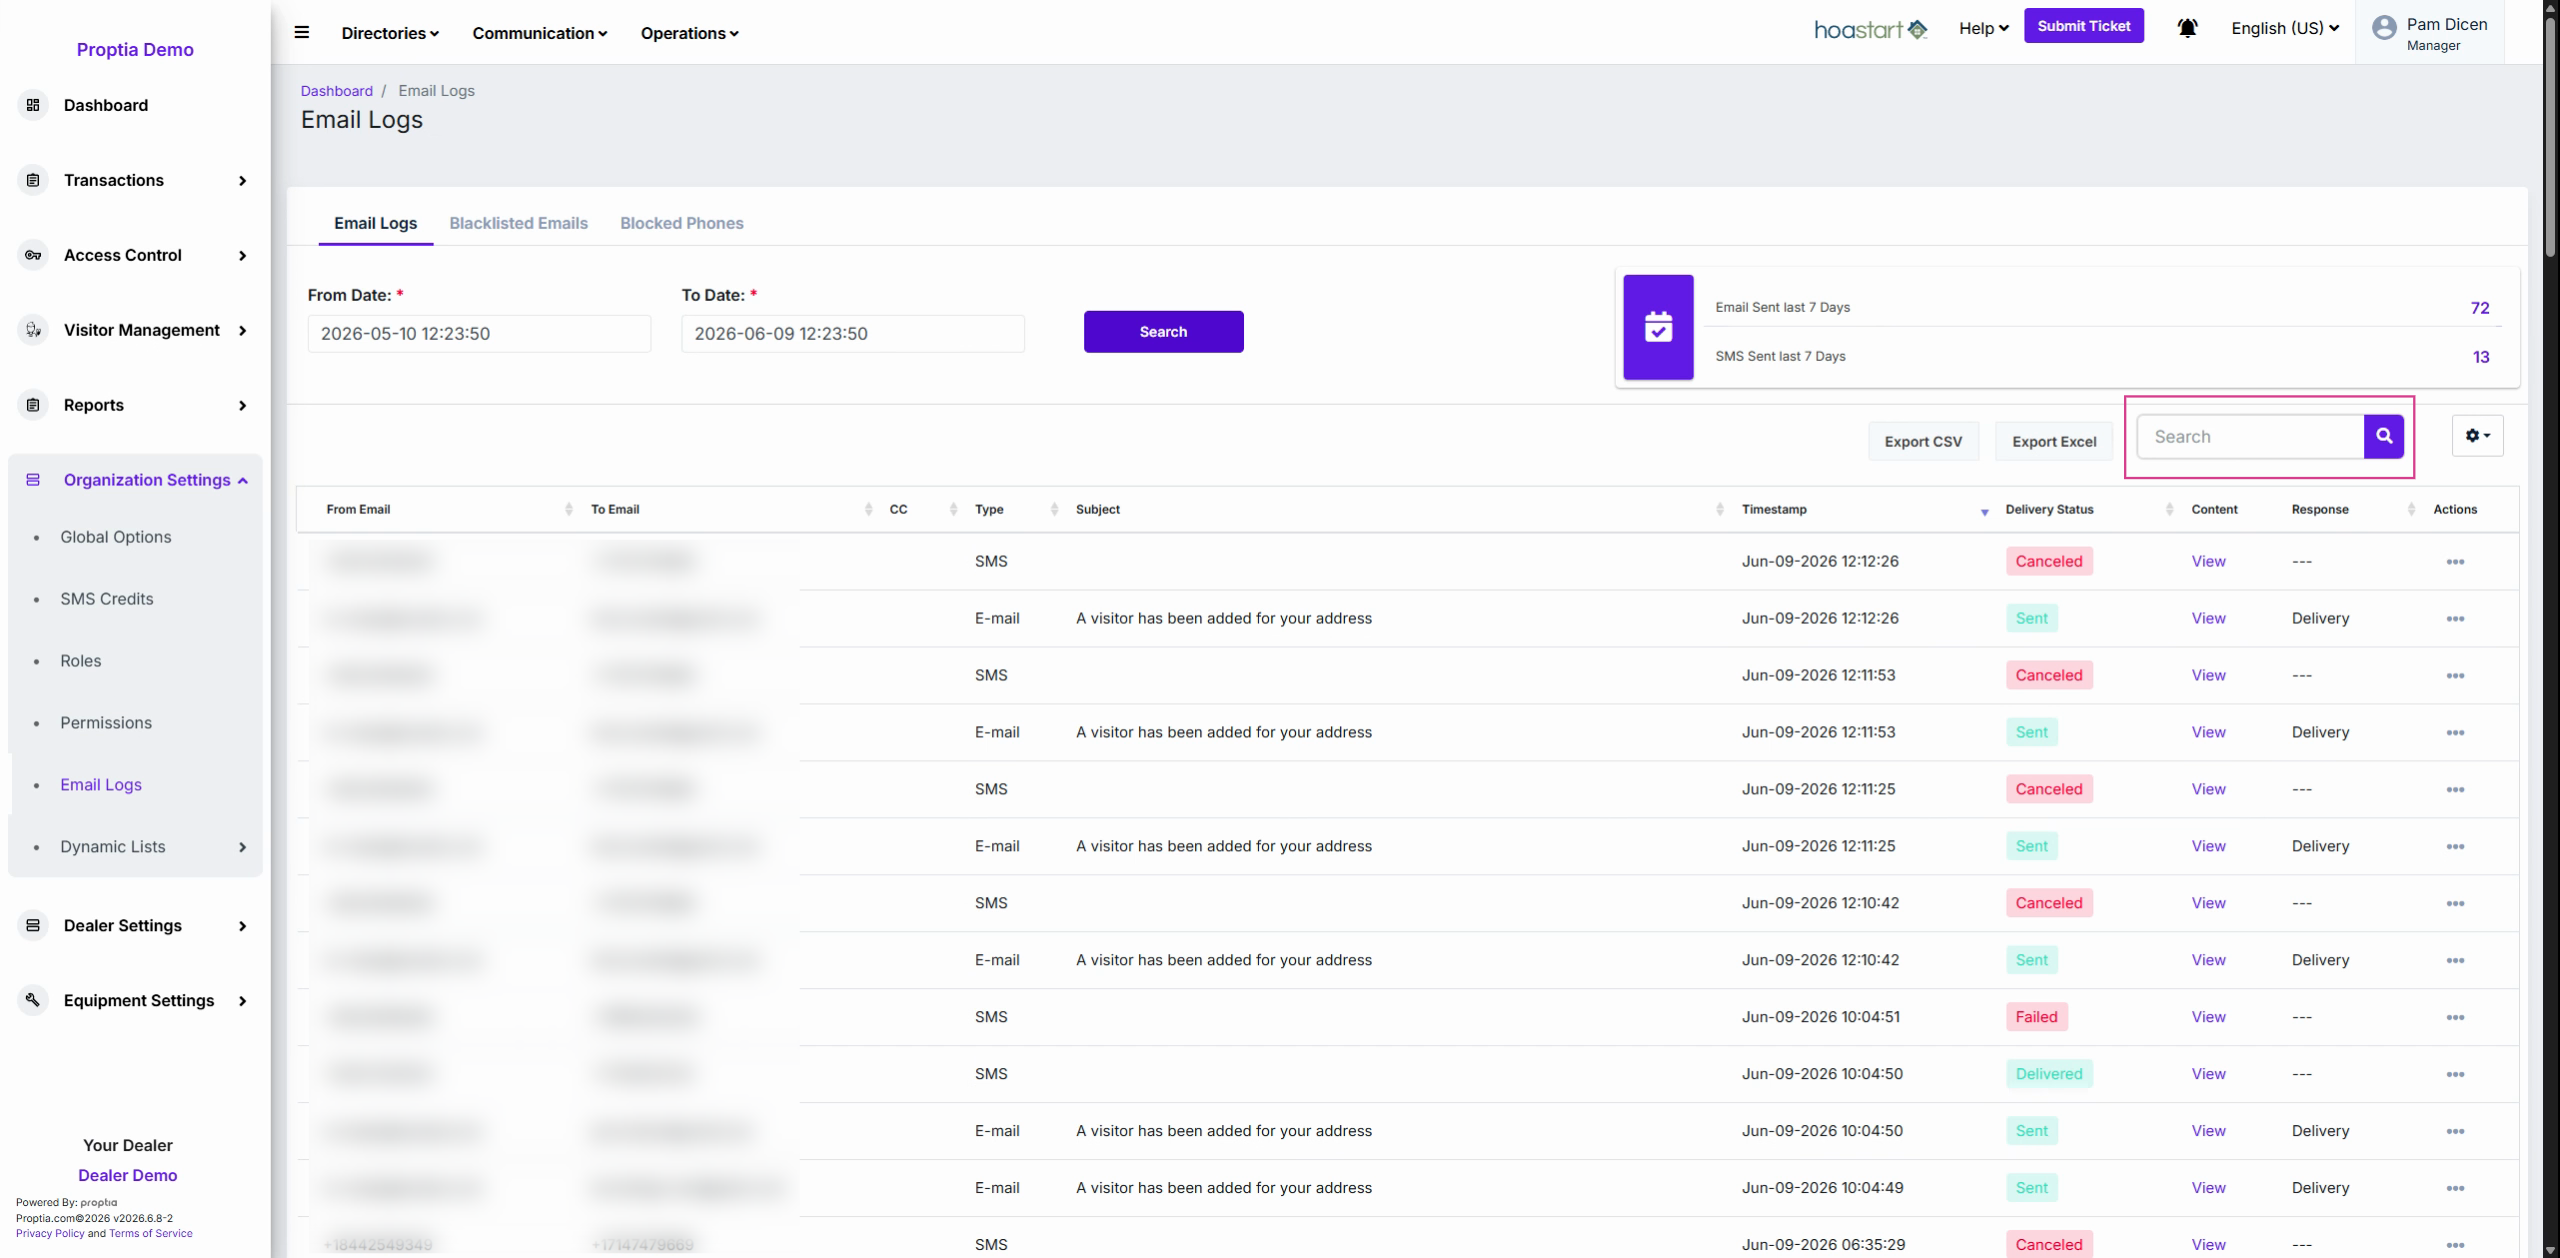
Step 4: Use the search bar to filter by email address, phone number, delivery status (like "canceled" or "bounce"), or subject line (such as "ePass").
Step 5: Export results as CSV or Excel using the Export CSV or Export Excel buttons to create a custom report.
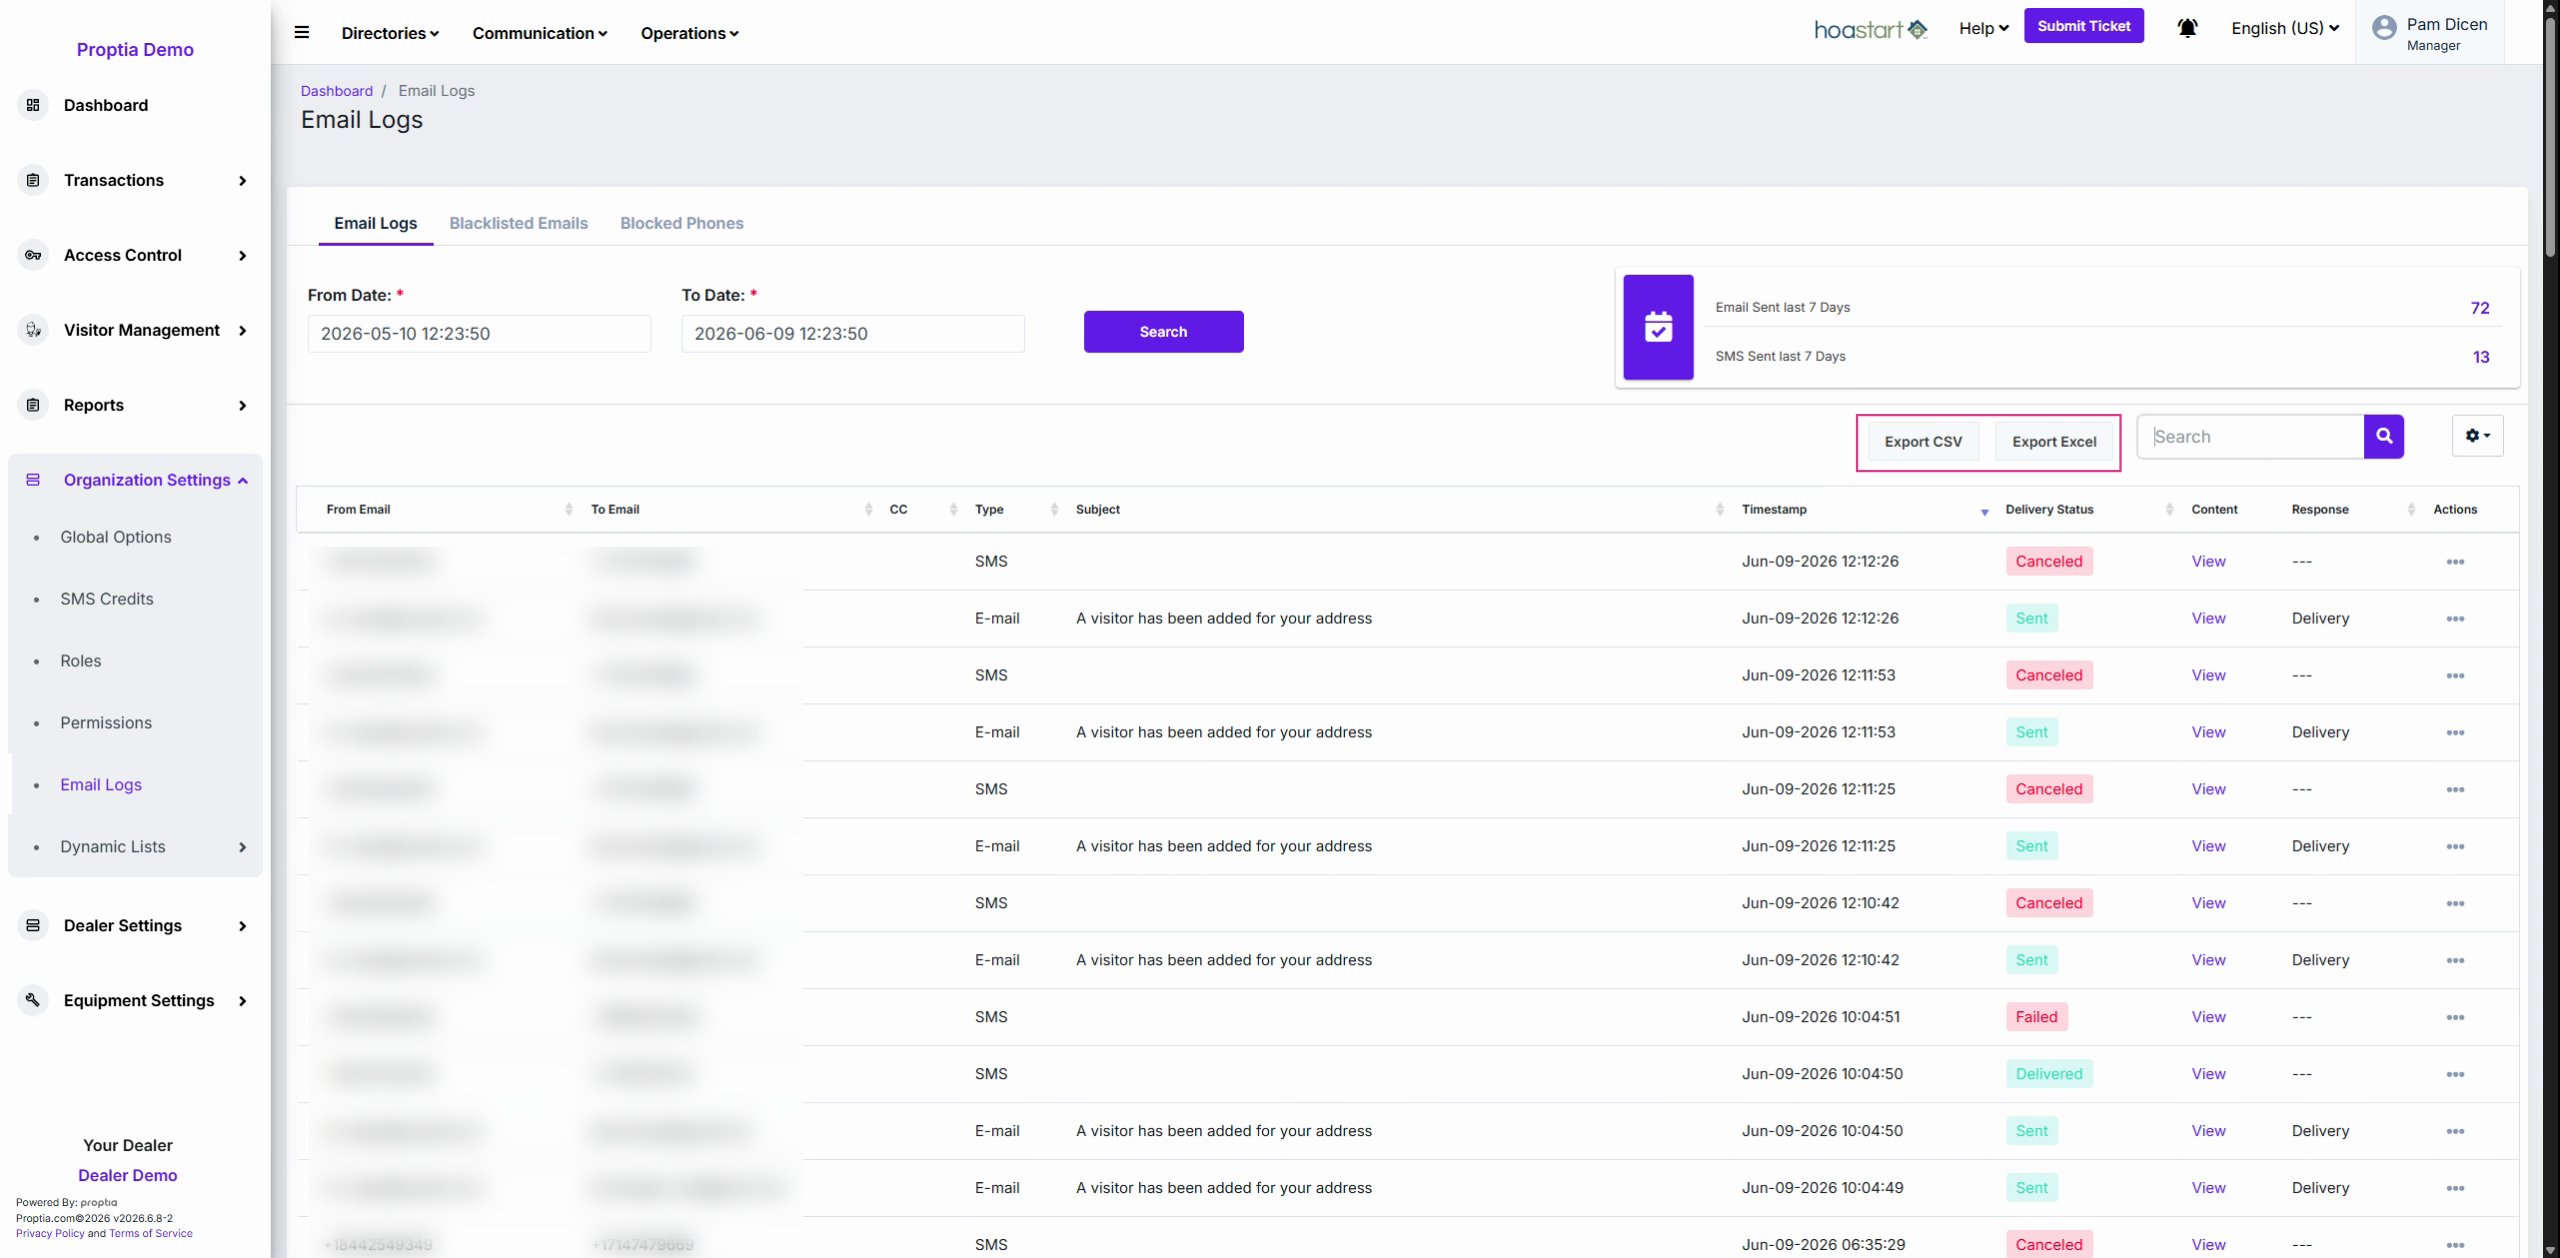
Step 6: Check the log table for details—sender, recipient, delivery type (Email/SMS), subject, timestamp, and status. Click column headers to sort (newest first by default).
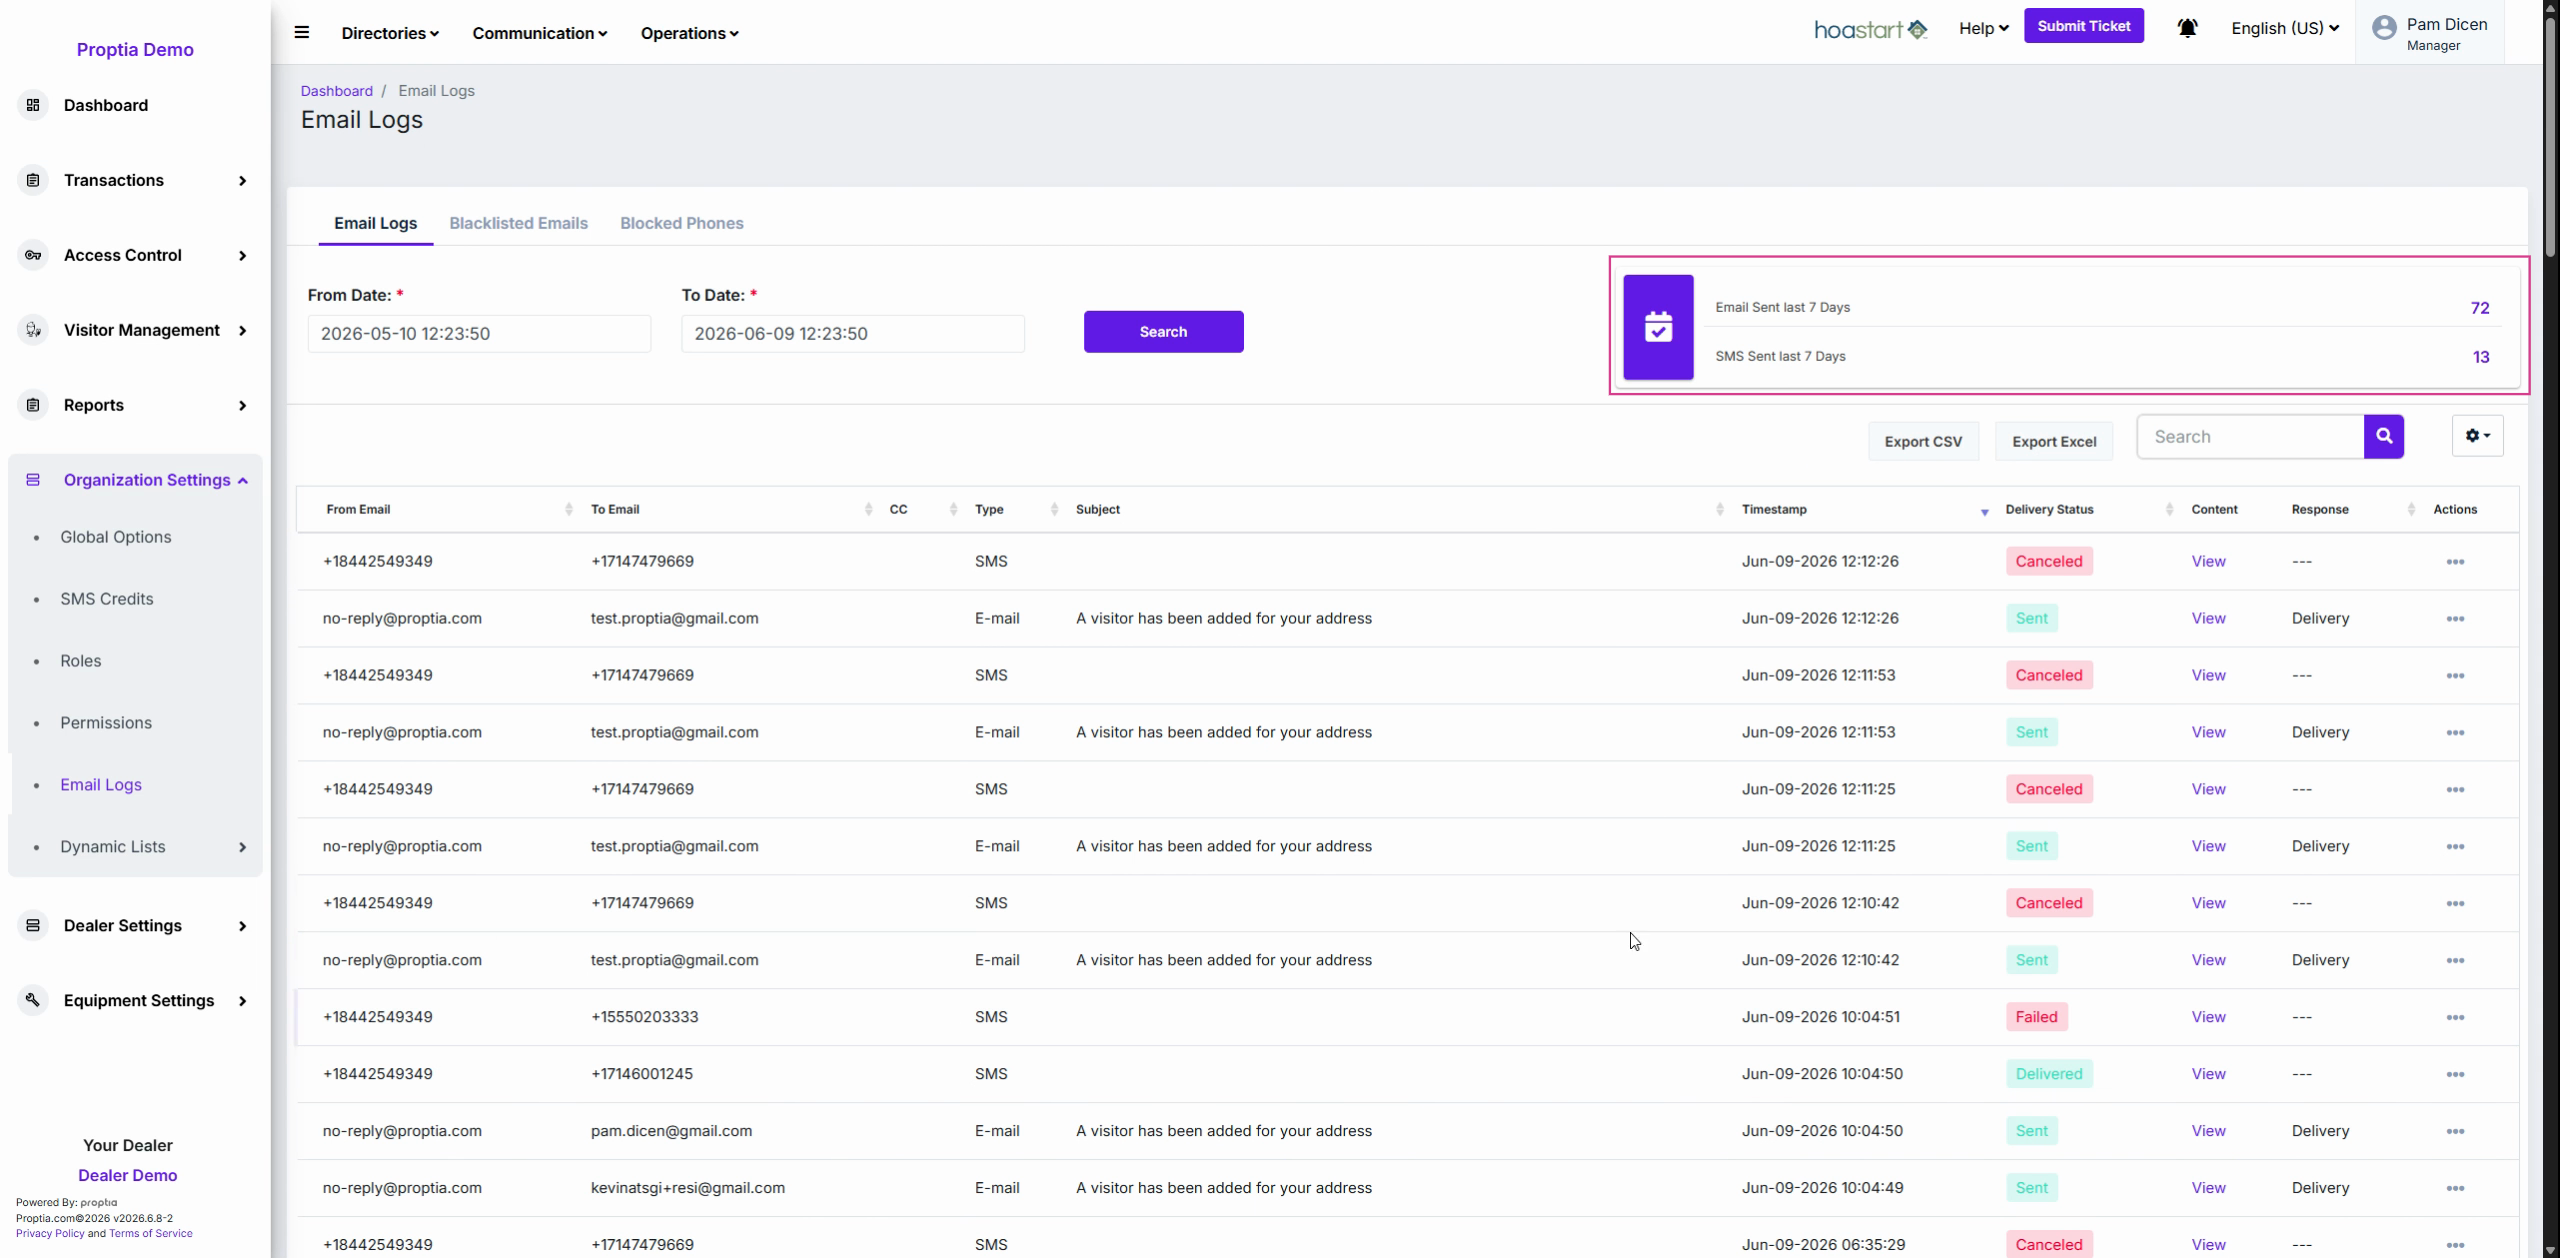
Understanding Delivery Status Keys
Step 1: Reference the delivery status columns:
Email: - Sent: Successfully delivered. - Pending: Waiting for confirmation during peak volume. - Failed: Couldn’t be sent—often due to a bounce.
SMS: - Sent: Message left the system gateway. - Delivered: Carrier delivered it to the device. - Pending/Queued: Awaiting carrier delivery. - Canceled: Stopped (often for opt-outs). - Failed/Undelivered: Carrier couldn’t deliver (invalid or blocked number).
Step 2: In the Content column, click View to see the full message, including sender, recipient, subject, and body.
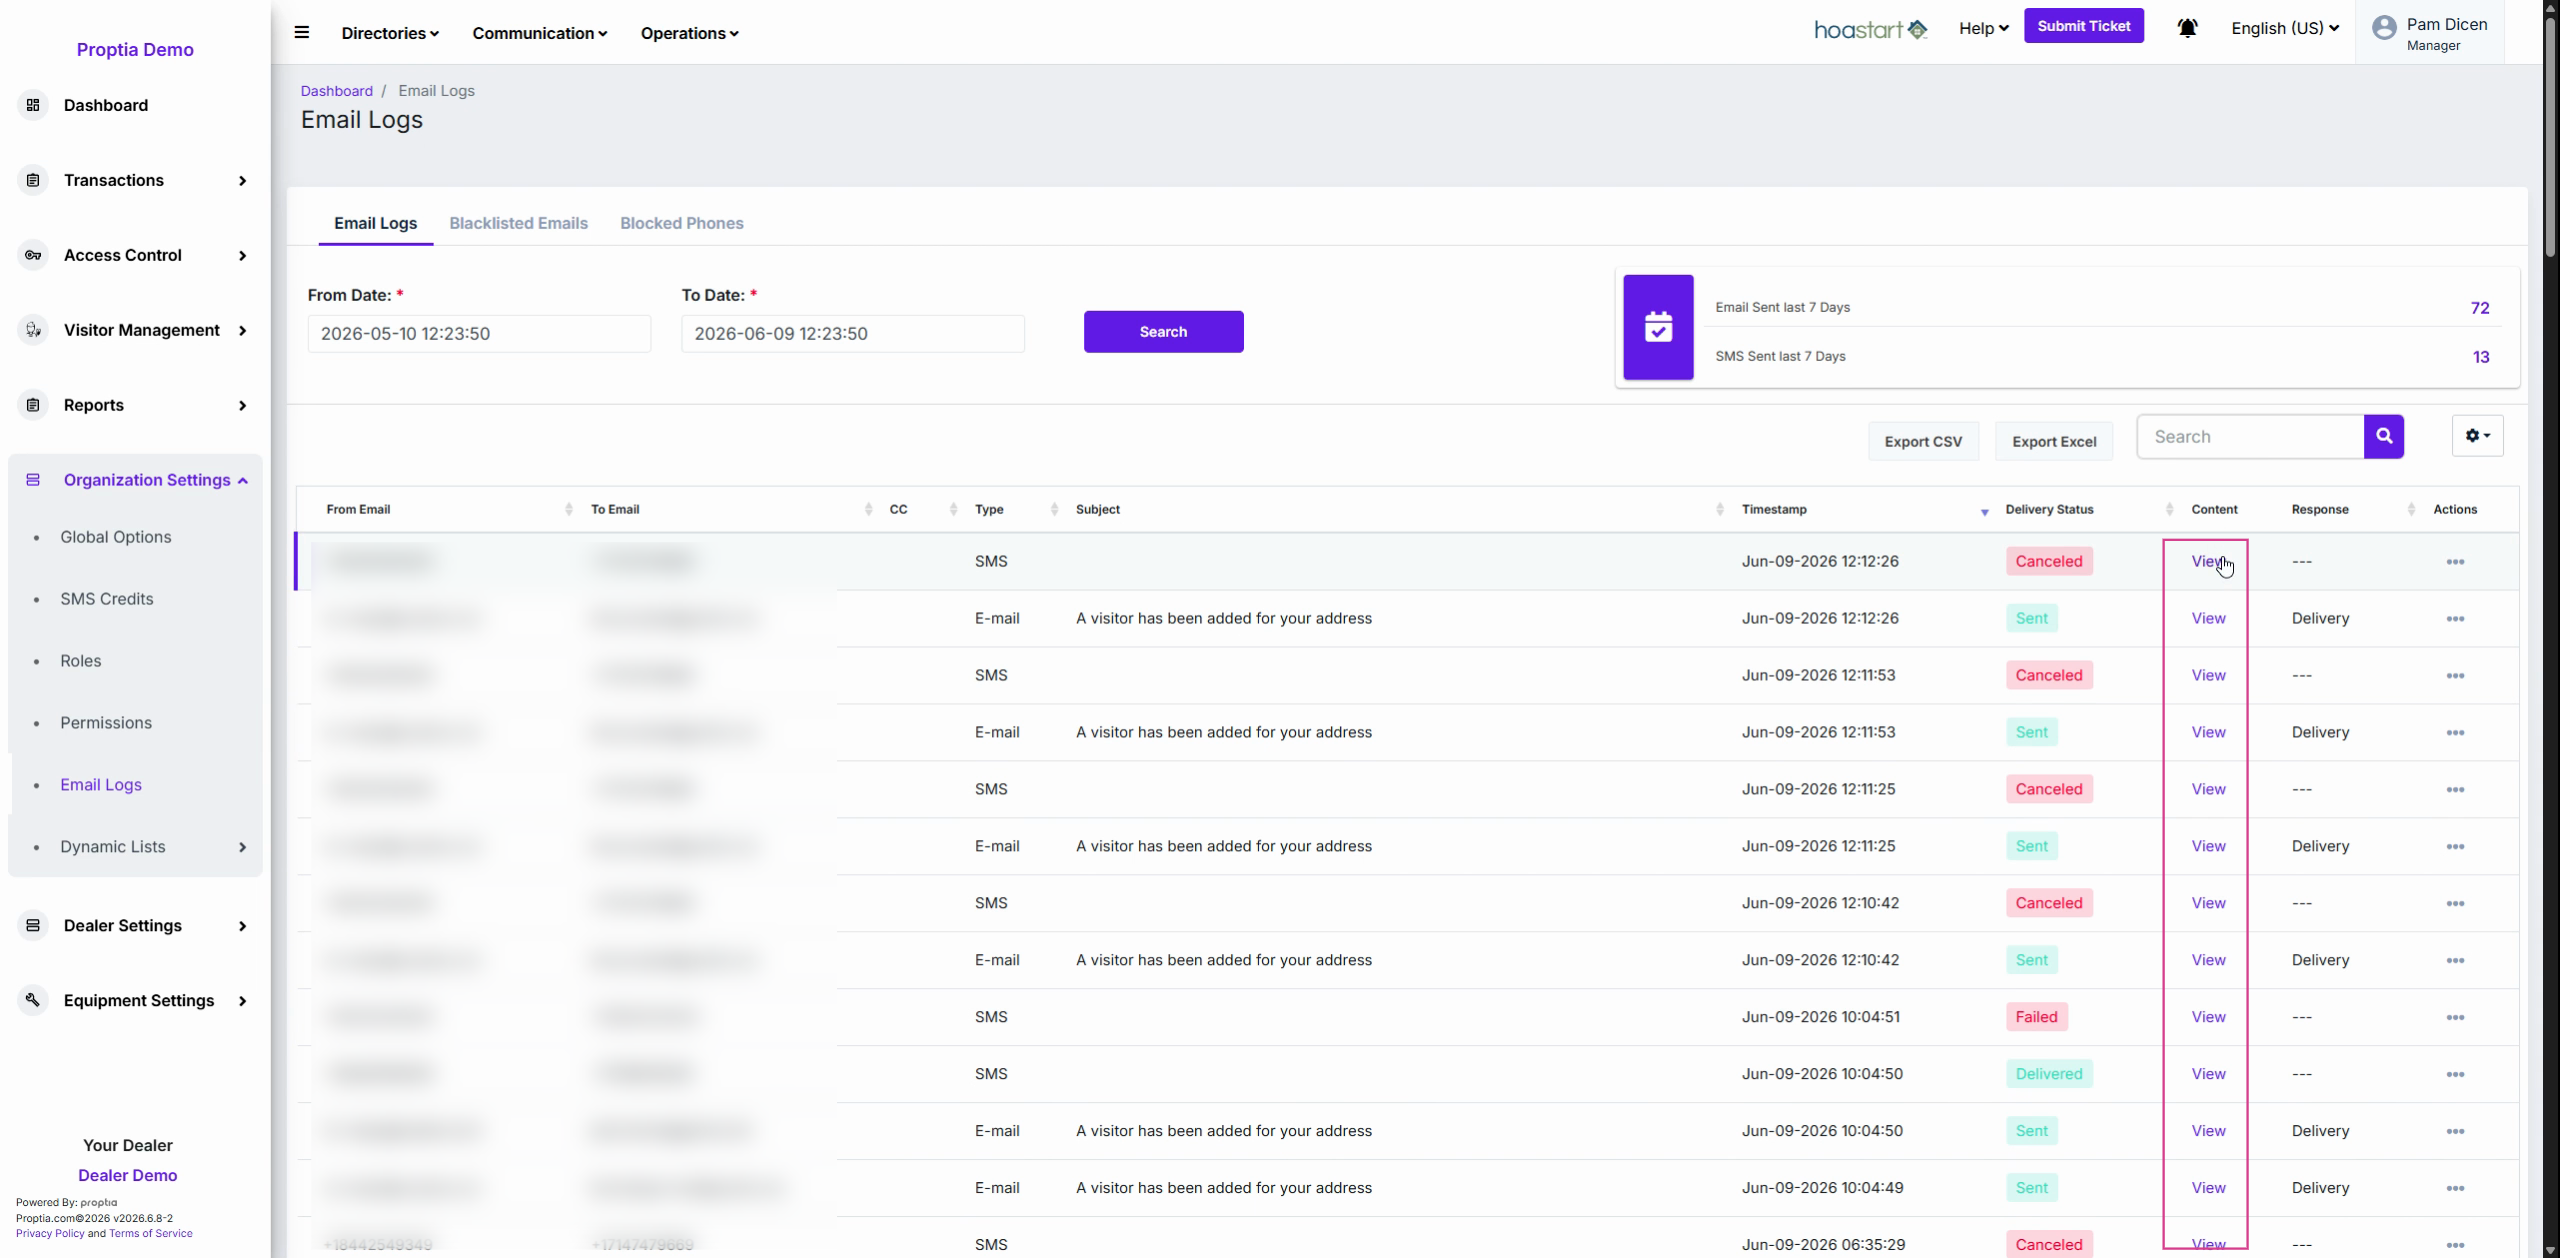
Step 3: In the Response column (for emails), check status details:
Delivery: Reached the recipient's provider.
Bounce: Invalid or unreachable address.
After three failed attempts, emails are auto-blacklisted; SMS numbers are blocked to protect your sending reputation.
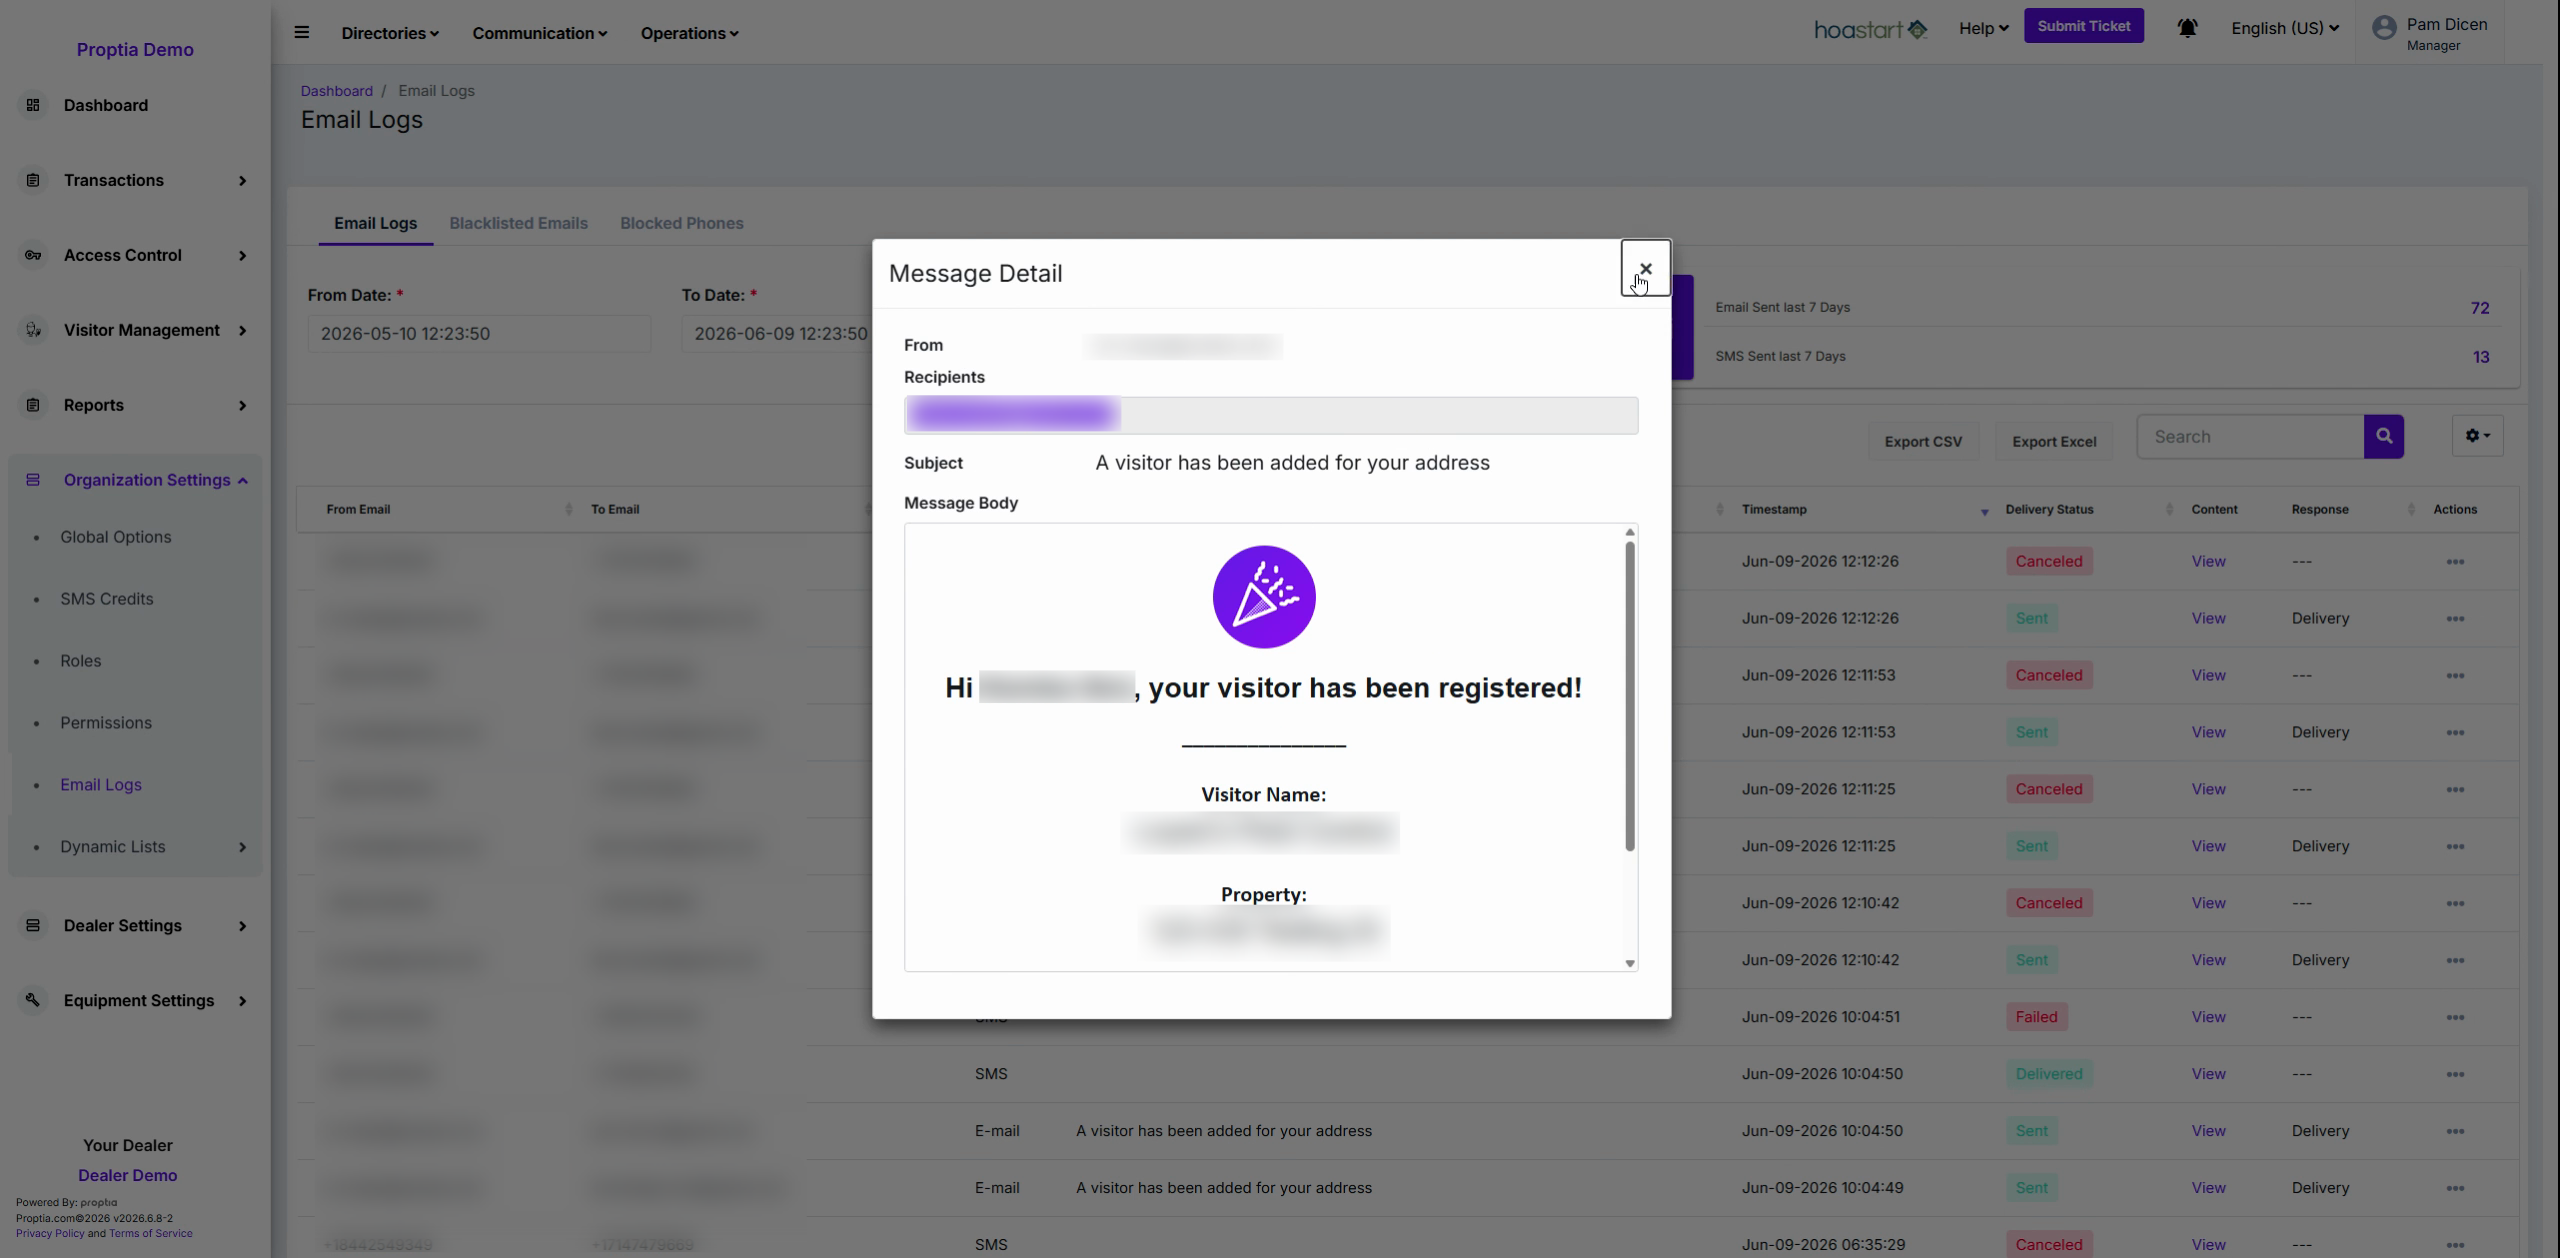
Step 4: To resend an email or SMS, use the three-dot Action menu, confirm contents, and select Re-send.
Managing Blacklists and Blocks
Step 1: Click Blacklisted Emails for a list of auto-flagged addresses after repeated bounces or spam complaints. Use this to identify addresses the platform will no longer send to.
Step 2: To remove an address from the blacklist, confirm the resident has whitelisted your sending address, then use the Action menu to reverse blacklisting.
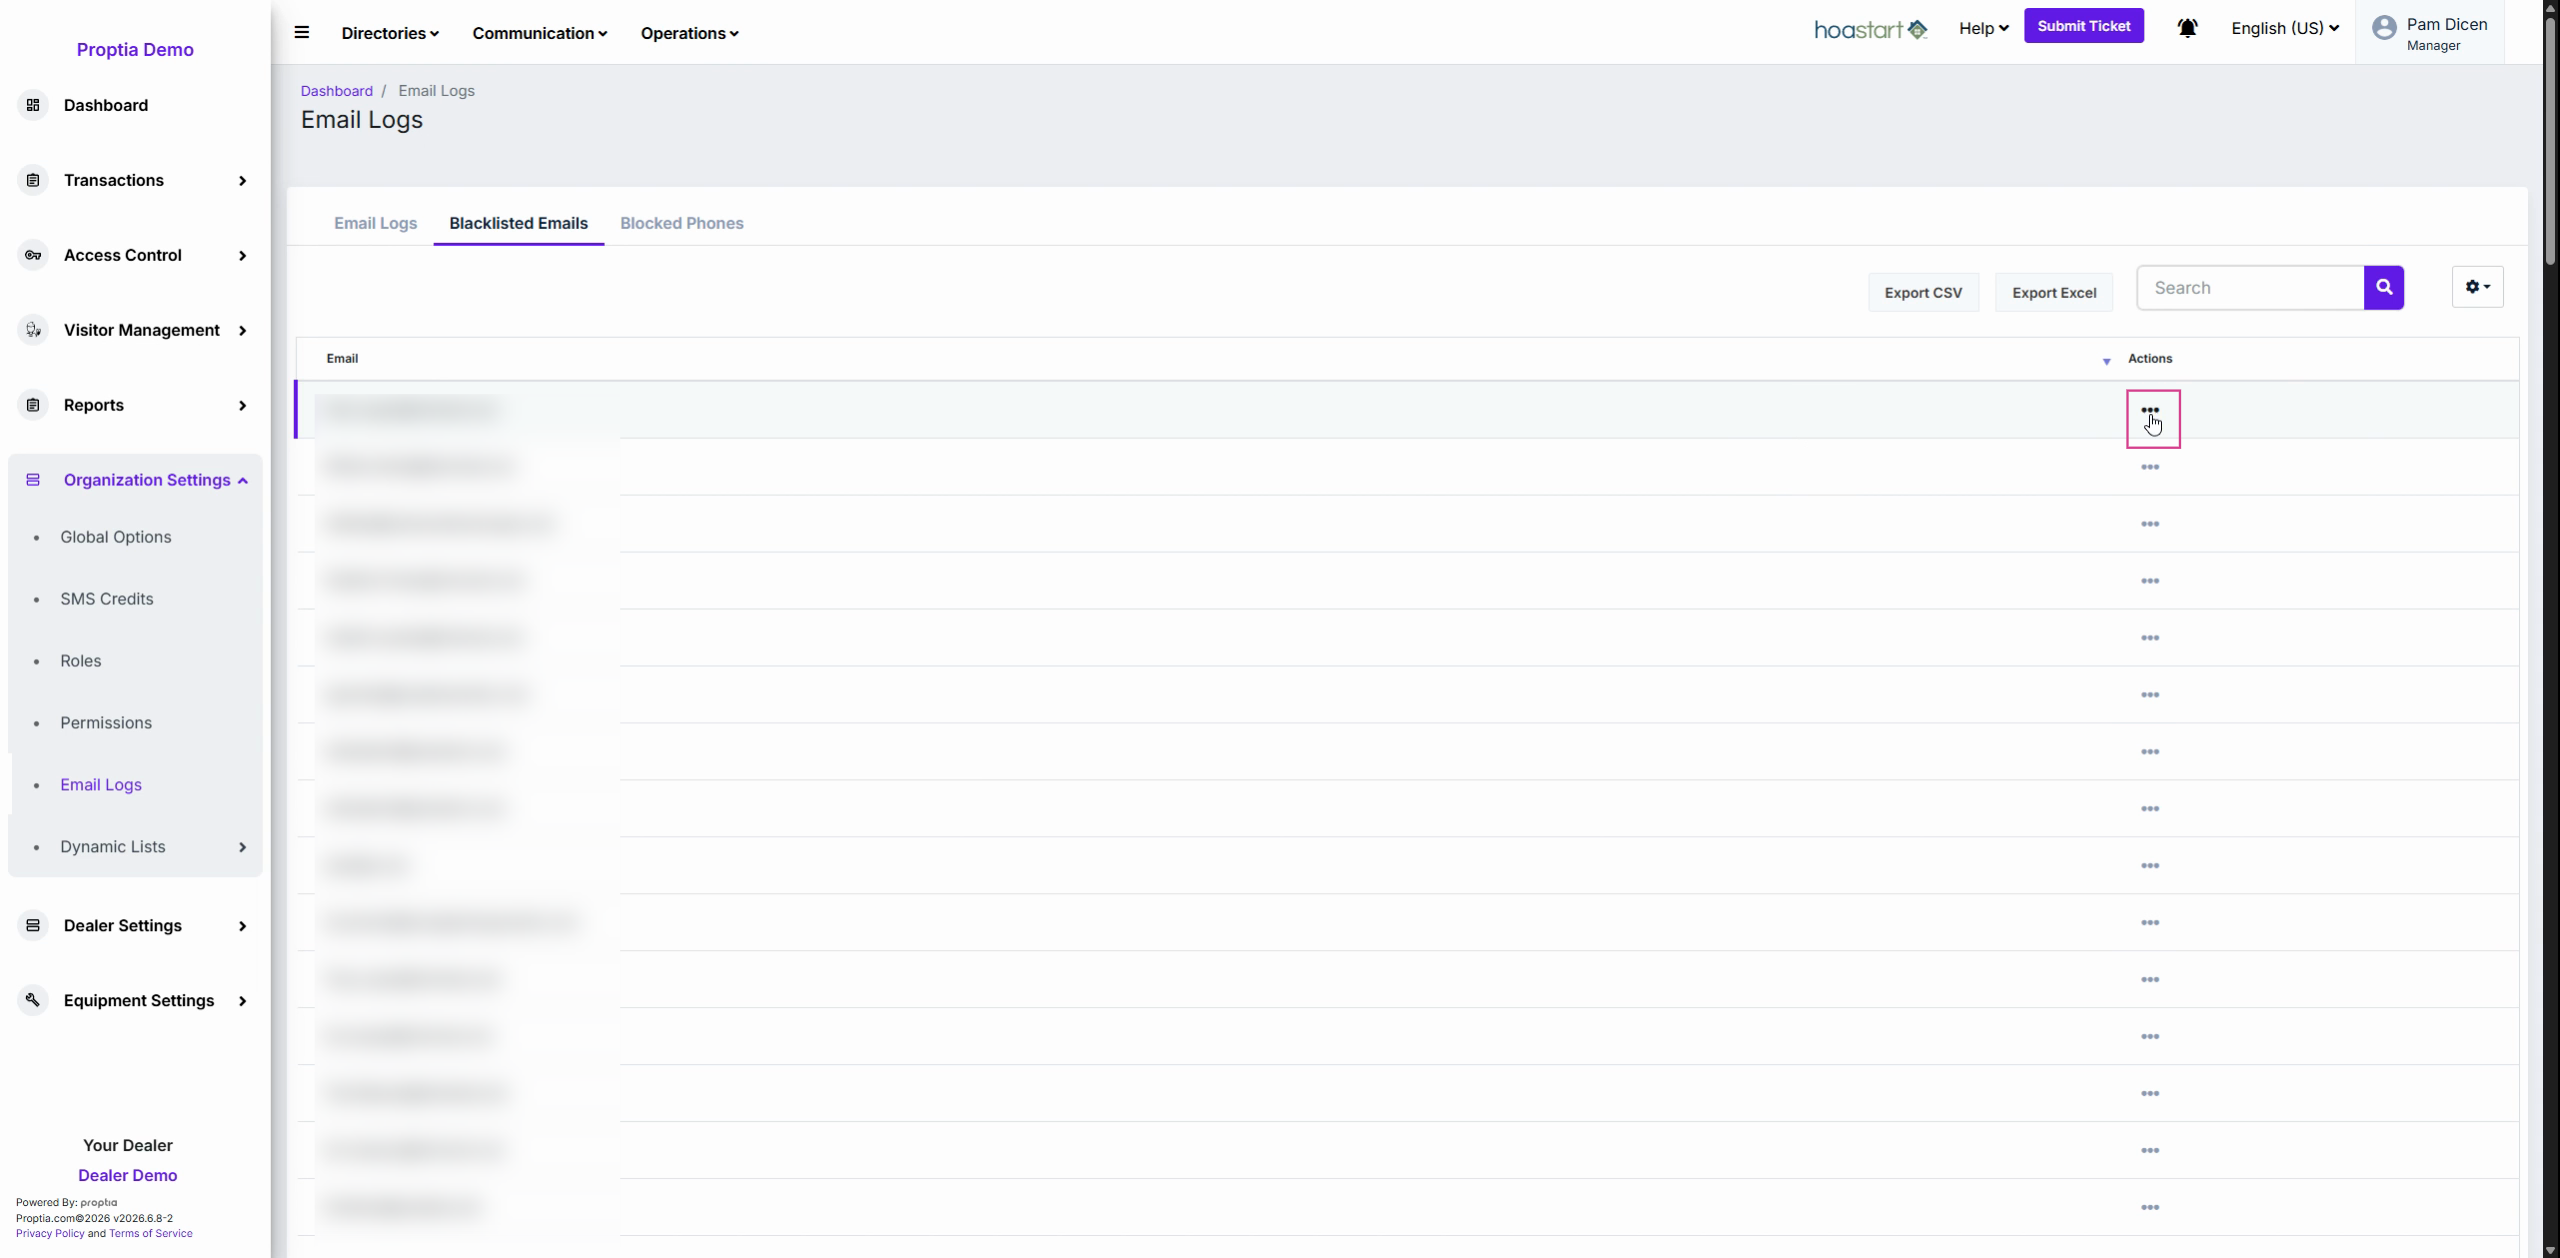
Step 3: Use the Search bar to find specific emails or export as needed.
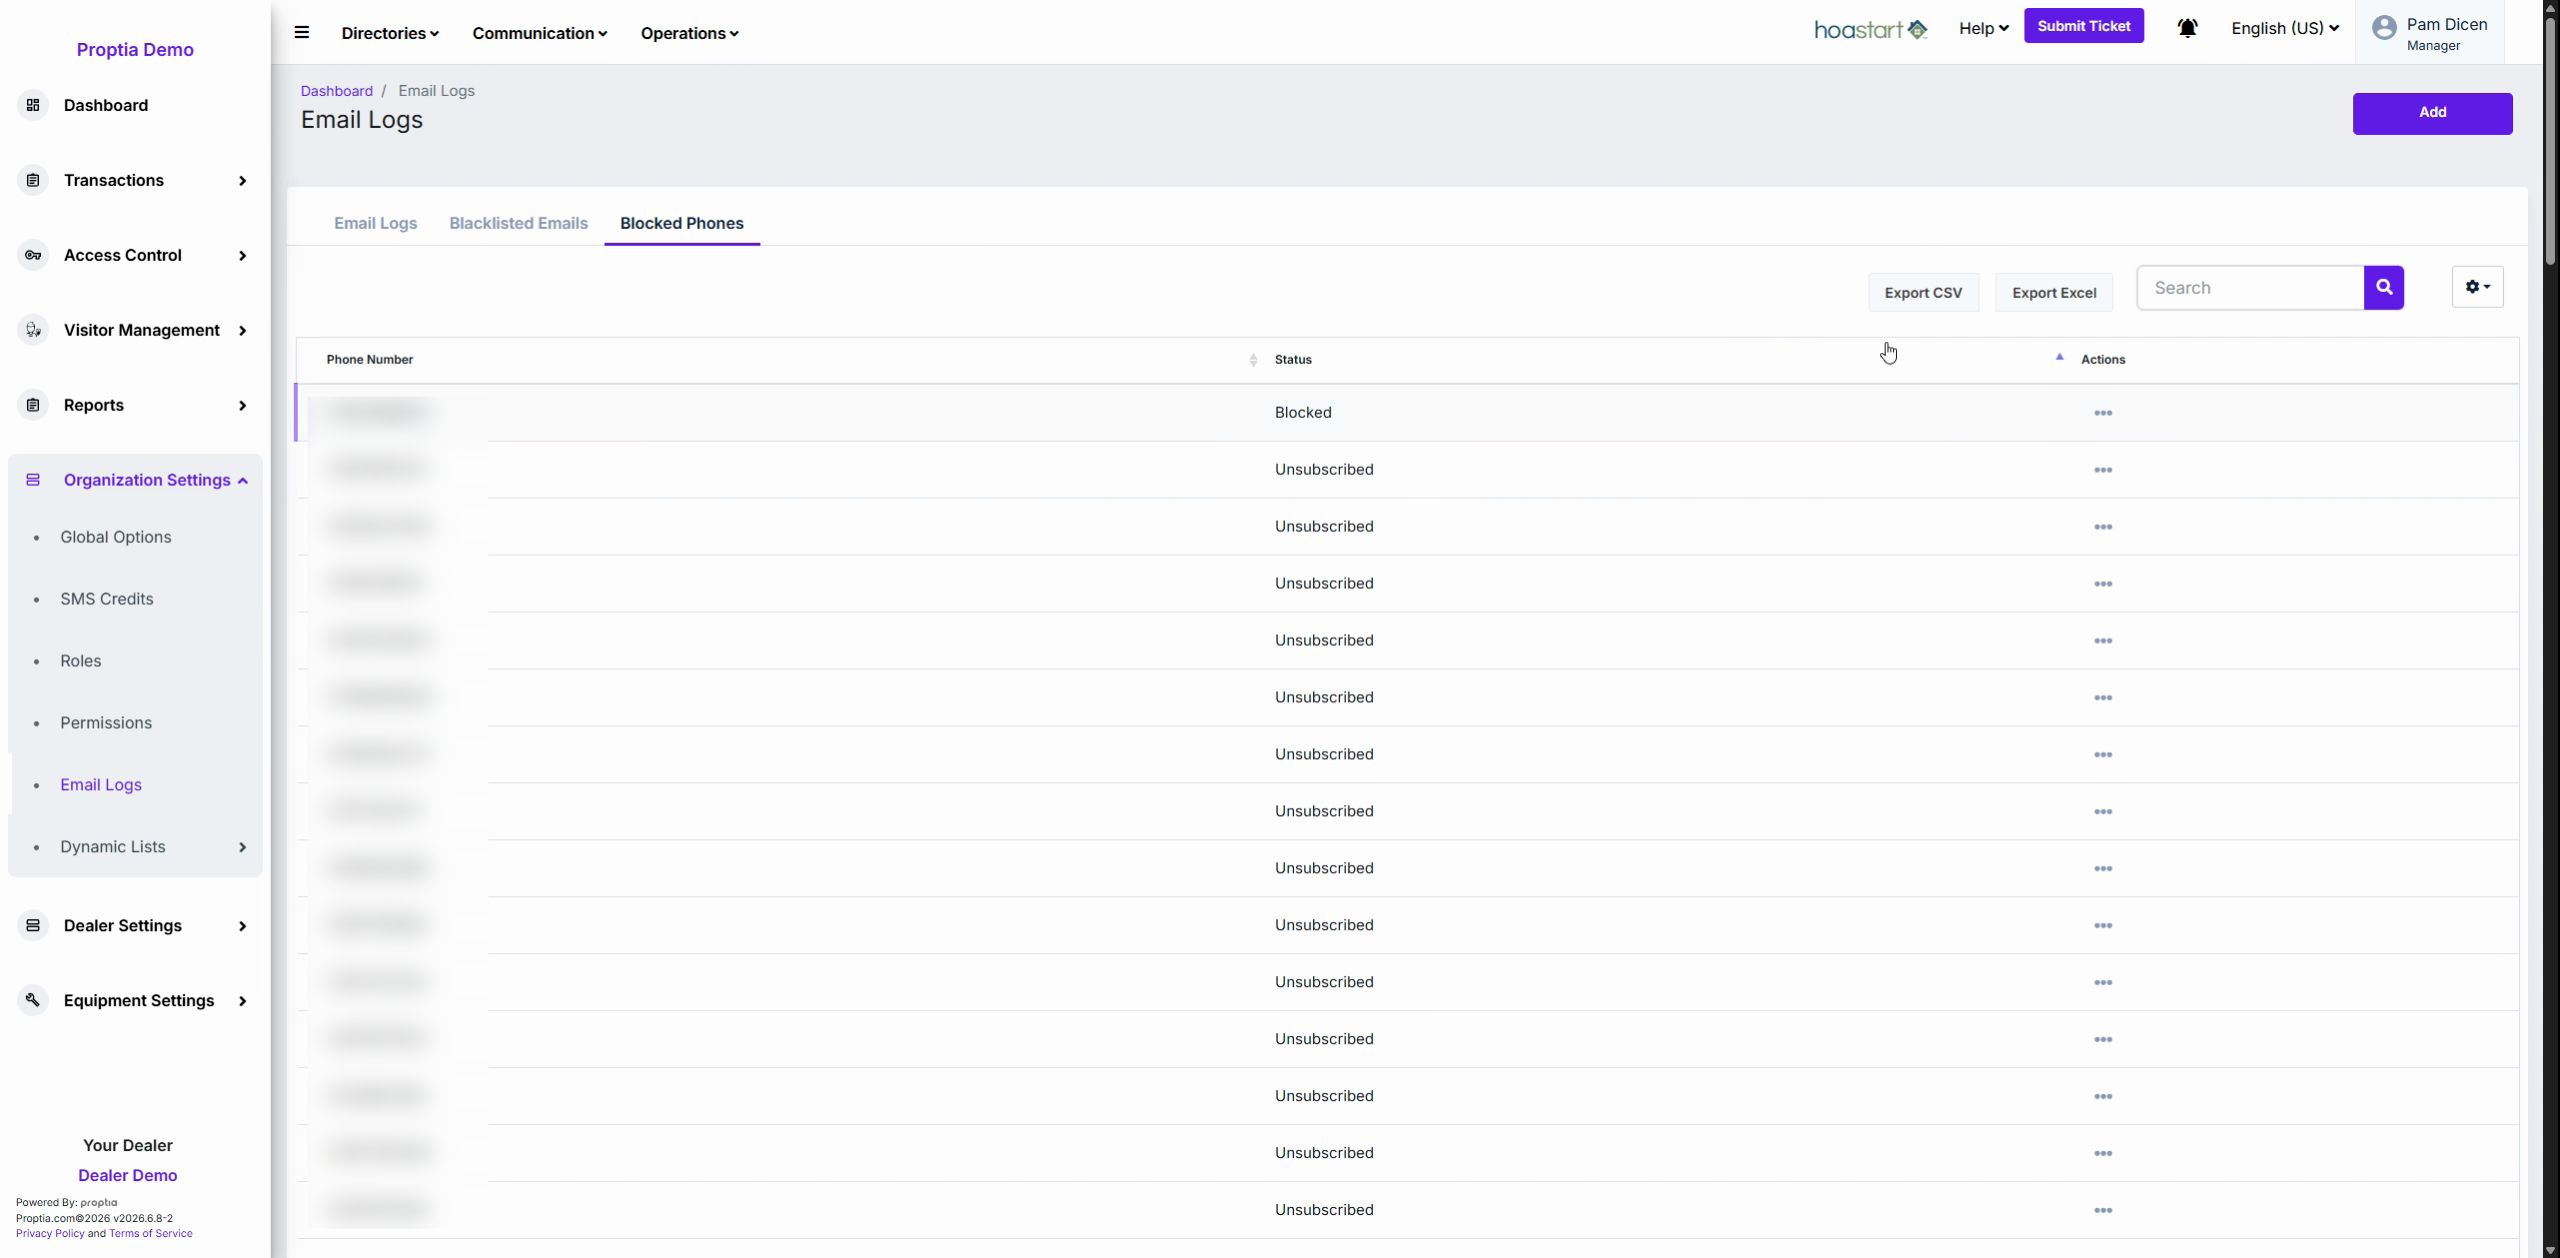
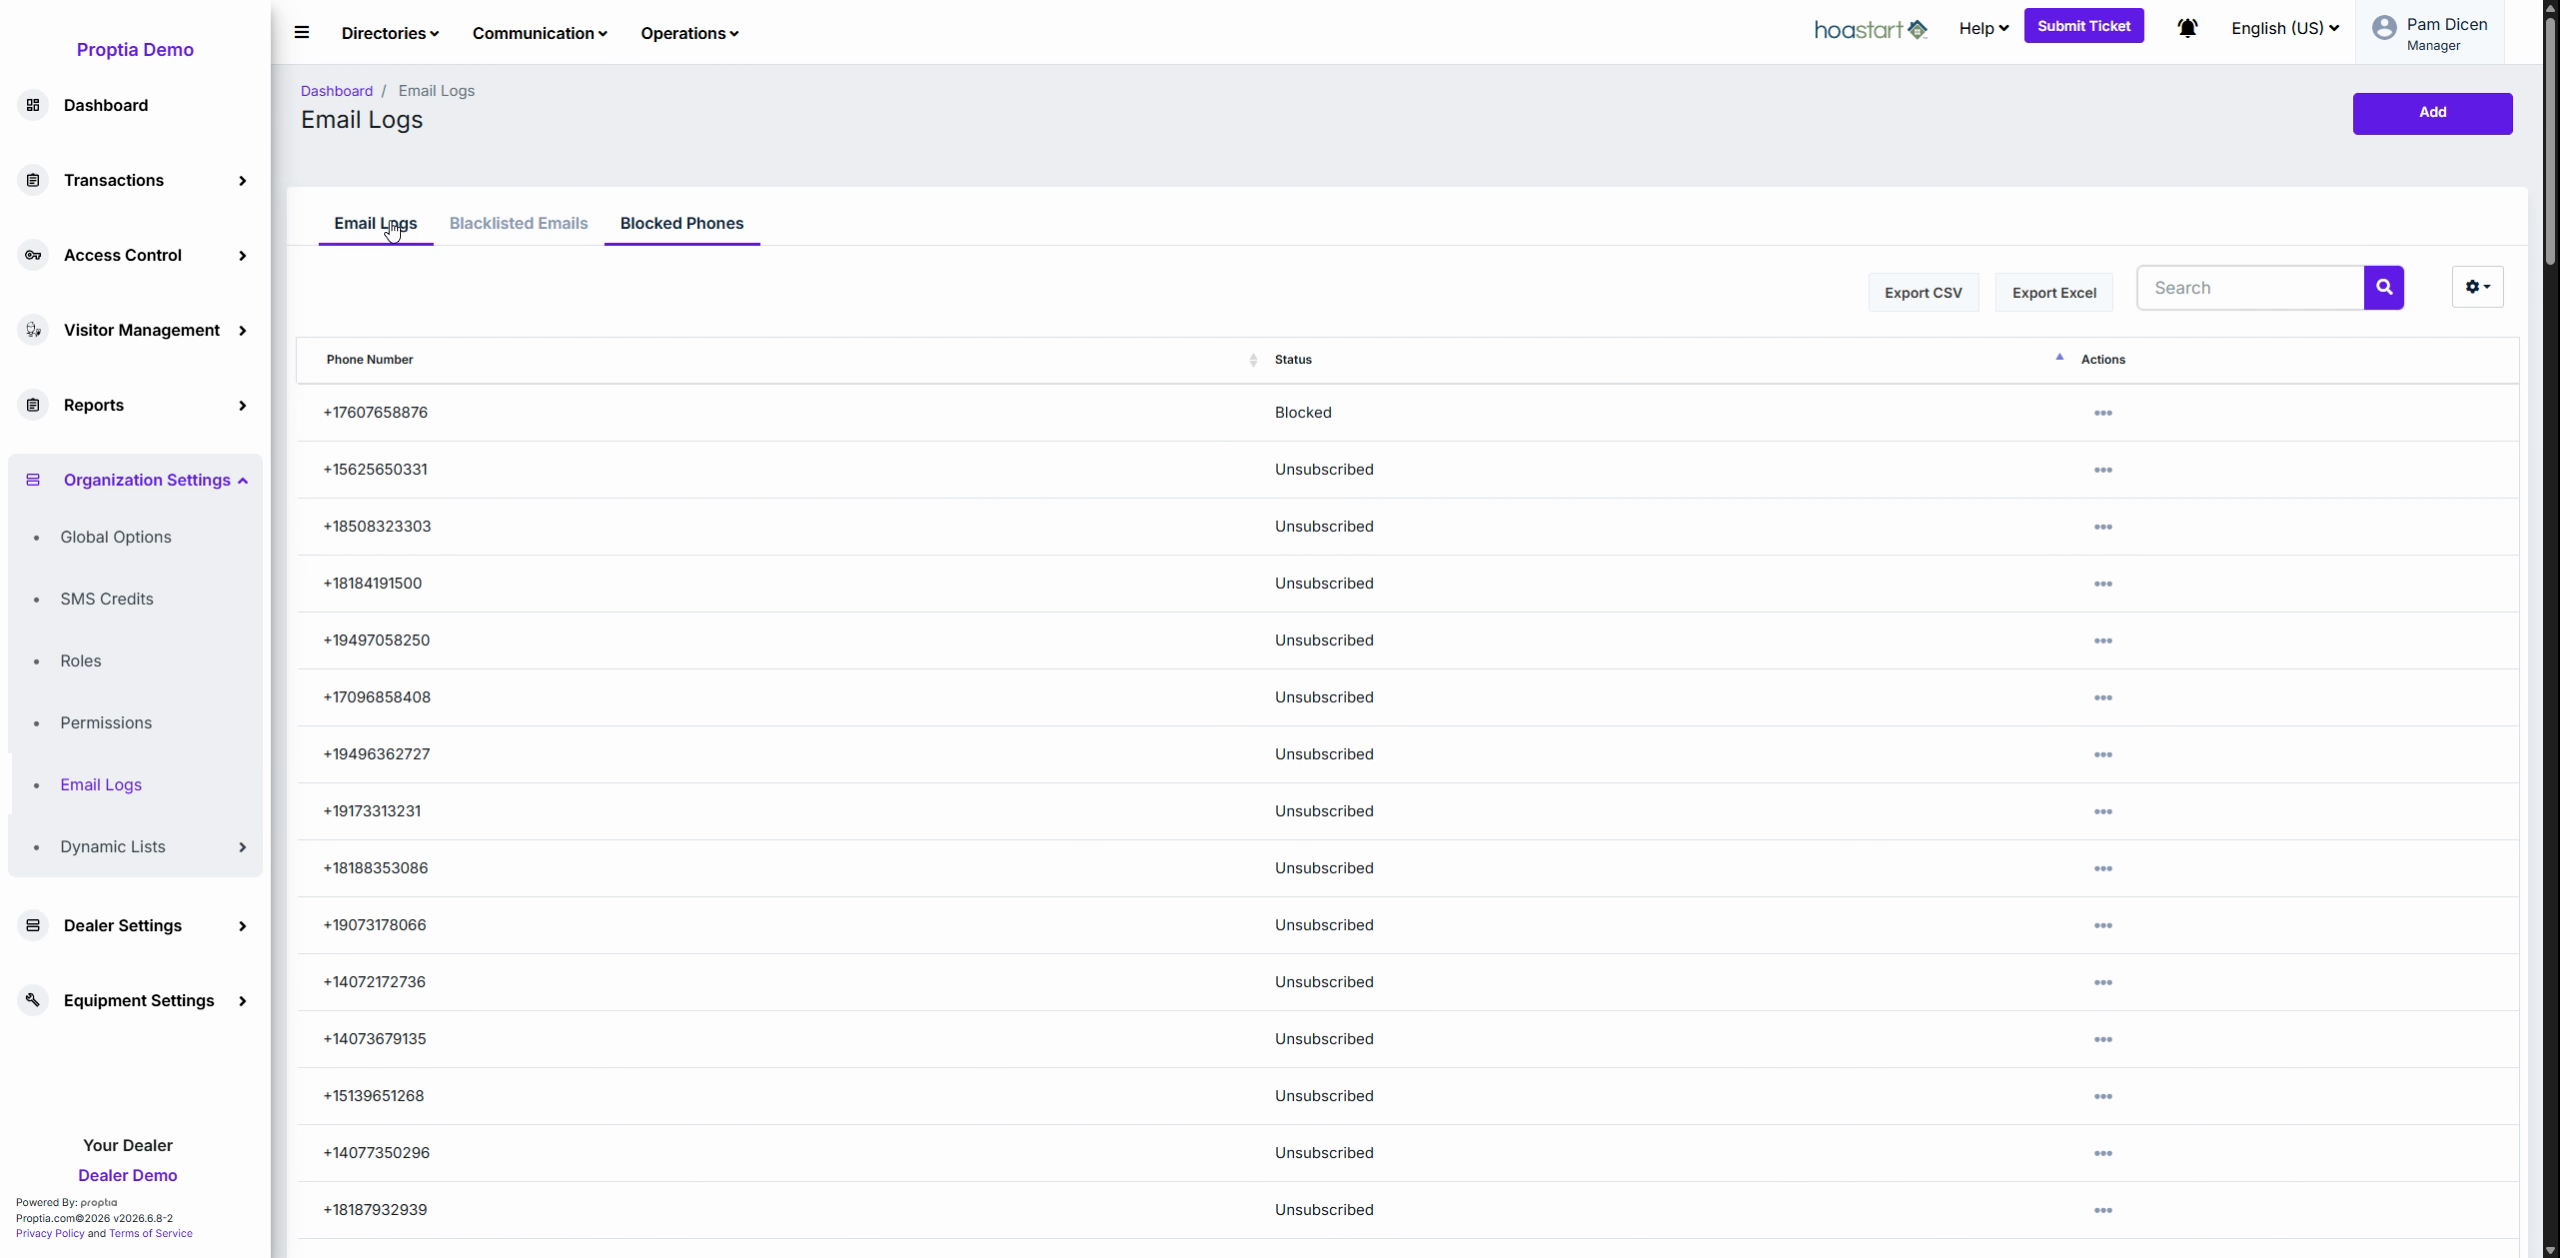
Step 1: Click Blocked Phones to see numbers that can’t receive SMS due to carrier blocks or opt-outs.
Step 2: To unblock a number, find it and use the Action menu to hit Reverse. This restores SMS delivery immediately.
Monitoring SMS Credits
Step 1: Widespread SMS delivery failures? Check your community’s SMS credit balance—no credits means no texts go out. Watch the "How to Monitor and Manage SMS Credits" tutorial for more tips.
With Email Logs, you’ll quickly resolve communication roadblocks, verify delivery data, and keep your community connected.