How to Manage Members
How to Manage Members and Member Groups in Proptia
Effectively managing your members and groups in Proptia keeps your community communications accurate and your facilities secure. With proper organization, you ensure the right individuals have access to amenities and that critical updates always reach the correct audience.
Module 1: Manage Member Groups
Click Directories in the top navigation bar, then select Members.
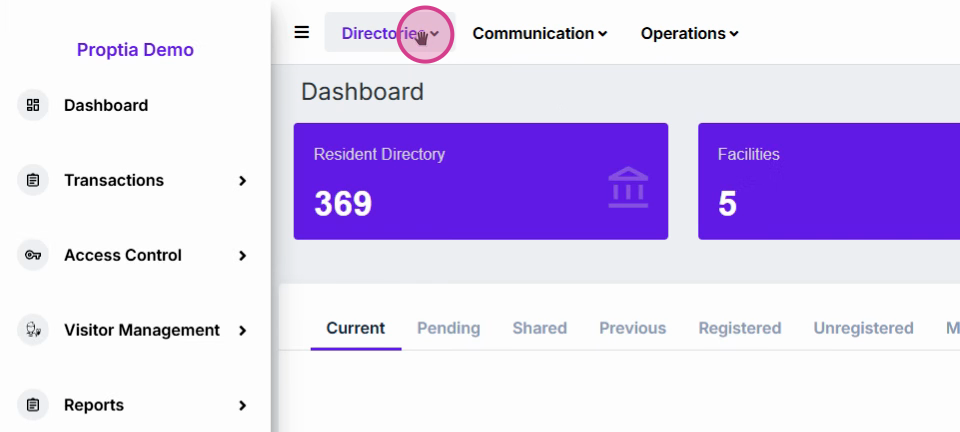
This brings you to the main member management dashboard, where you can access and organize both members, member users and their groups.
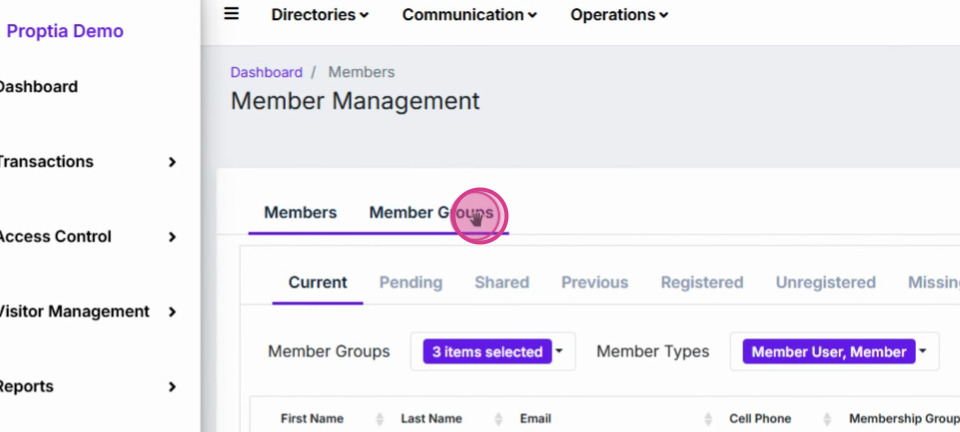
Click the Member Groups tab at the top of the dashboard to view all existing groups such as clubs or sub-associations.
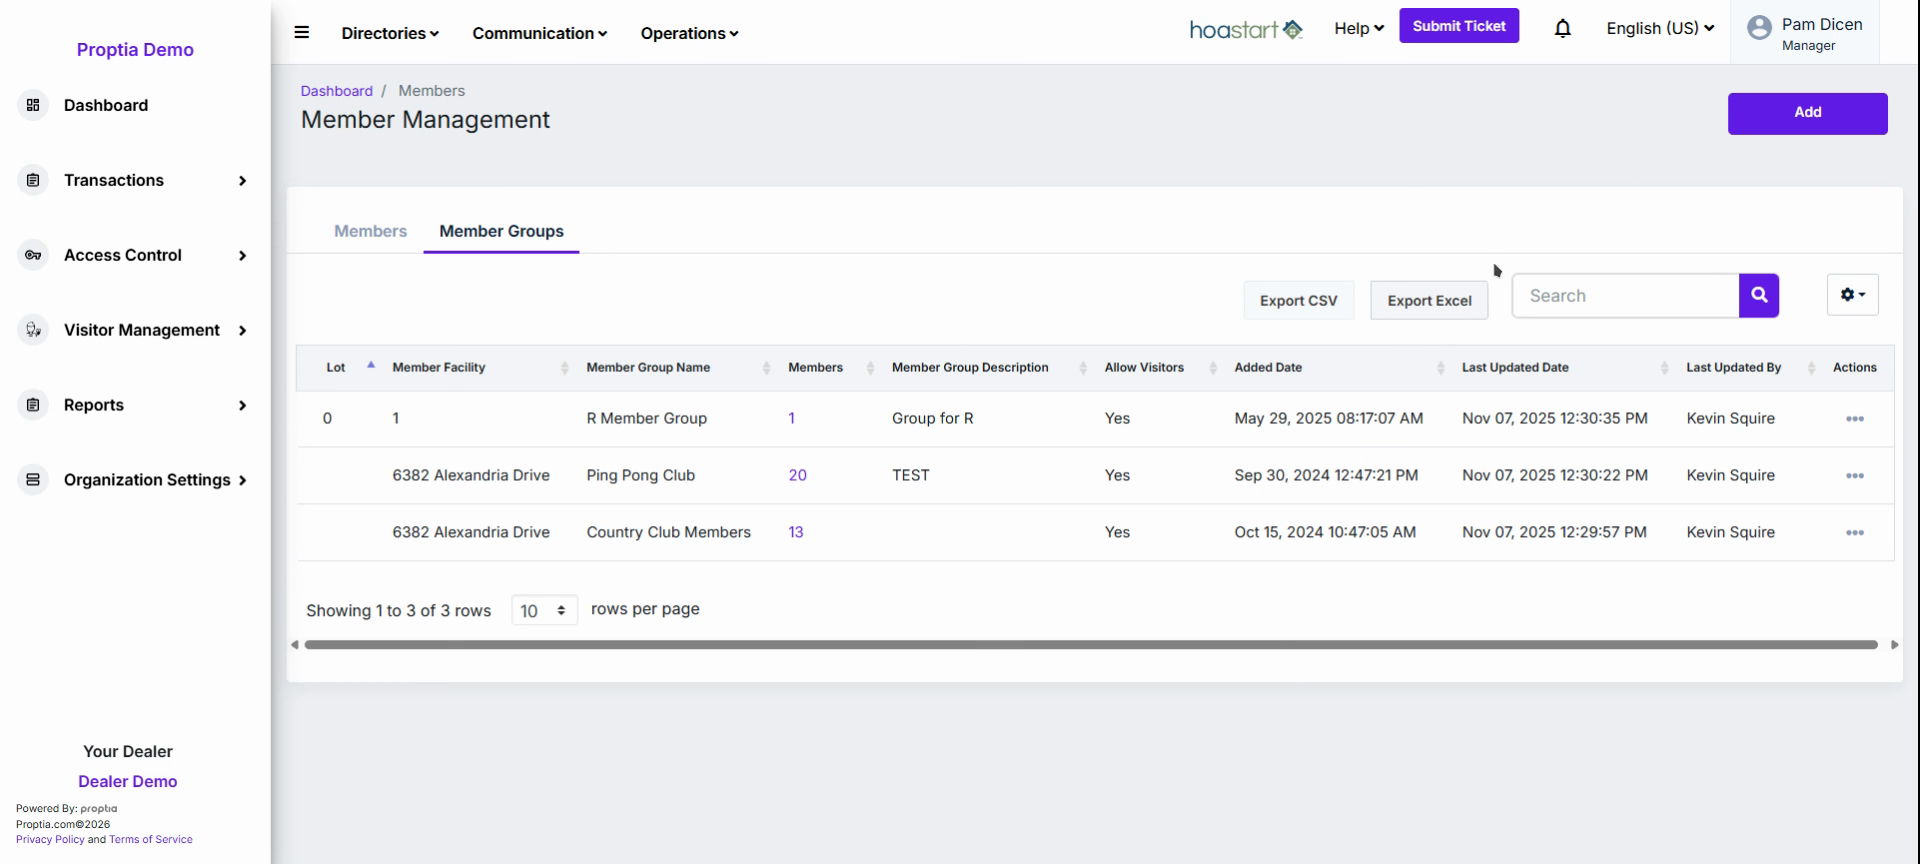
Here, you see an overview of groups like Ping Pong Club or Country Club Members.
Click the purple Add button in the top right corner to create a new group.
Enter the group's Title and a short Description in the configuration window that appears.
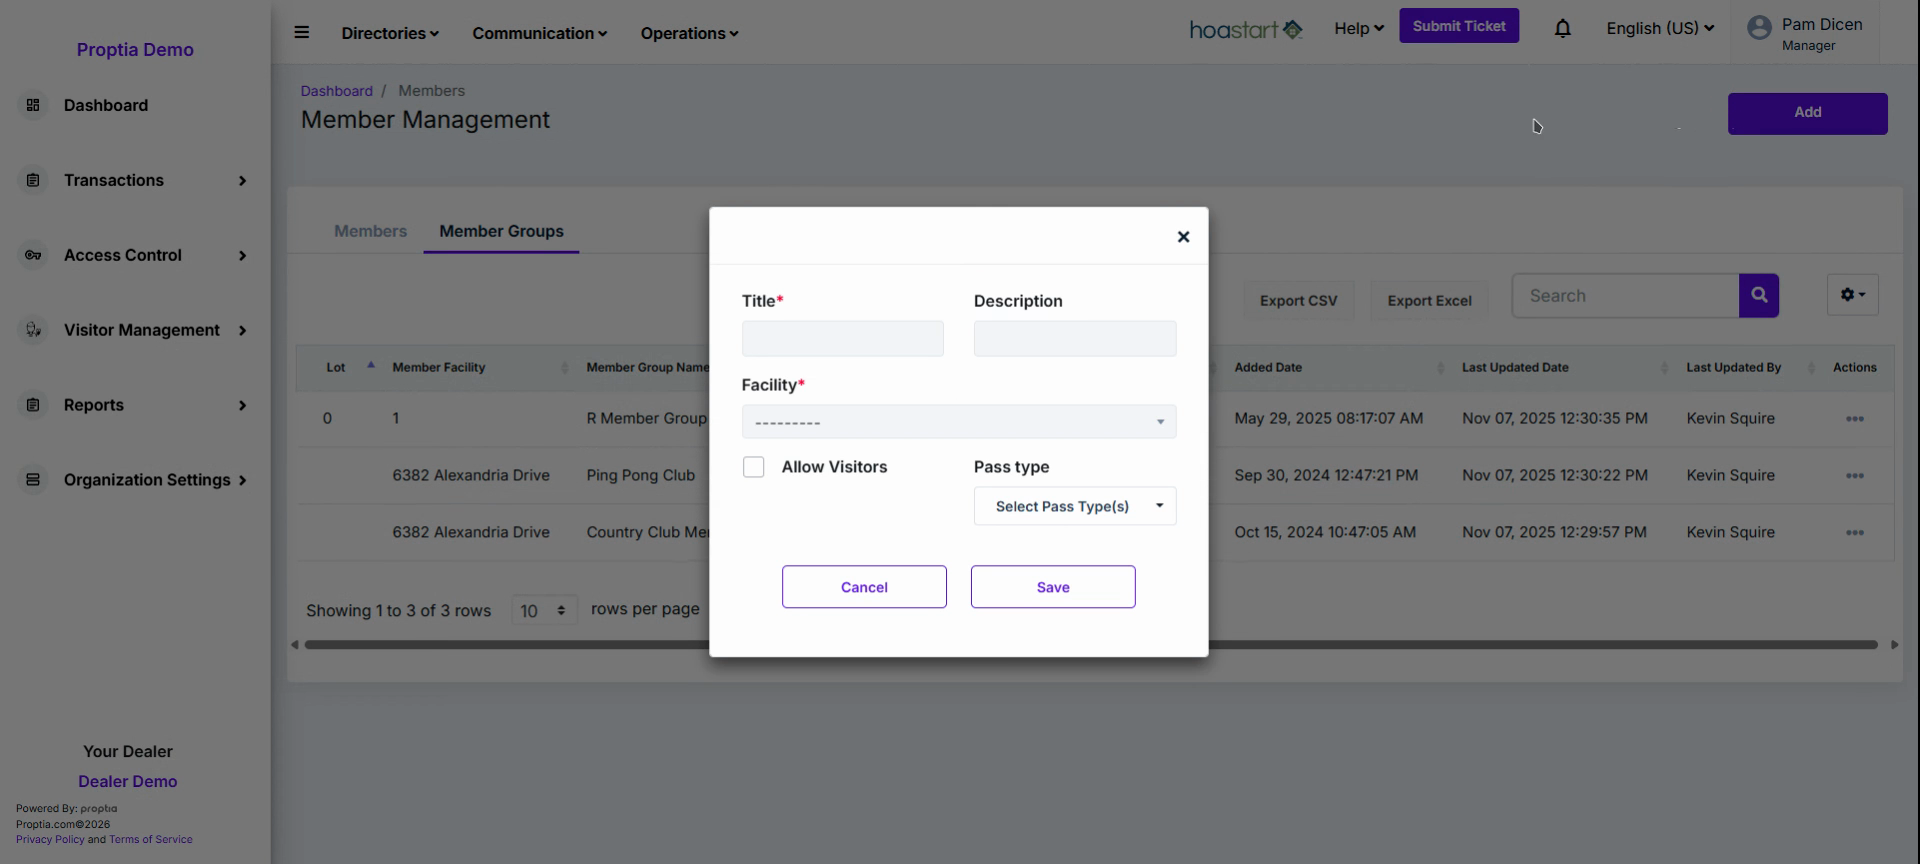
Select a Member Facility from the dropdown menu to link the group with a specific facility.
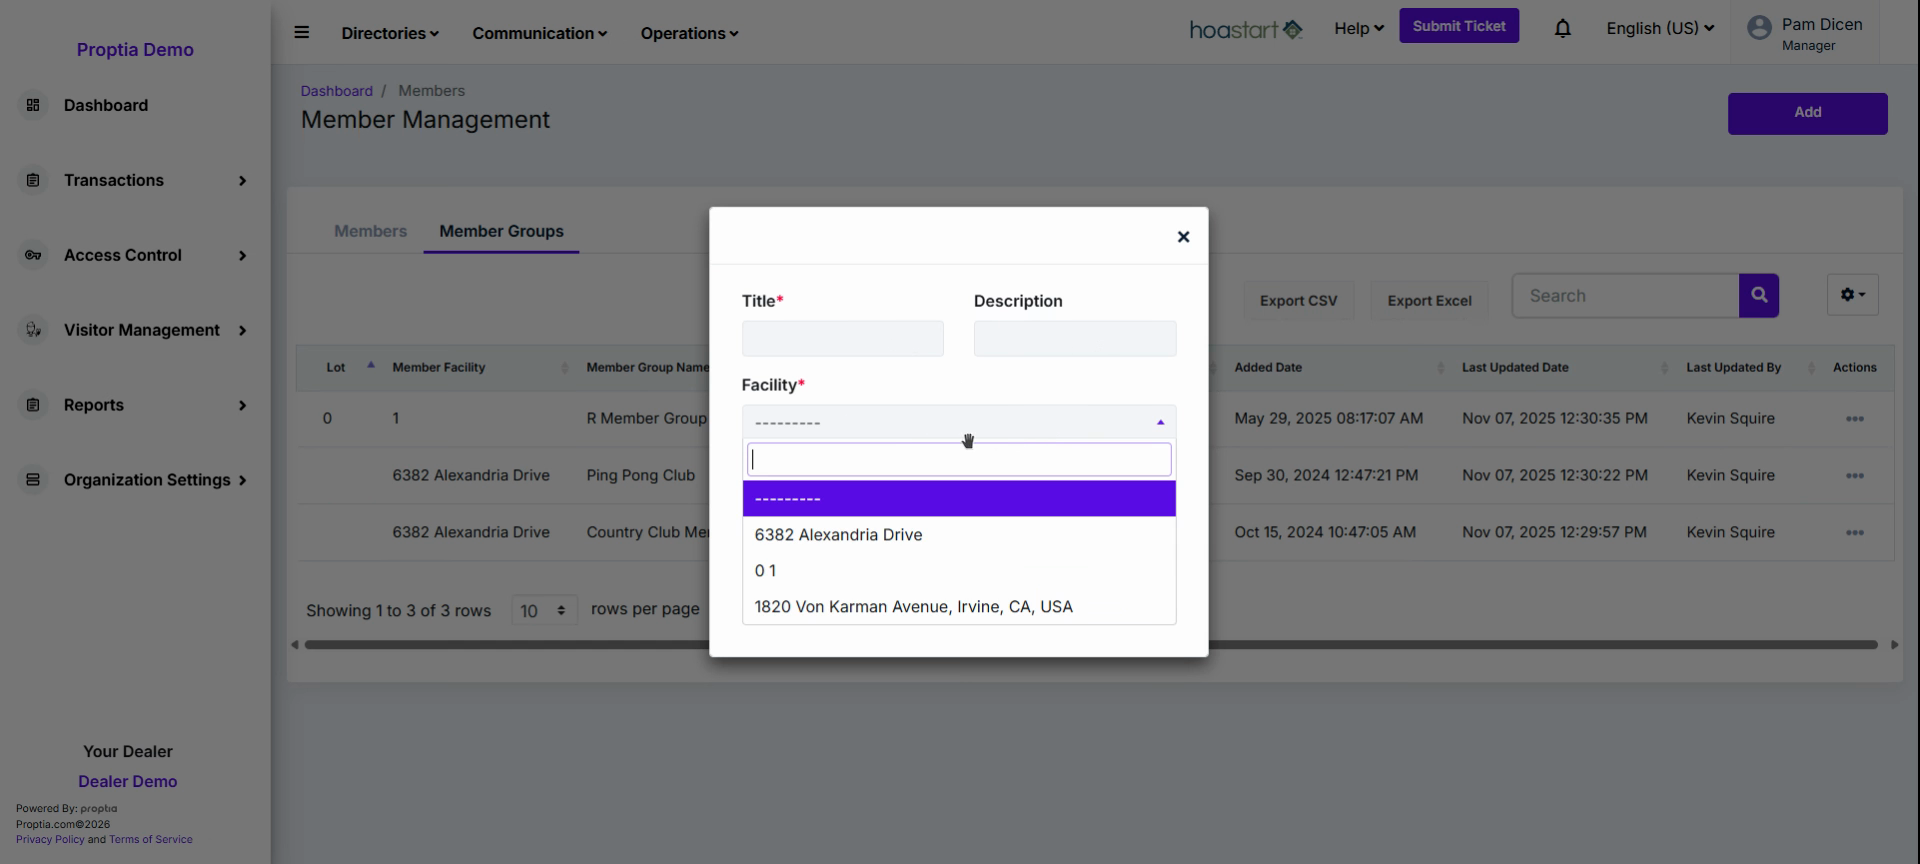
This ensures only relevant members are included for facility-specific access.
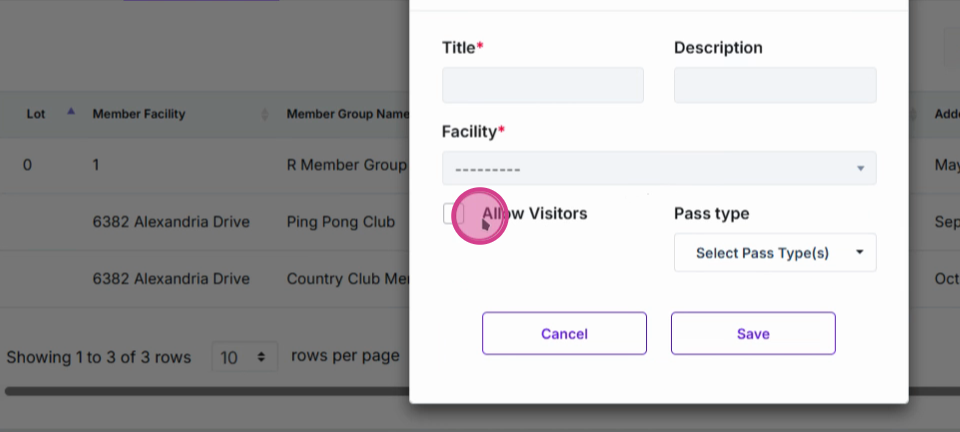
Check the Allow Visitors box if you want this group to permit visitors.
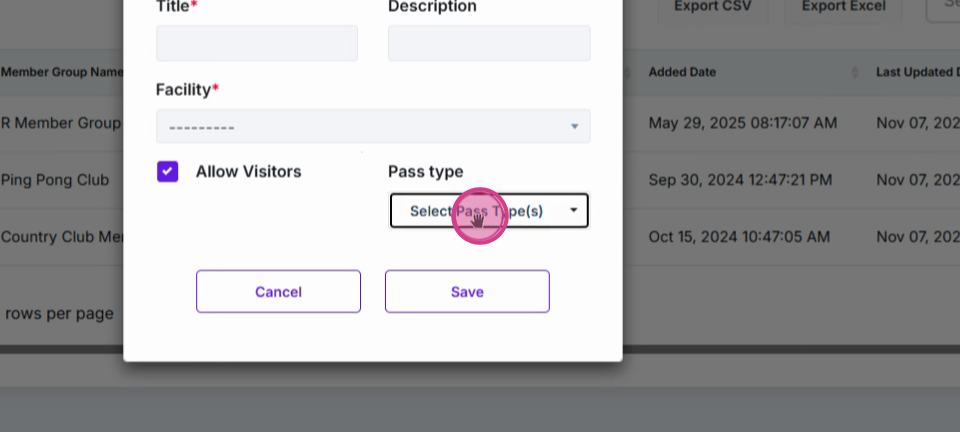
Select allowed Visitor Pass Types as needed.
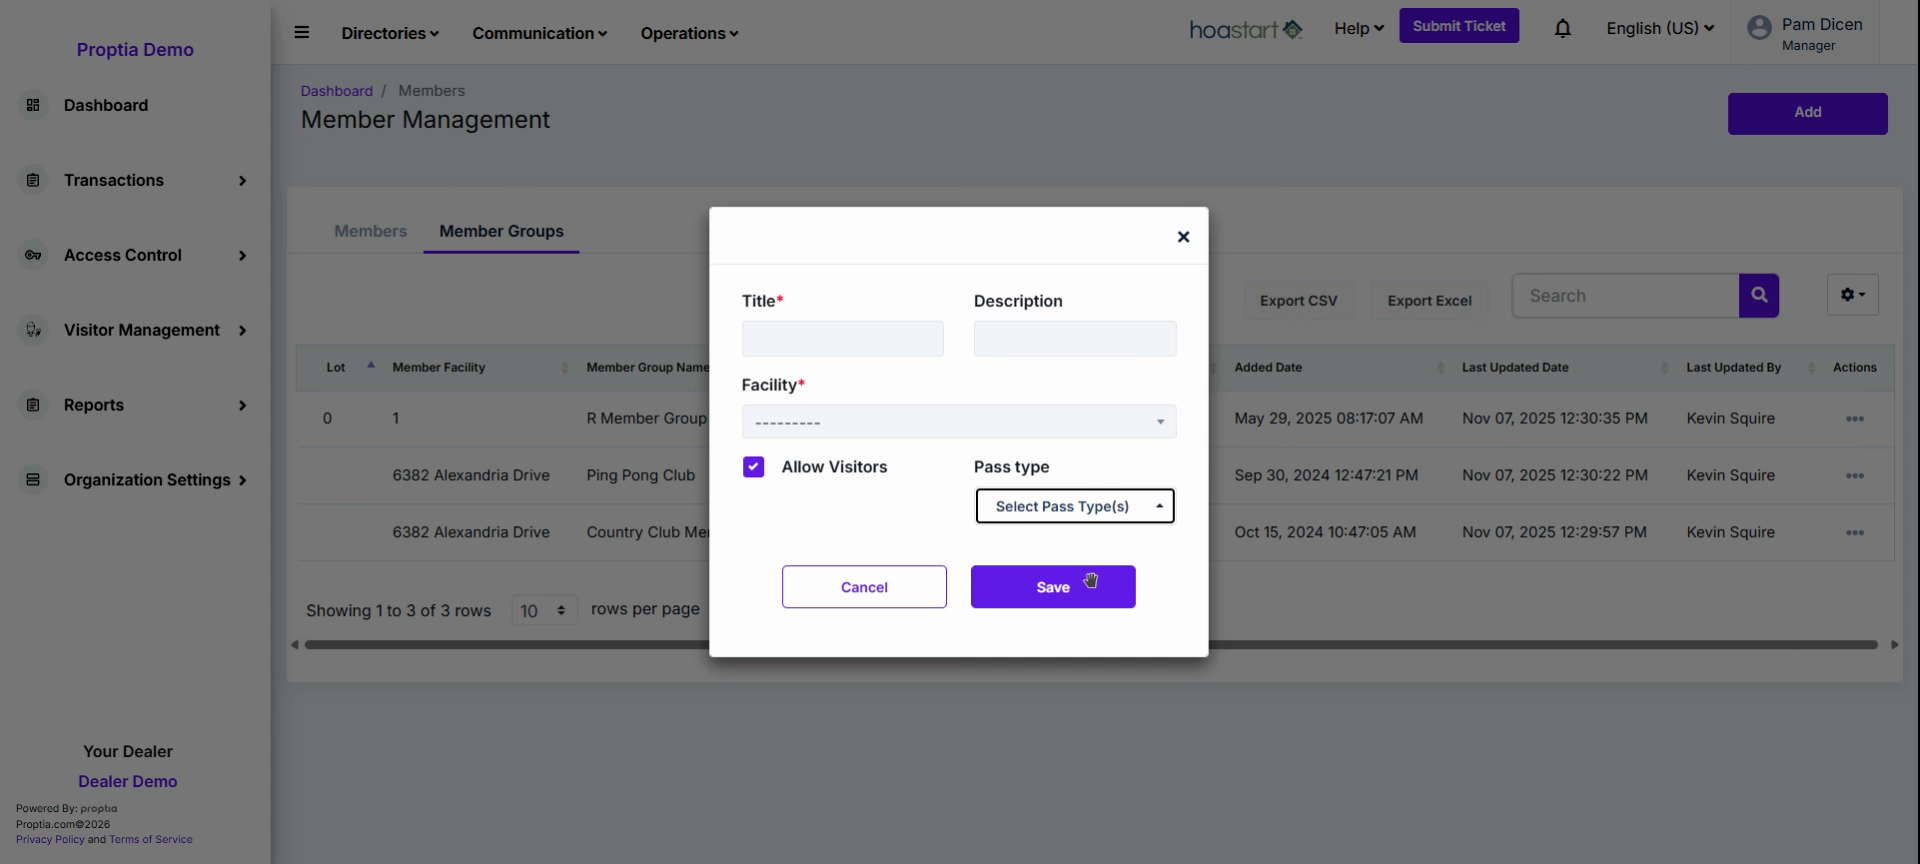
Click Save to create the new member group.
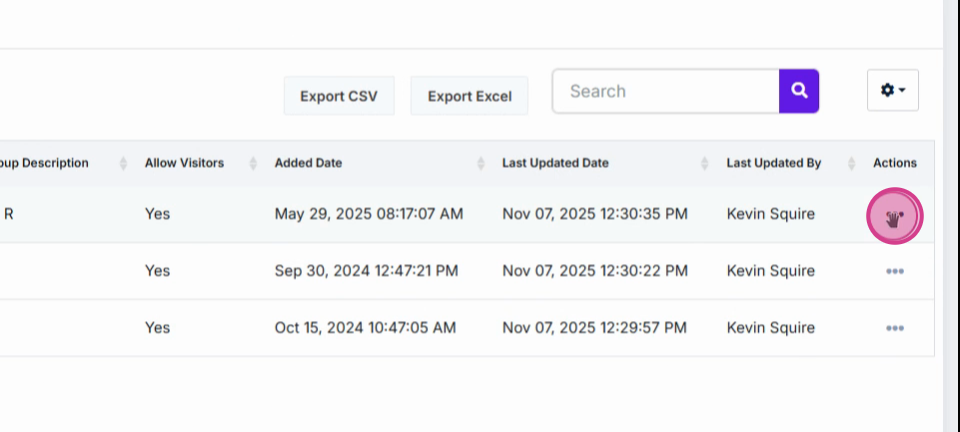
Manage existing groups by clicking the ellipses (...) next to the group, then selecting Edit or Delete.
Module 2: Organize and Search Members
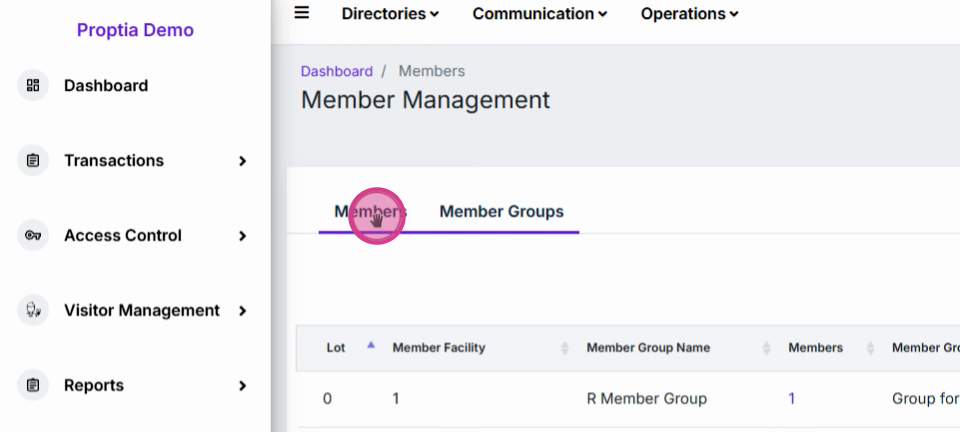
Click the Members tab to access the master list of individuals in your database.
Navigate between the status tabs (e.g., Current, Pending, Shared, Previous, Registered, Unregistered, No Email, Login Today) to filter members by their participation and system status.
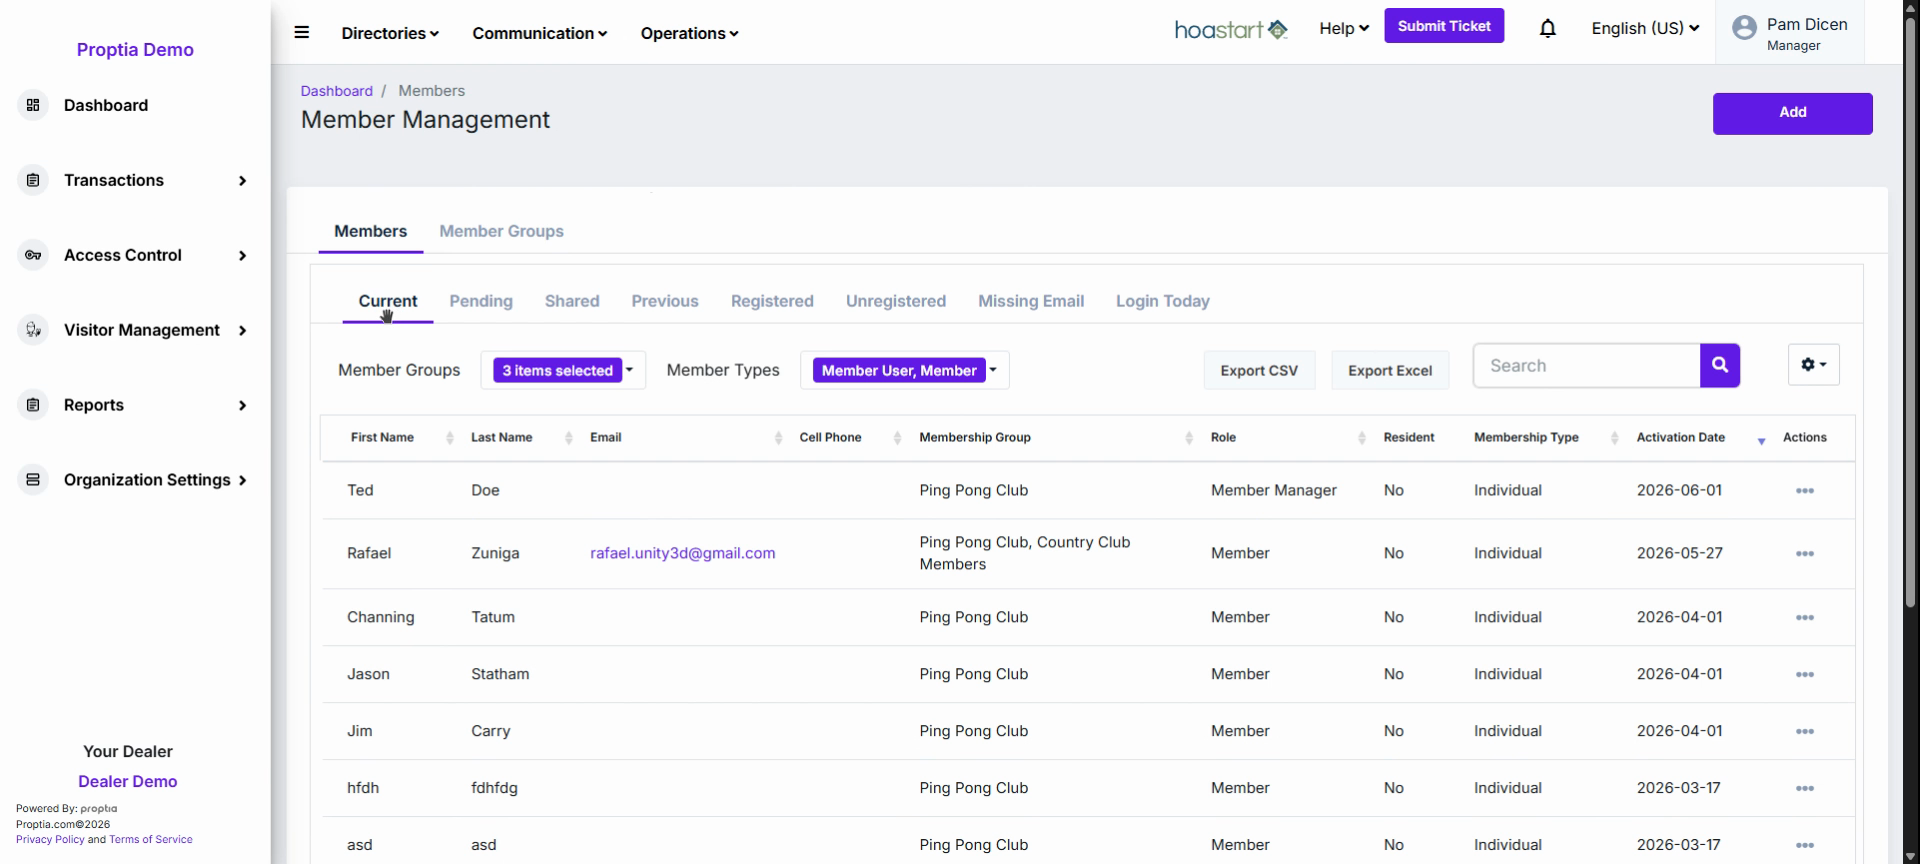
- Current: Currently active members. - Pending: Members with future activation/onboarding dates. - Shared: Members shared across multiple entities. - Previous: Deactivated or terminated profiles. - Registered: Full profile setup and signed-in members. - Unregistered: Not yet registered or missing email. - No Email: Profiles with no email address. - Login Today: Quick access to those who logged in today.
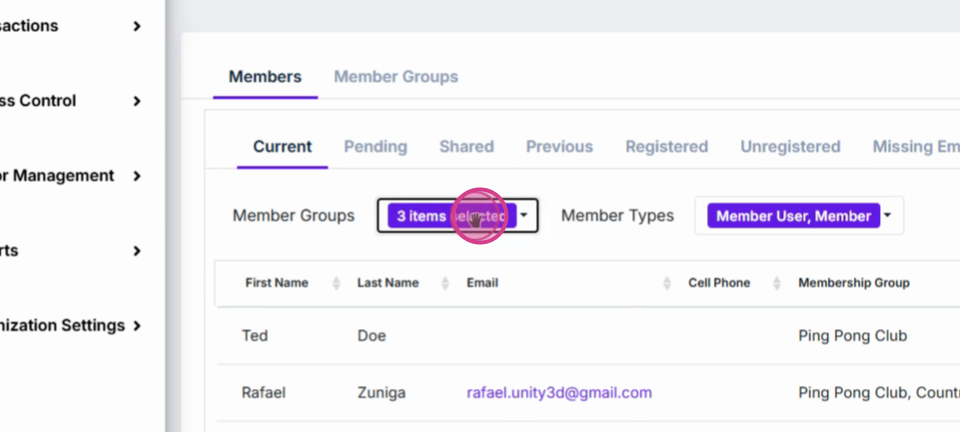
Filter results by Member Group or Member Type using the dropdown menus above the table.
Use the Search bar to find members by first name, last name, or email.
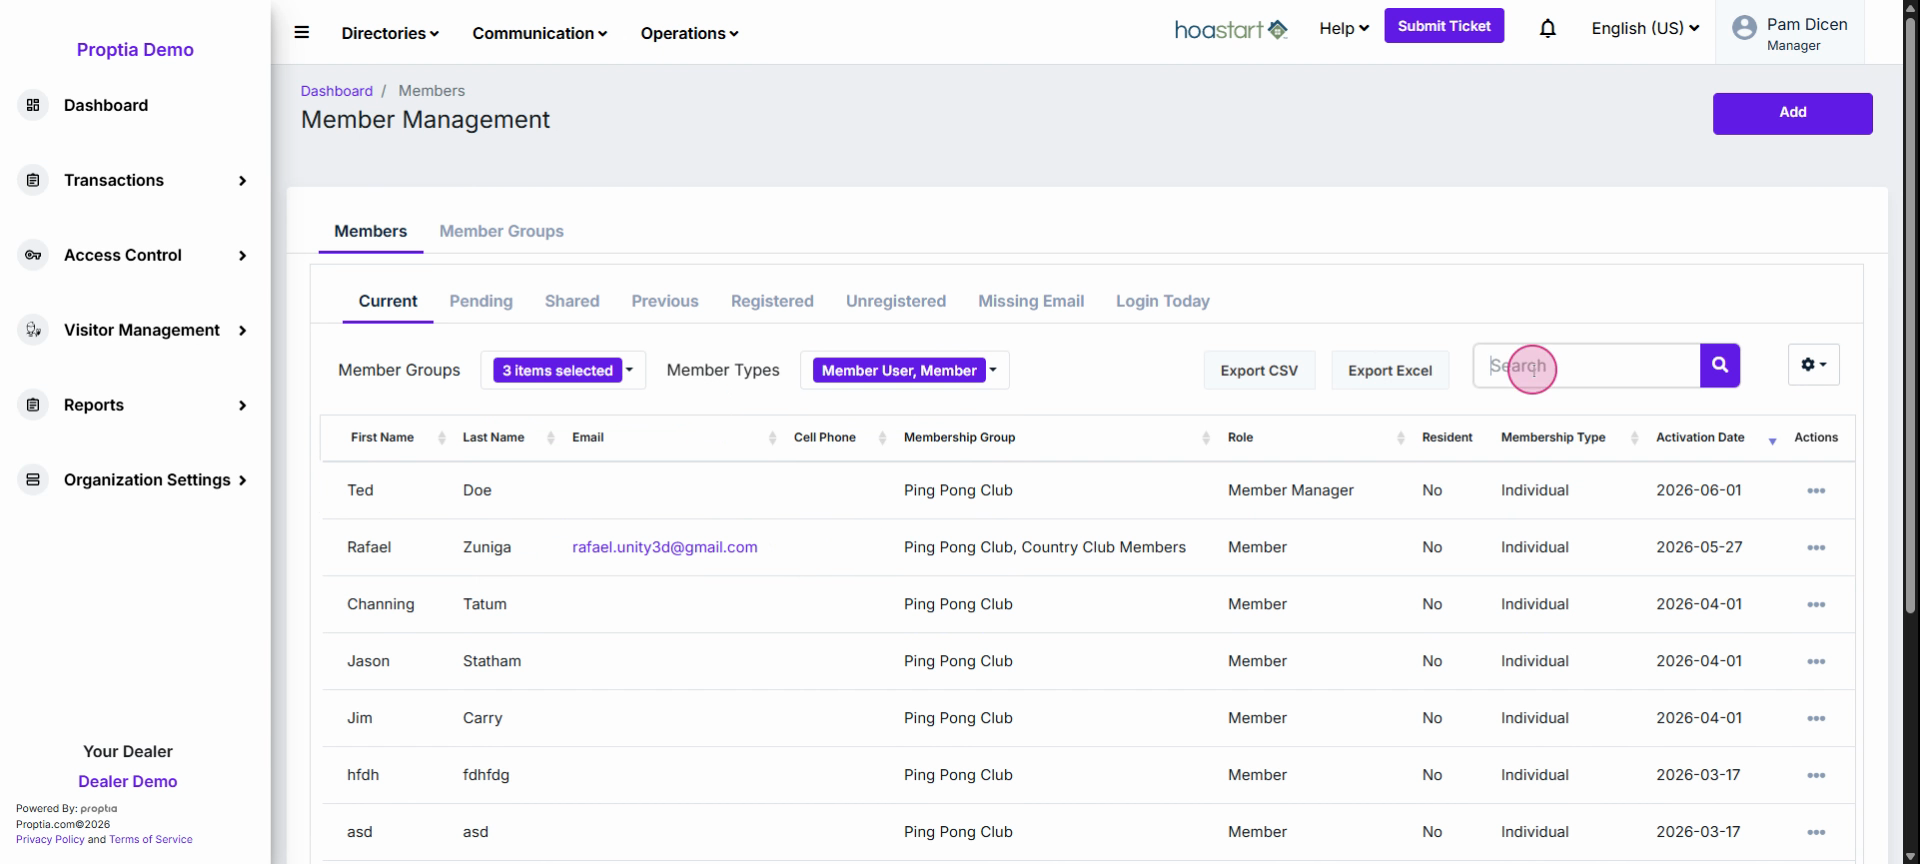
Export member data using Export CSV or Export Excel for quick reporting needs.
Module 3: Add a New Member
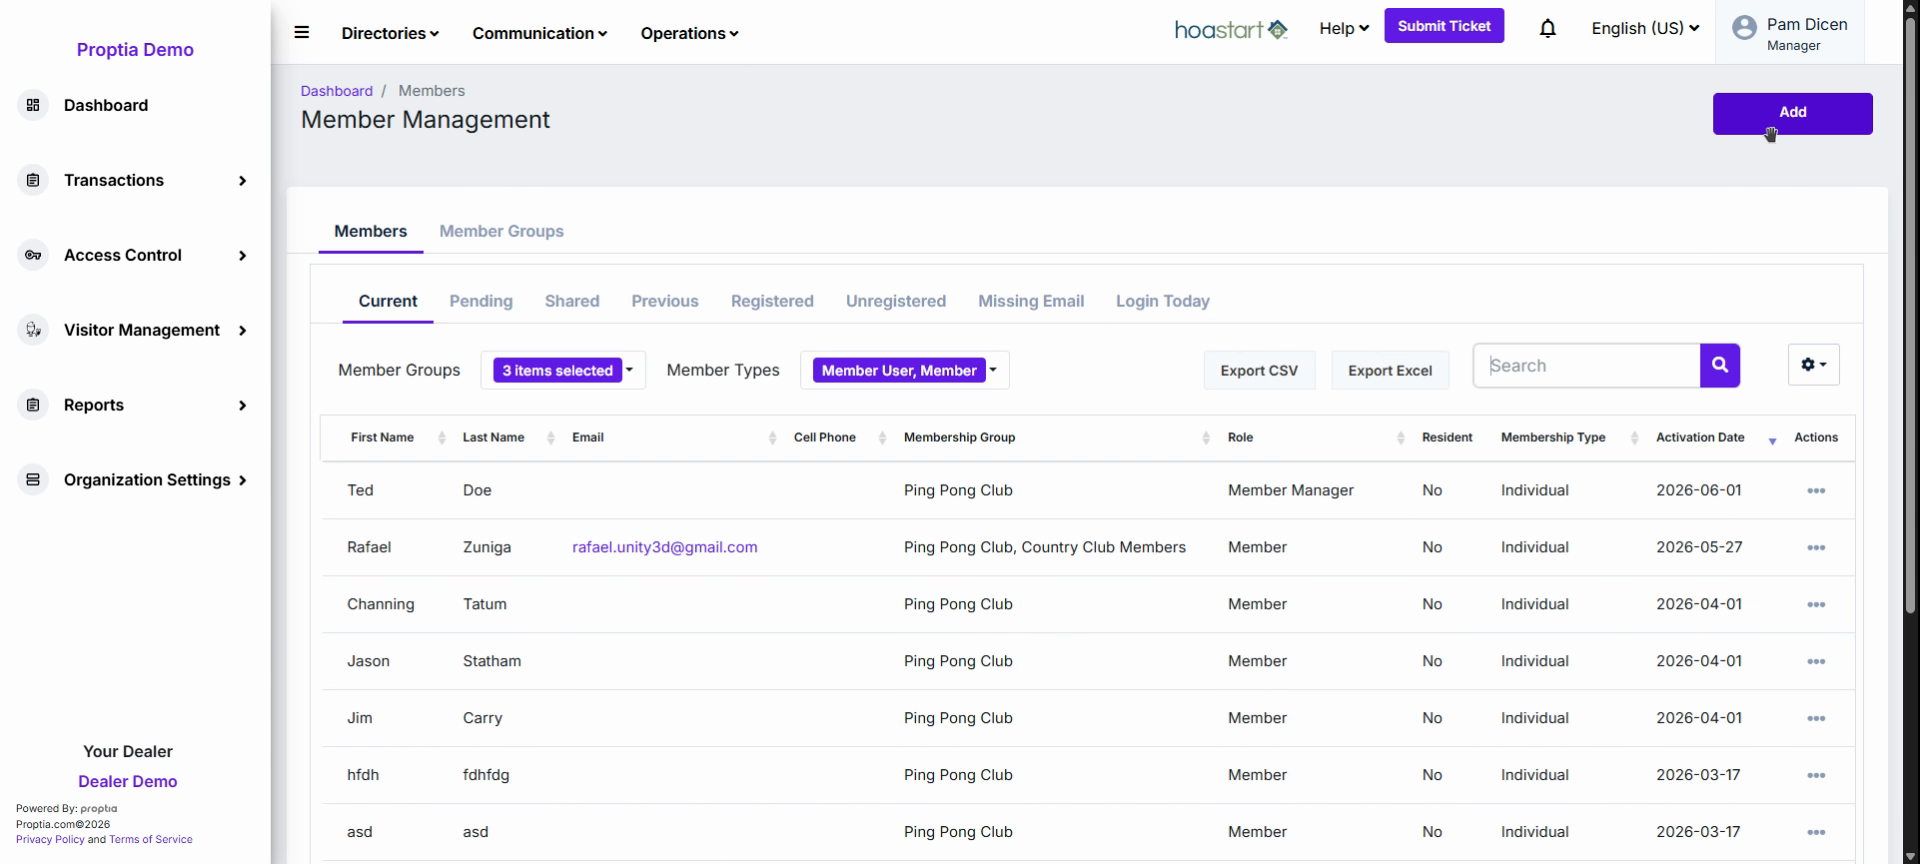
Click the purple Add button in the top right corner of the Members directory.
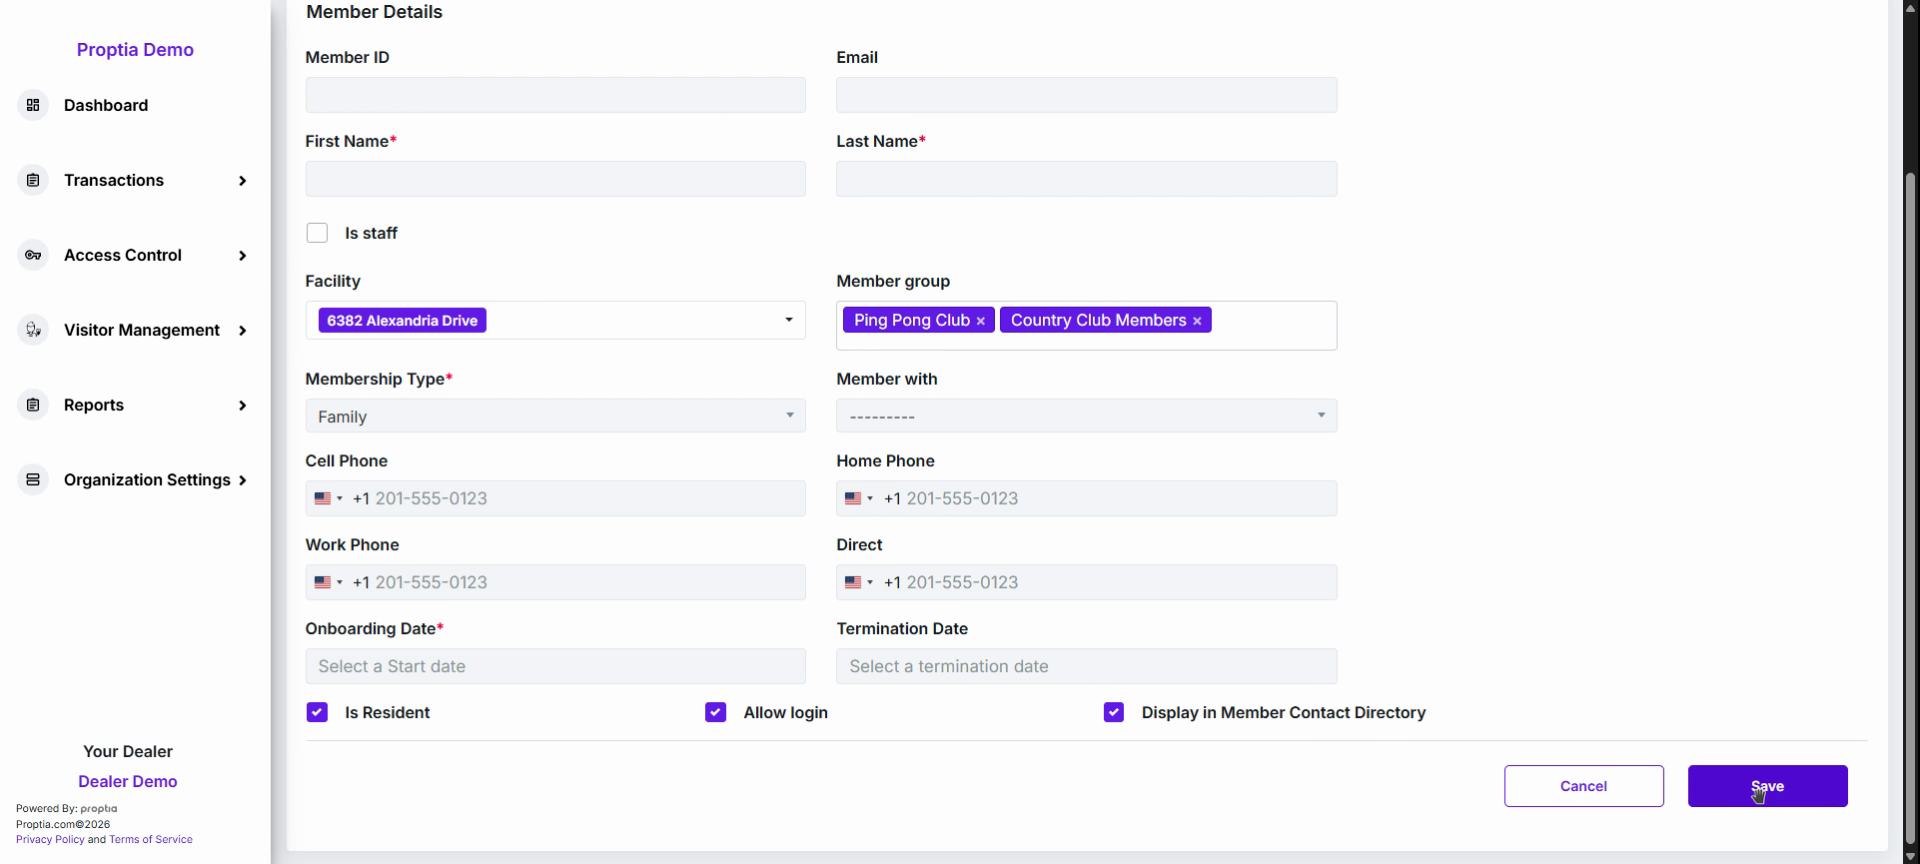
Complete the Add Member form: - Enter the Member ID, Email Address, First Name, and Last Name.
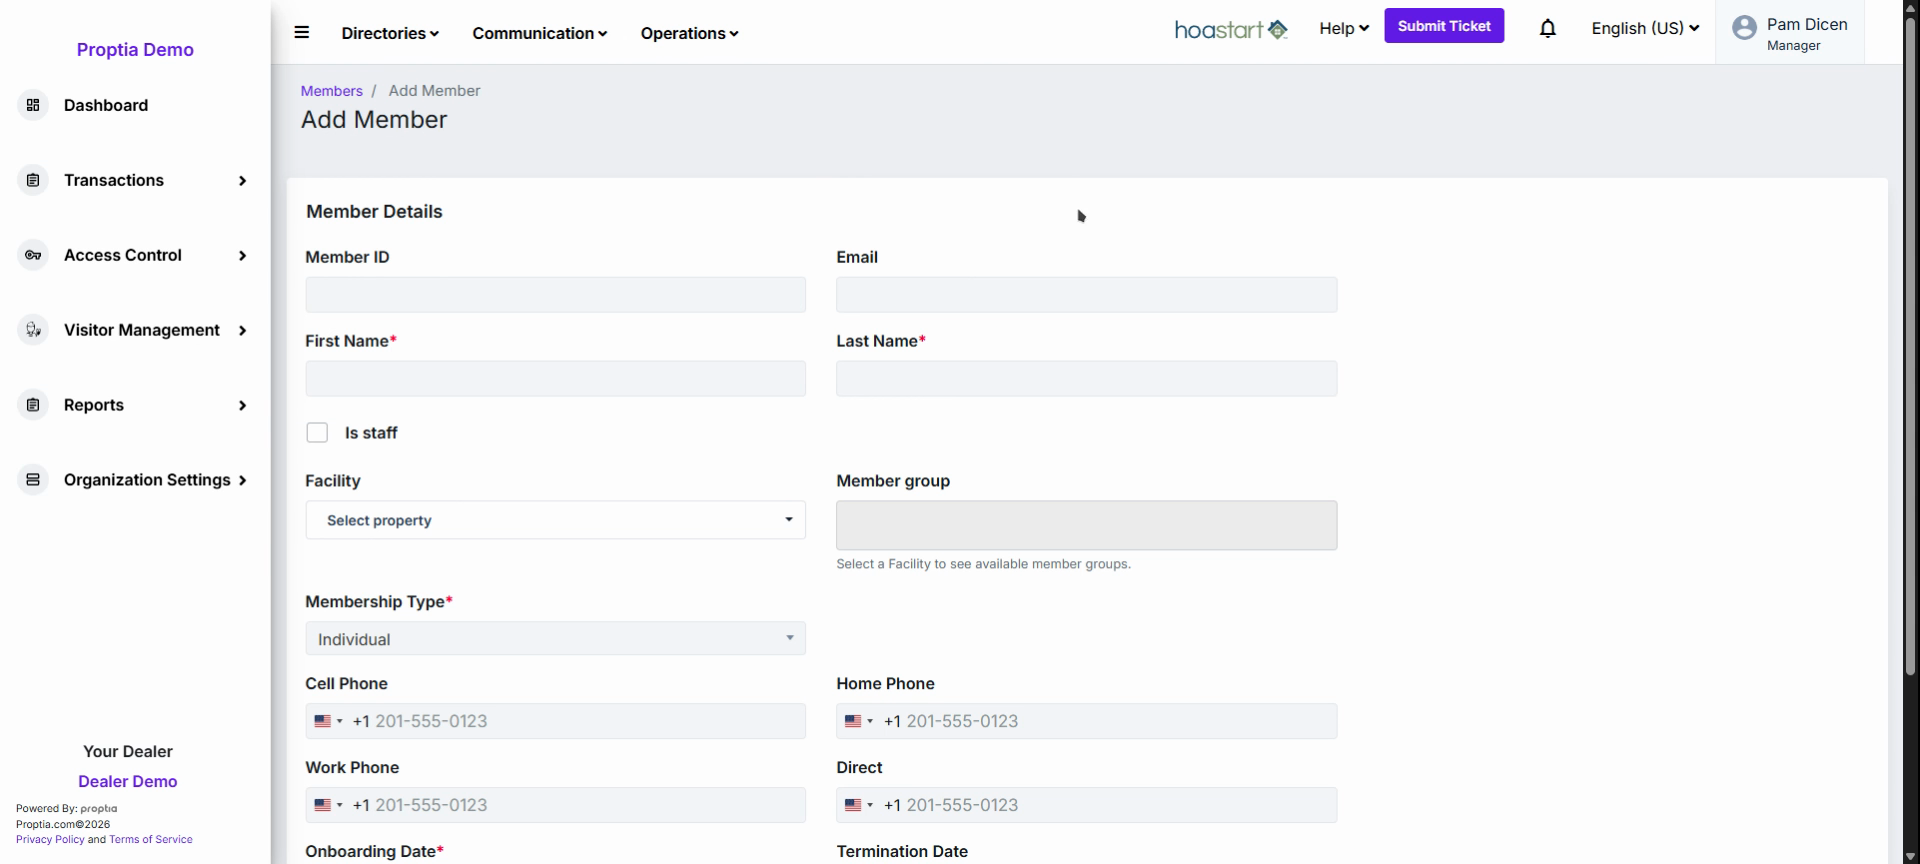
- Check the Is Staff box if the individual is also an employee; system adds them as a member user.
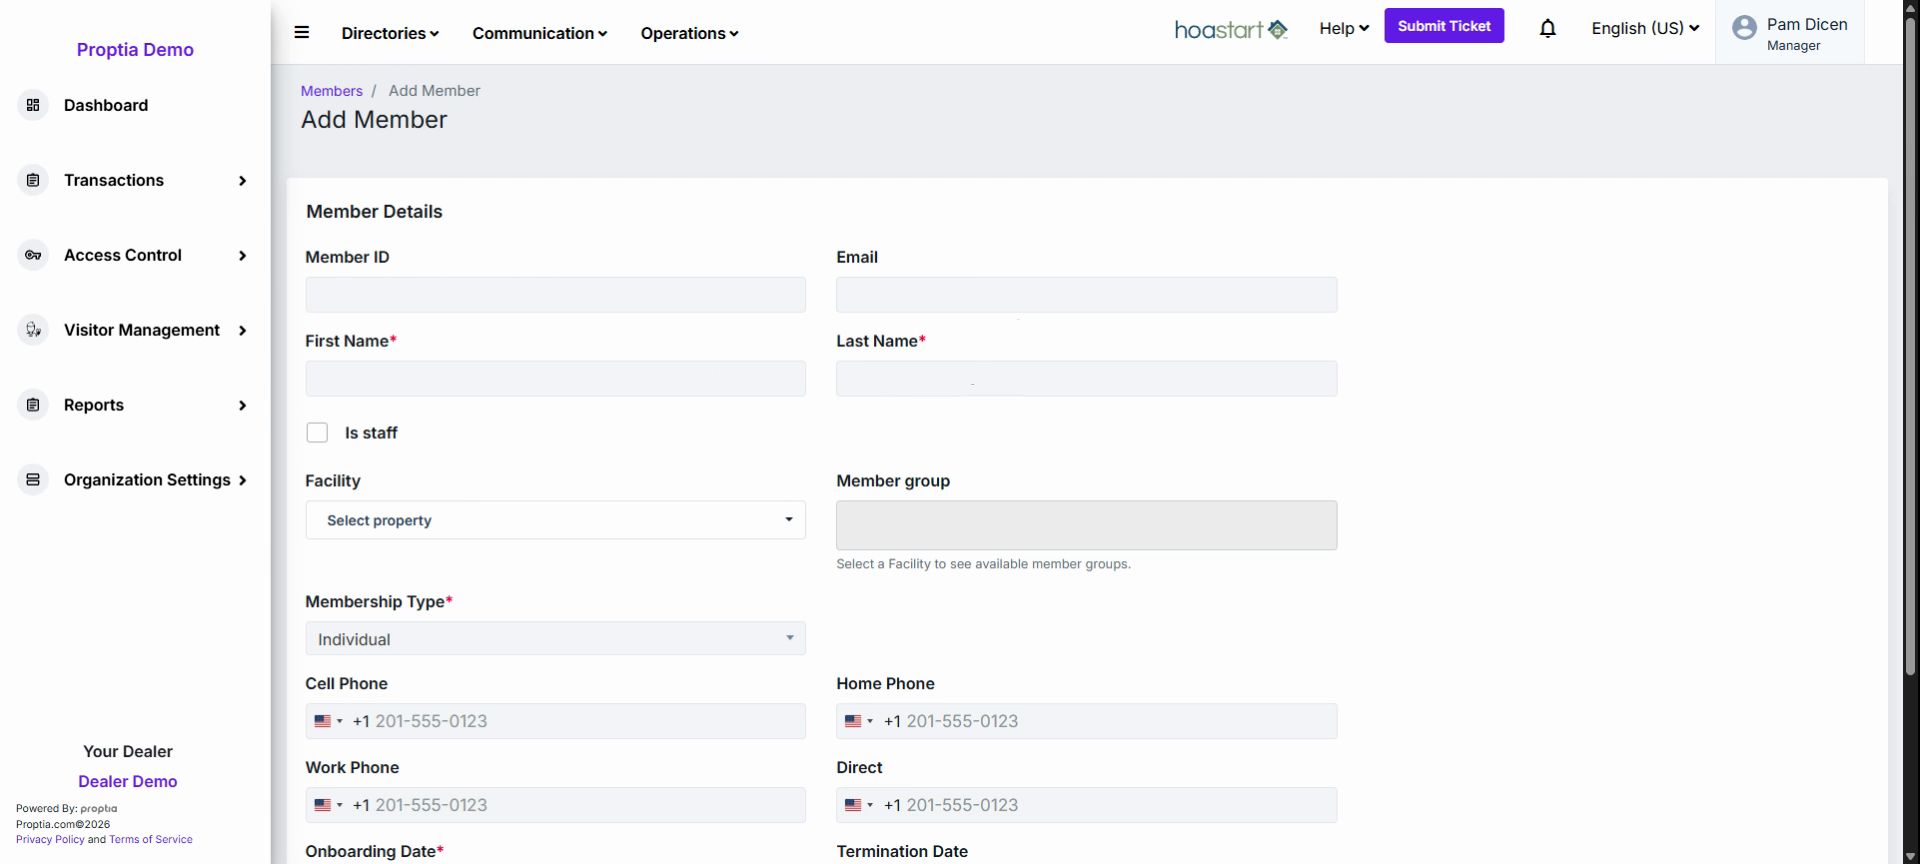
- Select their Primary Member Facility from the dropdown.
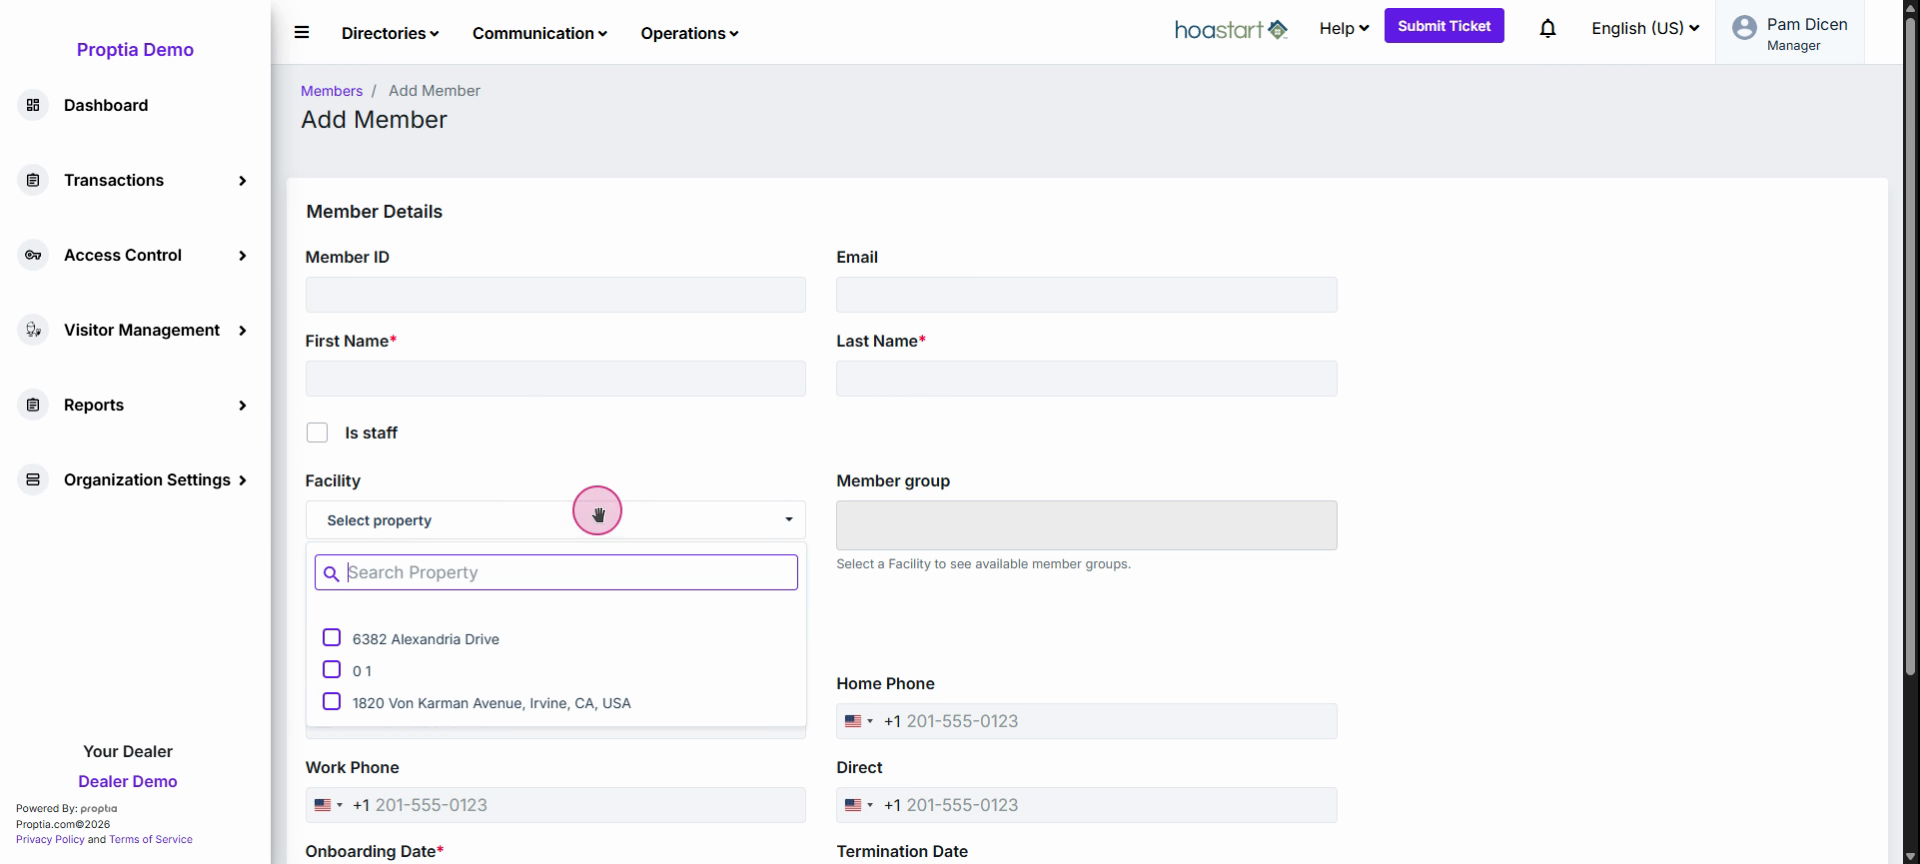
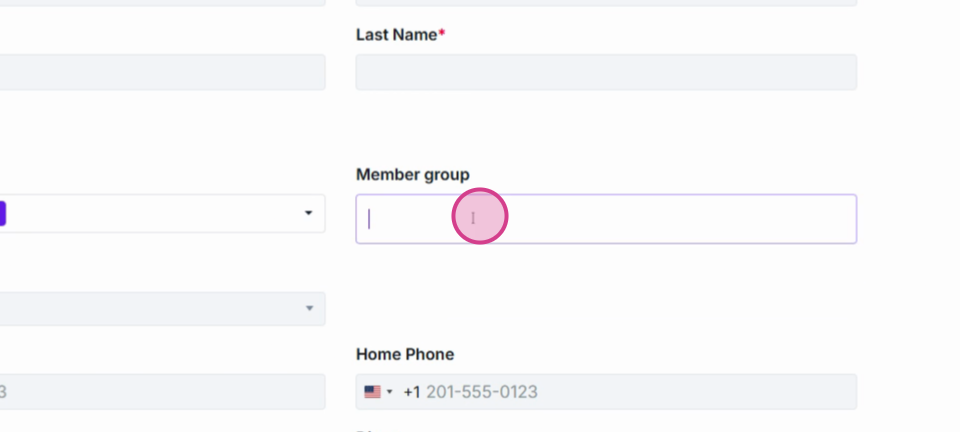
- Choose corresponding Member Group(s). The list updates based on the selected facility, and you can assign multiple groups if necessary.
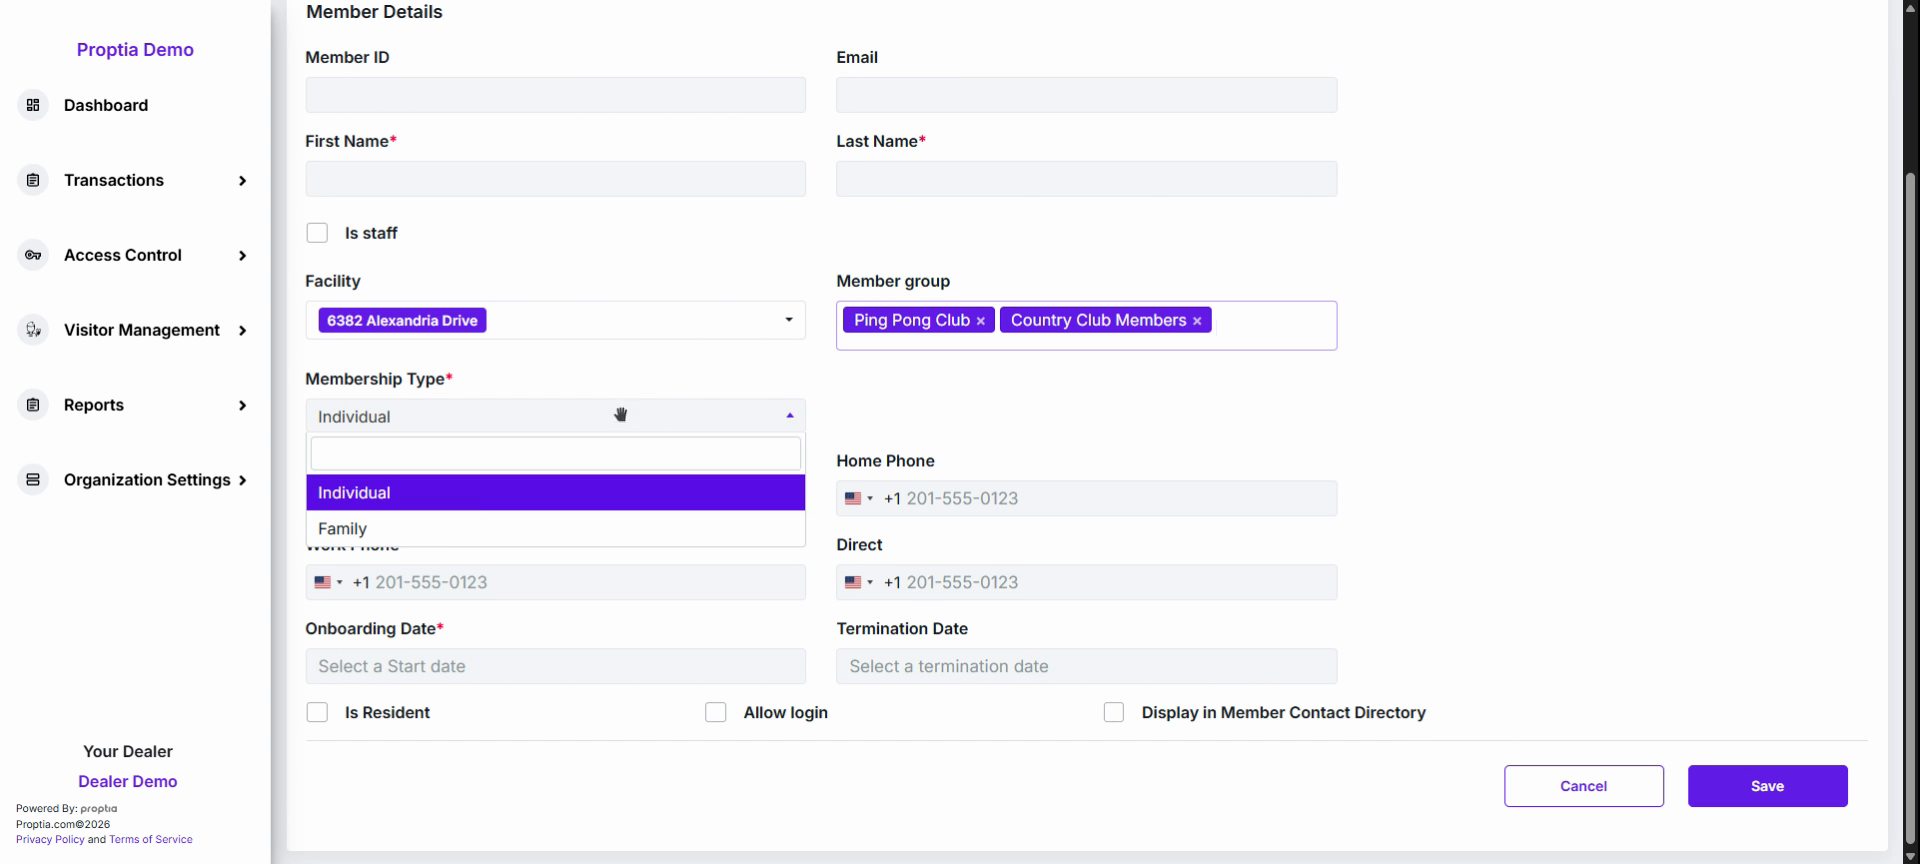
- Select a Membership Type (Individual or Family). For family memberships, specify the associated member.
- Fill in Contact Details such as phone numbers for cell, home, work, and direct lines.
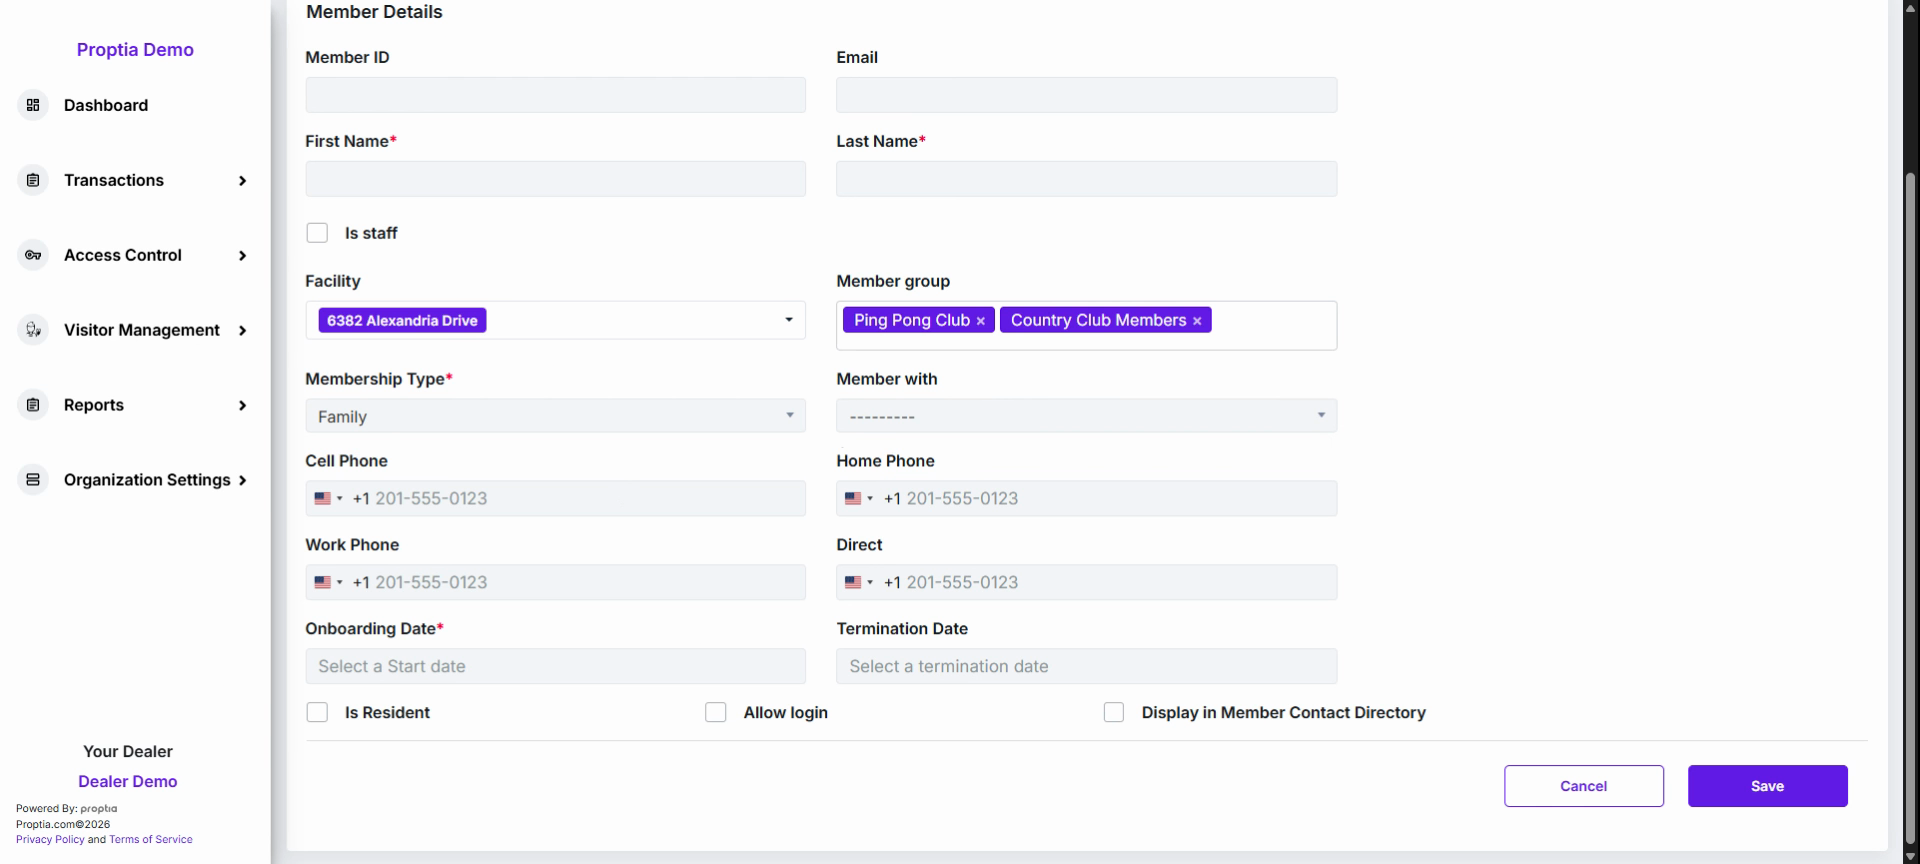
- Set Onboarding/Activation Date and optional Termination Date. Future-dated onboarding places members in "Pending" status.
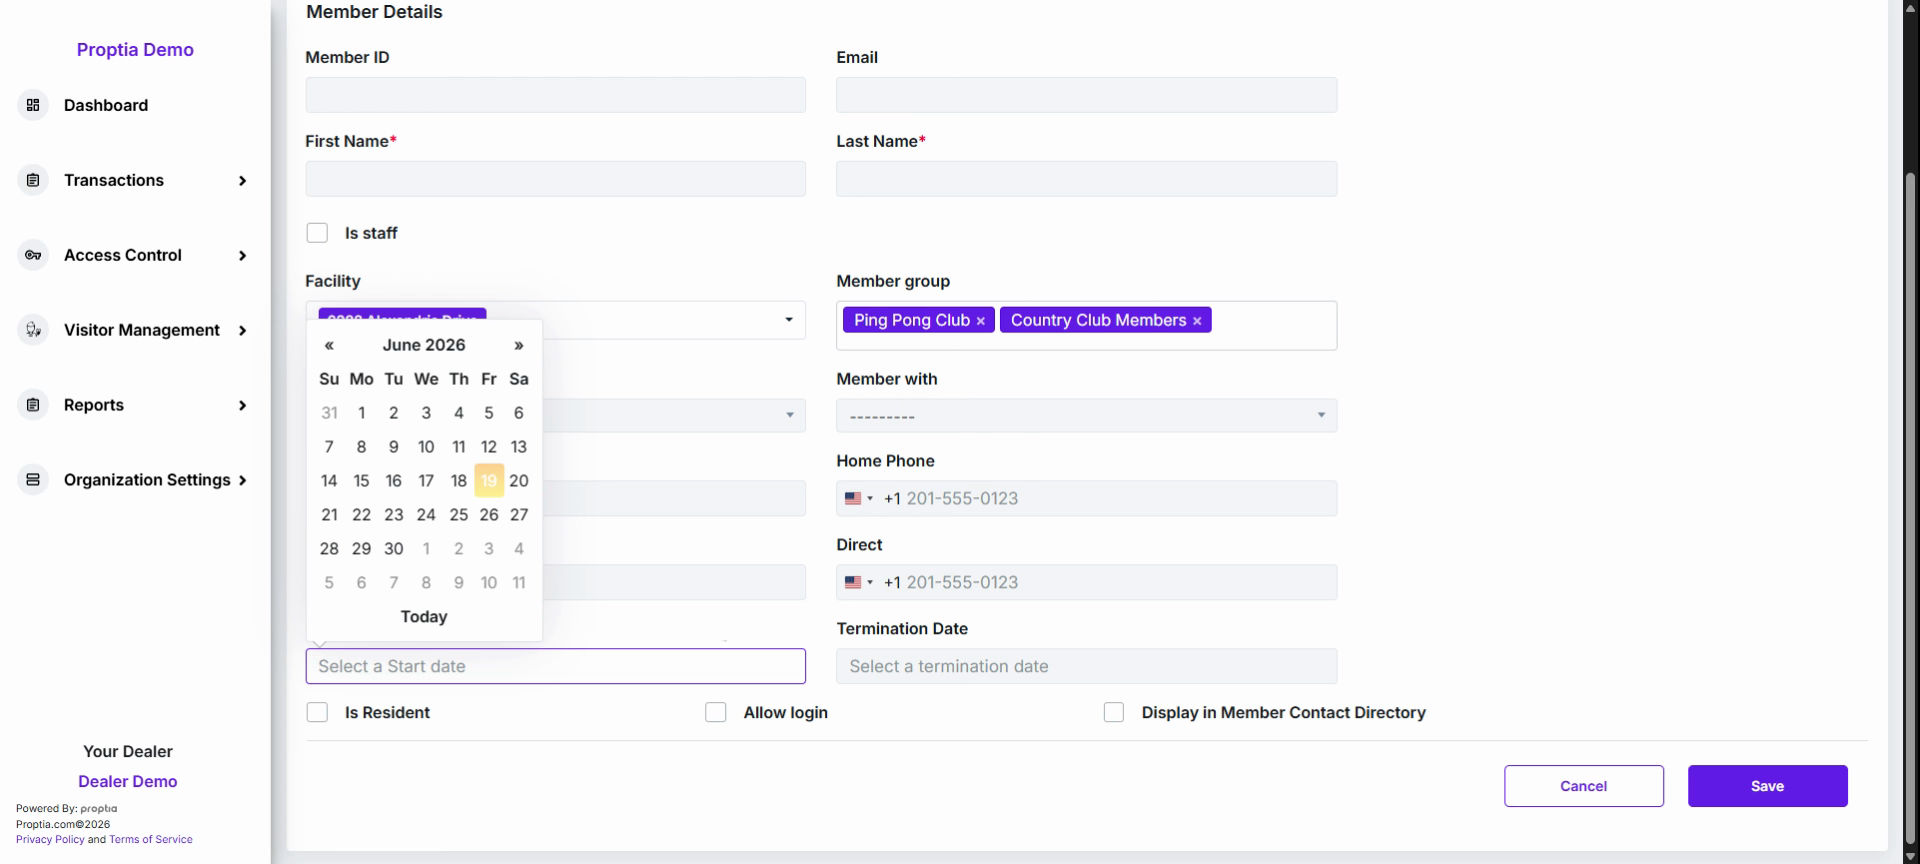
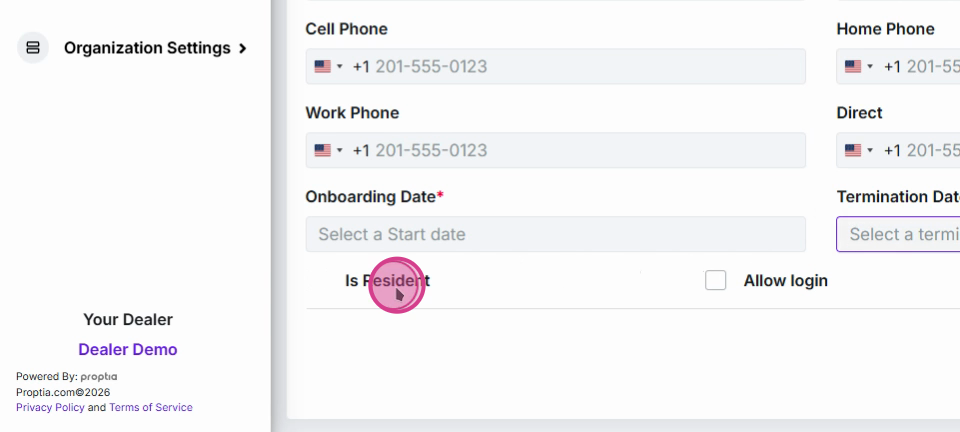
- Use toggle switches for Is Resident, Allow Login, and Show In Directory as needed.
Click Save to add the new member to your database.
Module 4: Manage Existing Members
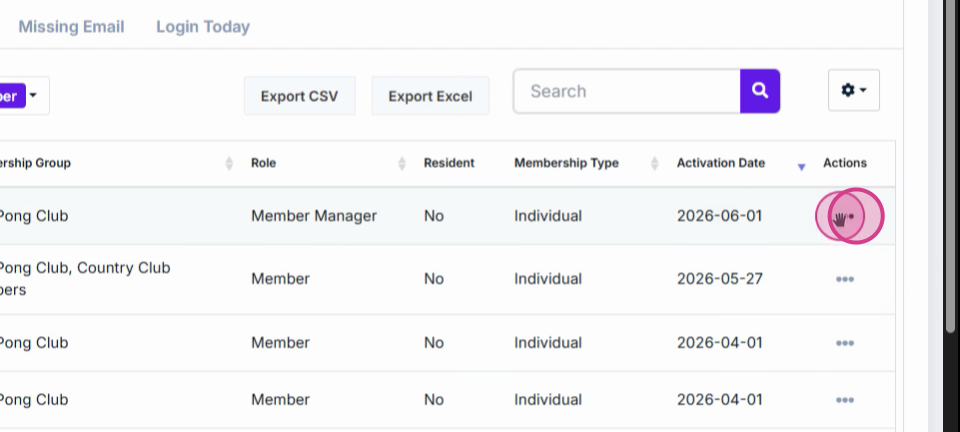
Locate the member you wish to update, then click the ellipses (...) at the right of their row and select View to access their profile.
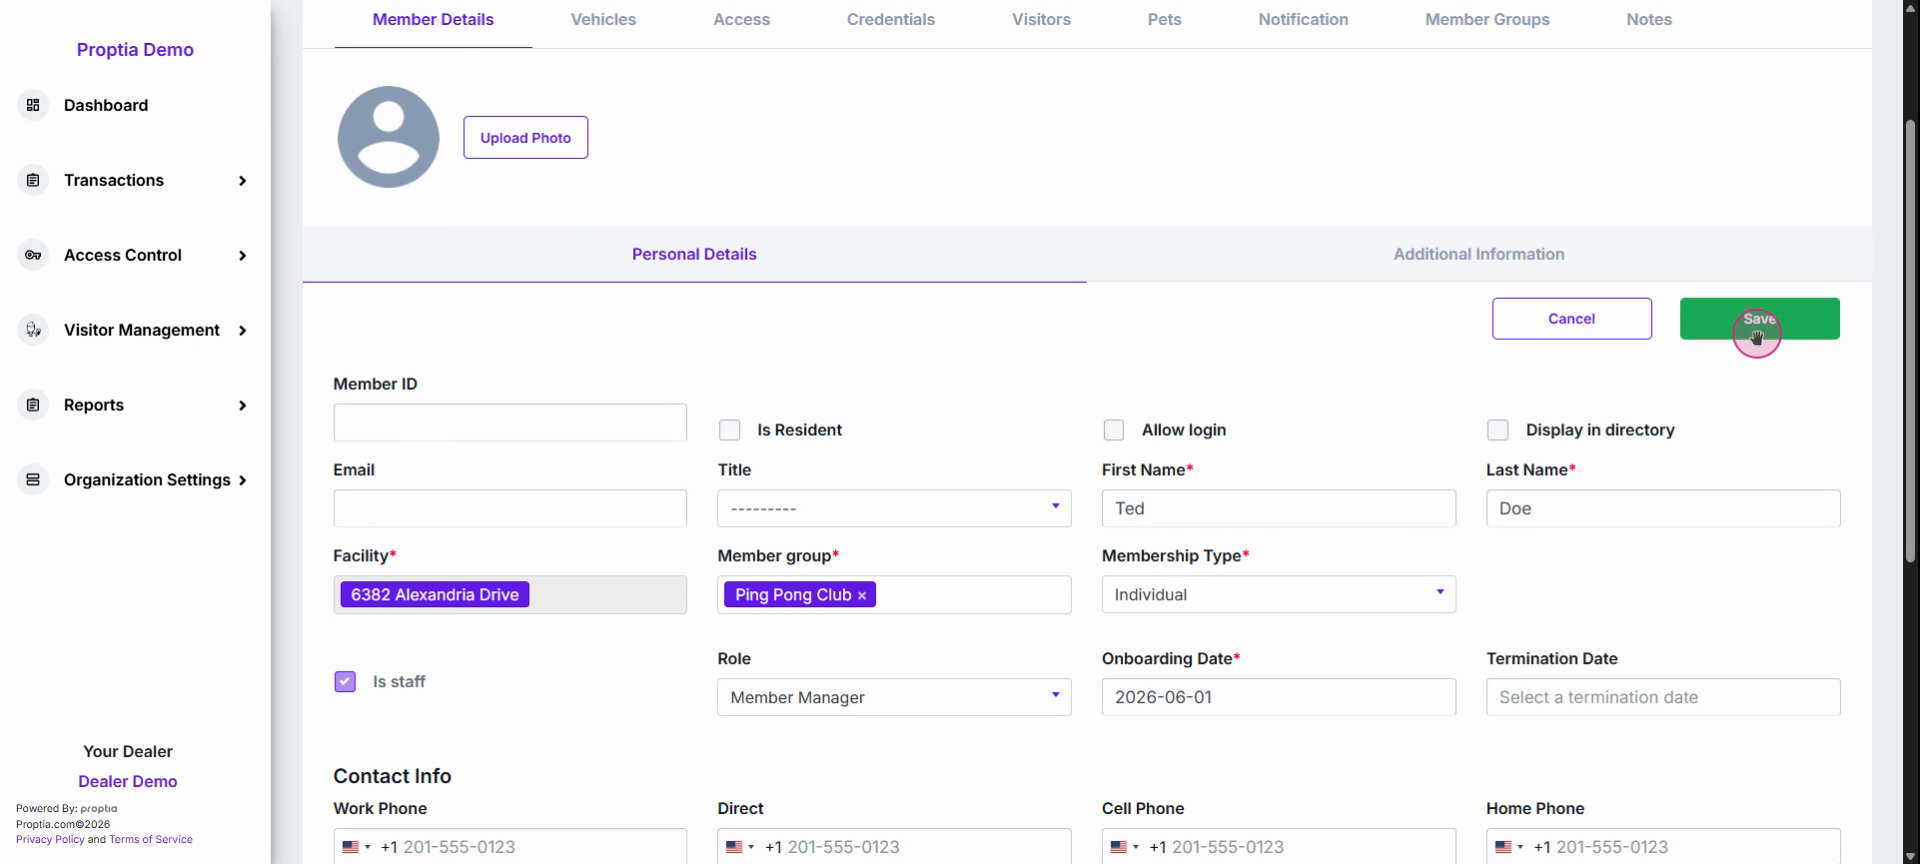
Audit their personal information and switch between tabs to view their associated vehicles, access levels, credentials, visitors, pets, notifications, member groups, and any notes for gate attendants.
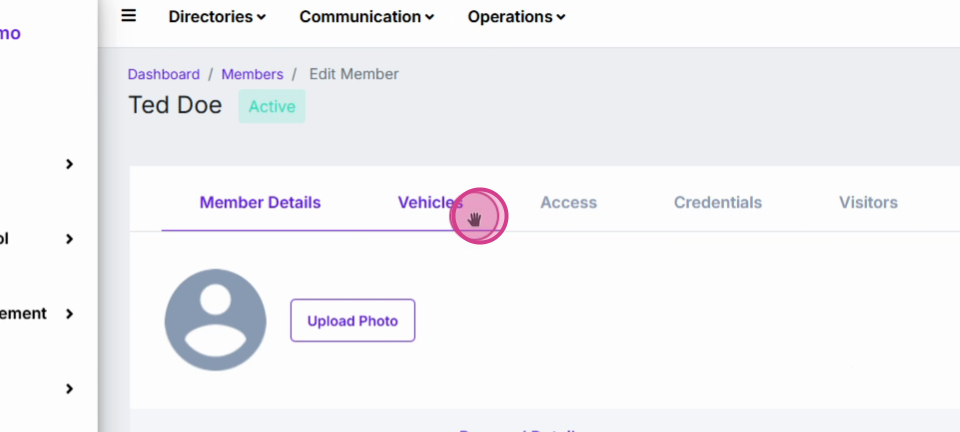
To update details, click the Edit button (purple pencil icon), make your changes, and click Save.
Pro Tip
Regularly update member statuses and group listings to keep your community database accurate. Quick use of filters and exports helps you stay on top of changes and ensures communication only reaches the intended audiences.