How to Manage Your Attendant Directory
Managing your attendants—whether gate guards, front desk personnel, or virtual operators—is the foundation of secure, seamless community operations. Proptia’s attendant directory lets you organize, monitor, and control access in just a few clicks.
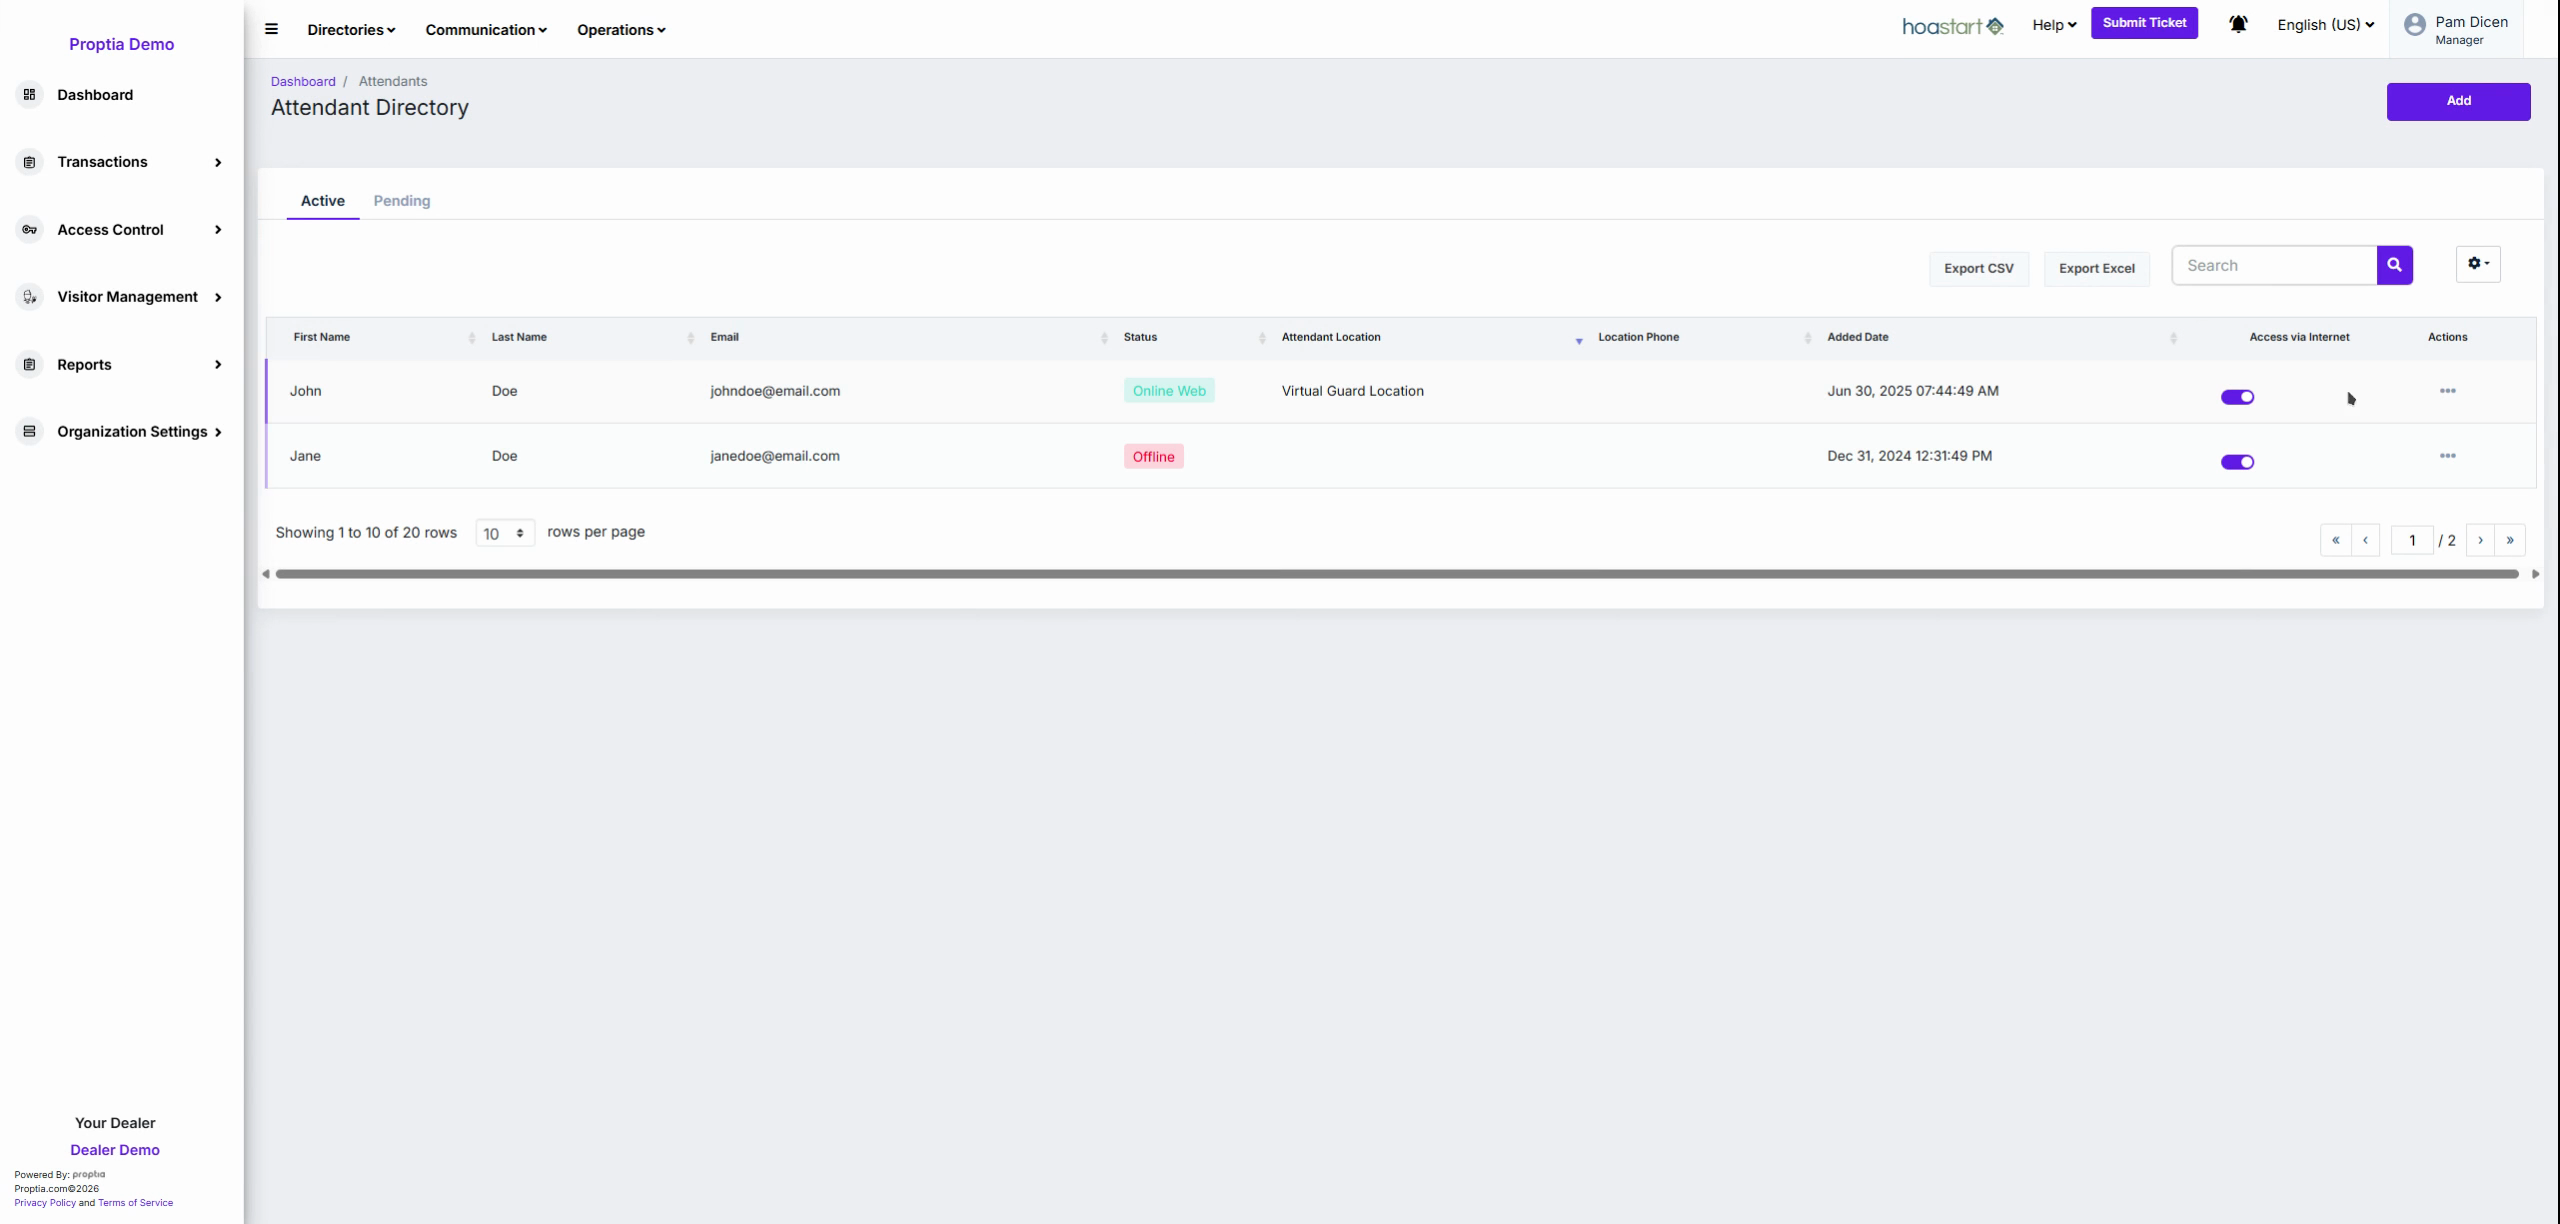
Module 1: Access the Attendant Directory
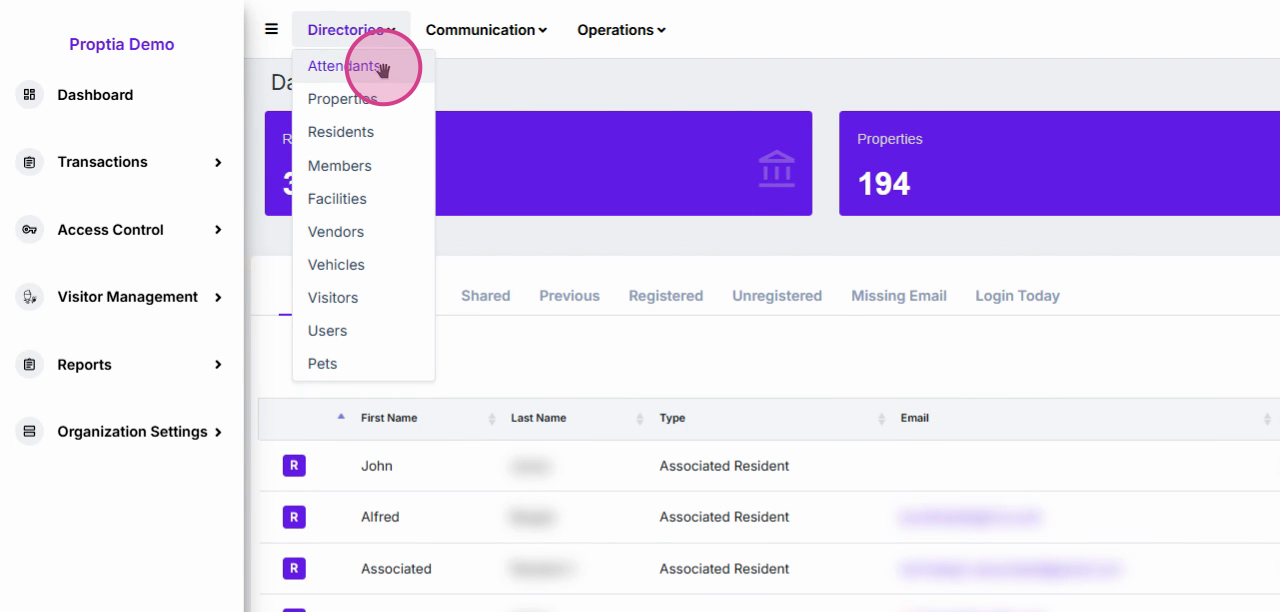
Navigate to the top menu and click Directories.
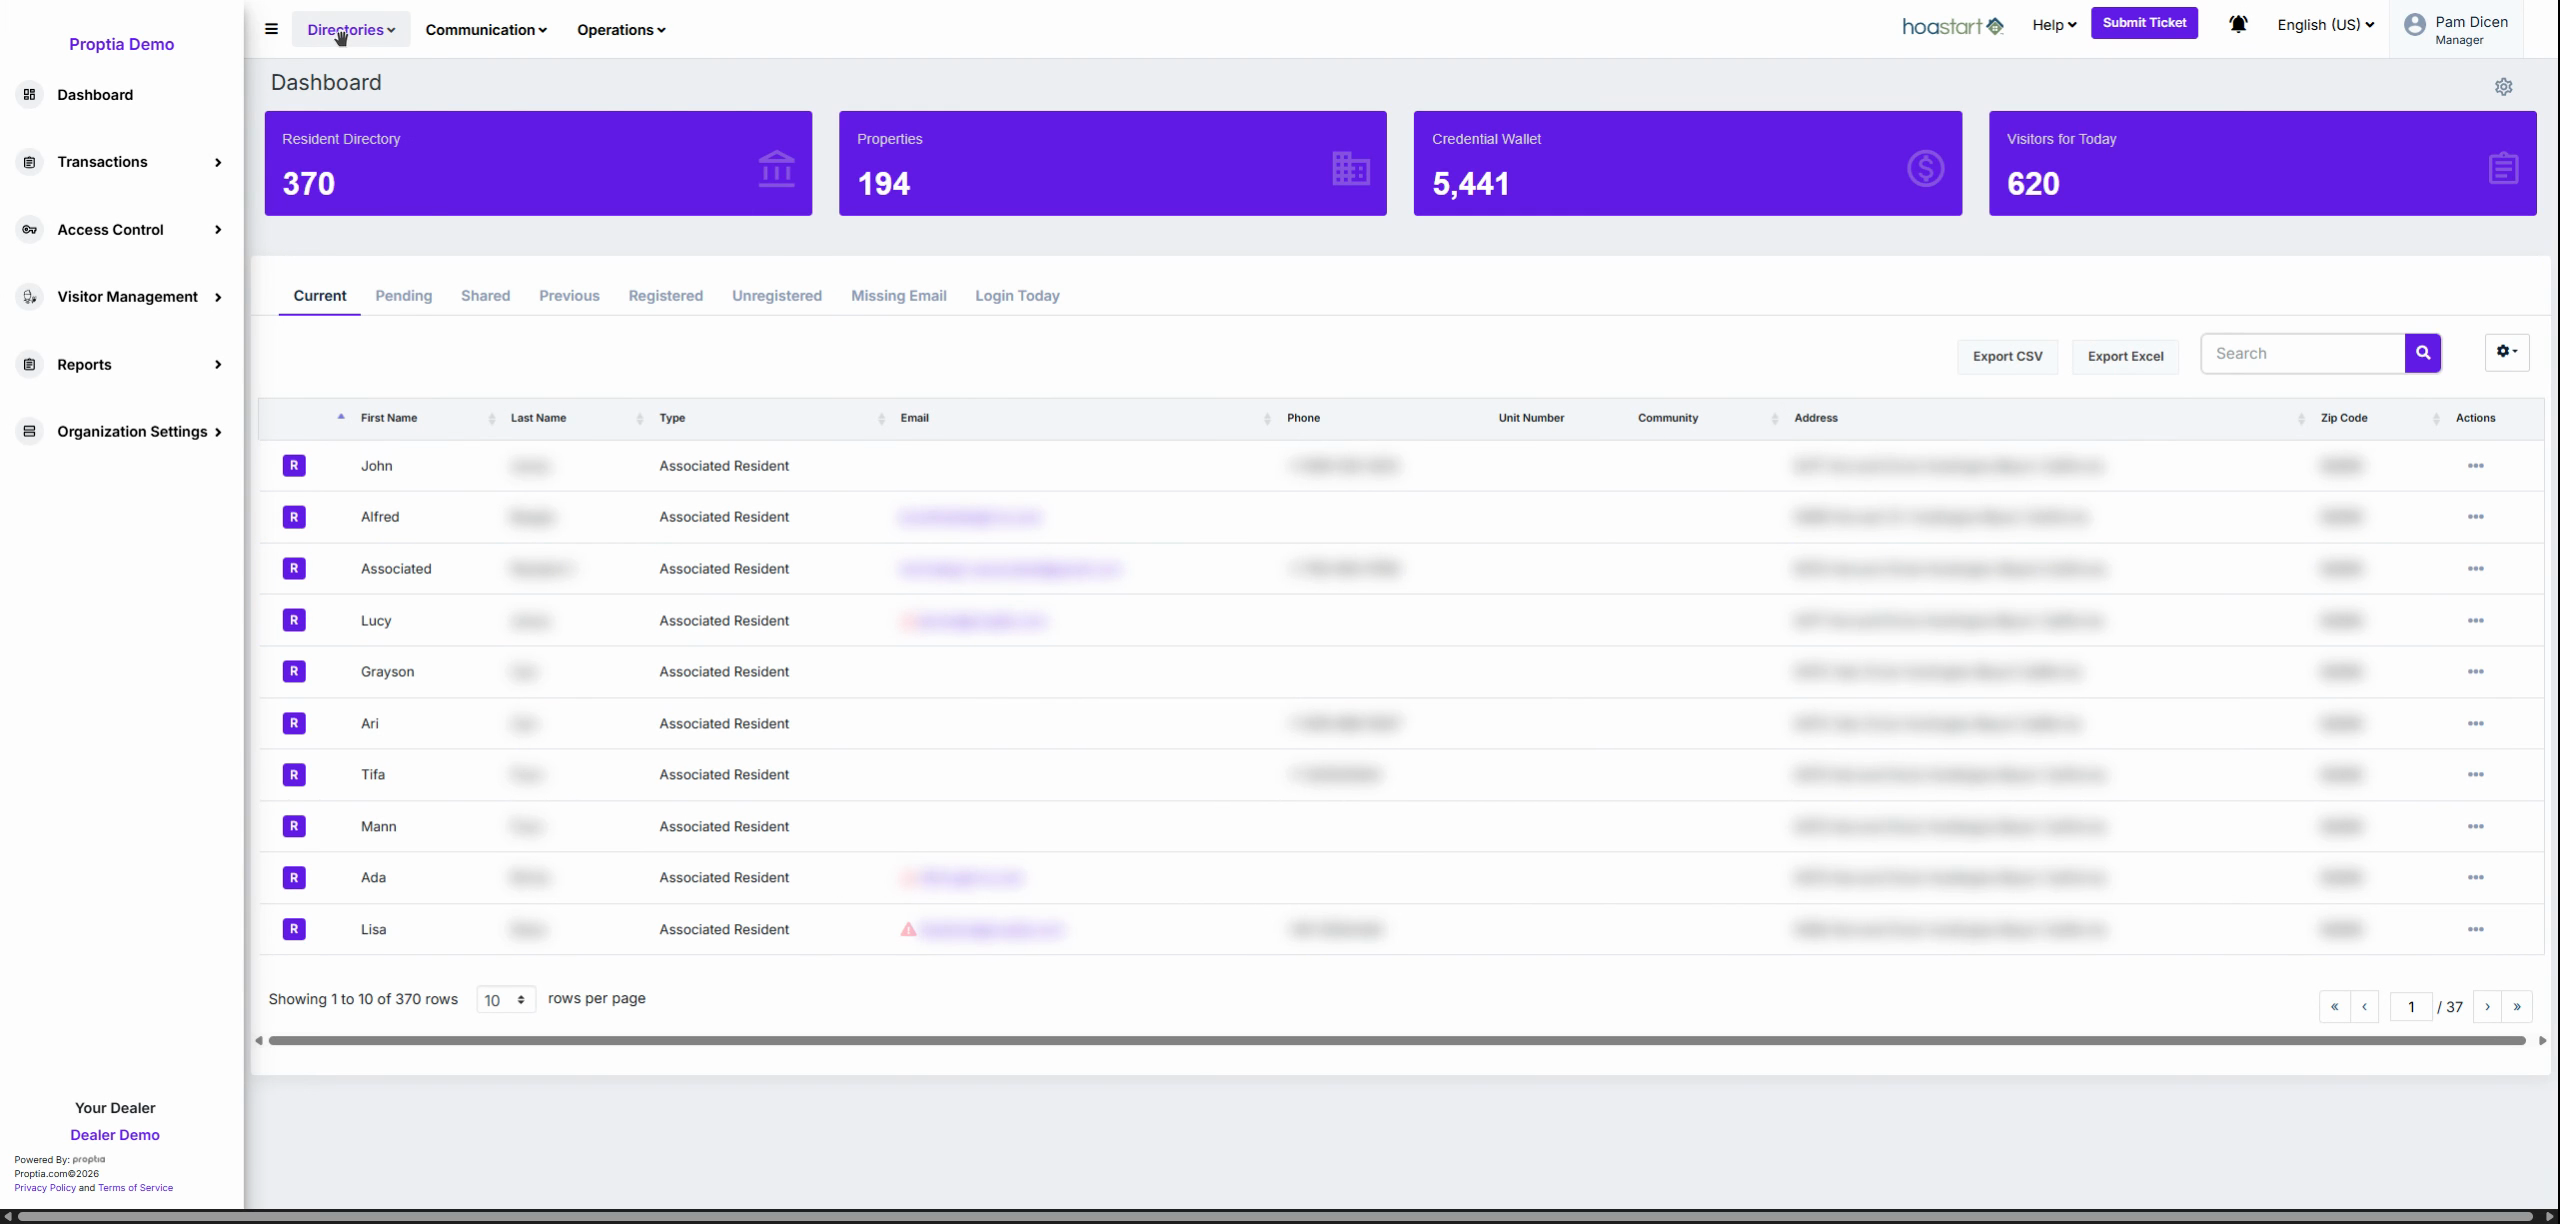
Select Attendance from the dropdown to open the main attendant directory.
Module 2: Organize and Review Your Attendant List
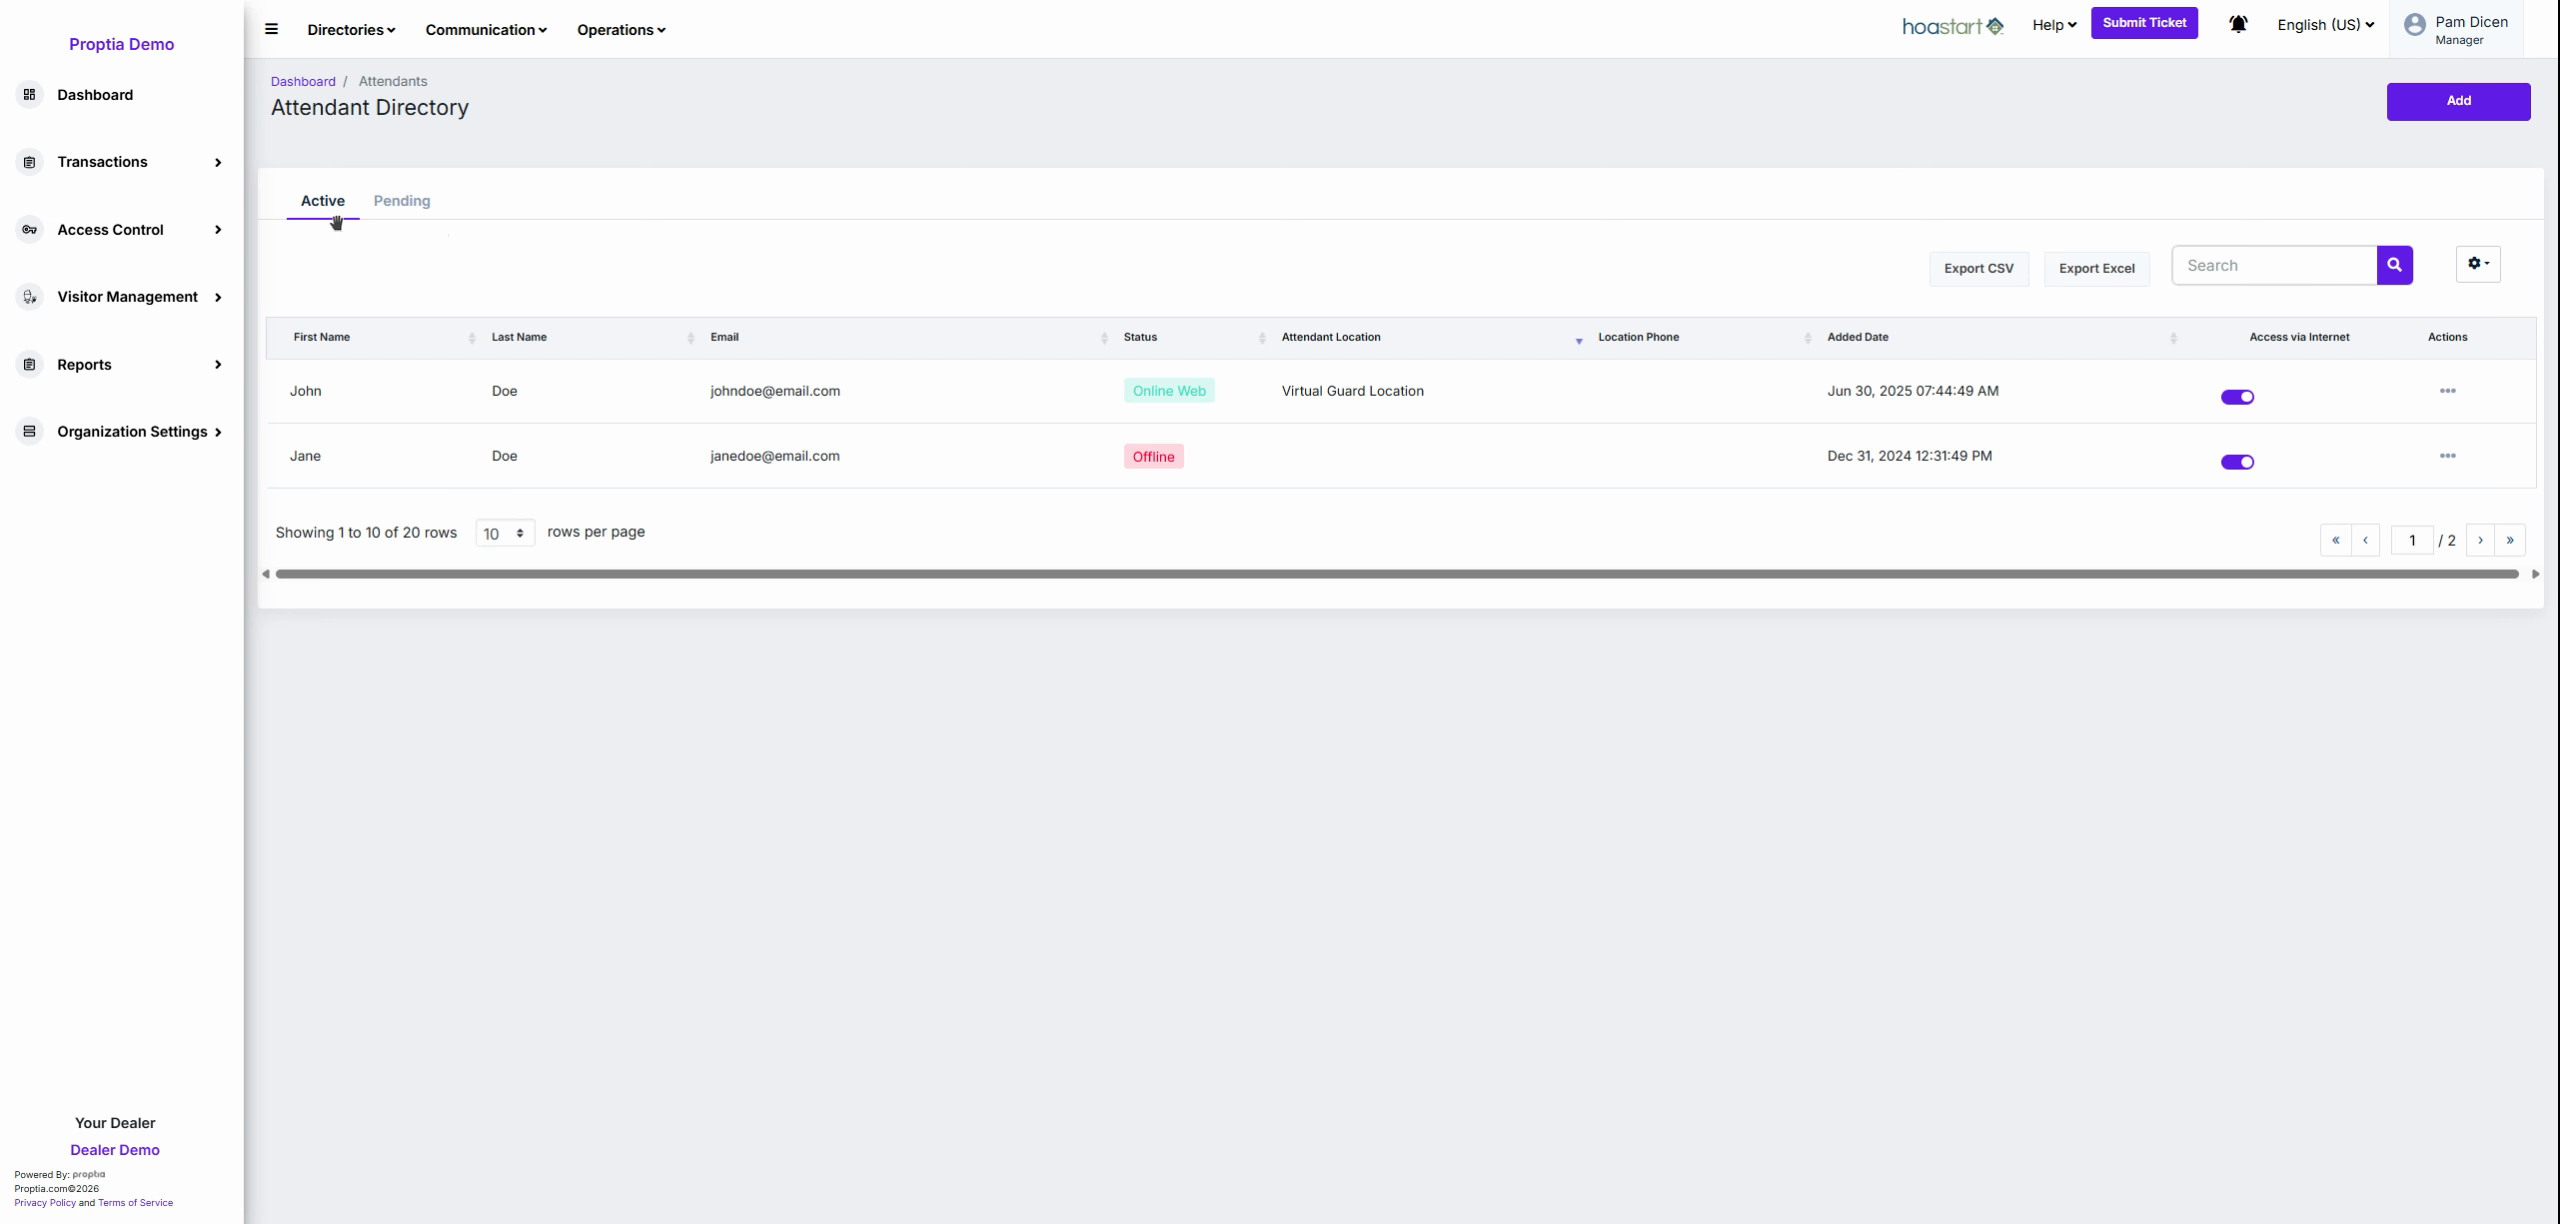
Select either the Active tab (for currently authorized attendants) or the Pending tab (for new attendants awaiting activation) at the top of the directory. This helps separate fully-activated team members from those still onboarding.
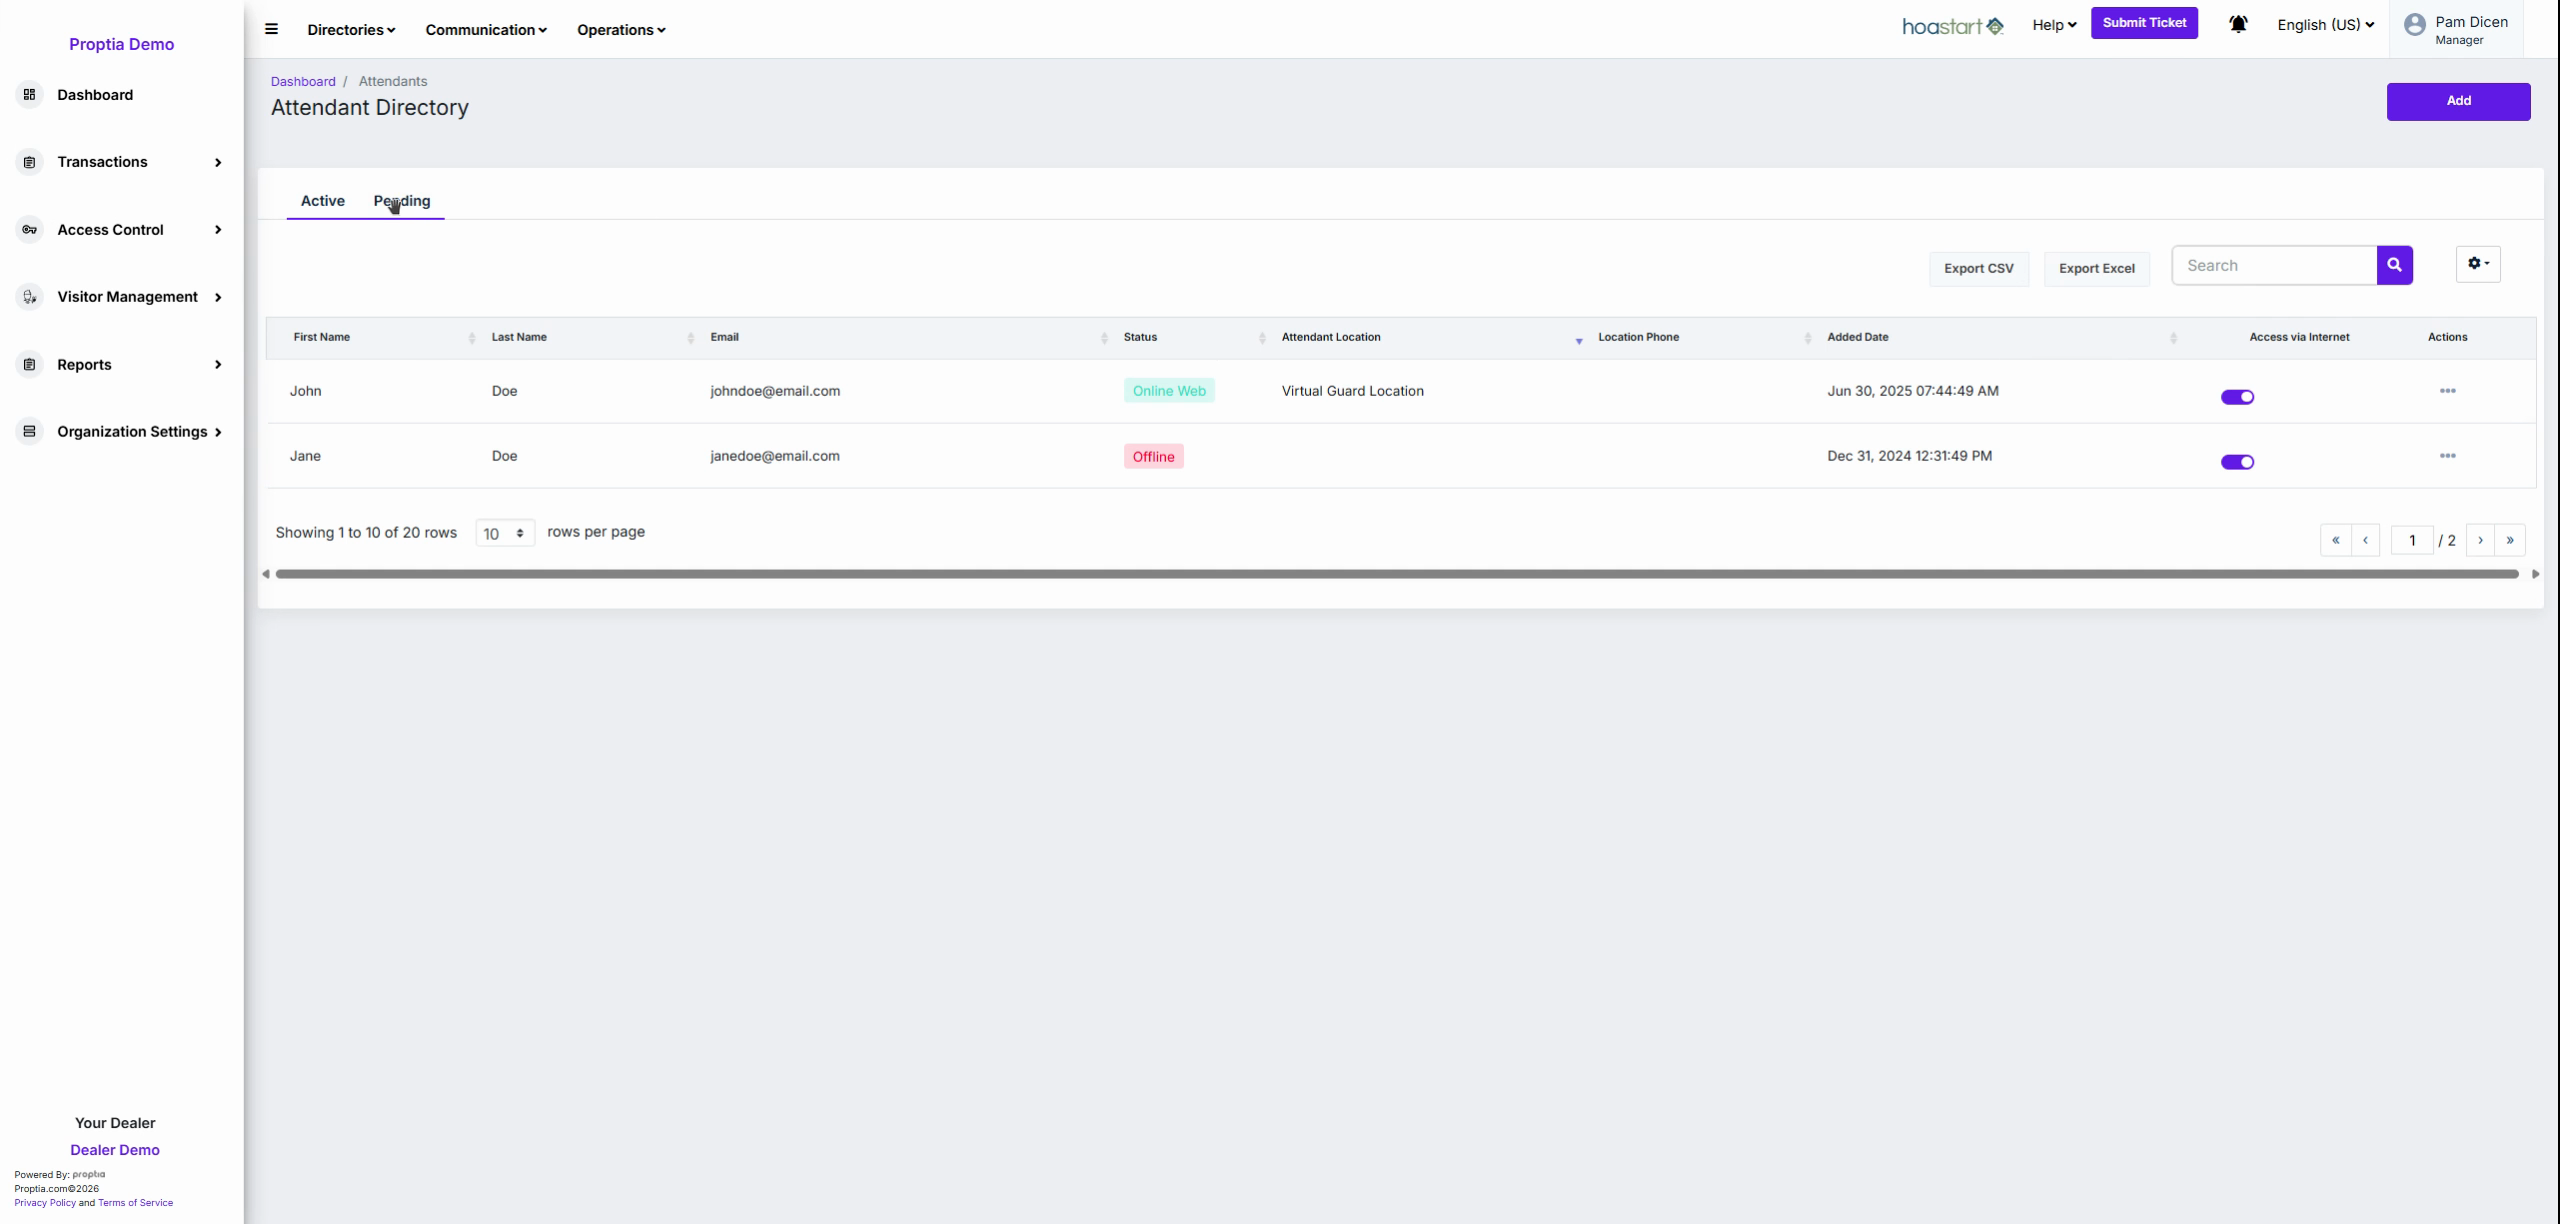
Click on a column header, such as Name, Location, or Status, to sort attendants instantly.
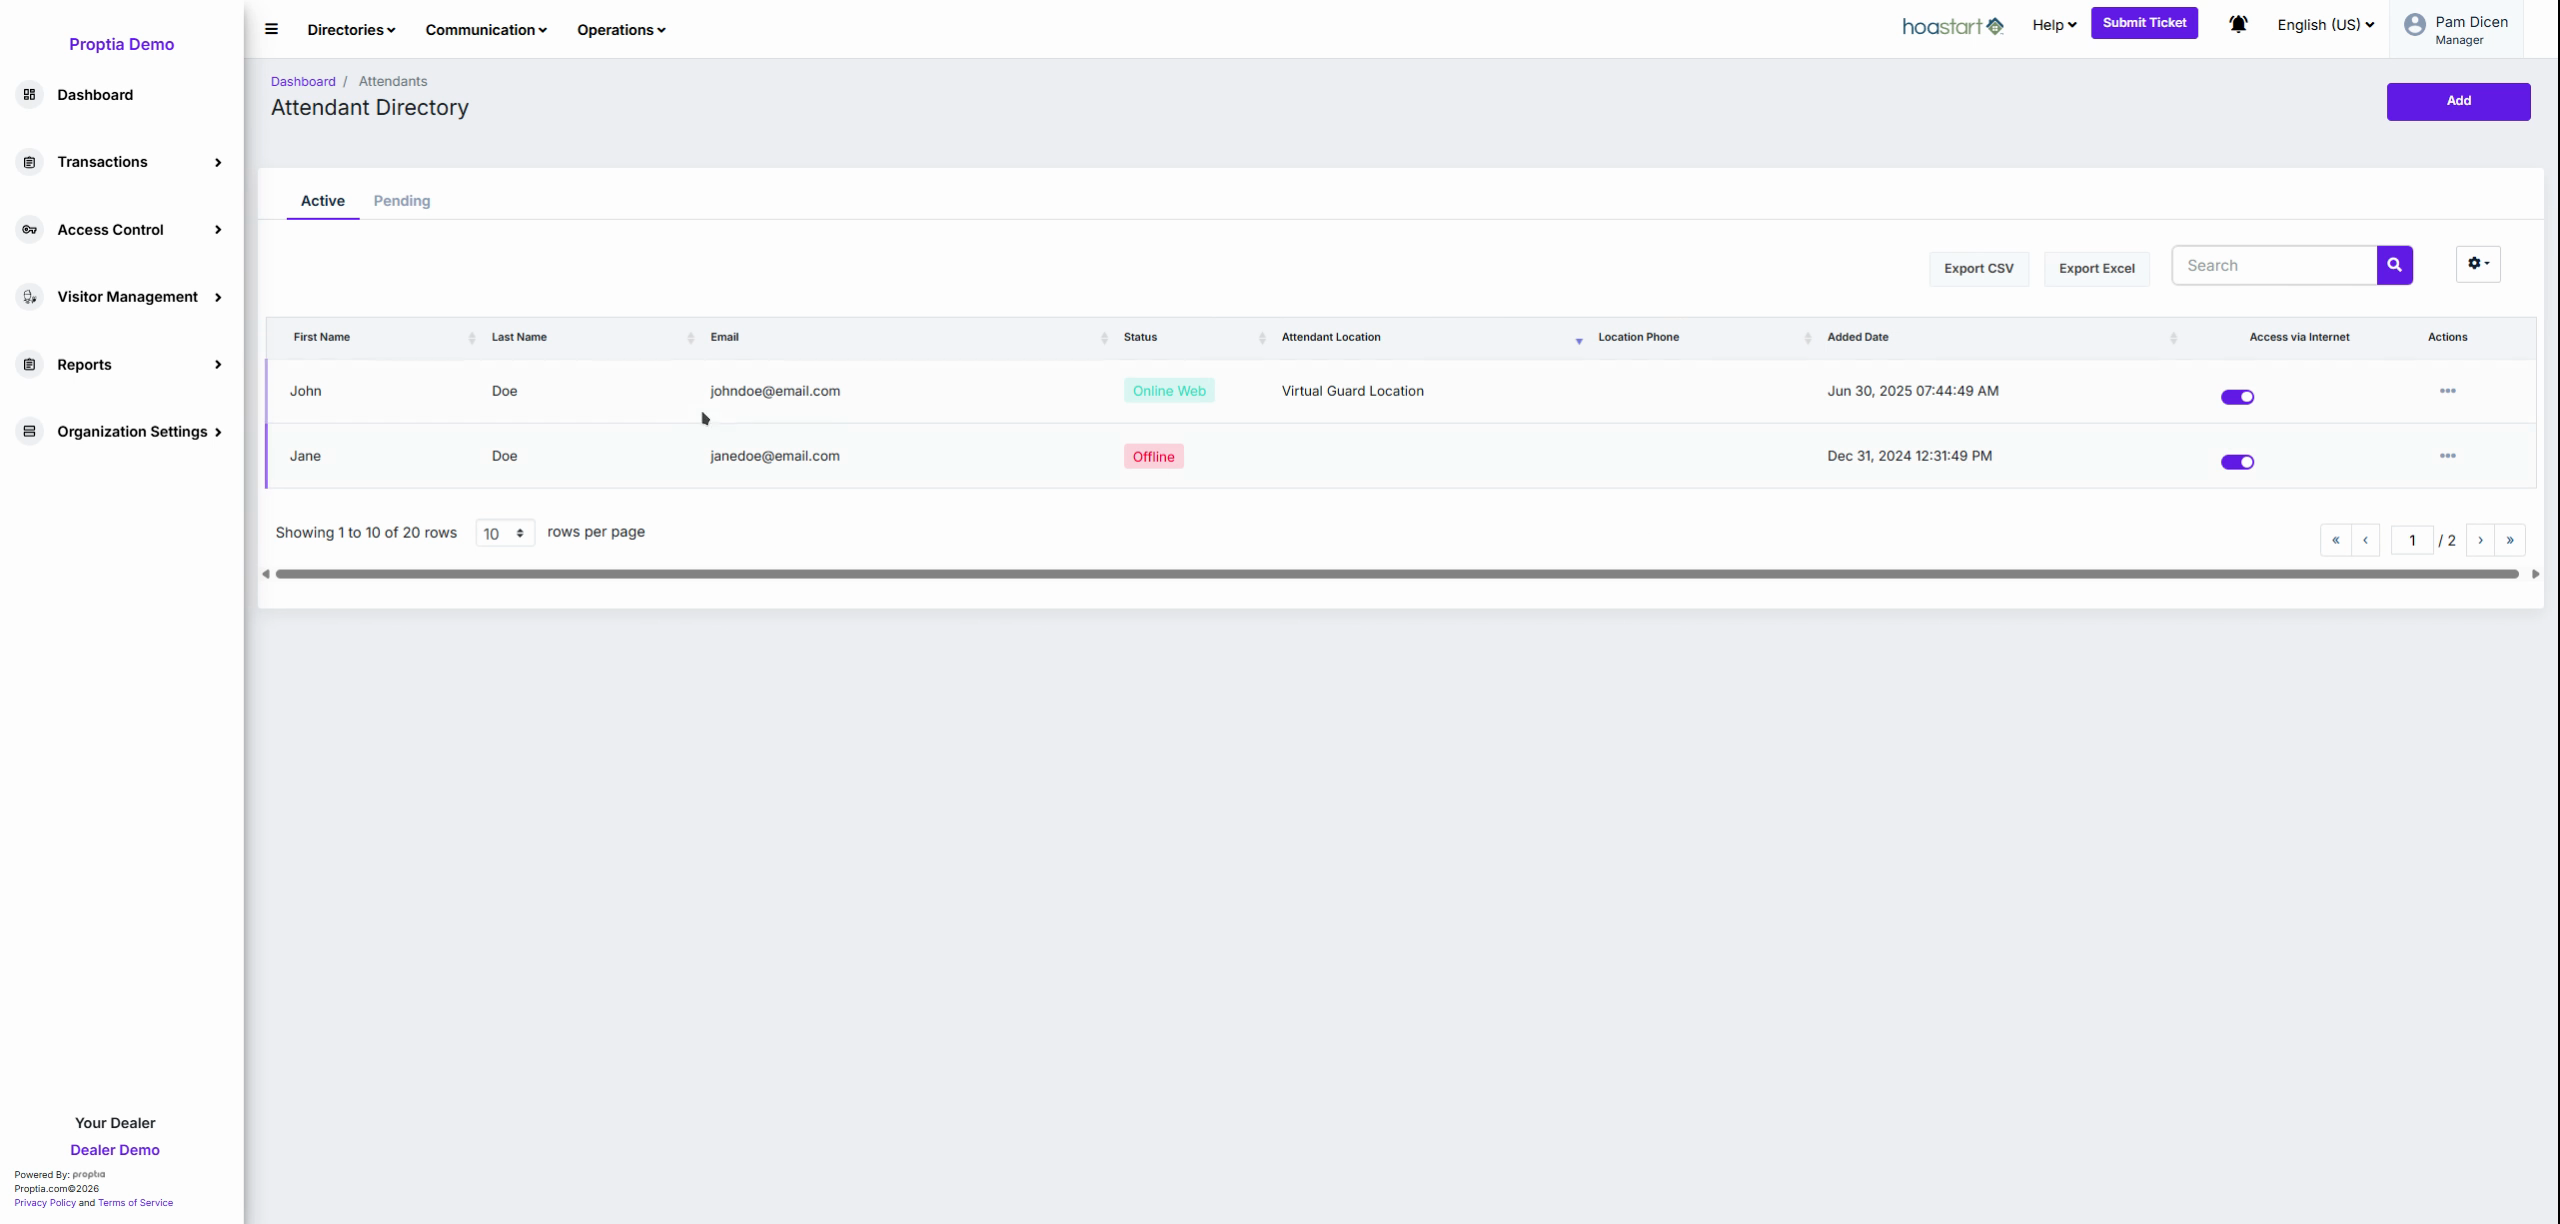
Enter a name or email in the Search box at the top right to locate a specific attendant quickly.
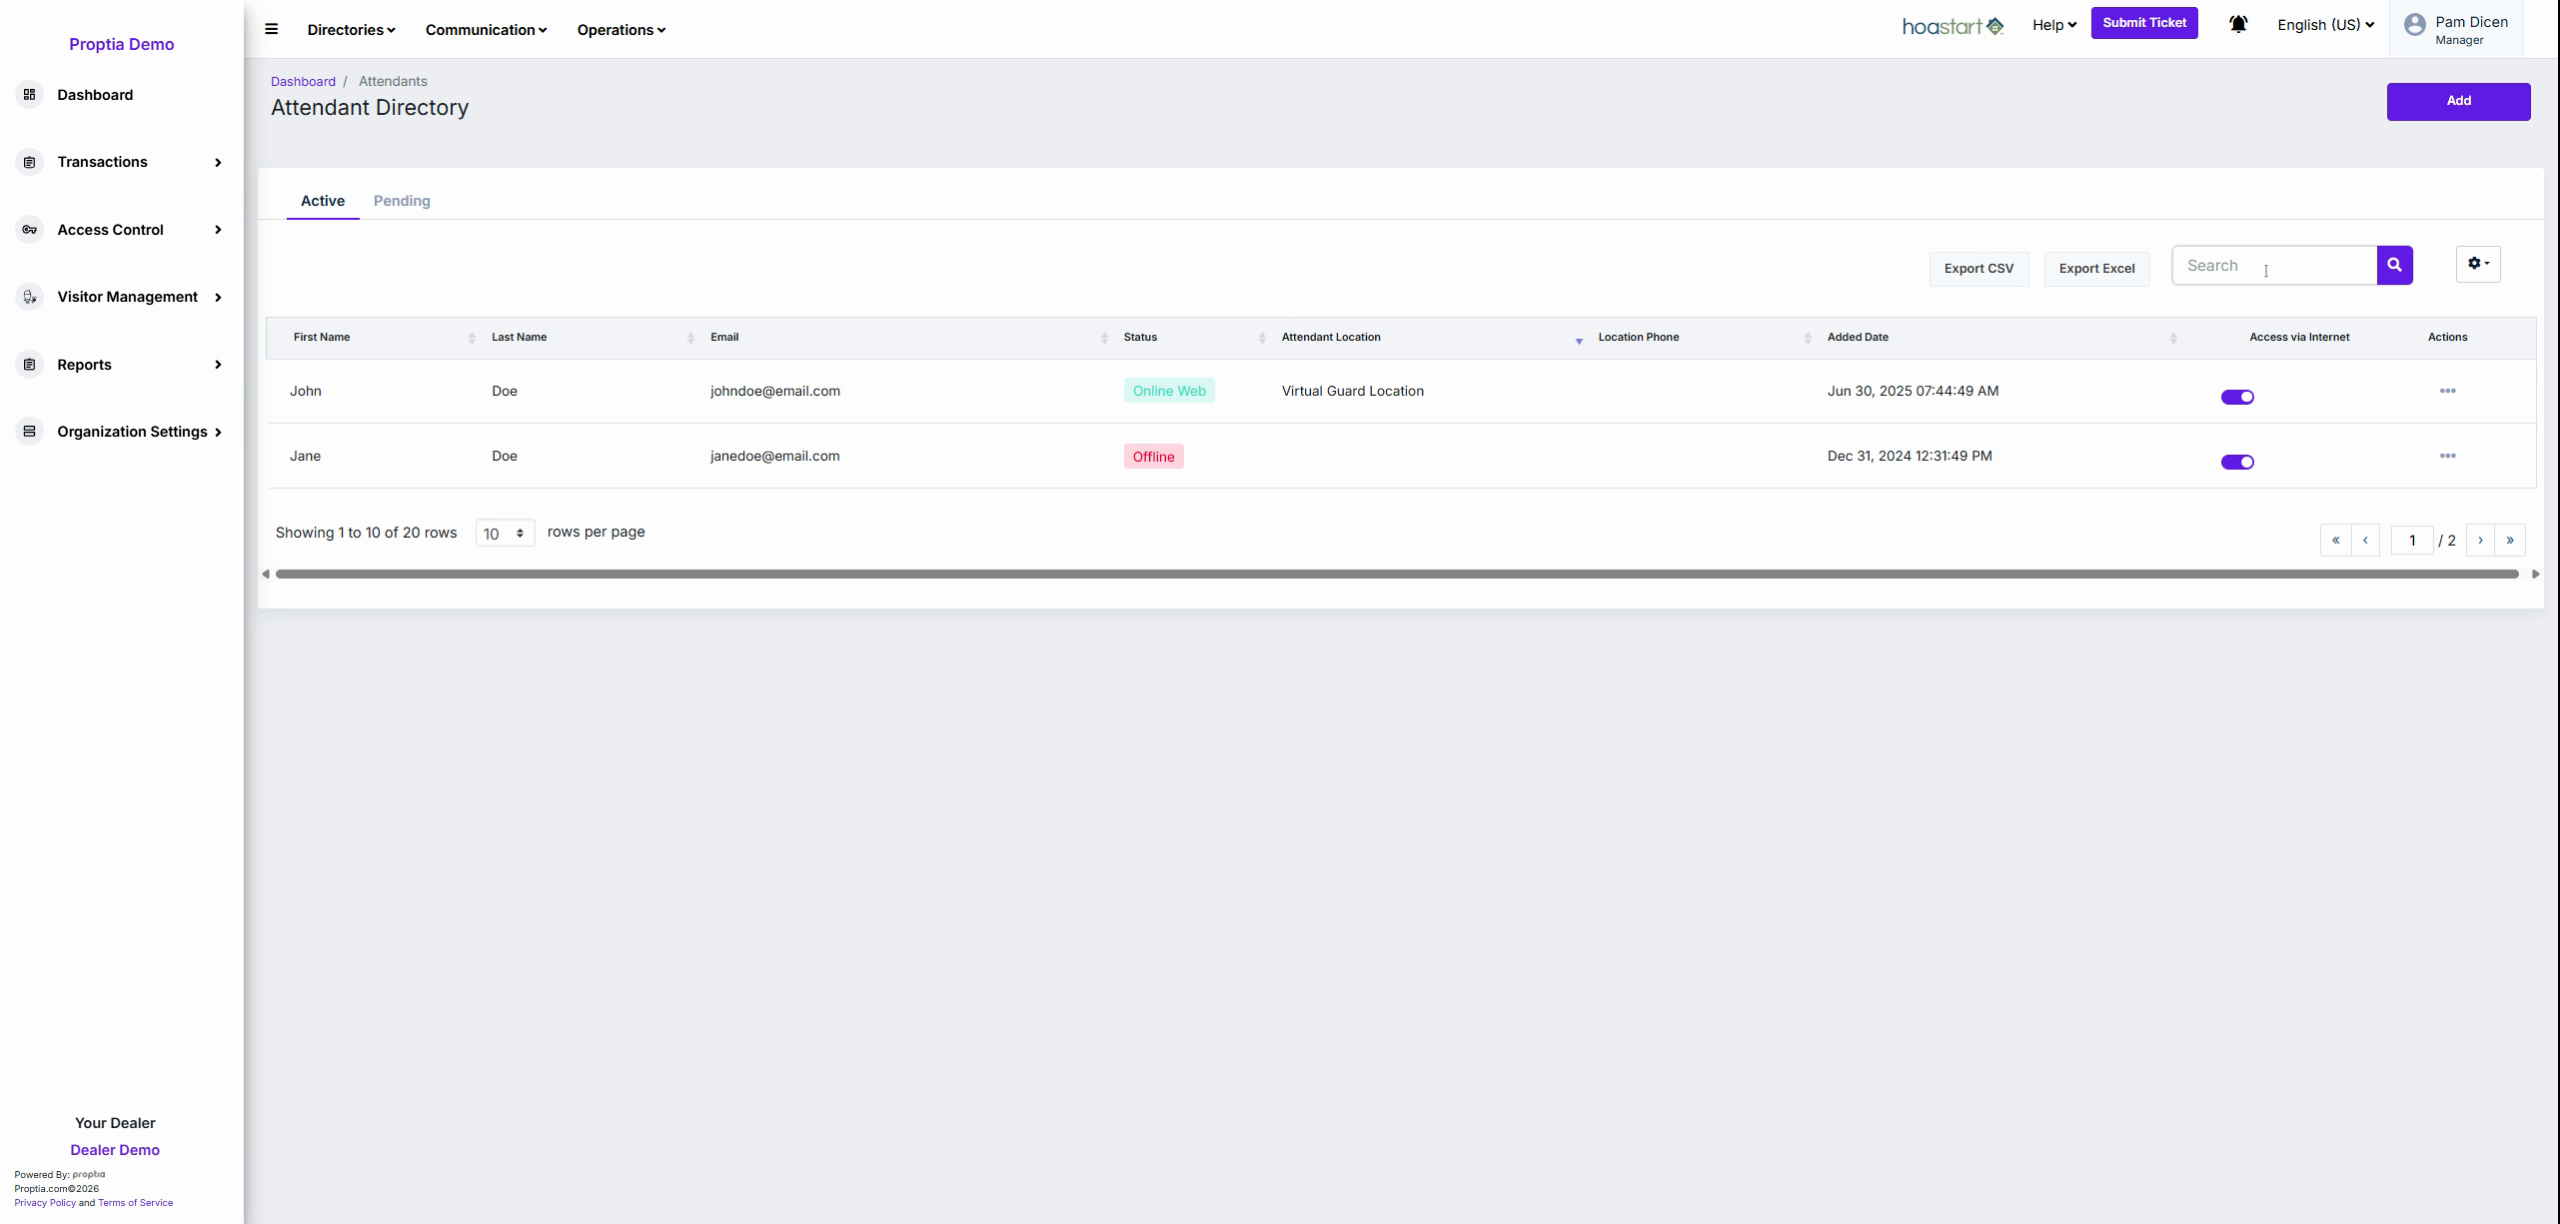
Click Export Excel to download your entire attendant list for external reference or reporting.
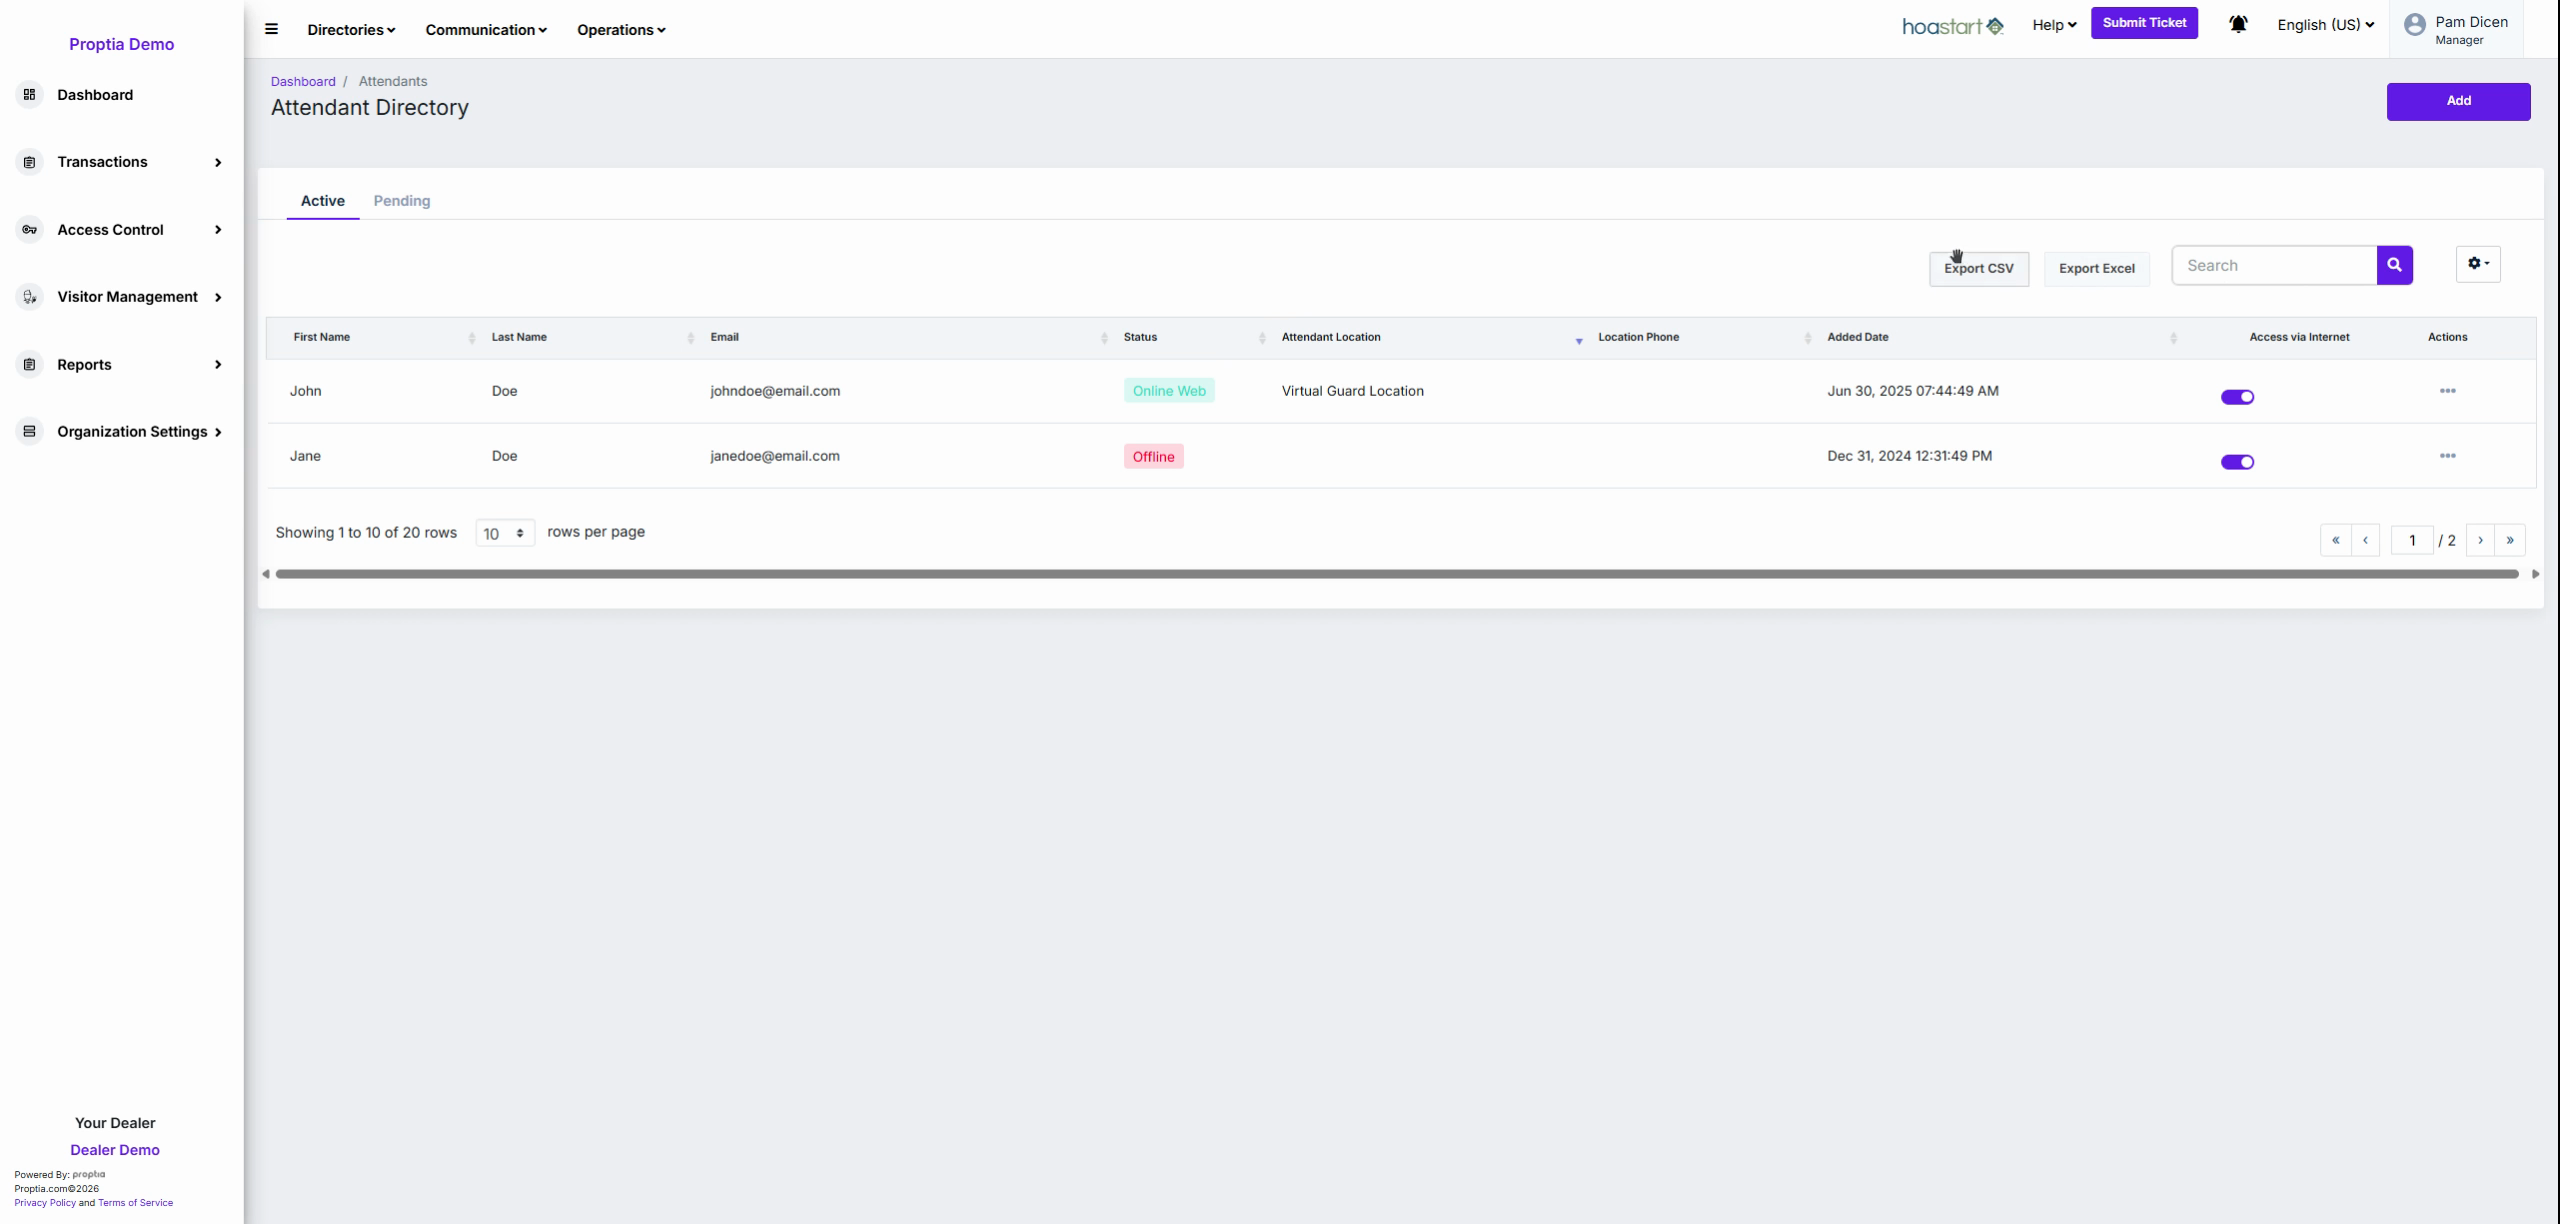
Module 3: Monitor Attendant Status and Control Access
Check the Status column to view which attendants are currently online (logged in) or offline. Bright tags indicate active sessions for real-time operational awareness.
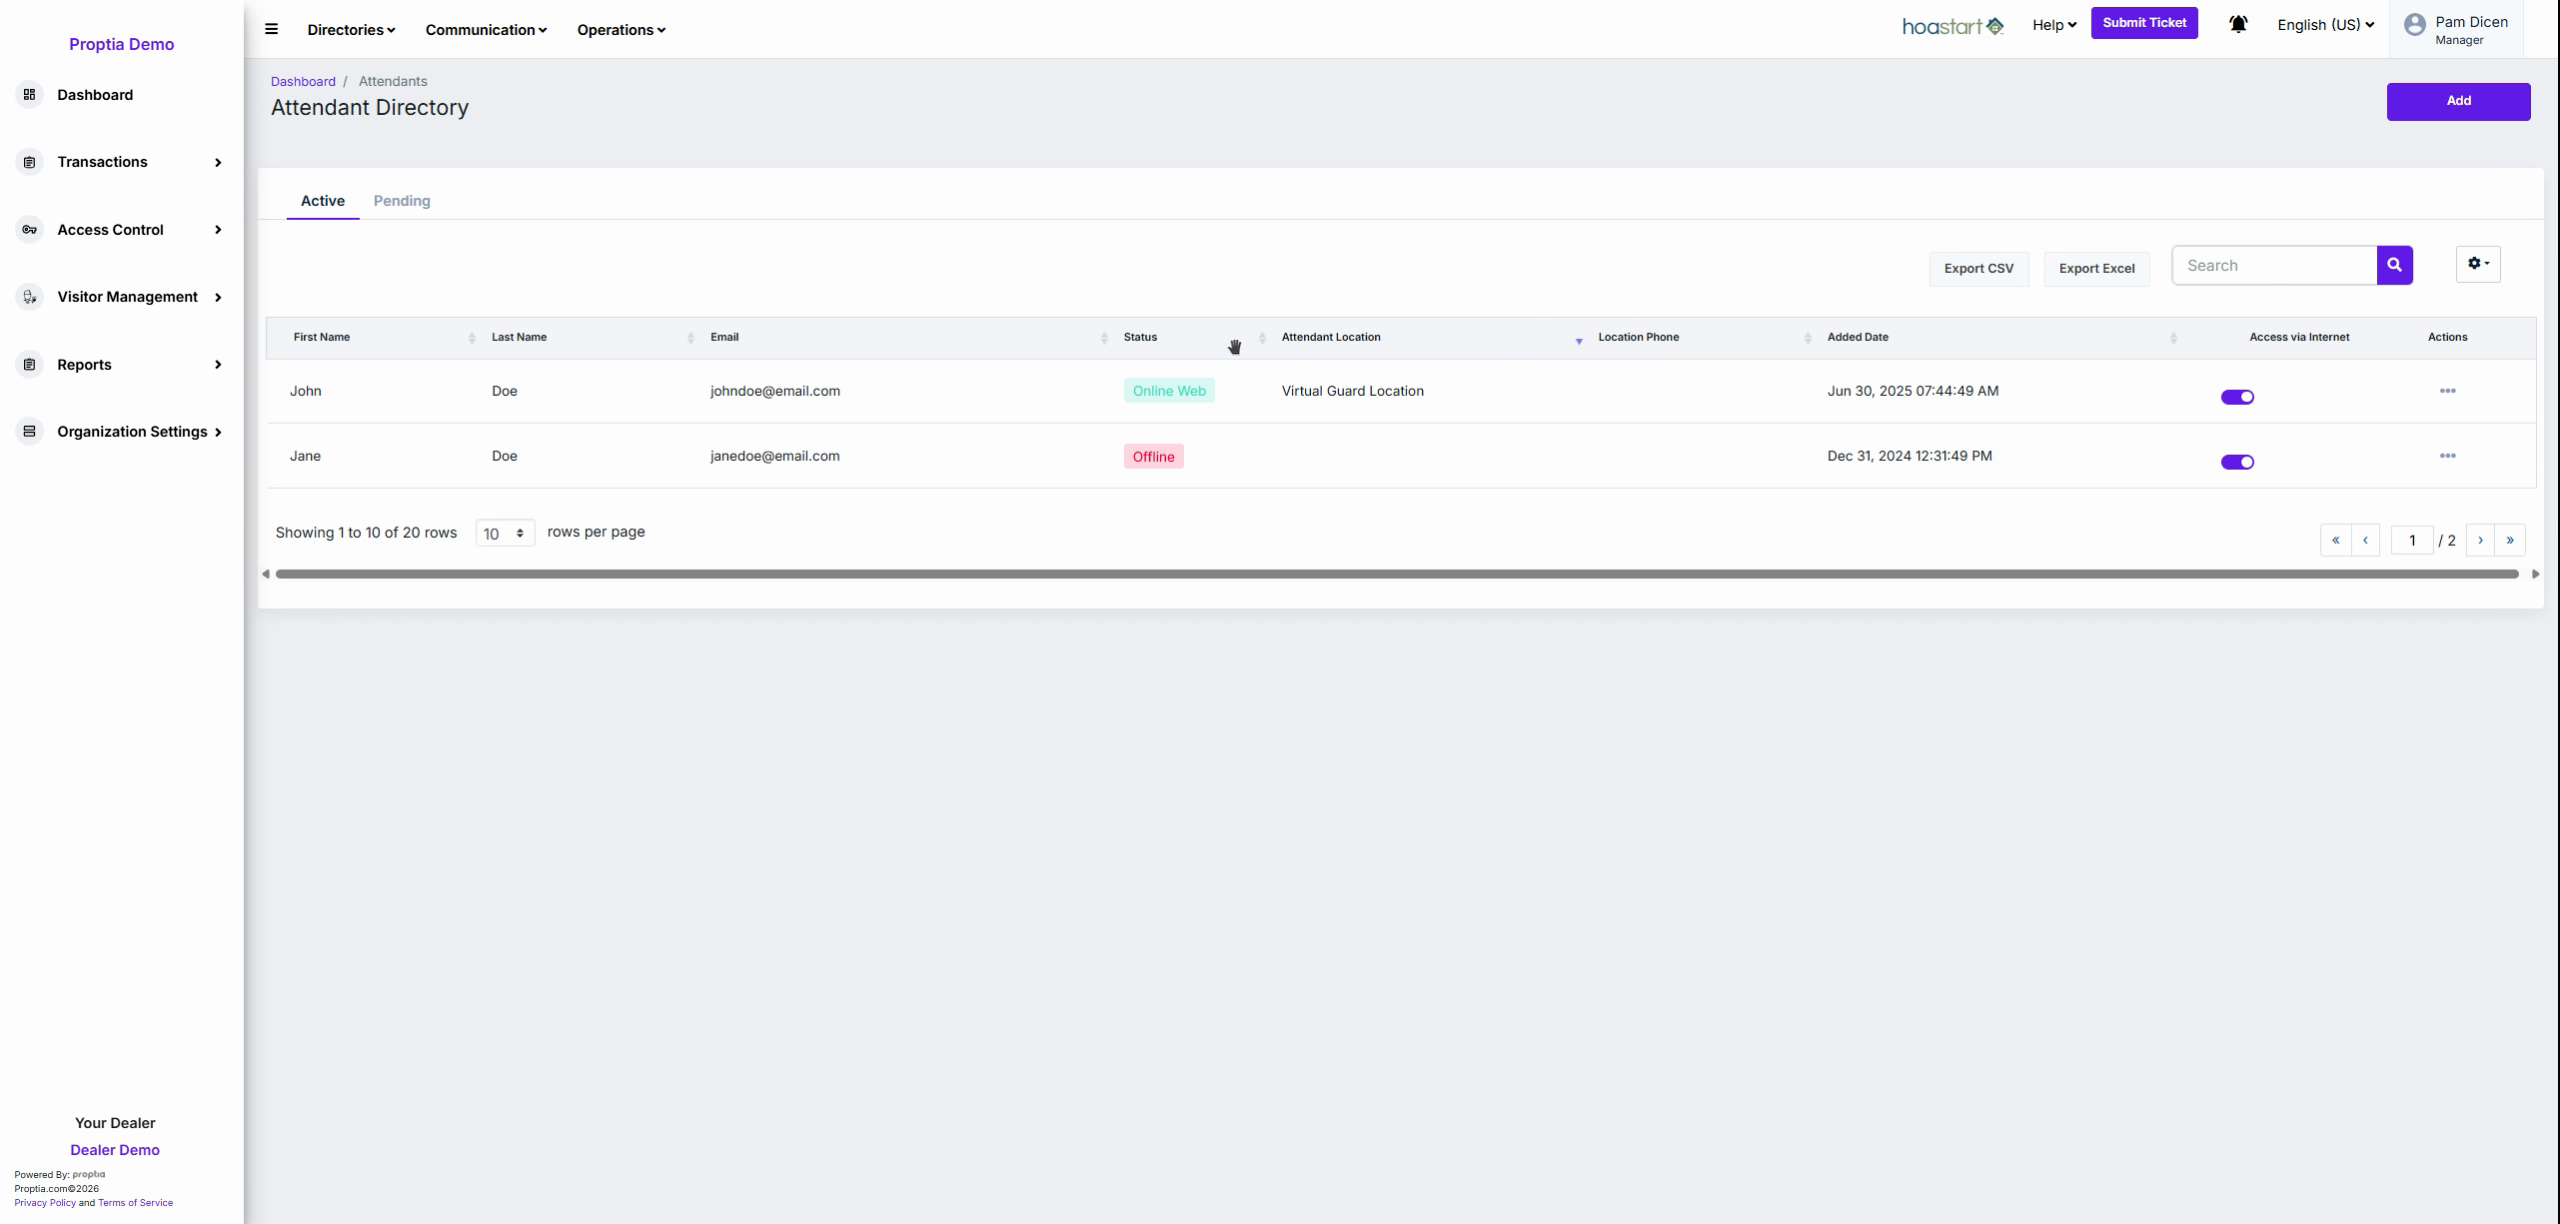
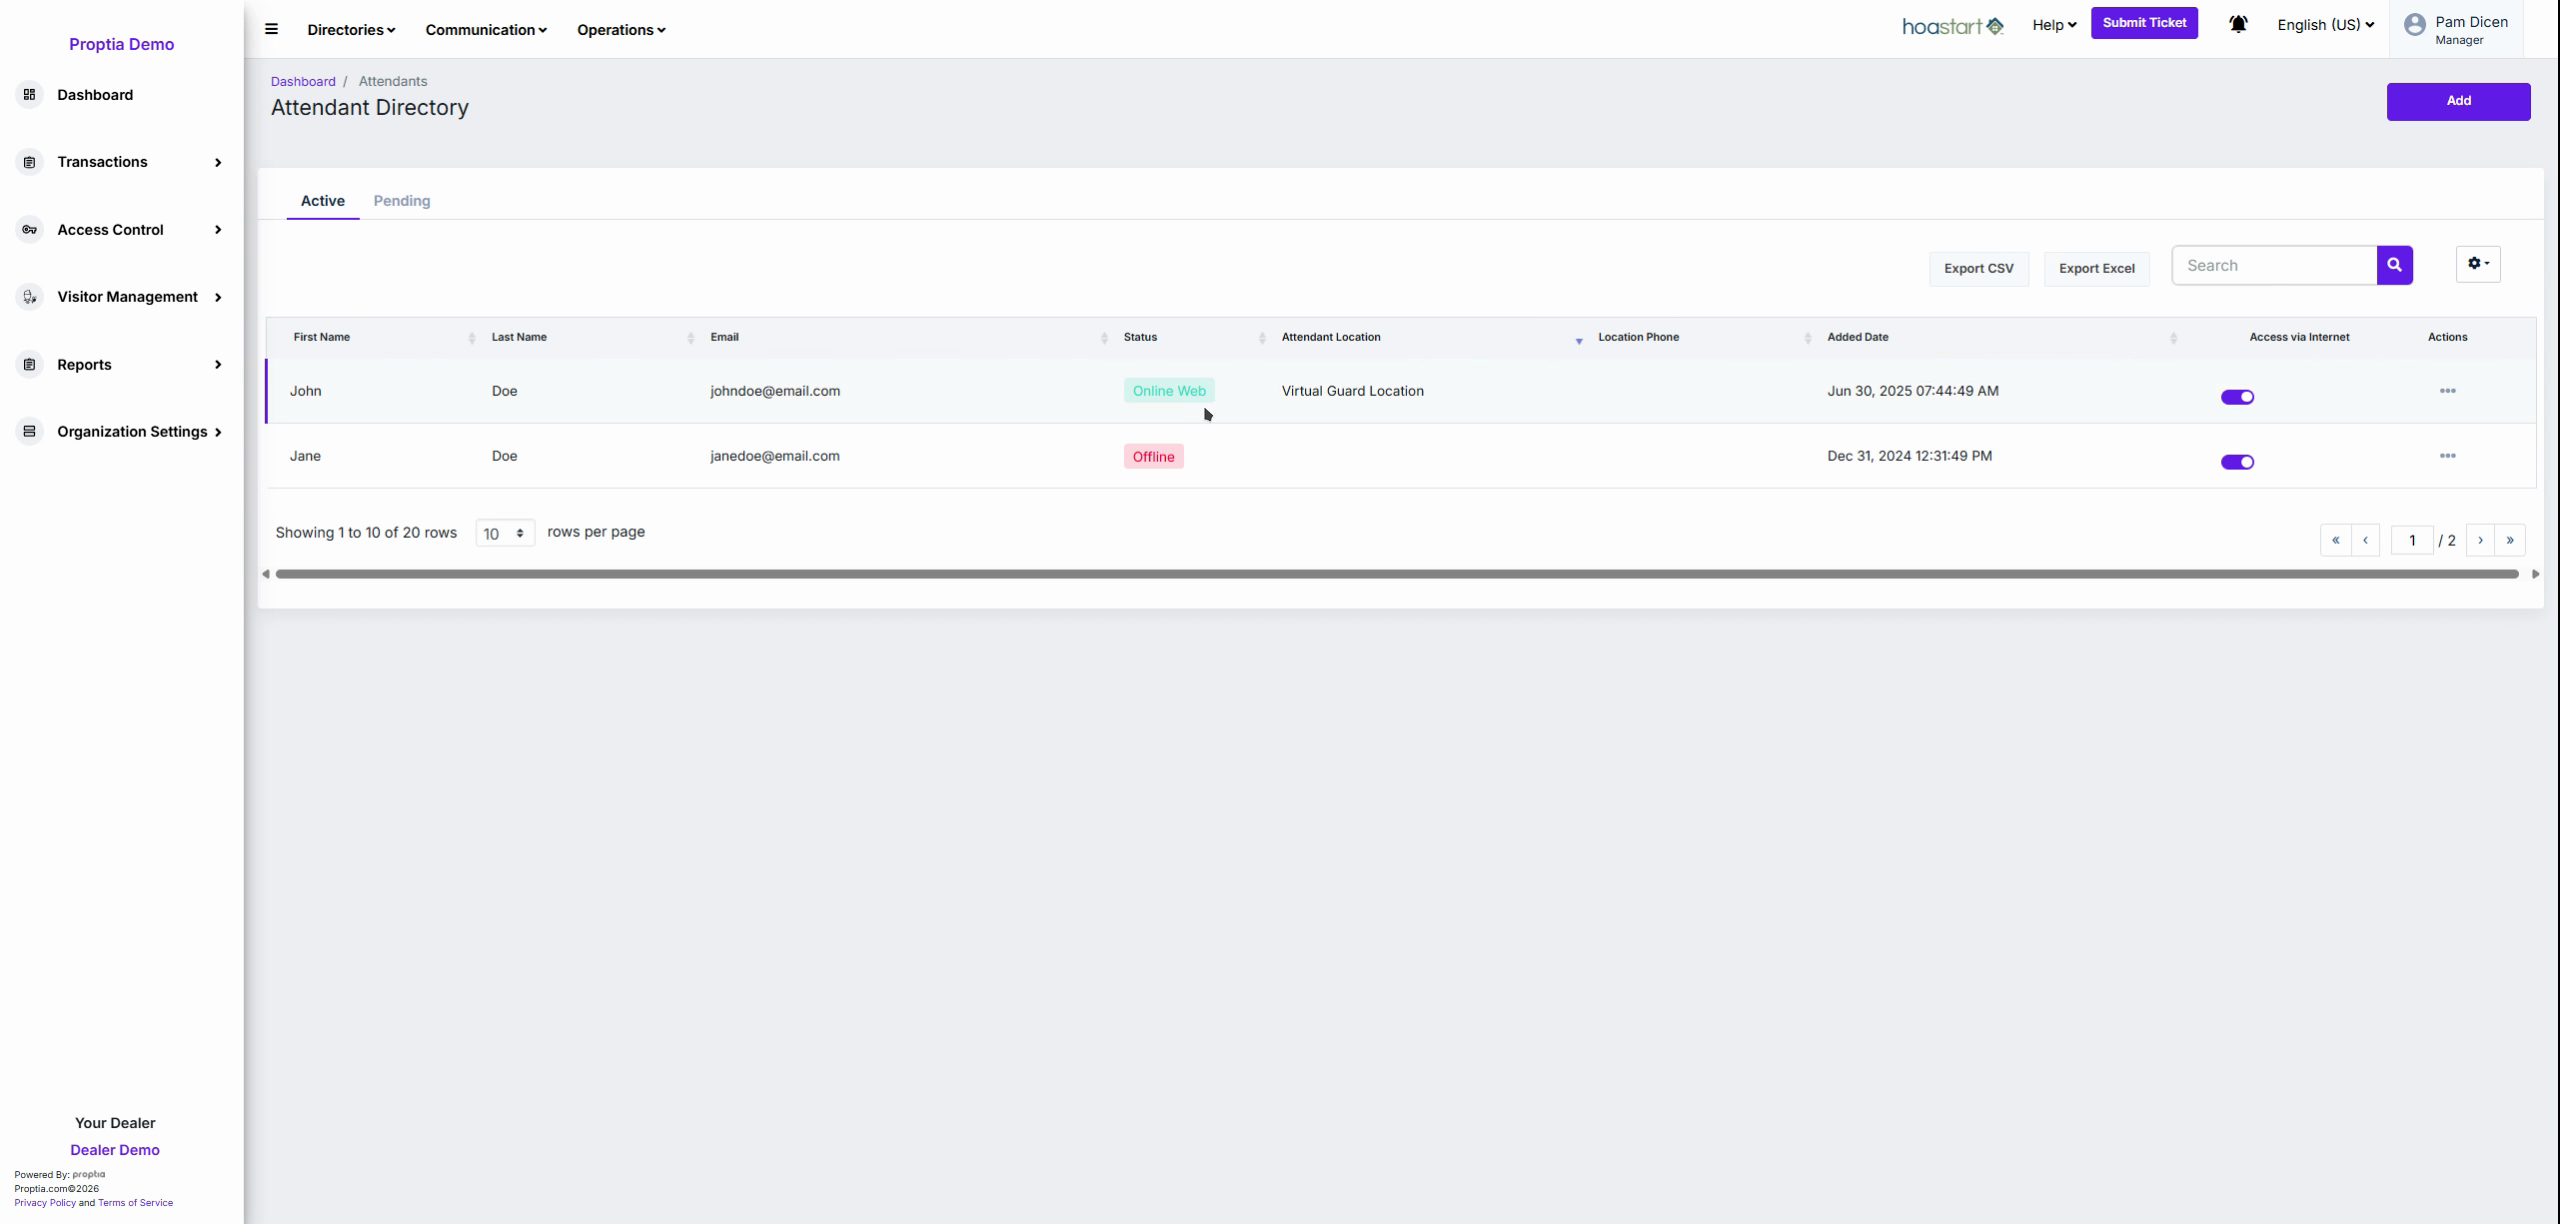
Review the Access via Internet column on the right. Purple toggles here let you control whether an attendant can log in remotely via the internet.
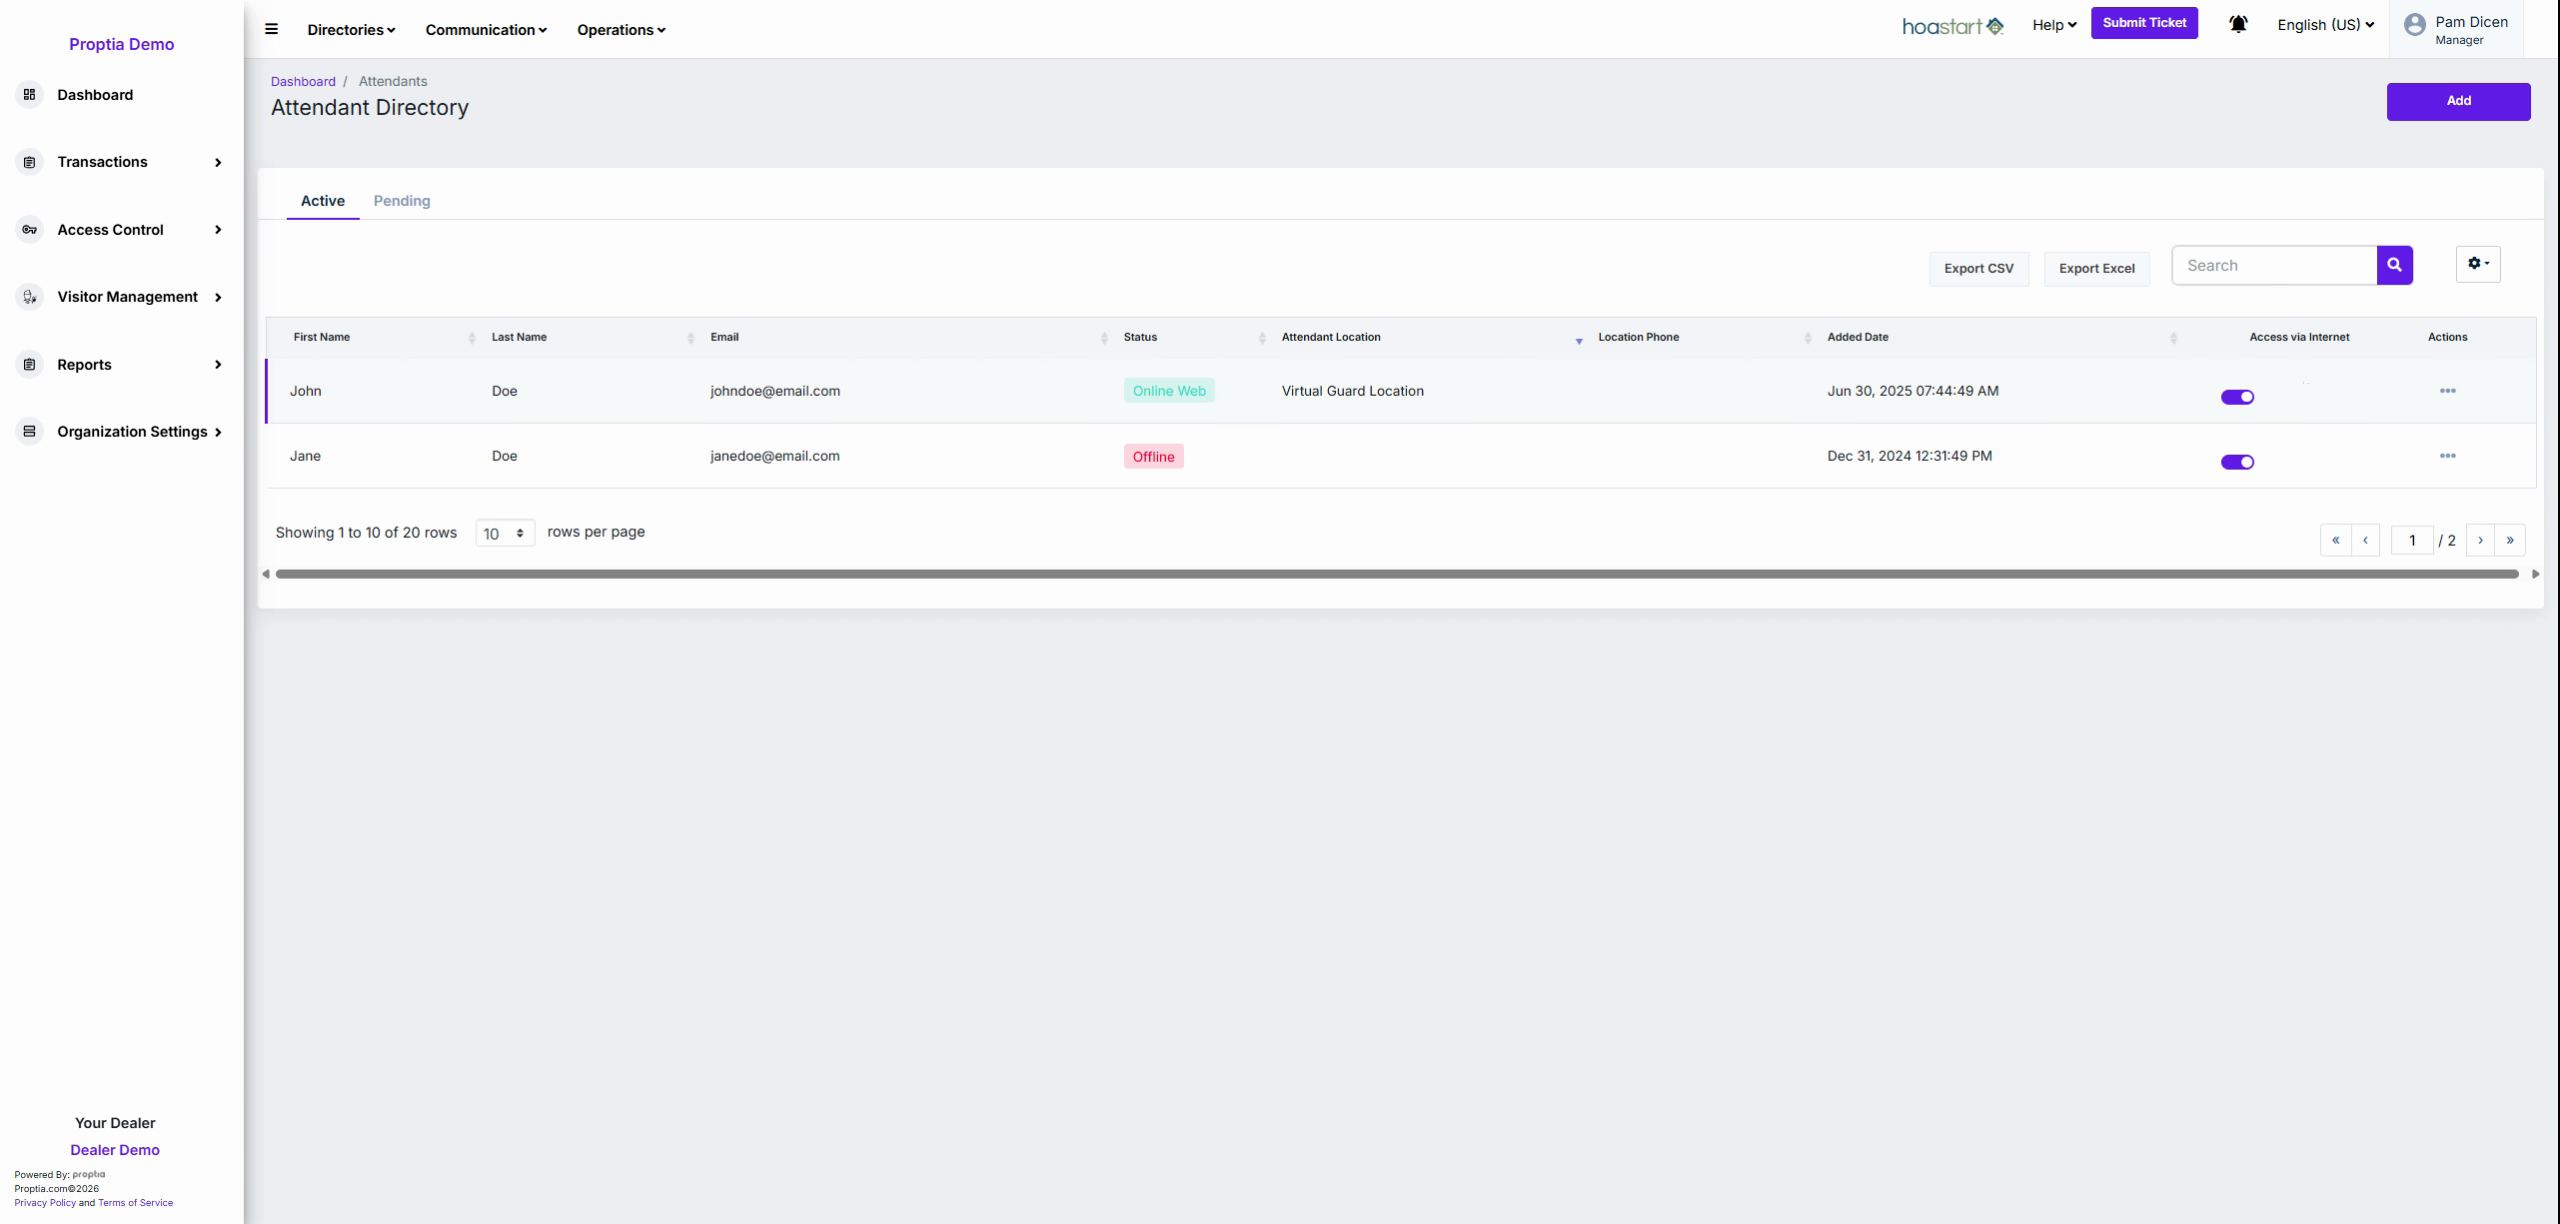
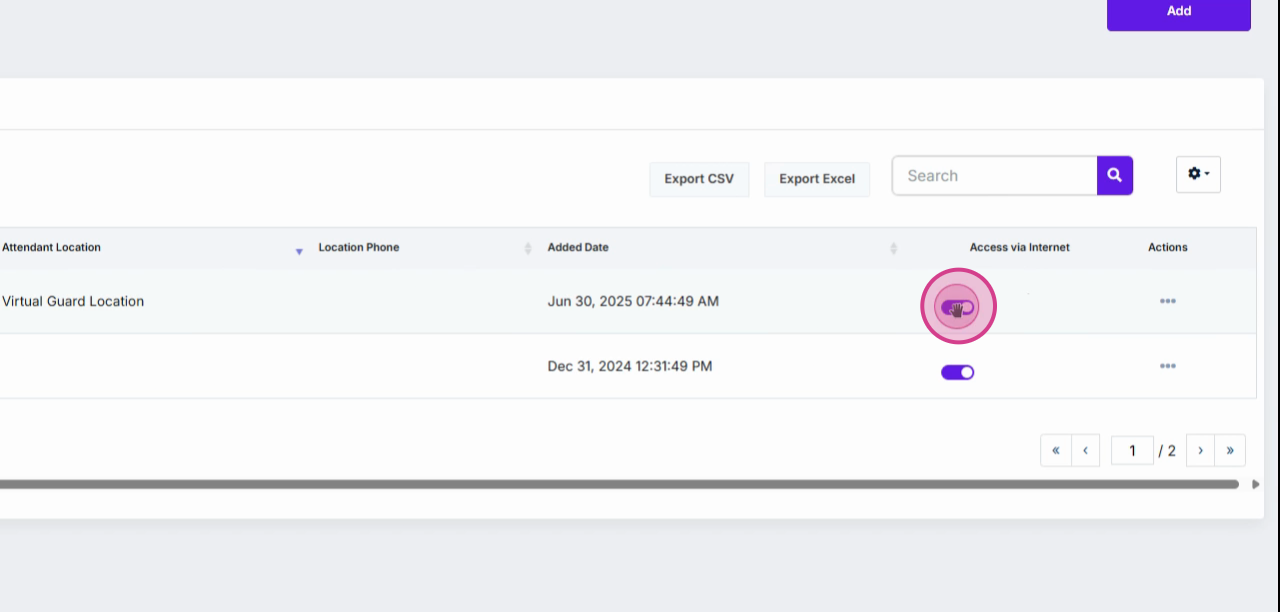
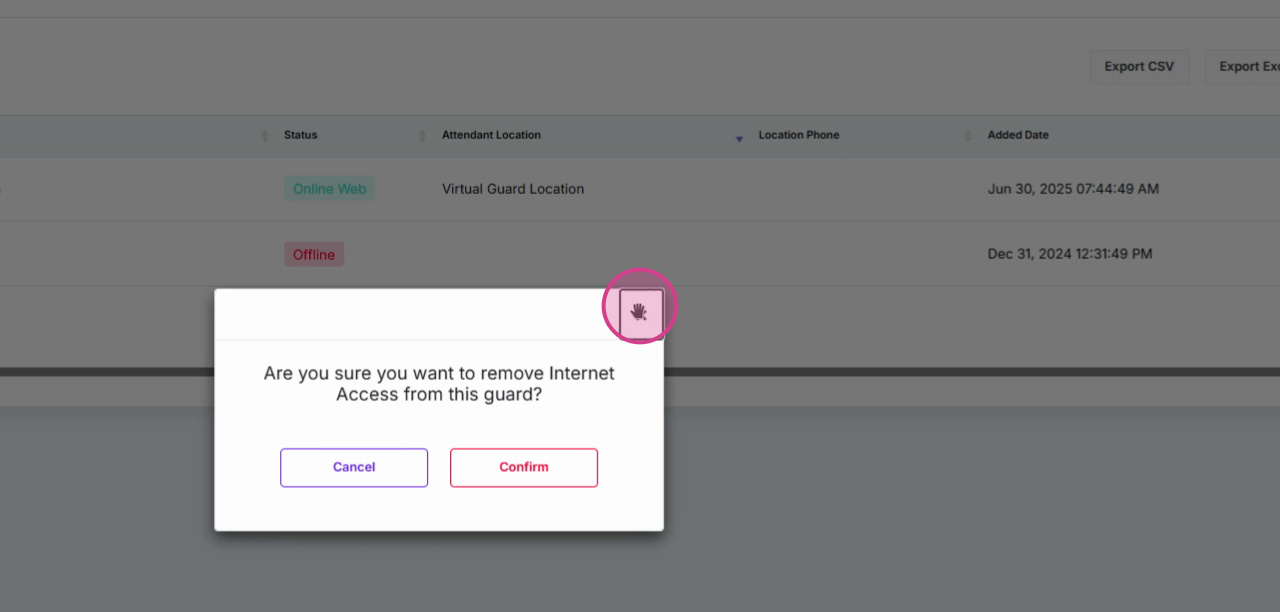
Toggle off the attendant’s Access via Internet control to revoke internet access without deleting their account. Confirm your choice when prompted.
Module 4: Manage Individual Attendants
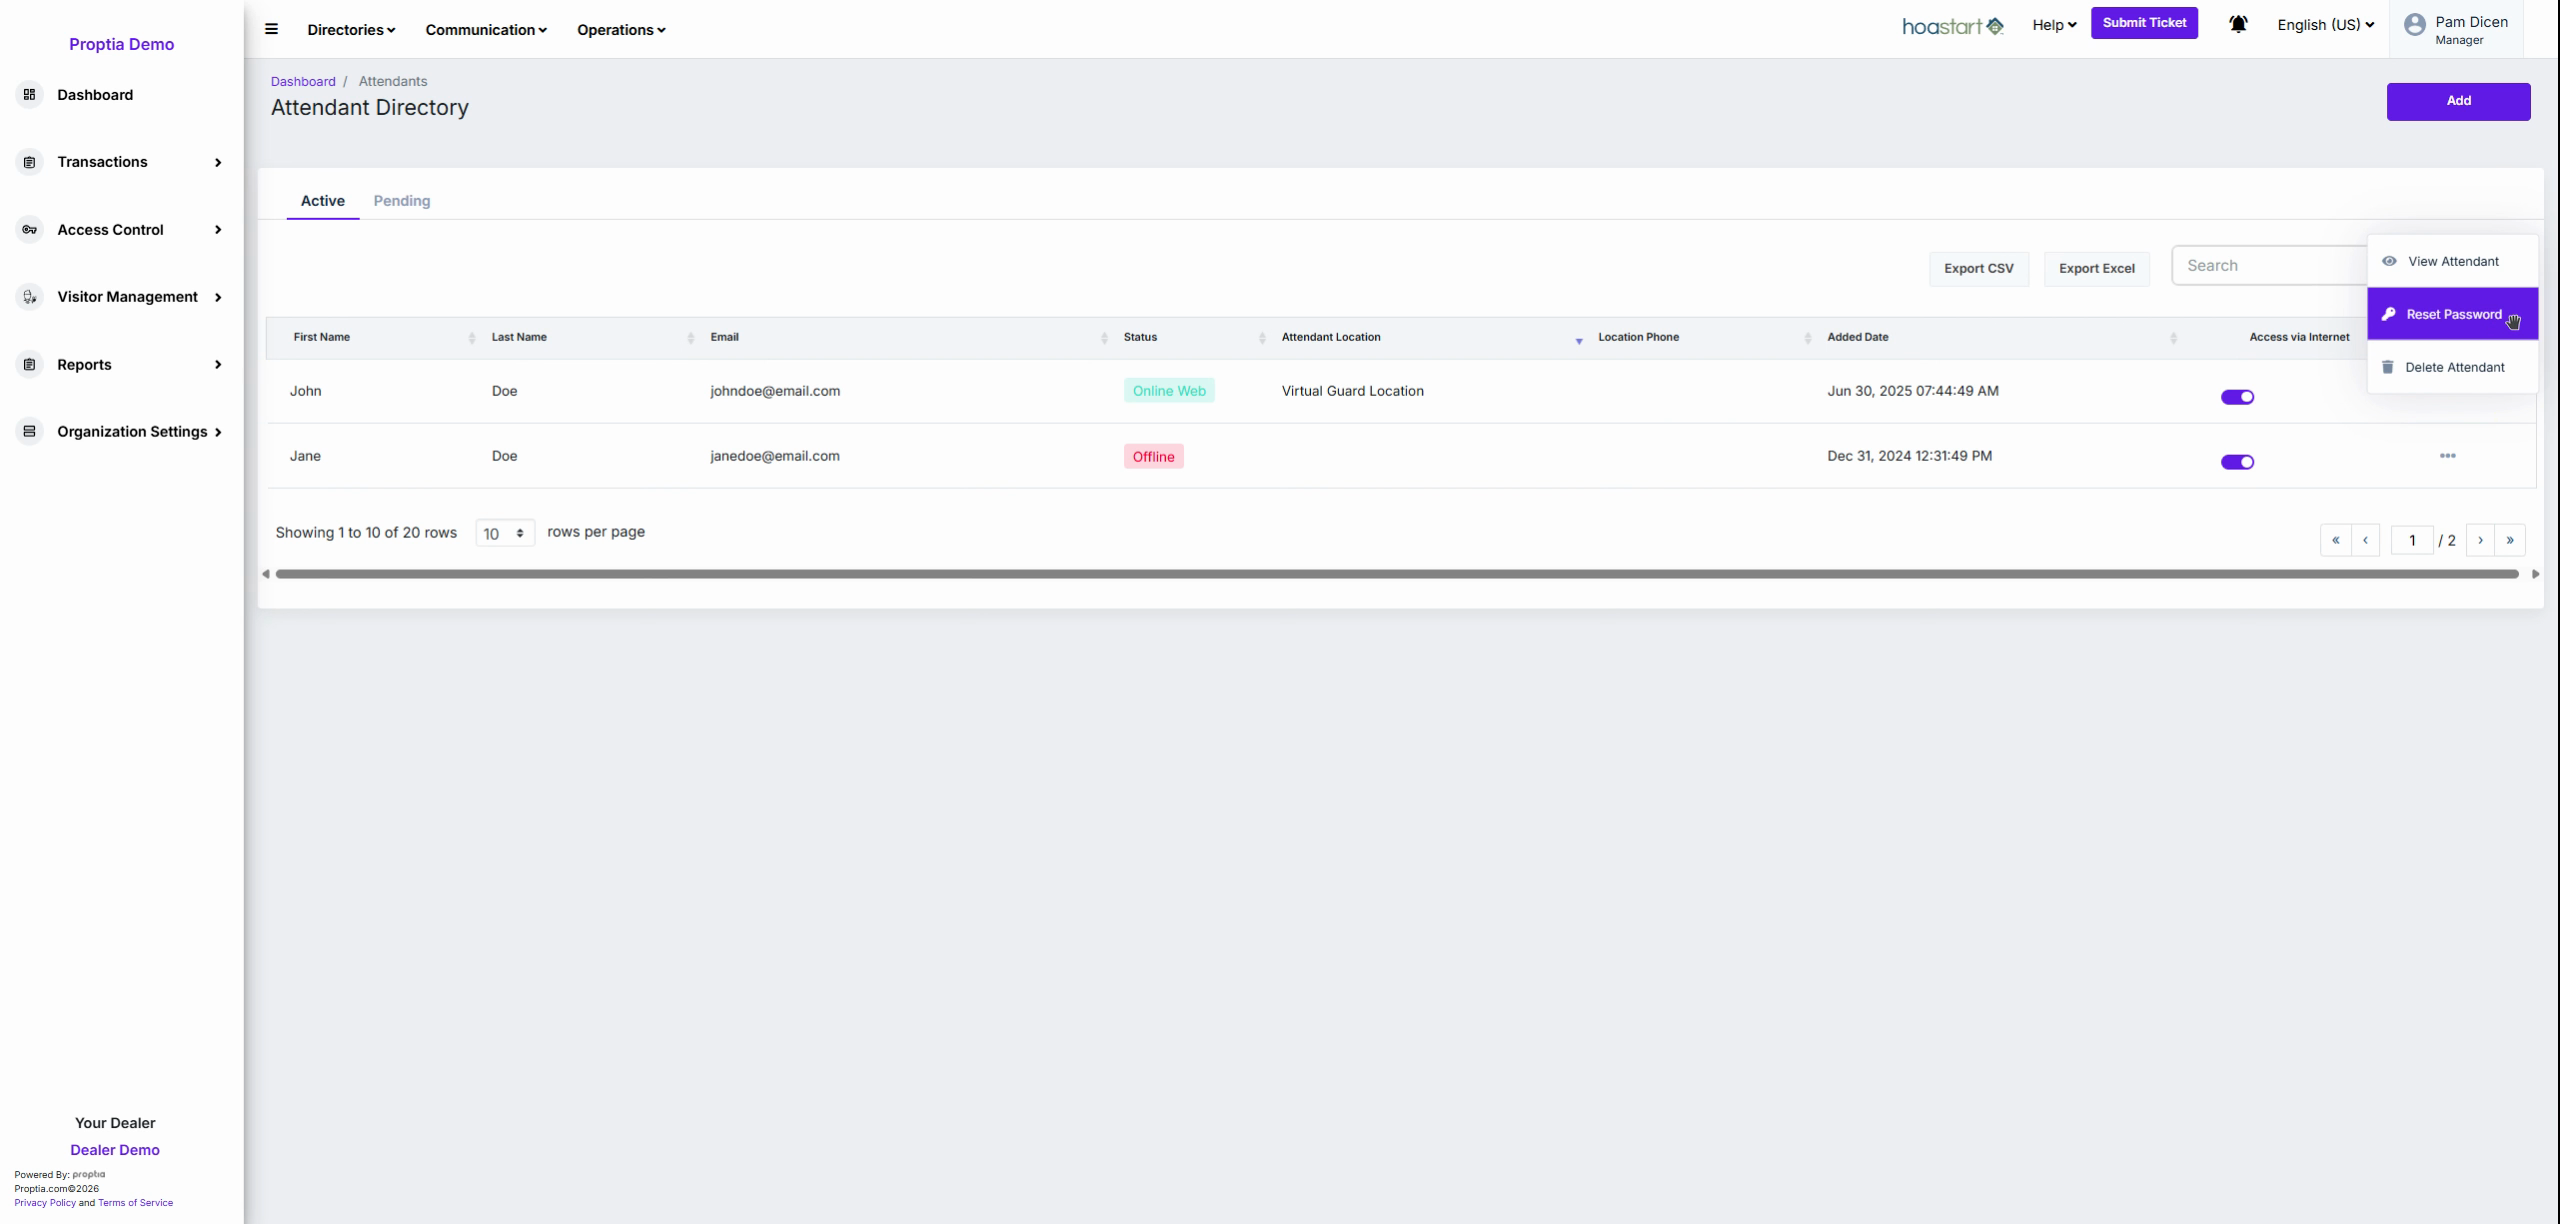
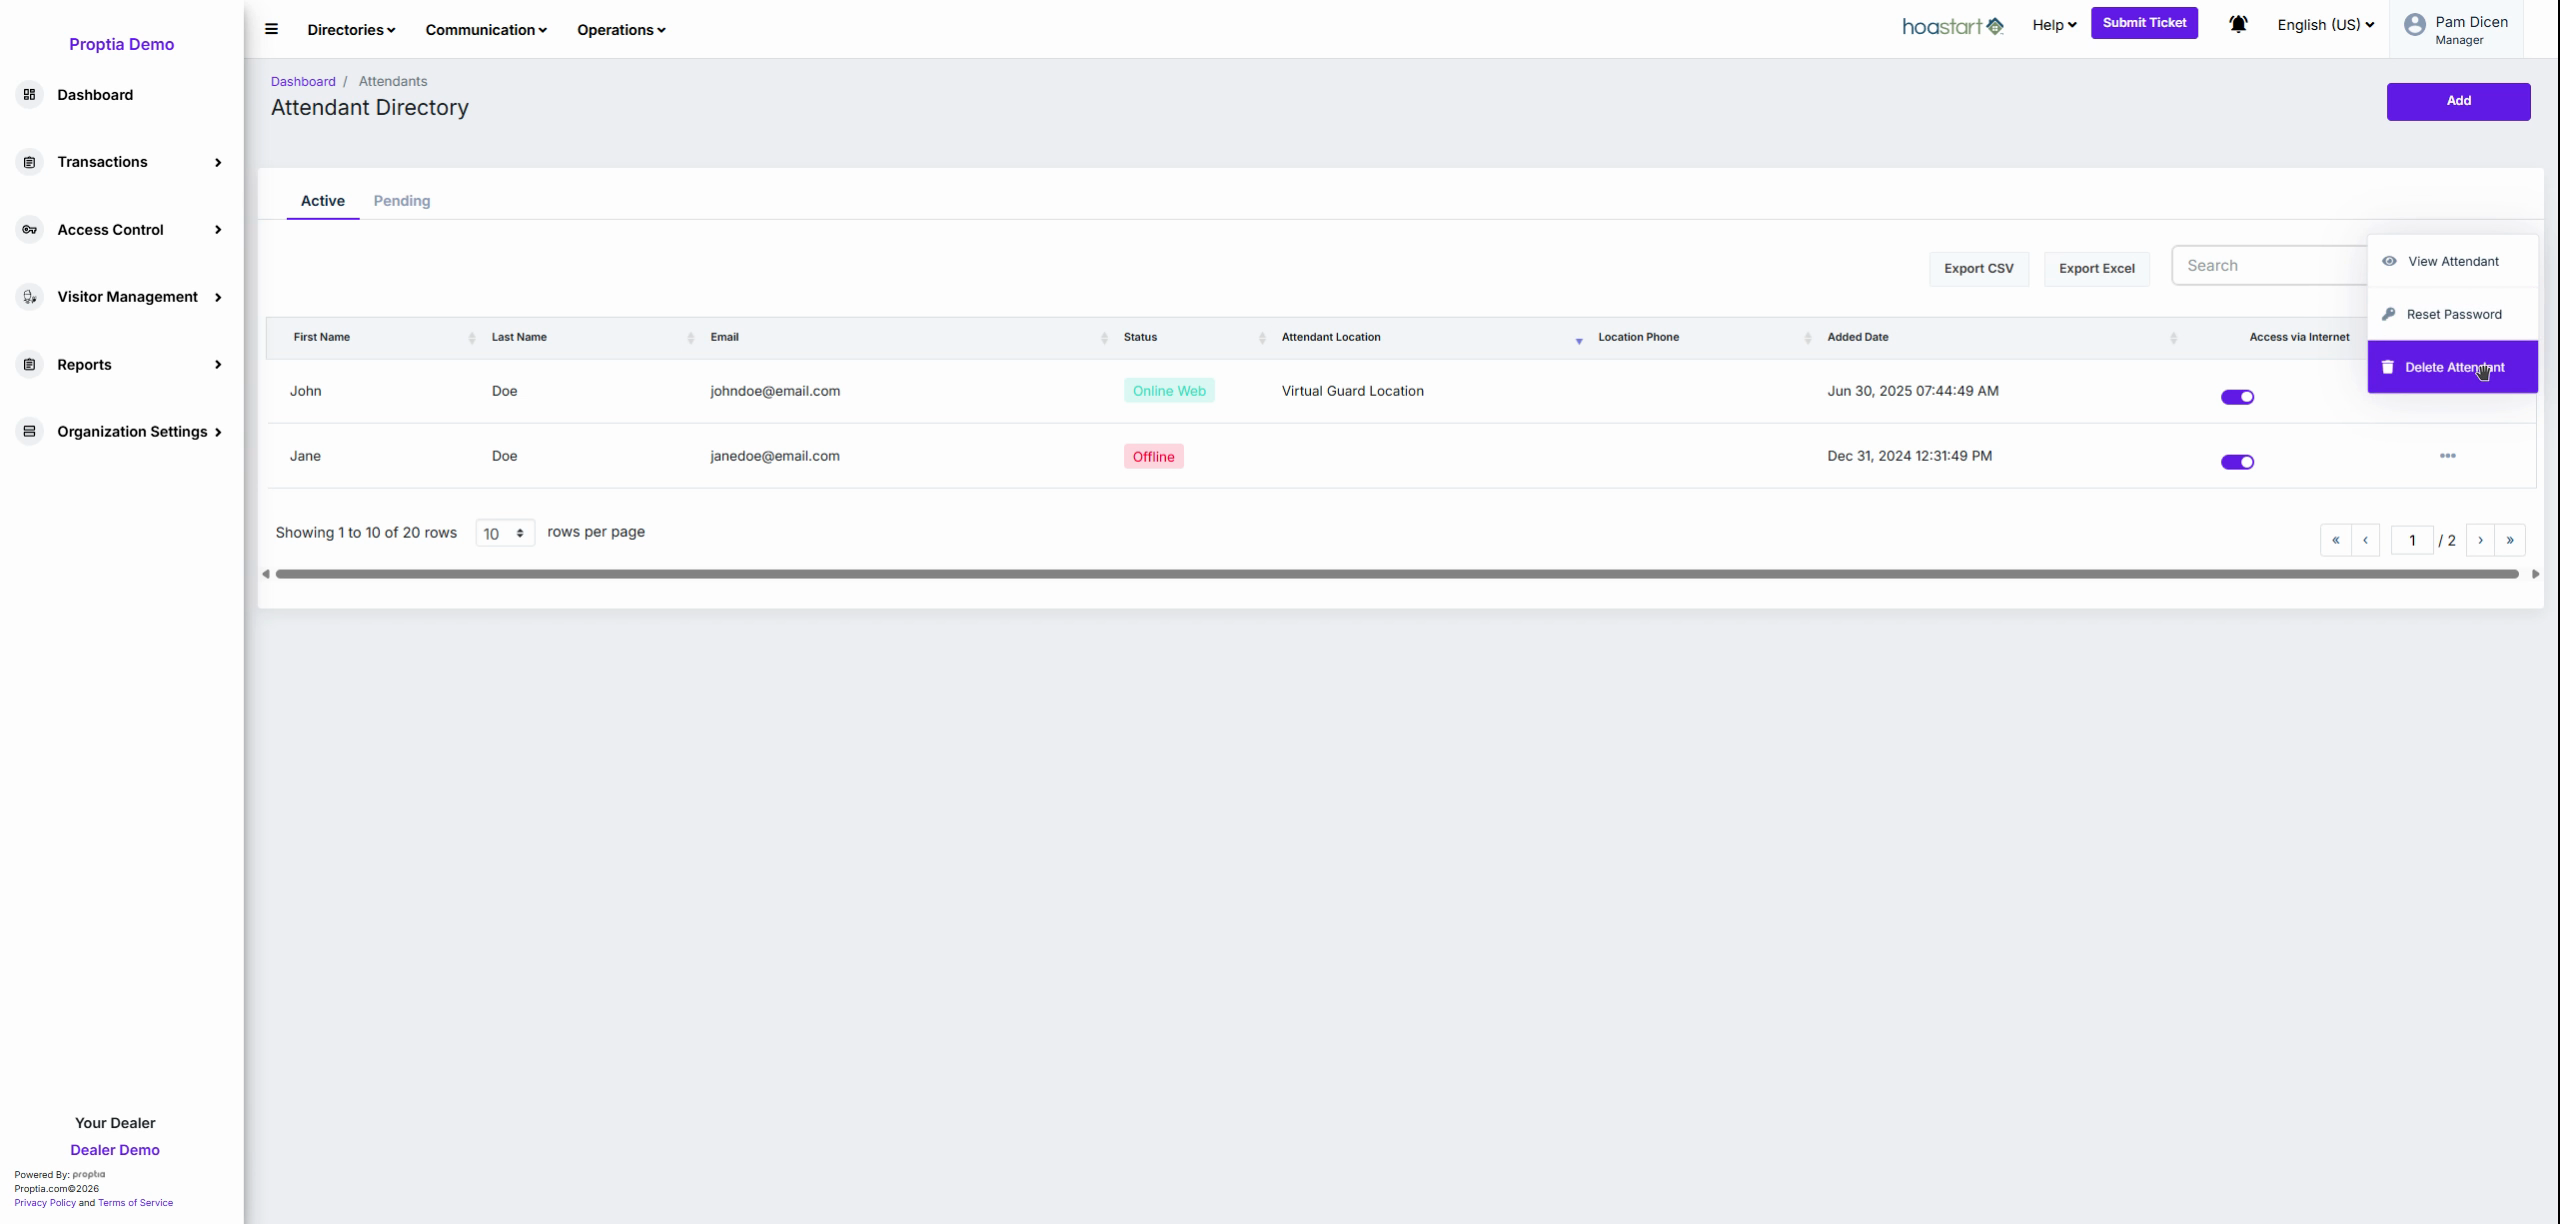
Click the three dots (…) at the end of any attendant row to open the action menu.
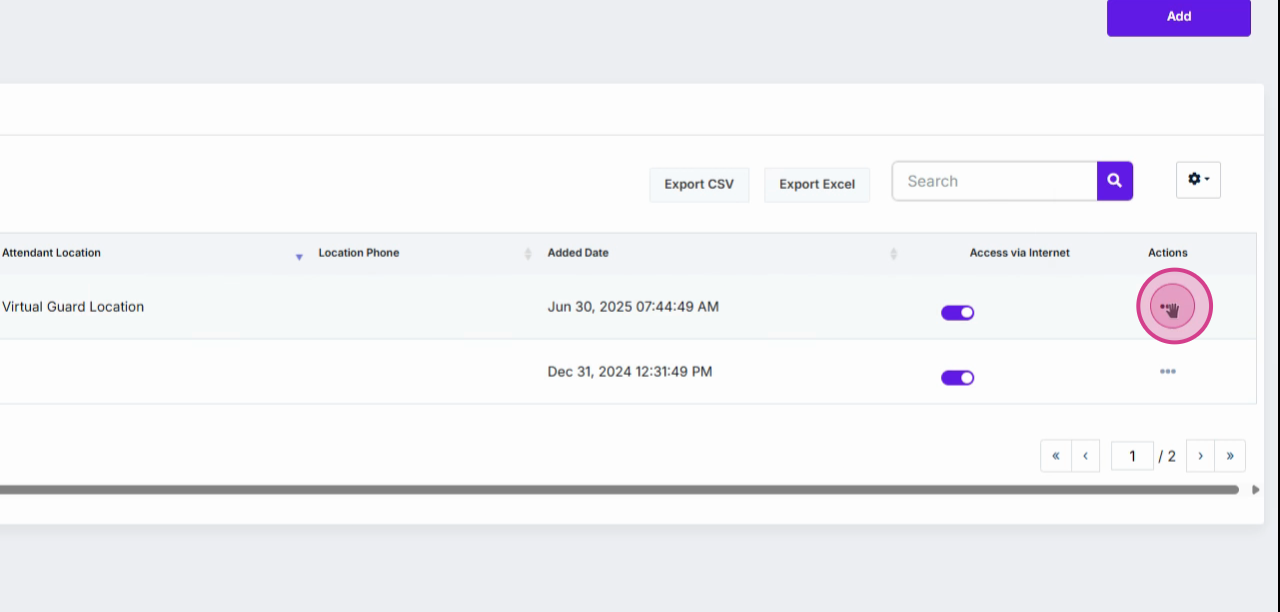
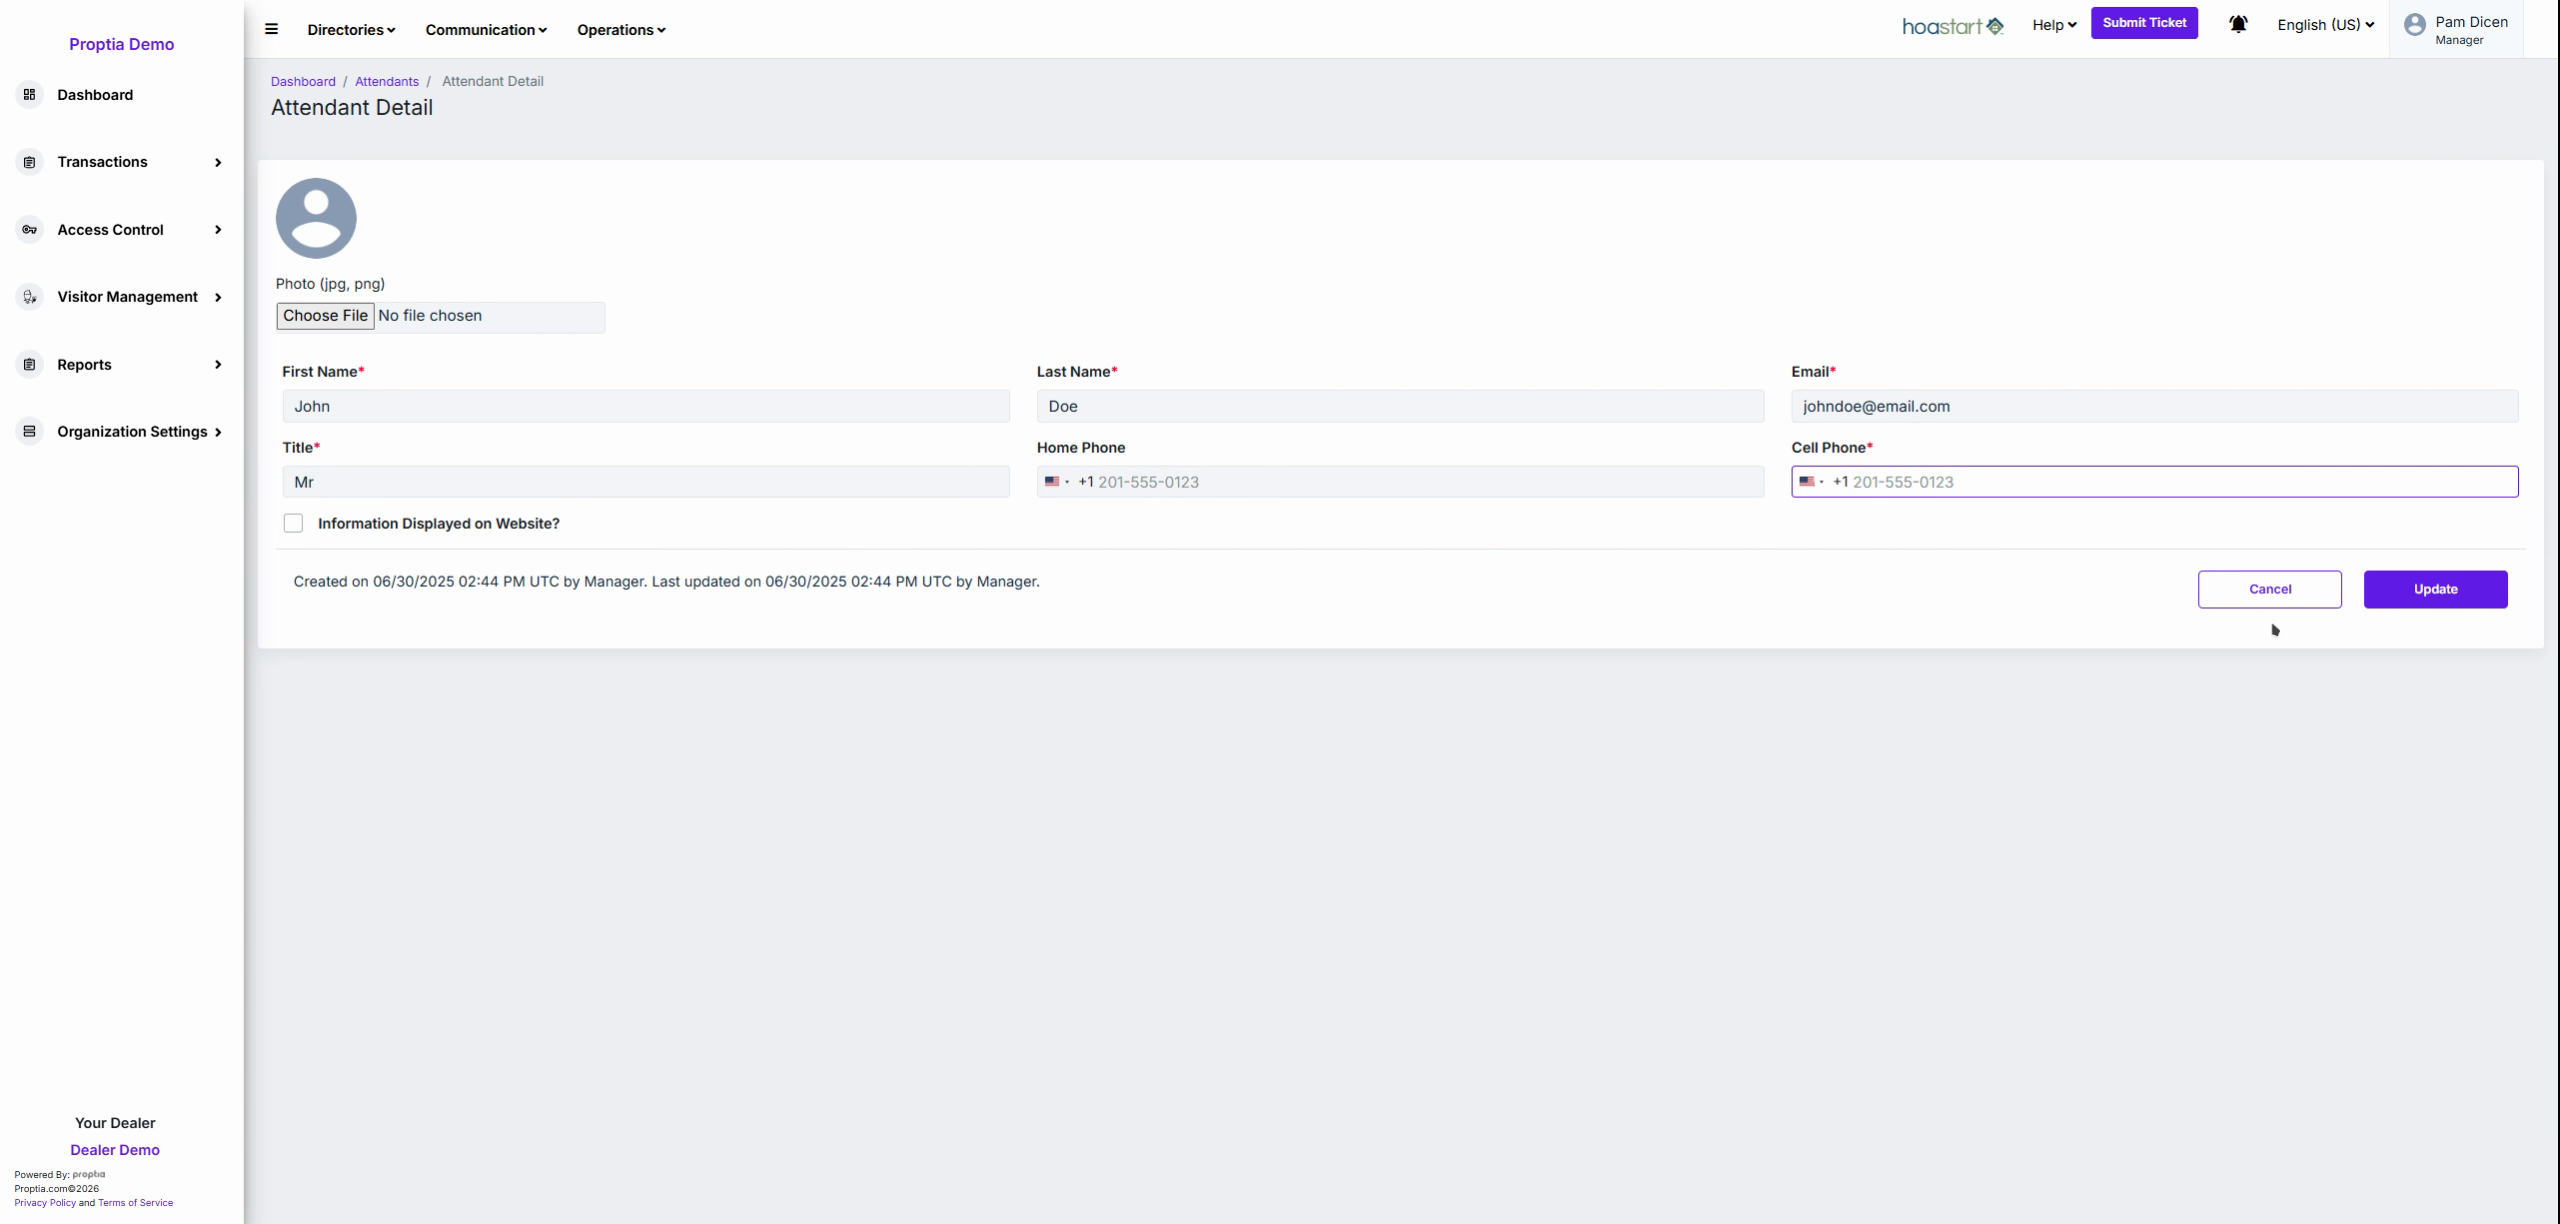
Select View Attendant to see detailed profile information and options to edit their profile.
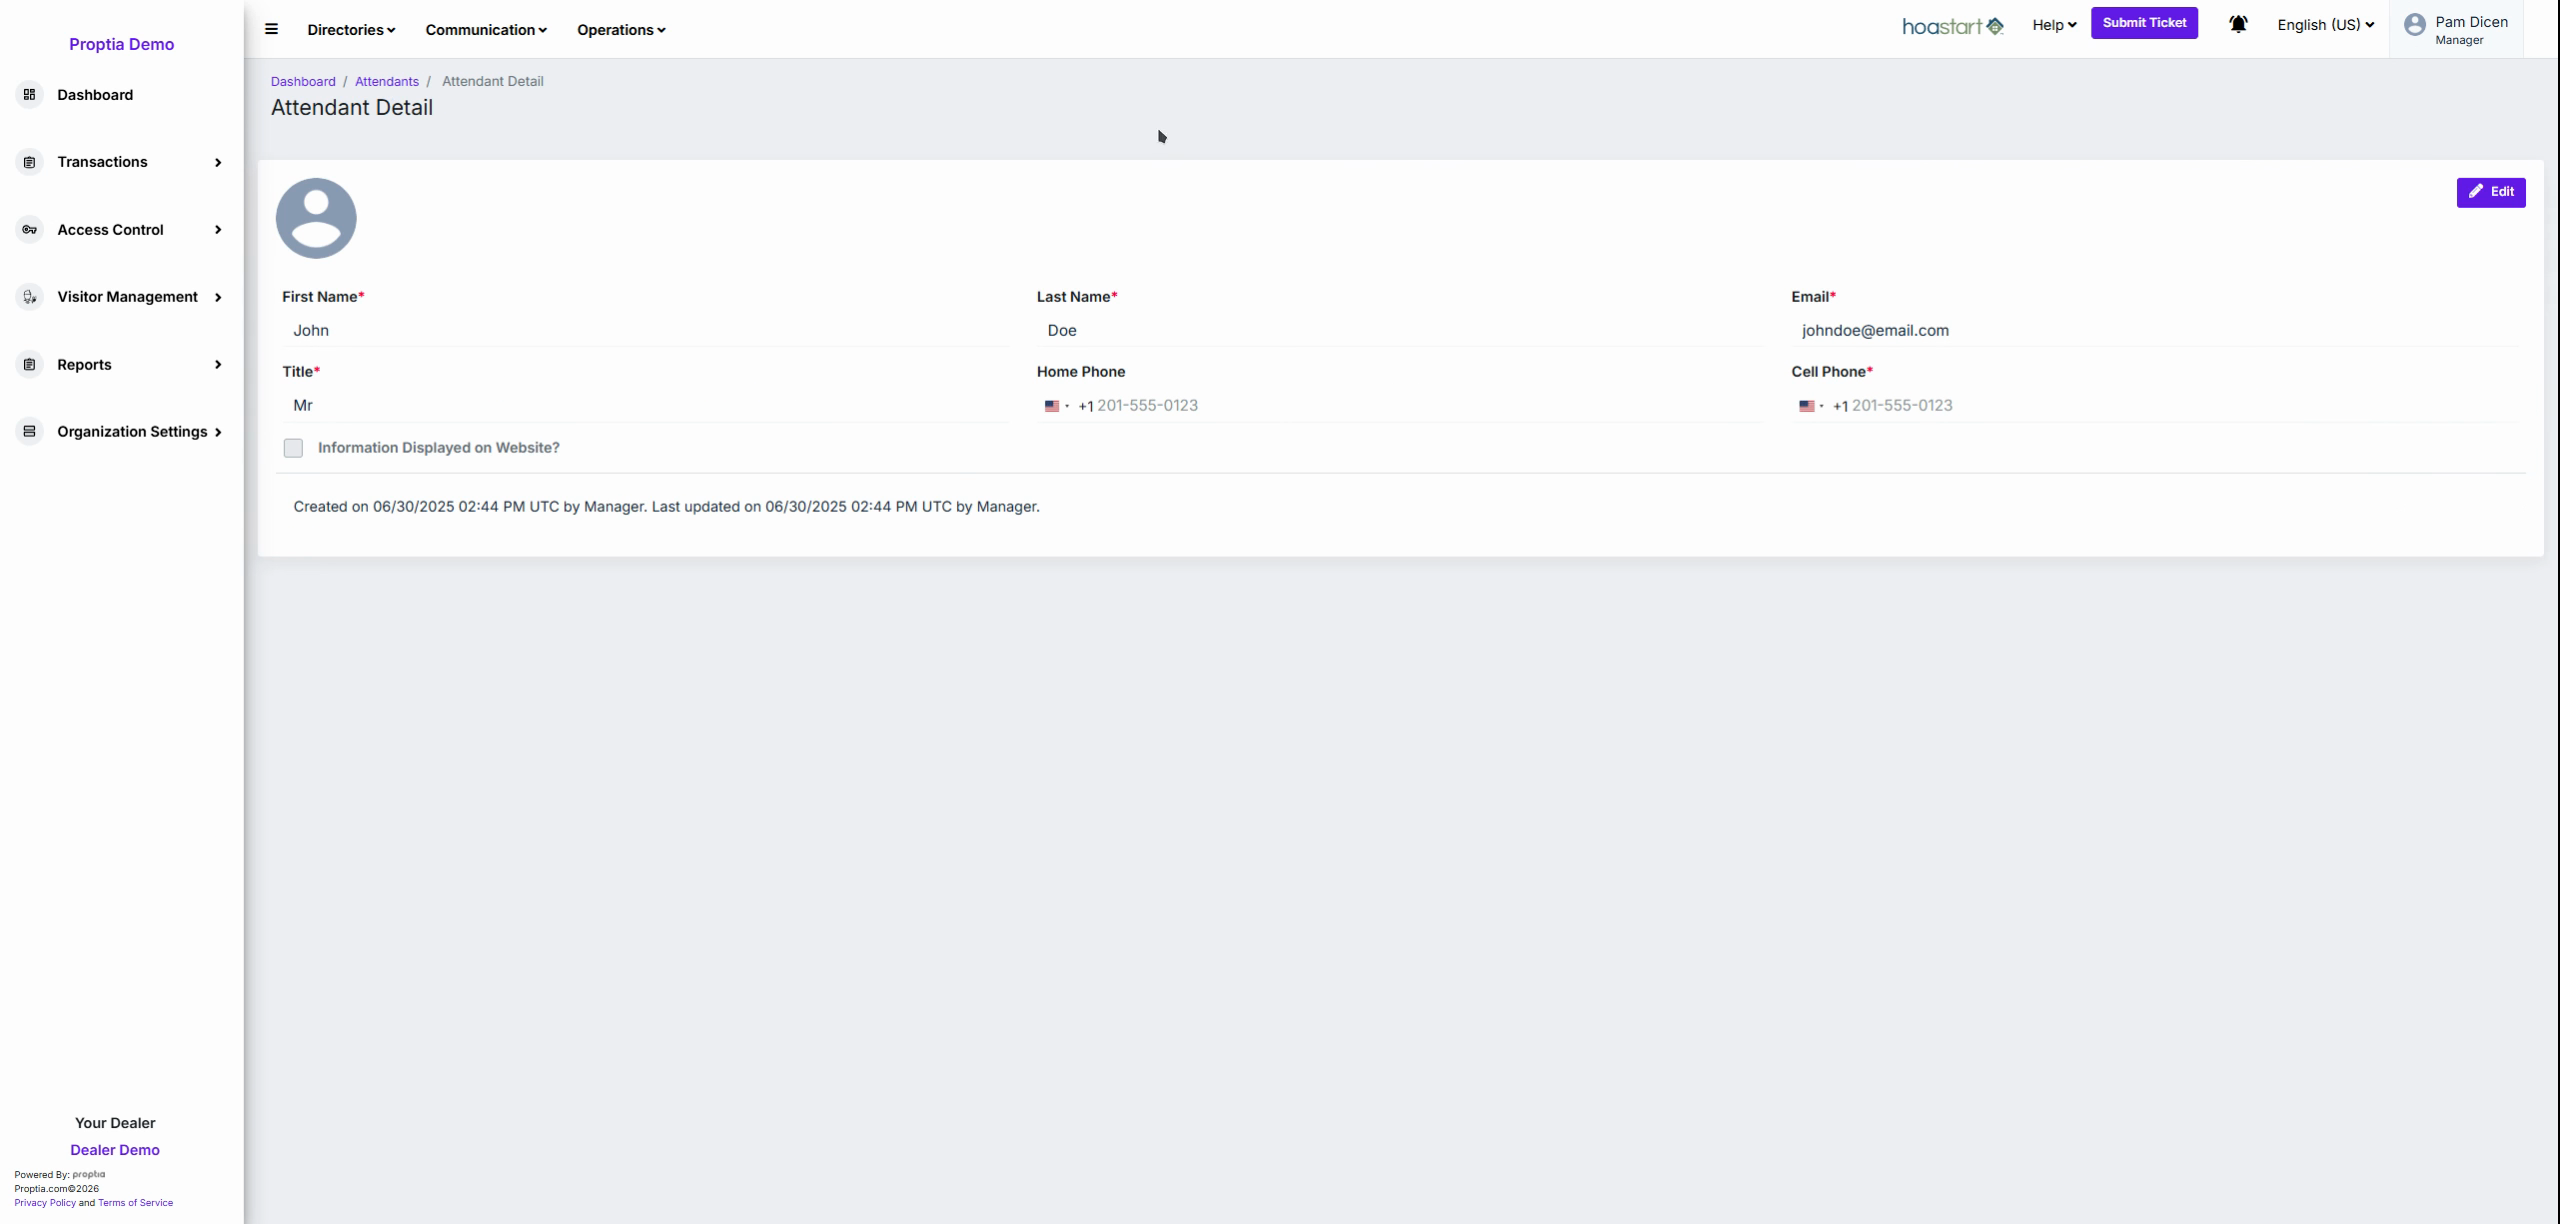
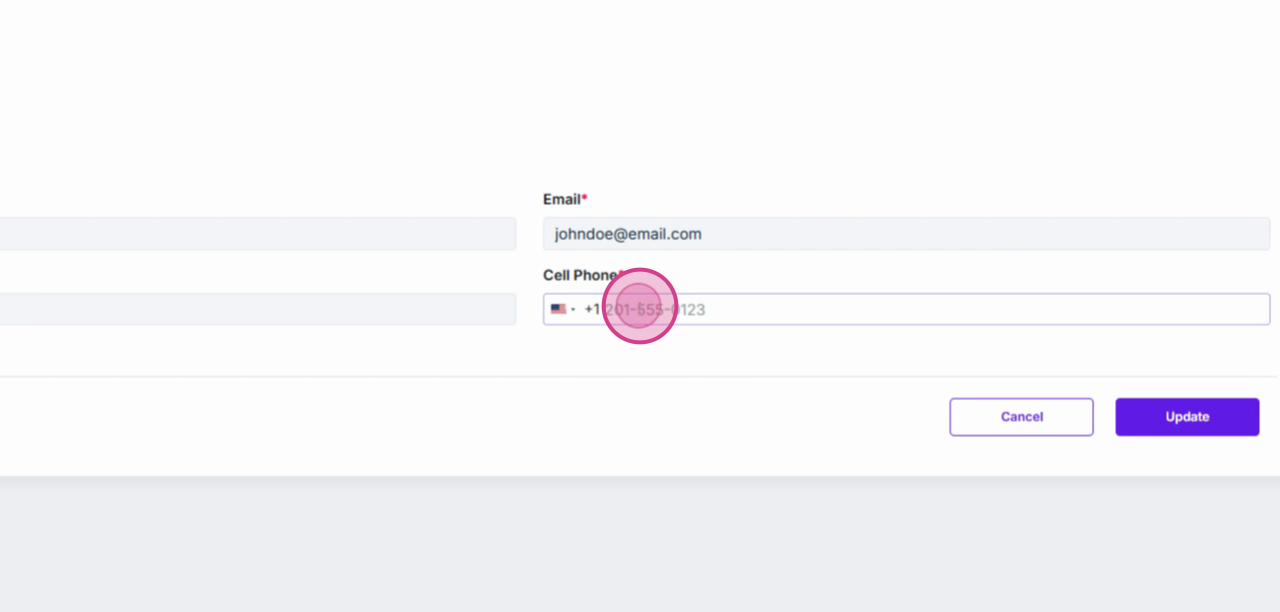
Click Edit to update fields such as their phone number. Enter the new information and click Update to save.
Click Reset Password if an attendant forgets their credentials, and Proptia will email them reset instructions directly.
Select Delete Attendant to permanently remove an attendant from your roster when they are no longer employed.
Module 5: Add a New Attendant
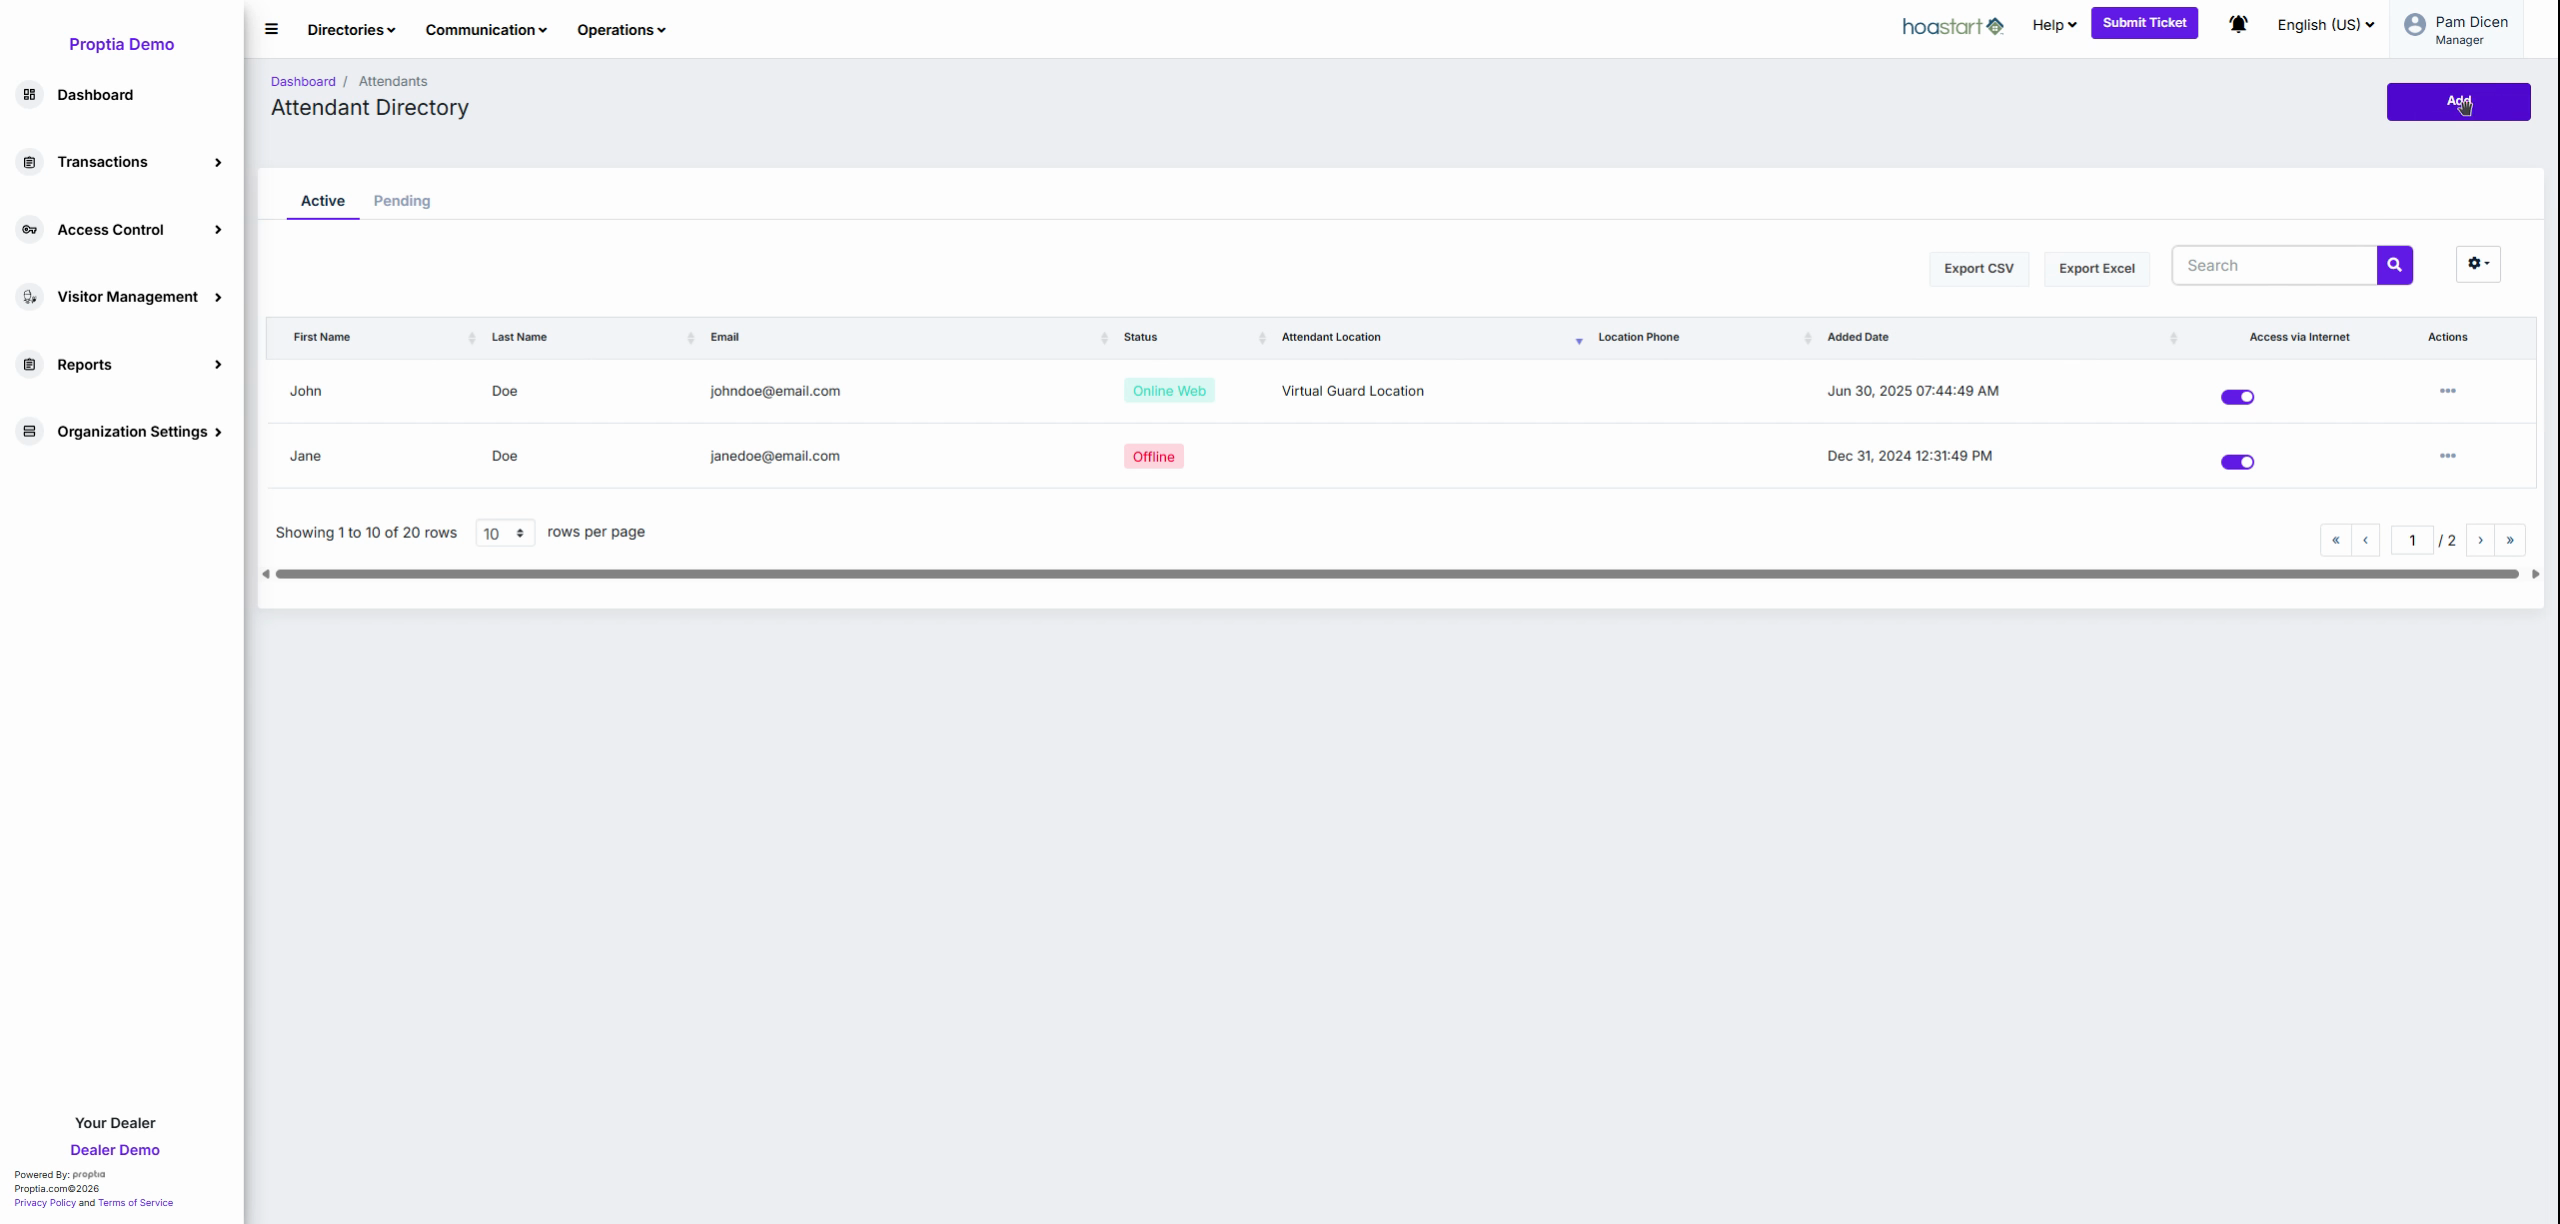
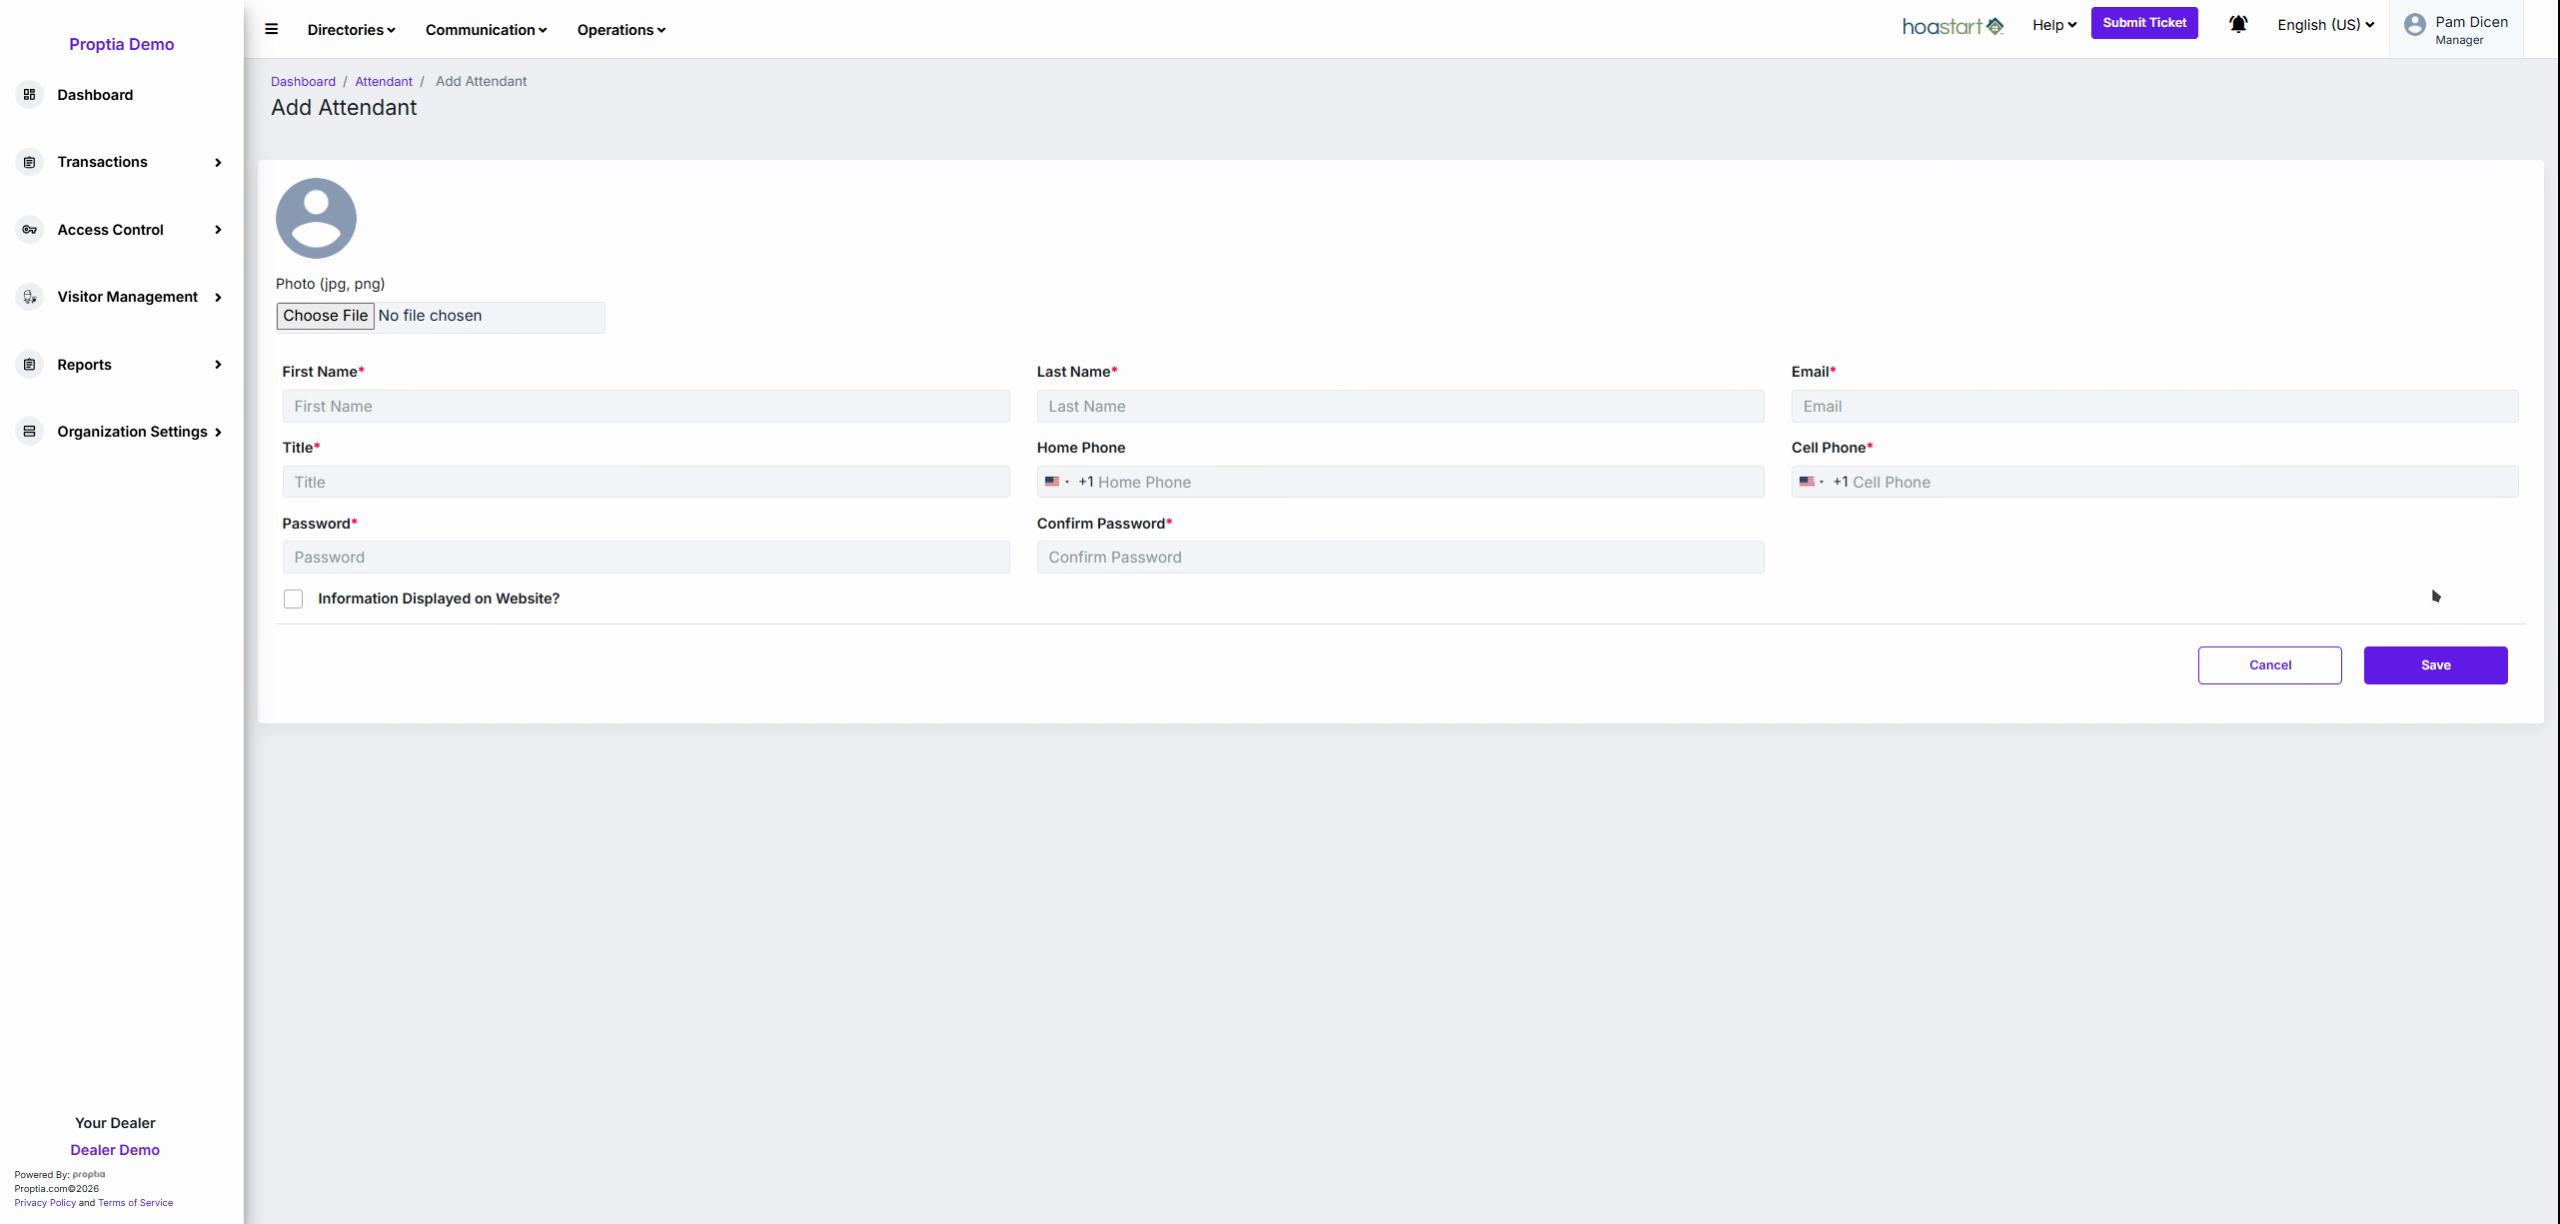
Click the purple Add button in the top-right corner of the directory to open the attendant creation form.
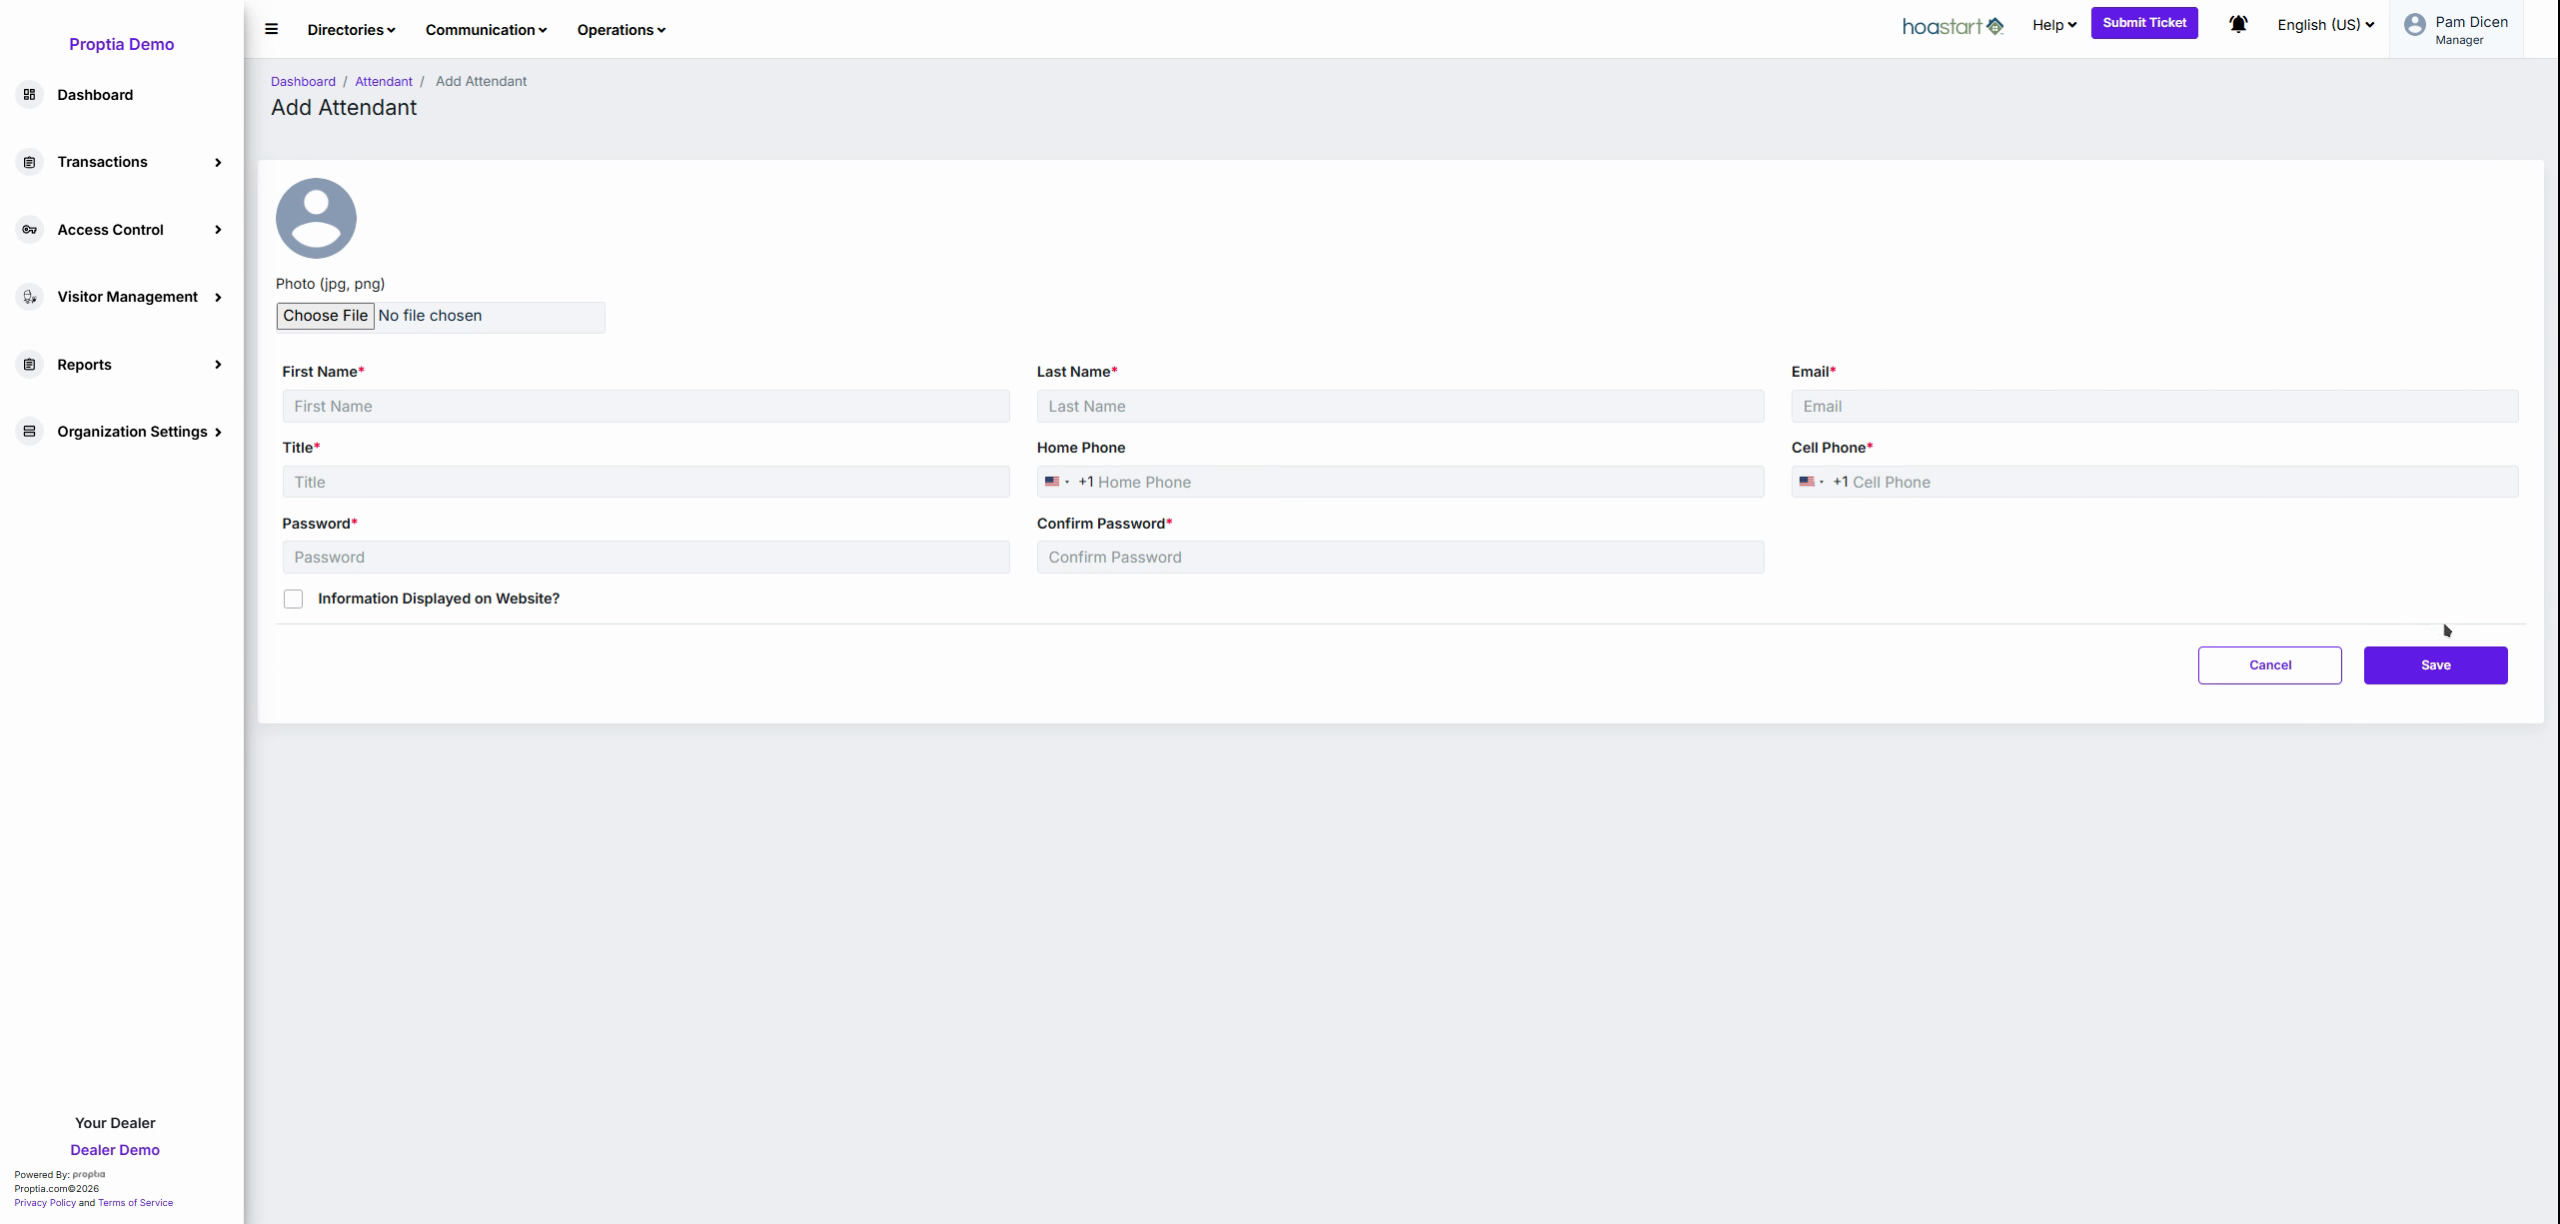
Complete all required fields (marked with a red asterisk): first name, last name, email address, title, and phone number. Use Choose File to upload a clear profile photo for identification.
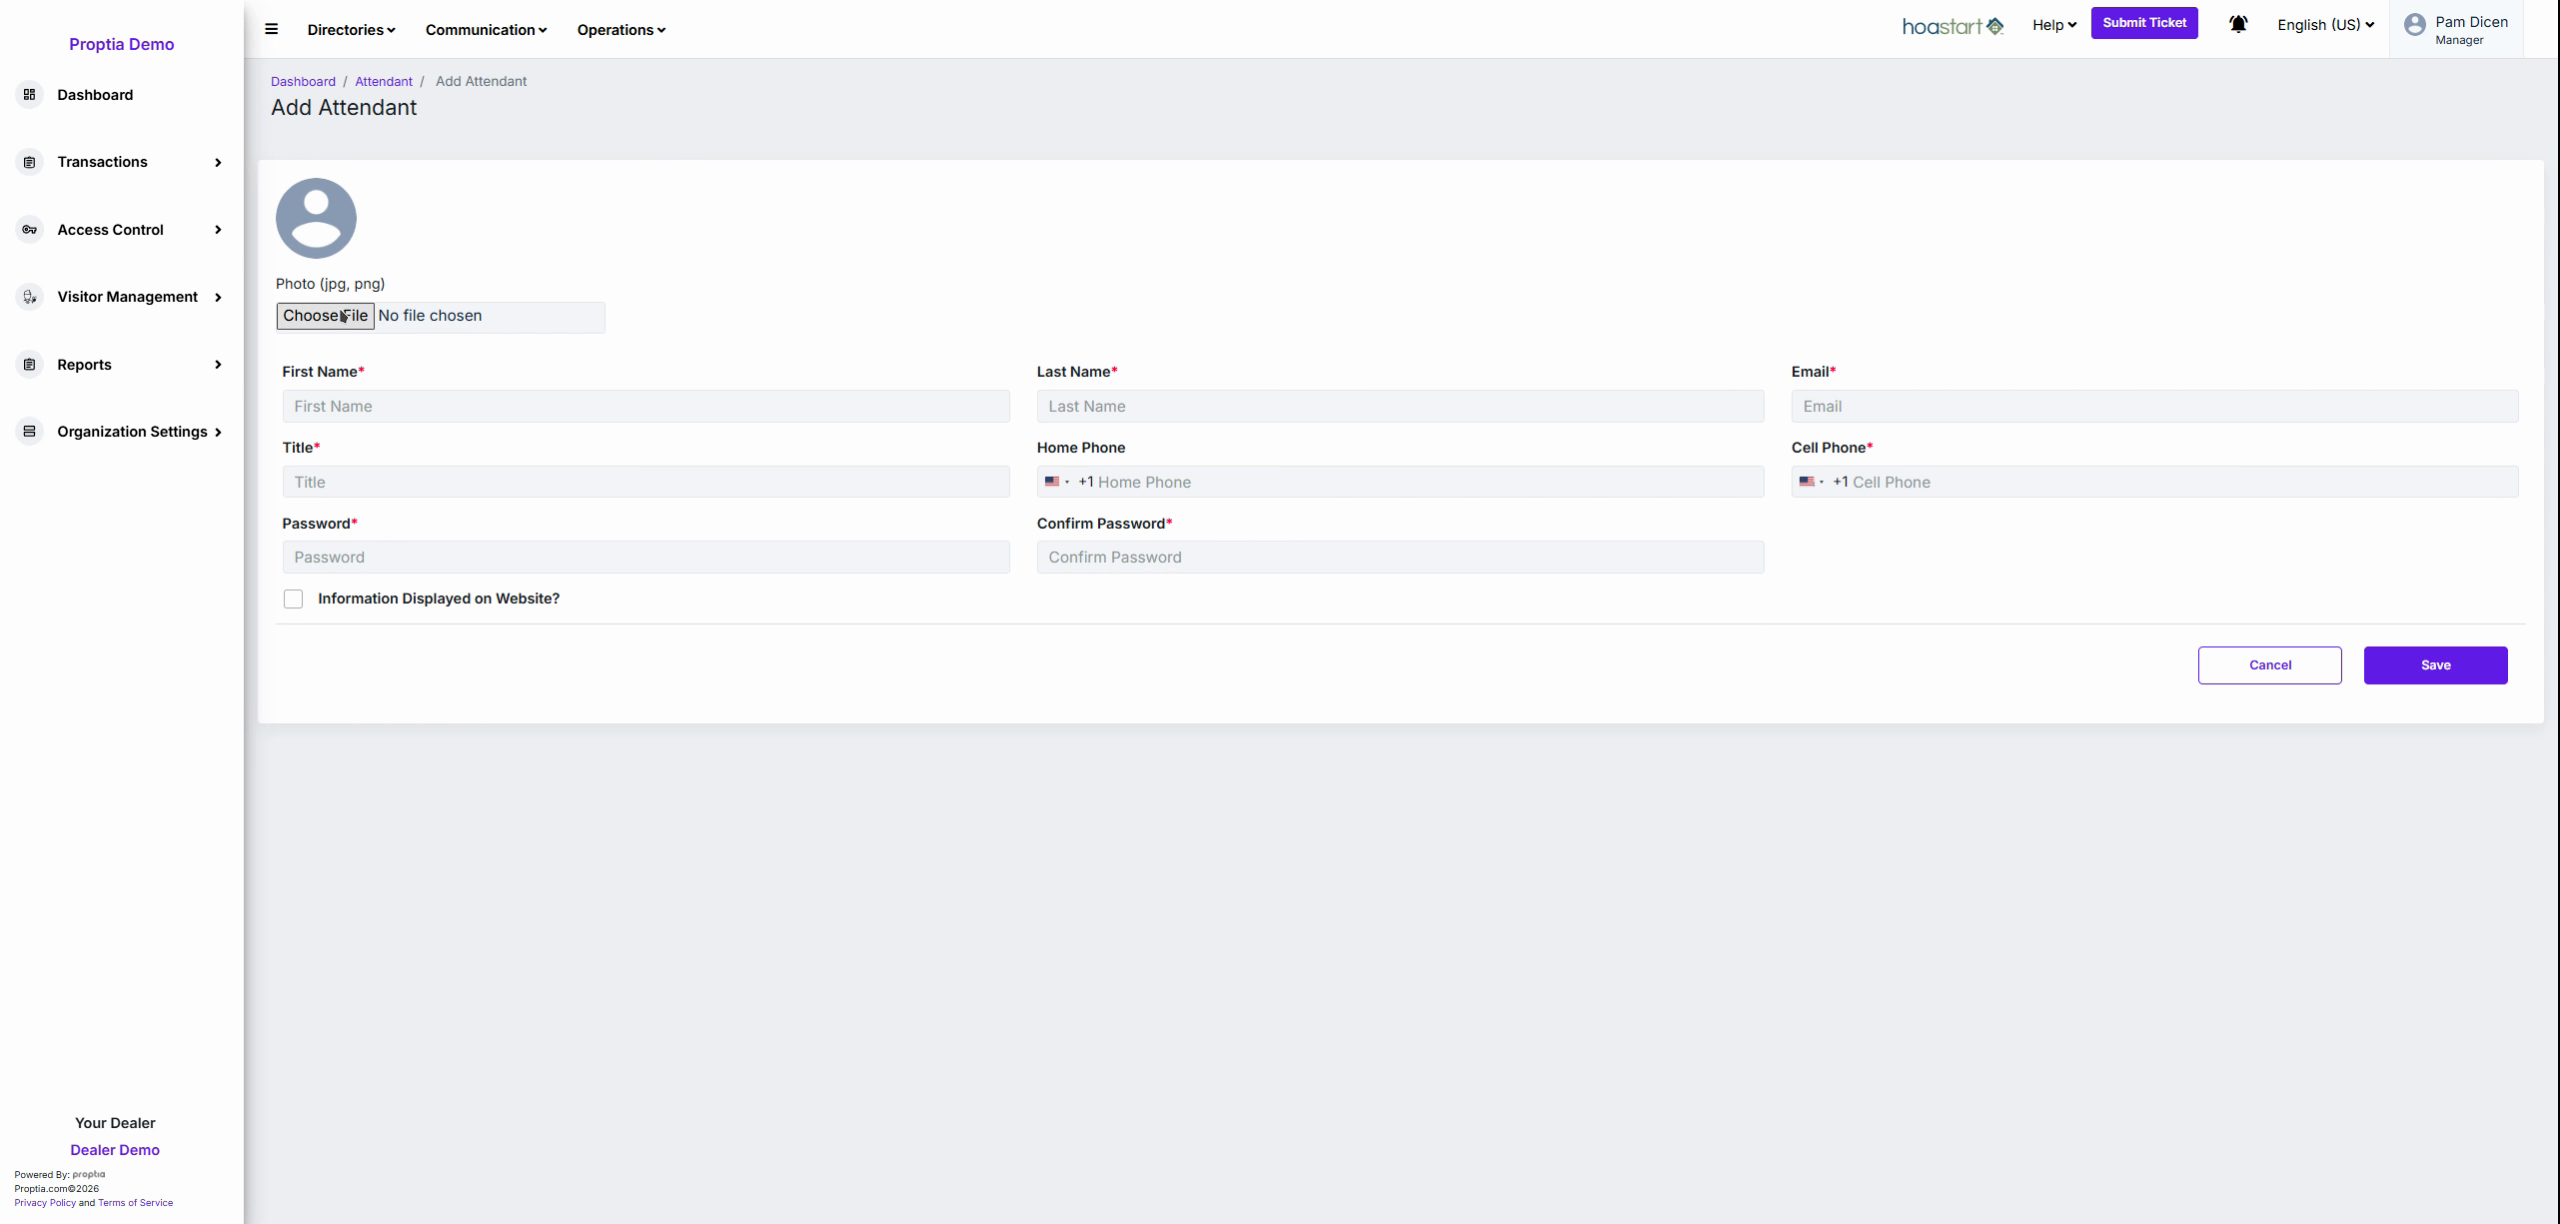
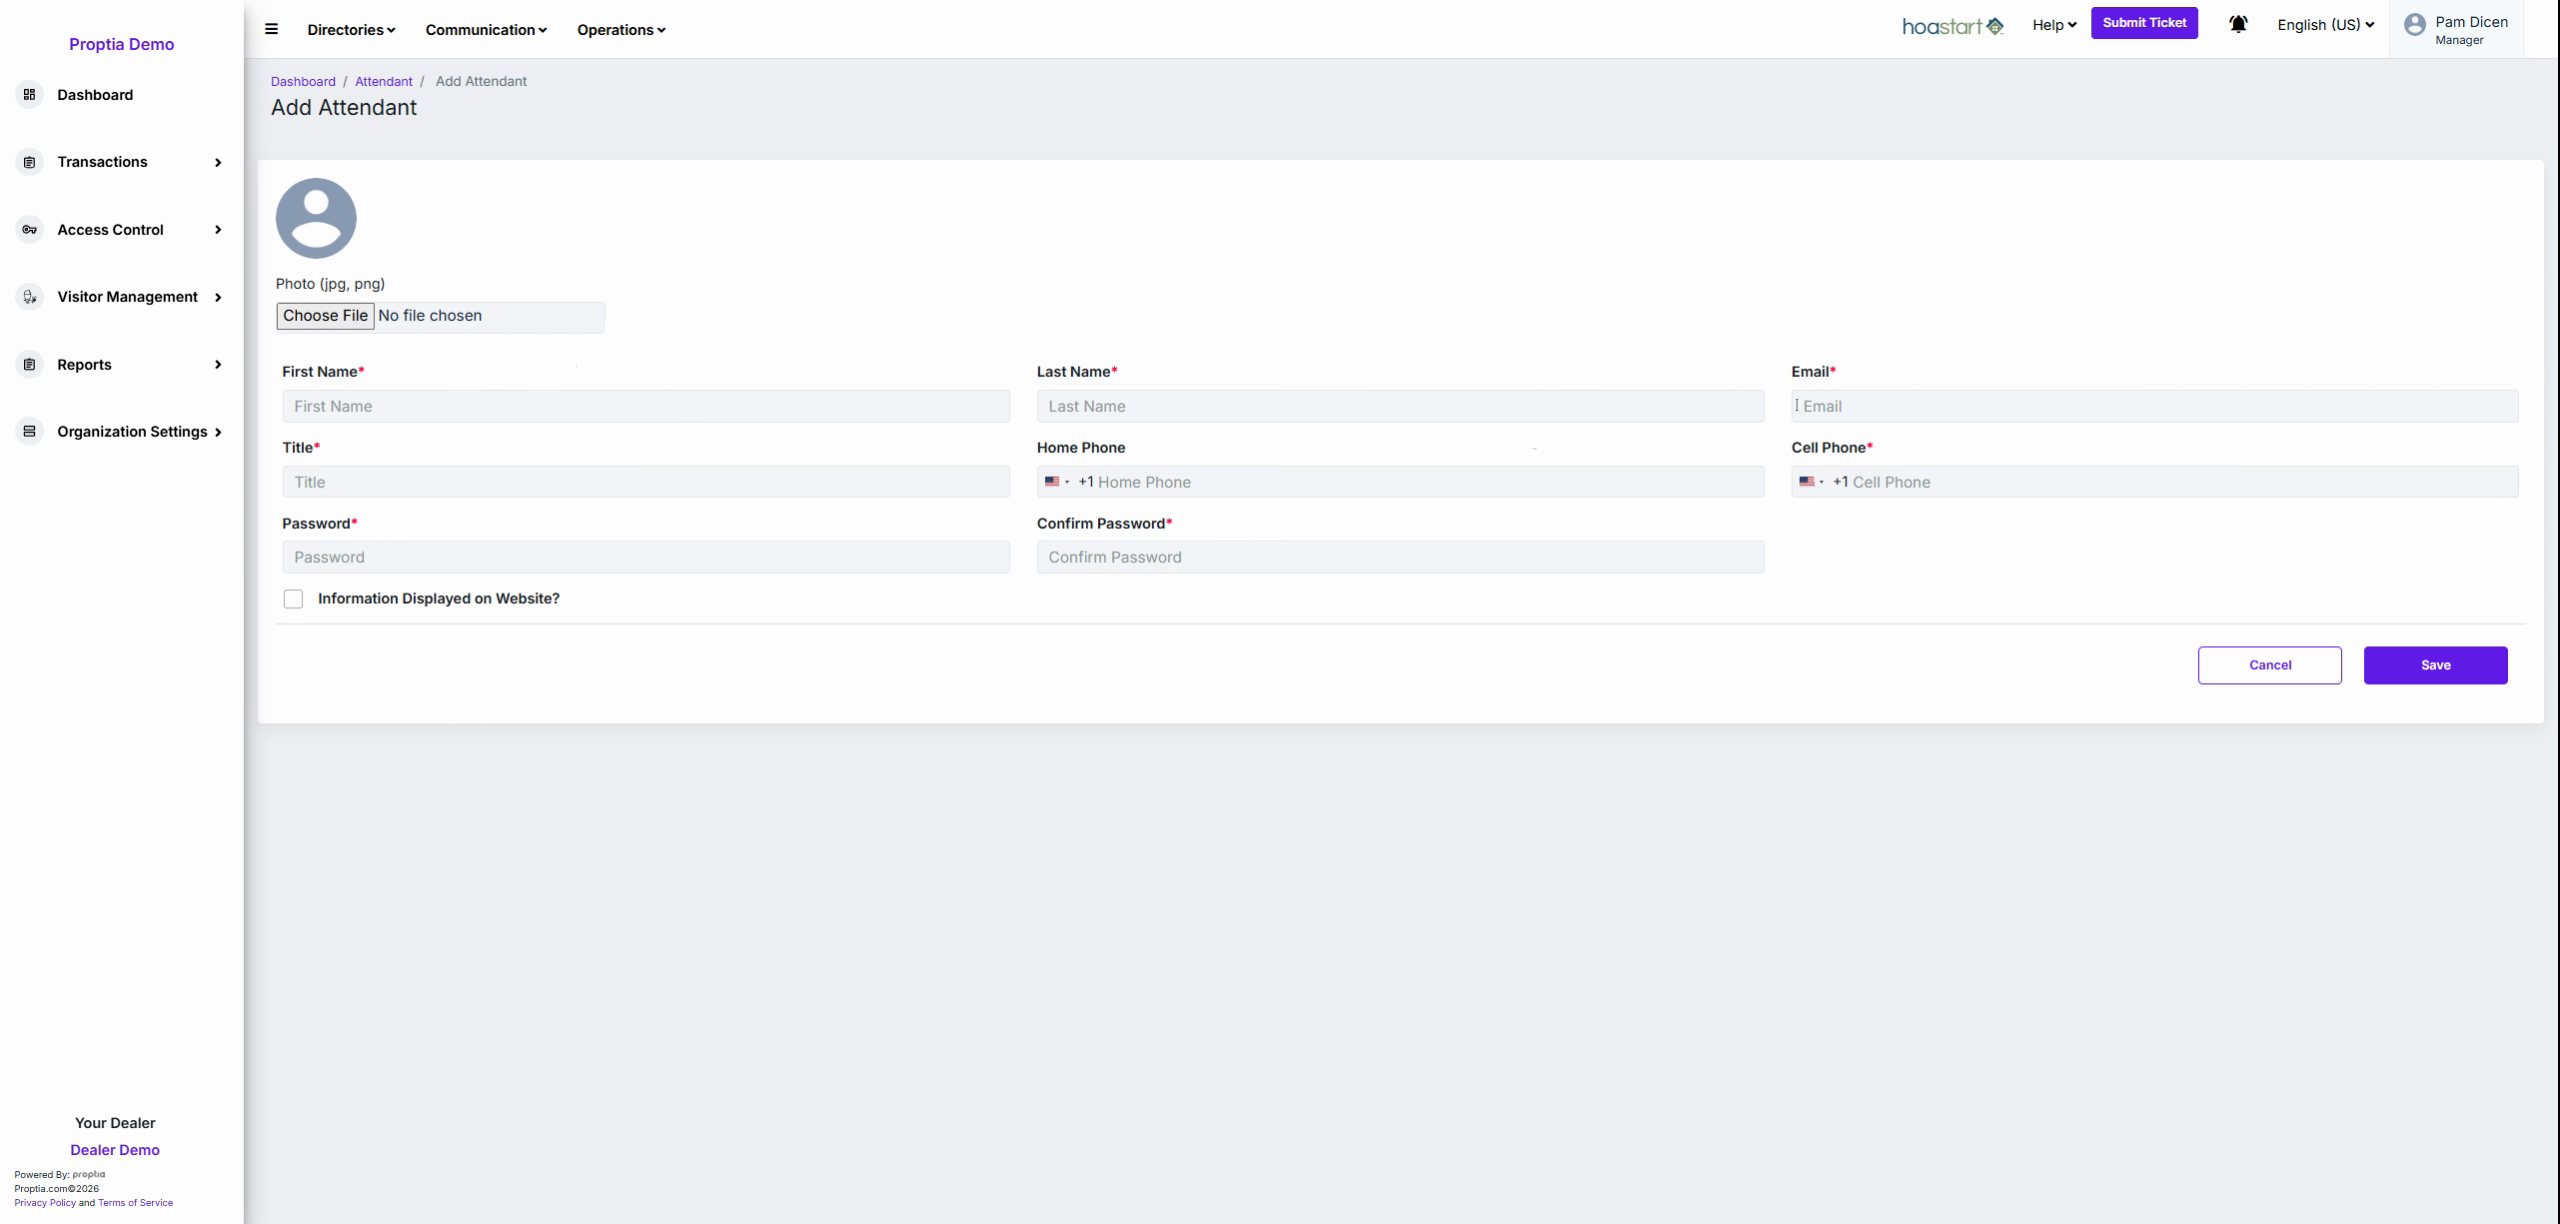
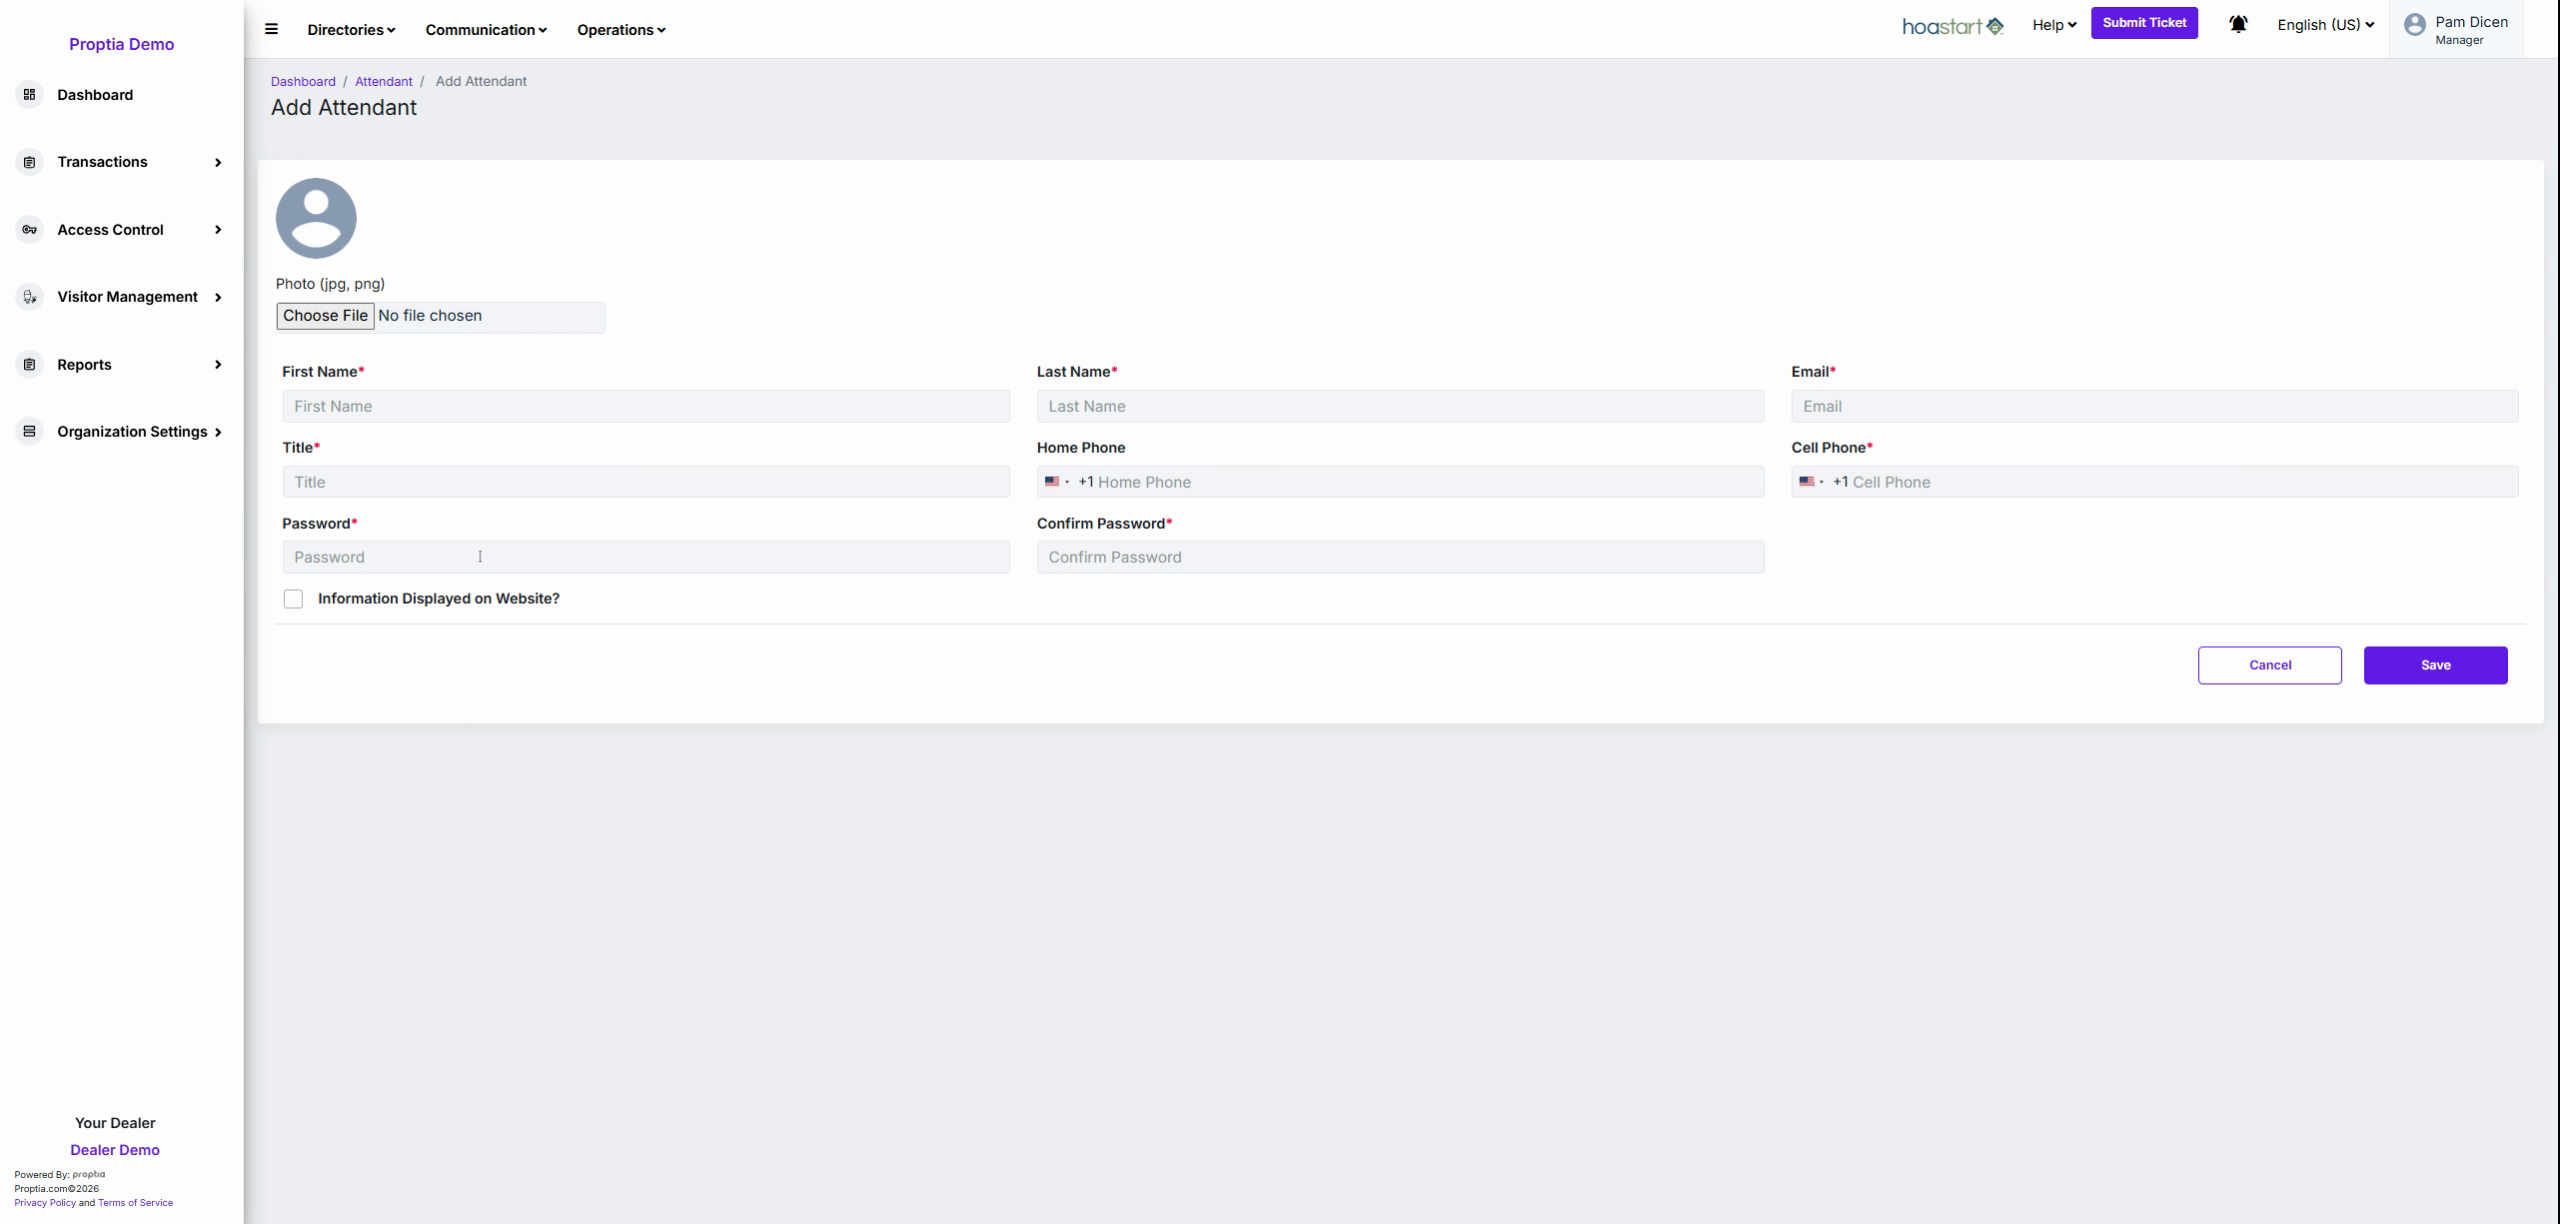
Create an initial password and confirm it for the new attendant’s account.
(Optional) Check the Information displayed on website box to make this profile visible on the public directory; leave it unchecked for internal use only.
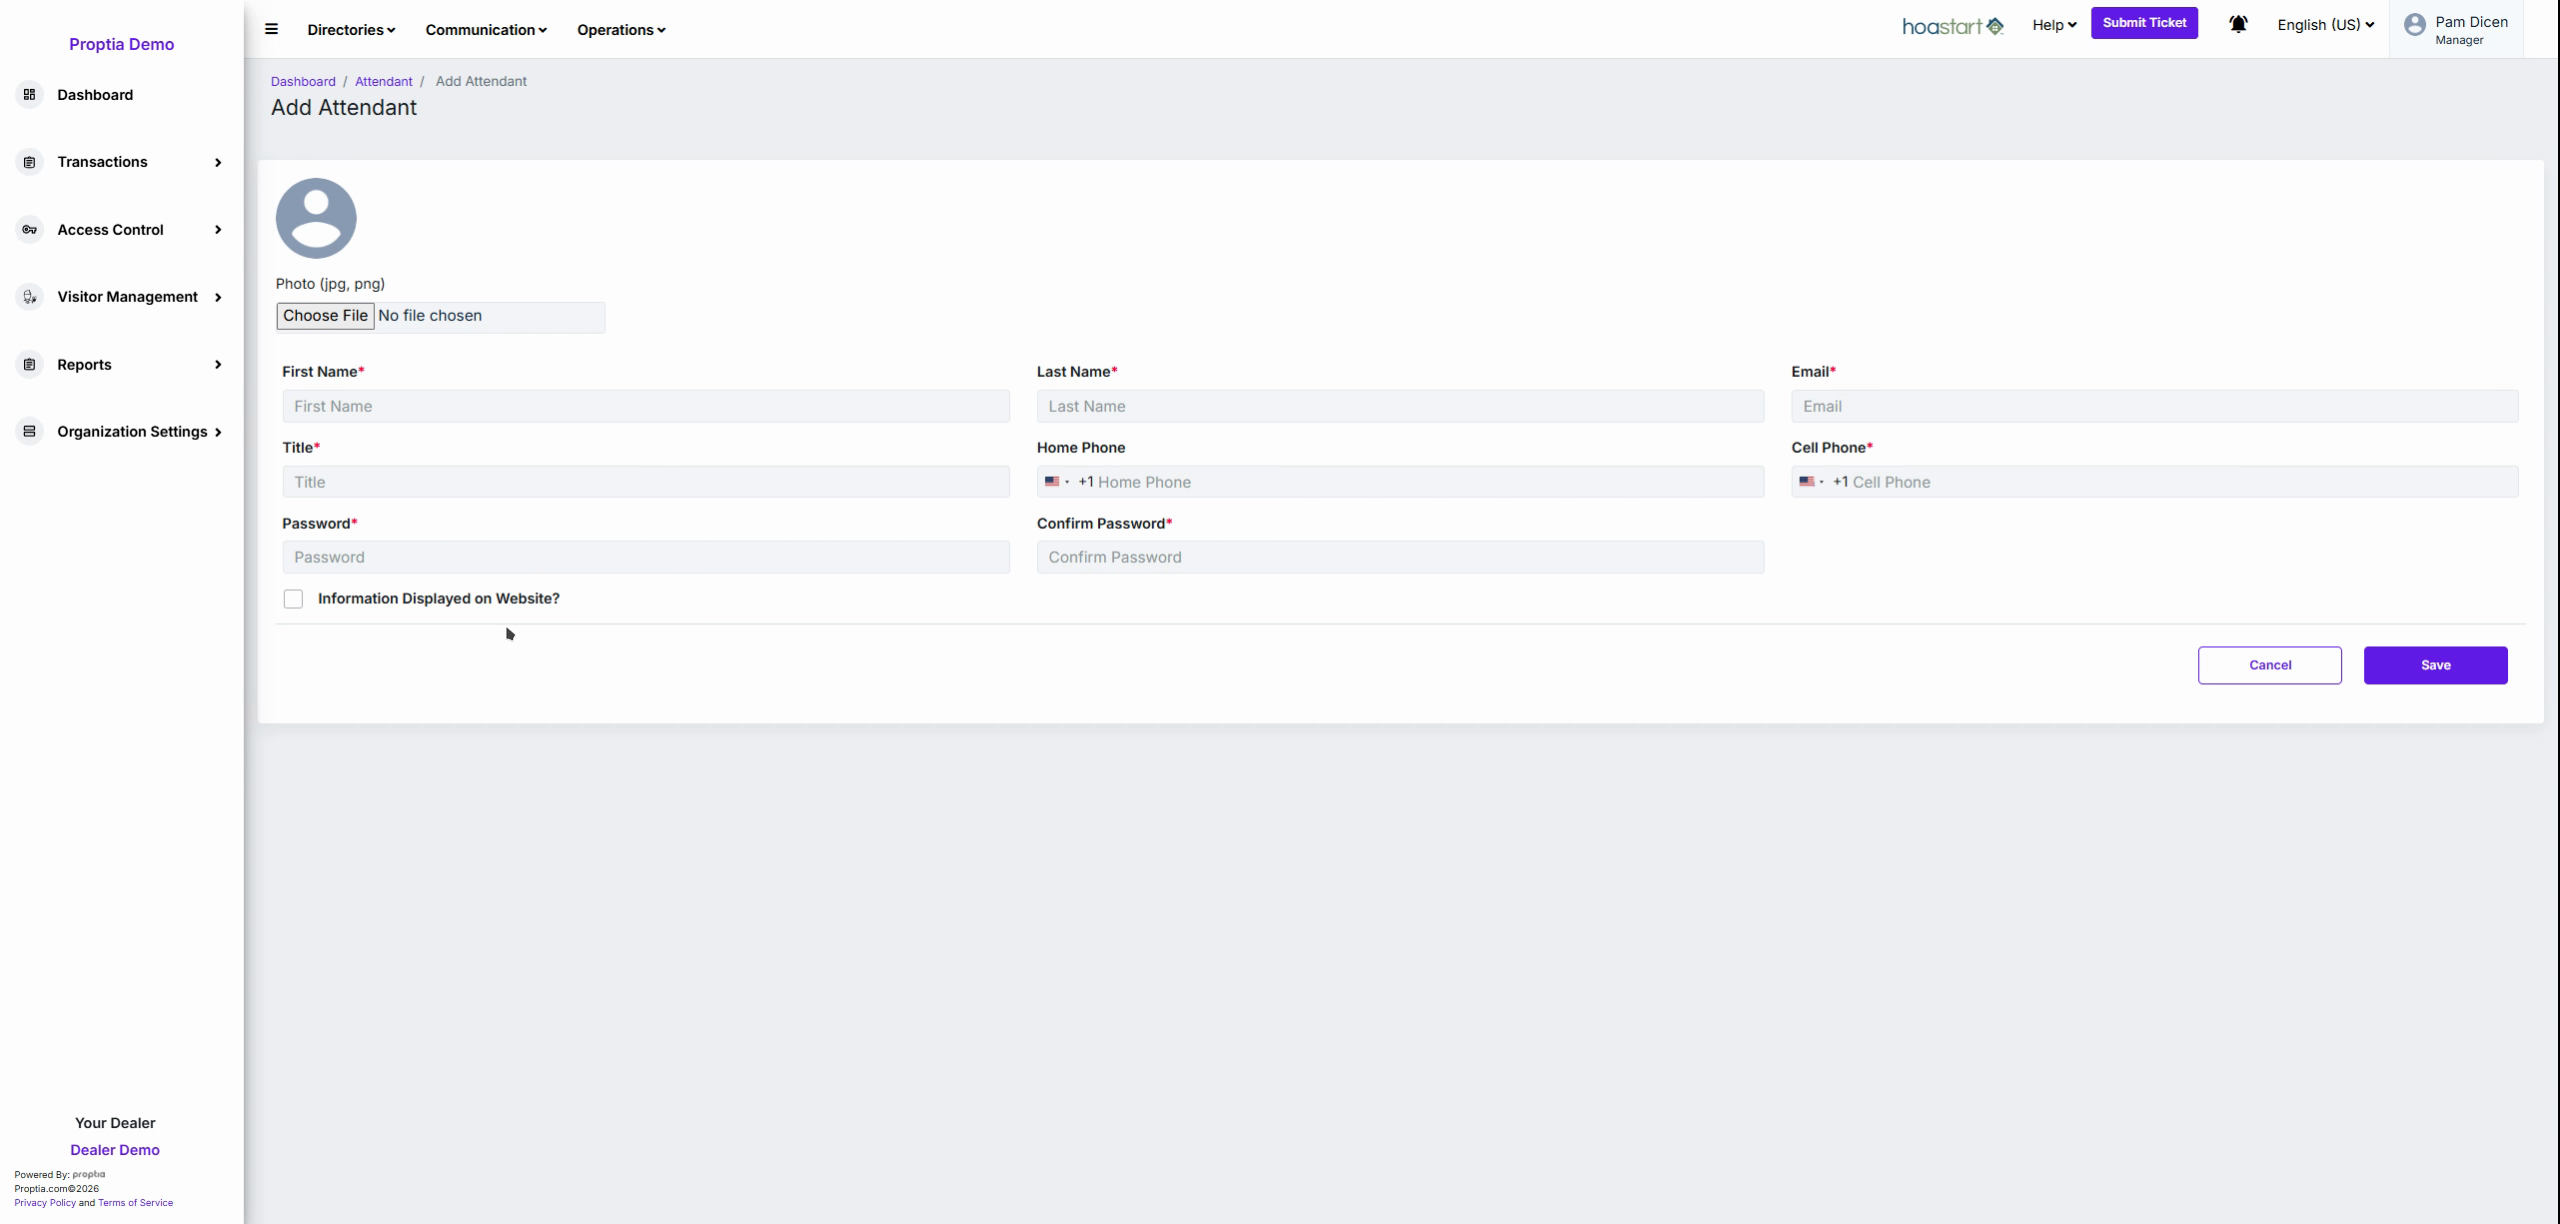
Click the purple Save button in the bottom-right corner to finalize the setup and activate the new attendant’s account.
Pro Tip
Regularly audit the Access via Internet toggles and the Status column to ensure only authorized attendants have access when and where it's needed. This enhances security and ensures your team roster stays current.